How You Use the Timeline
(p. 111)
Â
Opening and Closing Sequences in the Timeline
(p. 113)
Â
Learning About the Timeline
(p. 114)
Â
Changing Timeline Display Options
(p. 124)
Â
Navigating in the Timeline
(p. 132)
Â
Zooming and Scrolling in the Timeline
(p. 134)
How You Use the Timeline
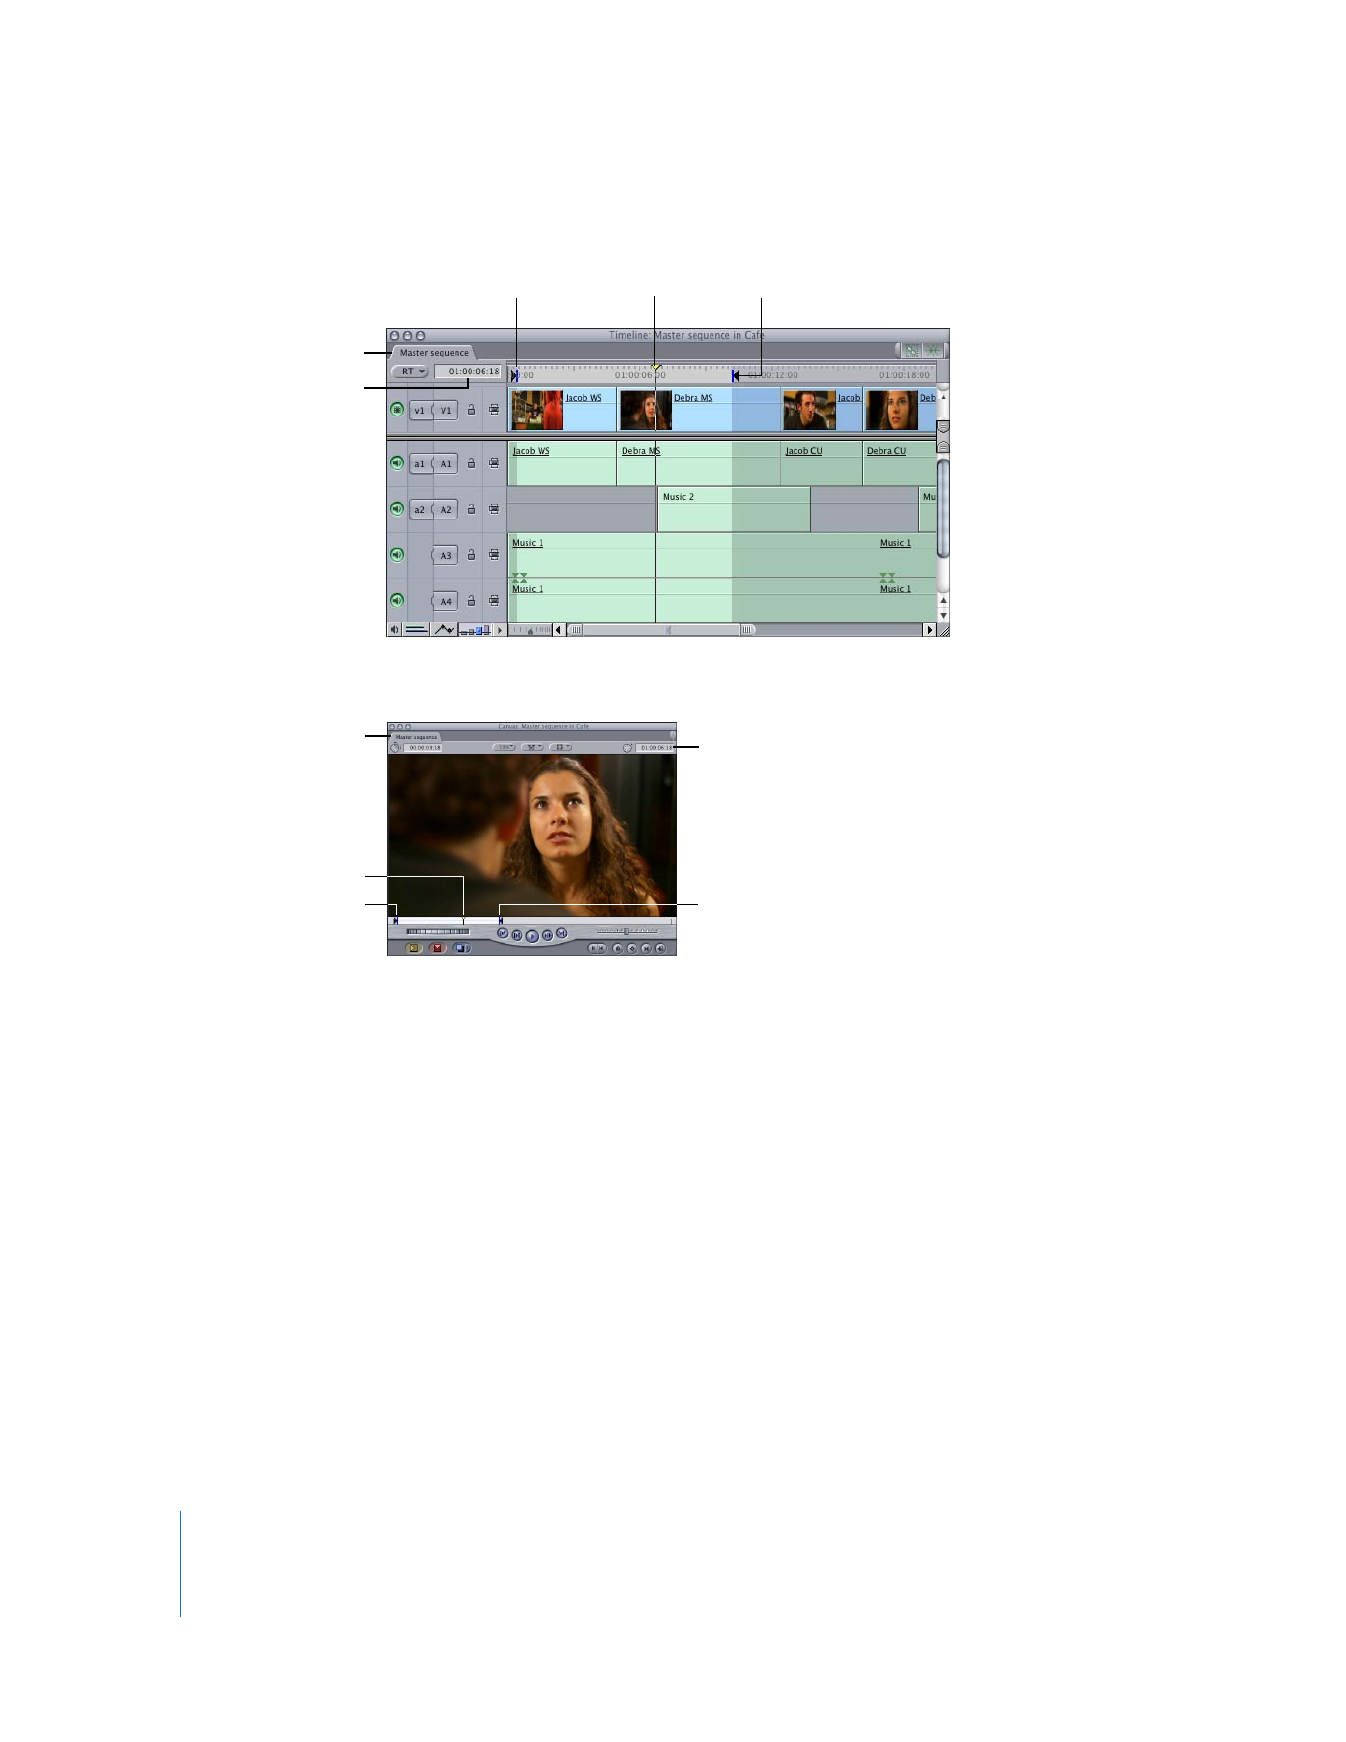
The Timeline and the Canvas display two different views of the same sequence. The
Timeline shows the chronological arrangement of clips and layered video and audio
clip items, while the Canvas provides a single view that allows you to watch your
sequence just as it will appear on a movie or television screen.
The Timeline, like the Canvas, contains tabs for all open sequences. Each sequence in
the Timeline is organized into separate video and audio tracks, which contain clip items
you’ve edited into the sequence from the Browser. Using the Timeline, you can quickly
navigate through an entire edited sequence, adding, overwriting, rearranging, and
removing clip items.

112
Part II
Learning About the Final Cut Pro Interface
This shows several items in the Timeline.
This shows the same items as they appear in the Canvas.
Since the playhead in the Timeline mirrors the playhead in the Canvas, you can use the
navigation, marking, and editing controls in the Canvas to navigate in the Timeline, and
vice versa.
To make the Timeline window active, do one of the following:
m
Click in the Timeline window.
m
Press Command-3.
Note: To work in the Timeline, the first thing you have to do is open a sequence. If you
don’t have any sequences in your project, you need to create one. For more
information, see Volume II, Chapter 5, “Working With Projects, Clips, and Sequences.”
Playhead
Out Point
Current Timecode field
In Point
Sequence tab
Current Timecode field
In Point
Out Point
Sequence tab
Playhead

Chapter 9
Timeline Basics
113
II