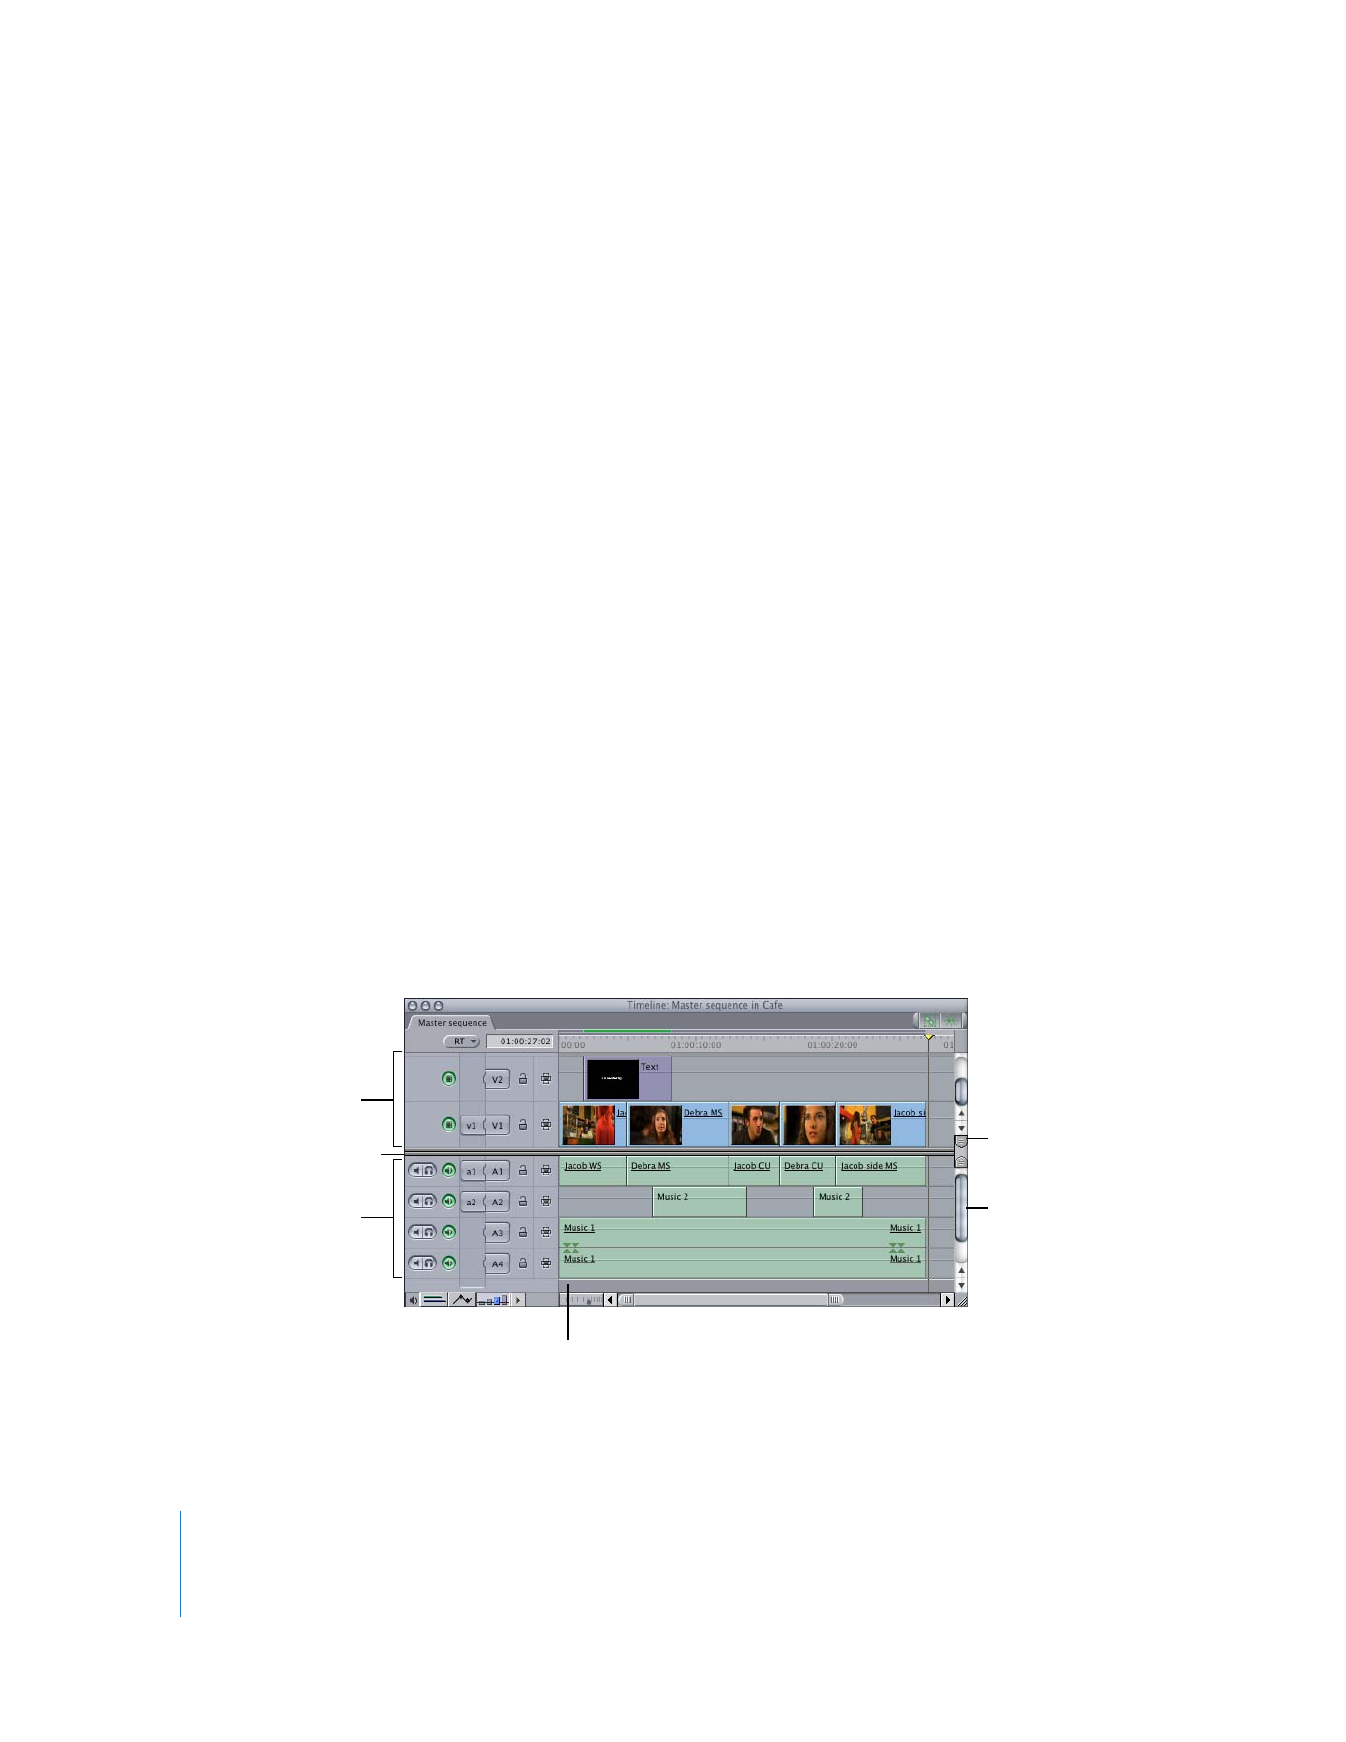
Editing Controls
The Timeline editing controls determine which tracks are selected and enabled for
editing and playback.
 Source and Destination controls: These allow you to connect (or patch) clip items of
the source clip in the Viewer to tracks in the Timeline. These controls are primarily
used in three-point editing to determine which source clip items’ tracks are edited
into your sequence, and where they are placed.
The number of available Source controls corresponds to the number of clip items of
the source clip currently open in the Viewer. For example, a typical DV clip has one
video track and two audio tracks. In this case, one video and two audio Source controls
appear in the Timeline. If, instead, you open a clip in the Viewer that has one video item
and four audio items, then one video and four audio Source controls appear in the
Timeline. For more information, see Volume II, Chapter 10, “Three-Point Editing.”
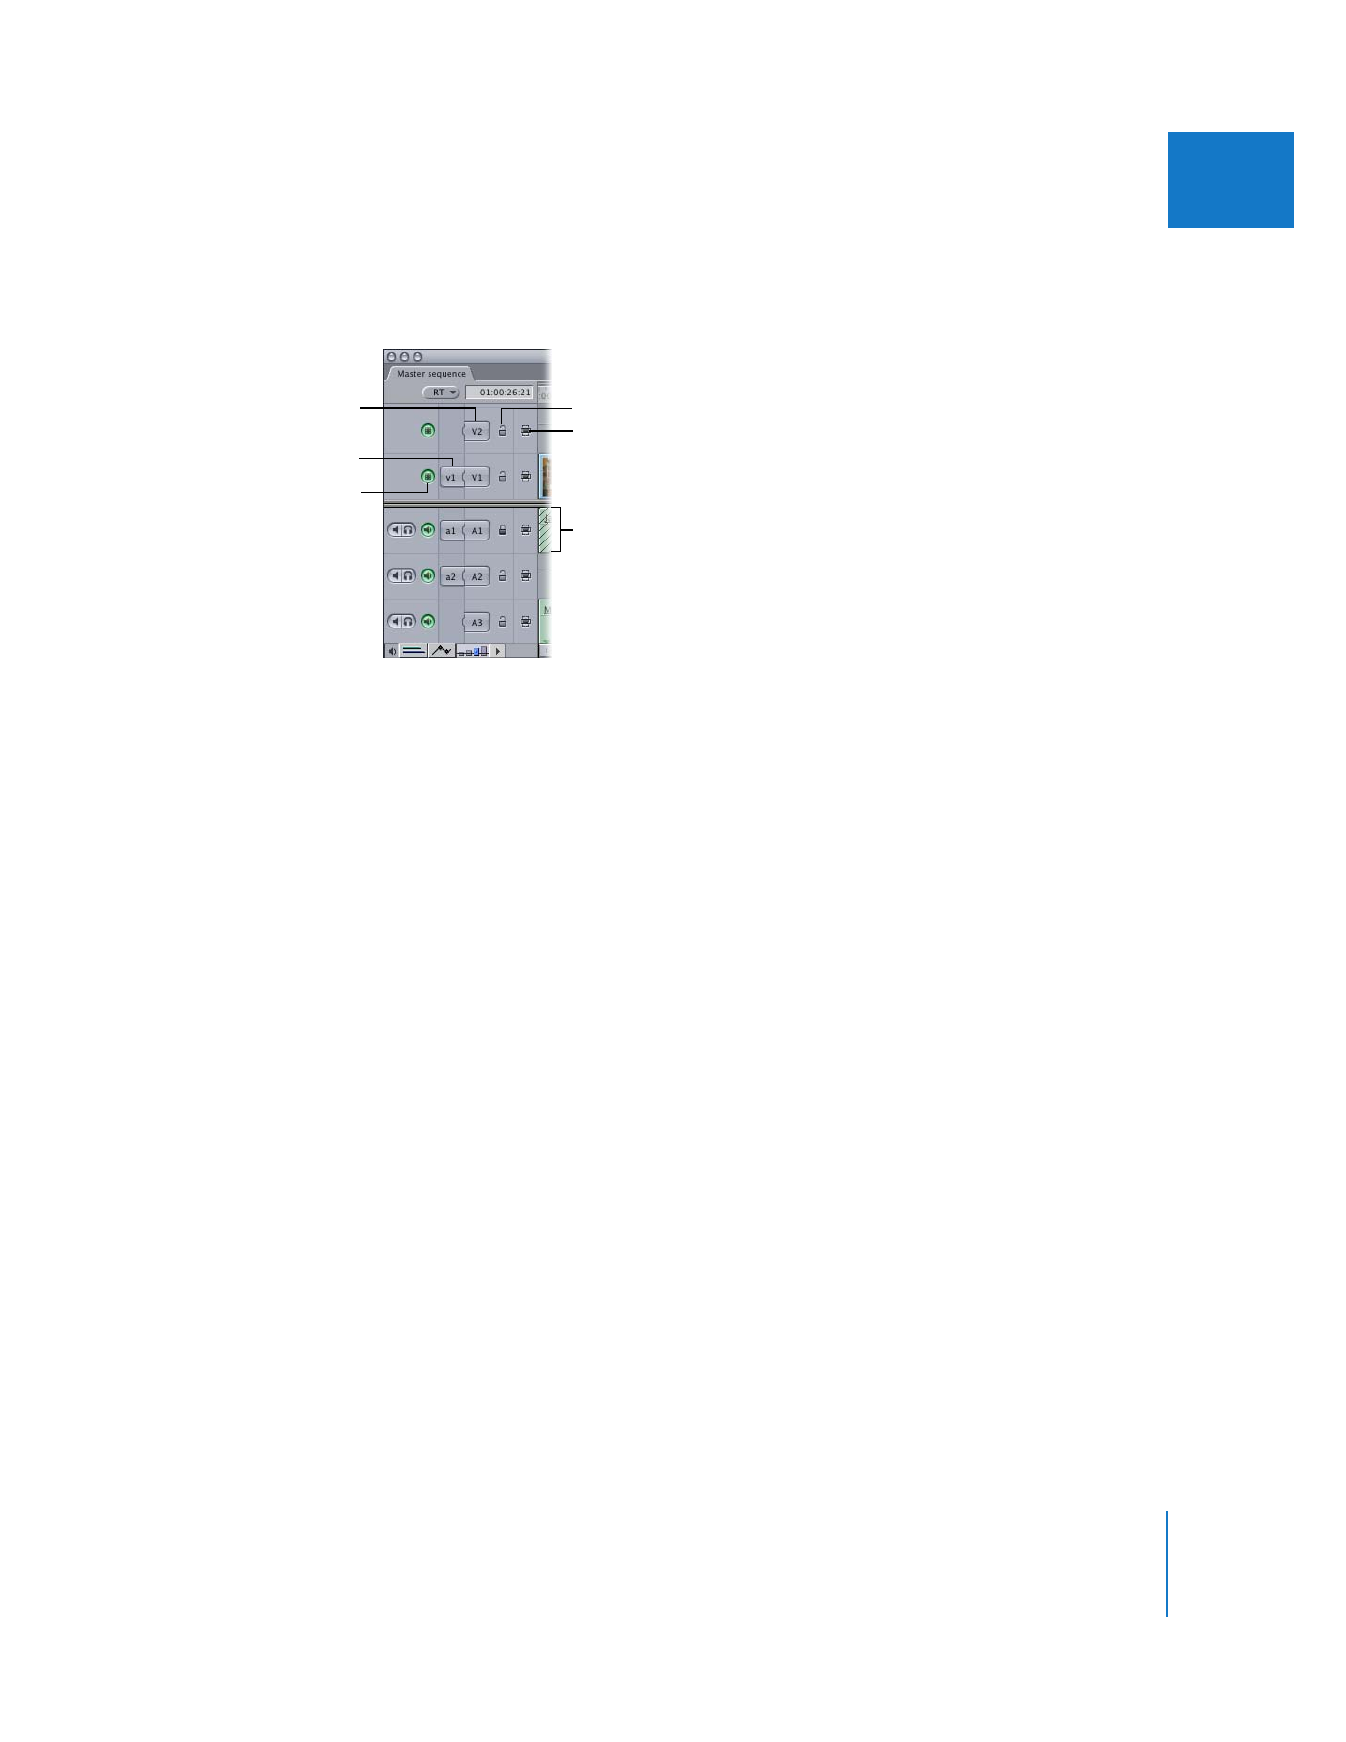
 Track Visibility control: Determines whether the contents of a track are displayed and
rendered in your sequence. When a track is disabled, it appears darkened in the
Timeline, but its contents remain in your sequence and can still be edited. When you
play back your sequence, disabled tracks don’t appear in the Canvas or on an
external monitor, nor will they be rendered or output to tape with that sequence.
Note: Render files for a track are deleted if the track is disabled. You can have
Final Cut Pro display a warning before this occurs by selecting the “Warn if visibility
change deletes render file” option in the Editing tab of the User Preferences window.
For more information, see Volume IV, Chapter 23, “Choosing Settings and Preferences.”
Track Visibility control
Source control
Destination control
Auto Select control
Lock Track control
Locked tracks are
cross-hatched.
116
Part II
Learning About the Final Cut Pro Interface
 Lock Track control: Prevents a track’s contents from being moved or changed in any
way. Overlays in locked tracks can also be protected by deselecting the “Pen tools
can edit locked item overlays” option in the Editing tab of the User Preferences
window. Locked tracks are cross-hatched all the way across the Timeline. Tracks can
be locked and unlocked at any time. For more information, see Volume IV,
Chapter 23, “Choosing Settings and Preferences.”
 Auto Select control: Enabling the Auto Select controls of specific tracks in the
Timeline limits which tracks are affected by various functions such as copying,
pasting, deleting, the Match Frame command and so on.
Note: You can think of In and Out points as limiting your edits in the horizontal
(time) dimension and Auto Select as limiting your edits in the vertical dimension.