Zooming In and Out of the Timeline
There are several ways to set the zoom level you want:
 Zoom slider
 Zoom control
 Zoom tools from the Tool palette
 Menu commands
 Keyboard shortcuts
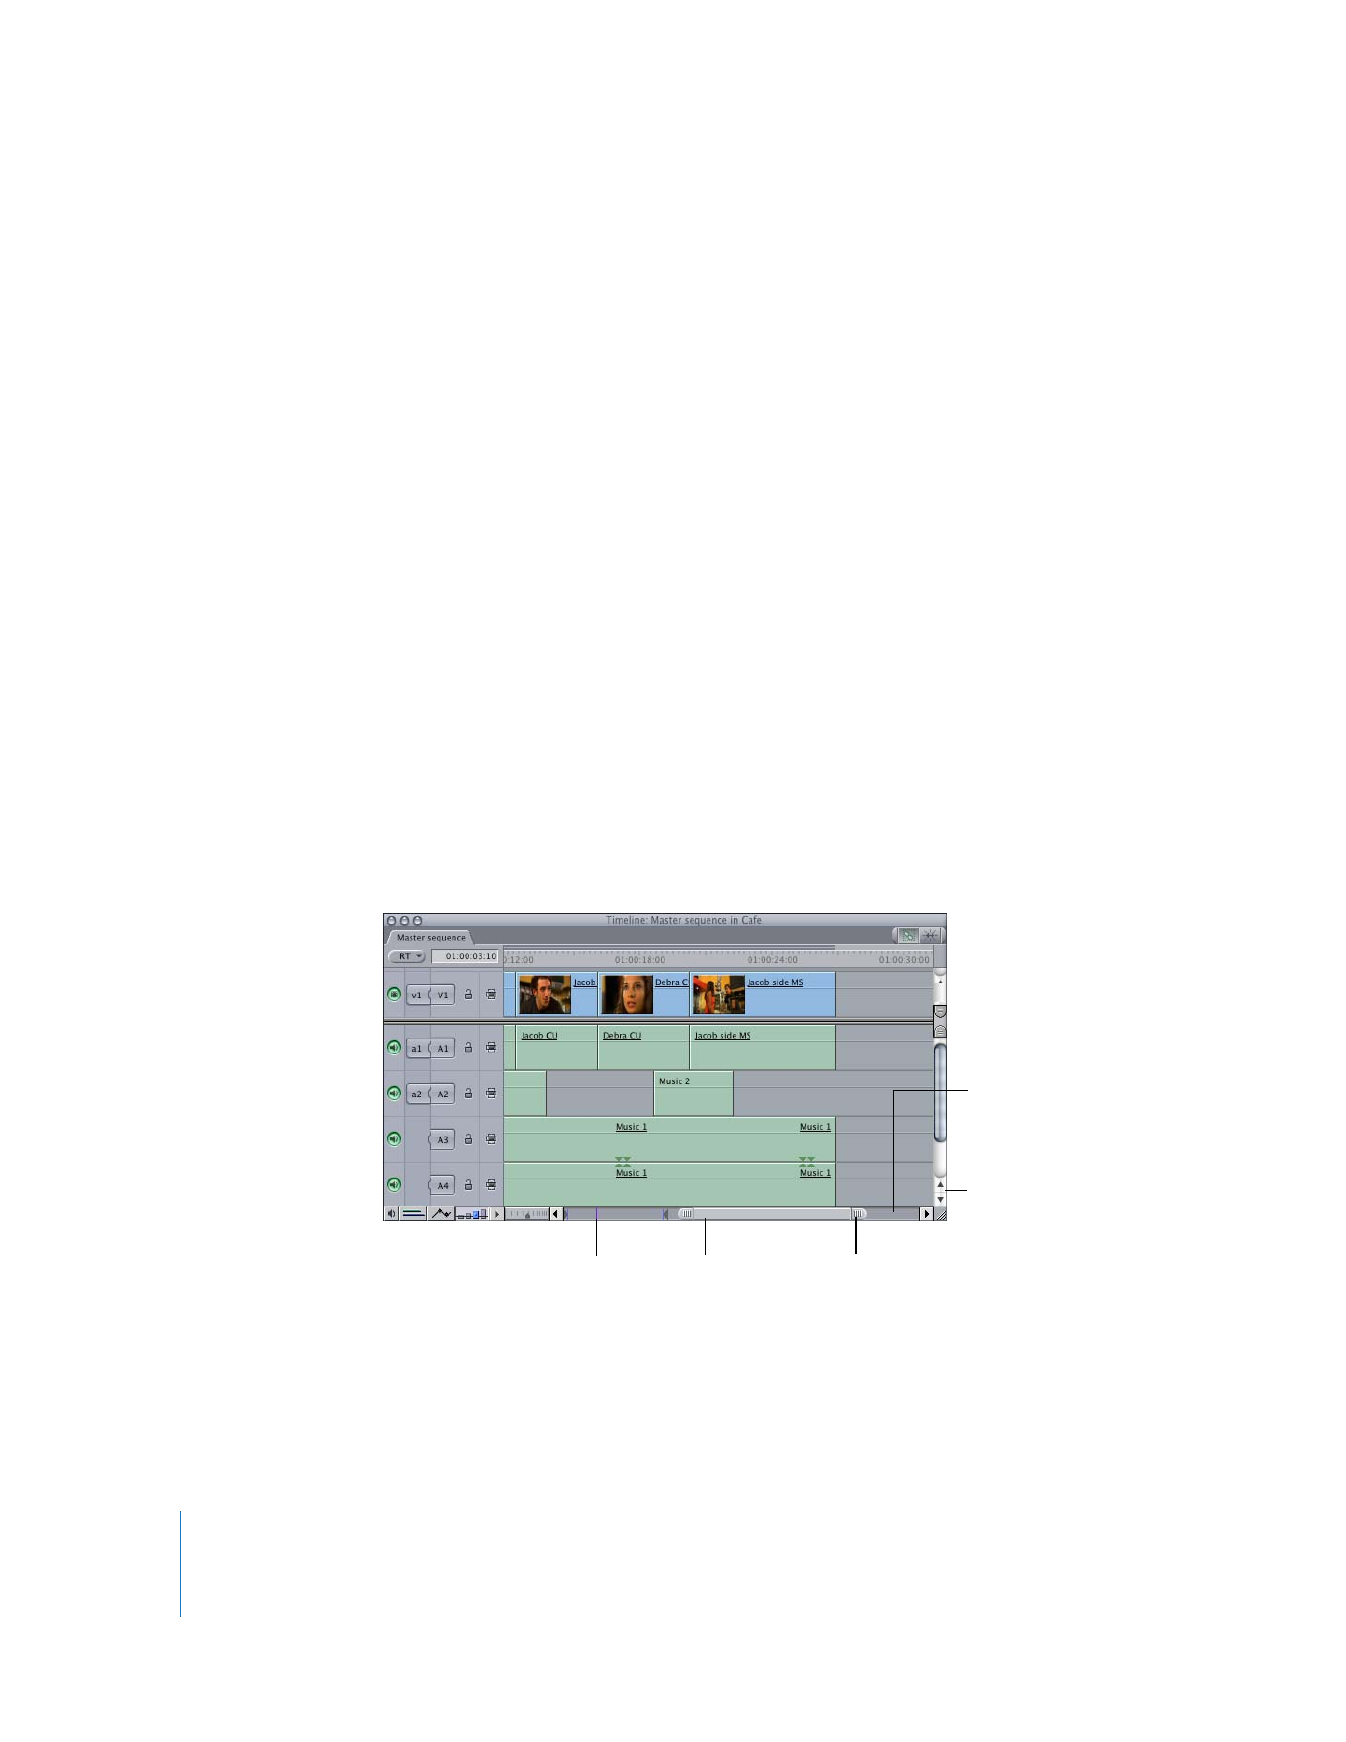
To zoom in and out of the Timeline using the Zoom slider, do one of the following:
m
Drag the thumb tabs on either side of the Zoom slider to adjust both ends of your view
at the same time. If the playhead is visible, it stays centered during the zoom. If the
playhead is not visible, the visible area of the Timeline stays centered.
m
Hold down the Shift key while you drag one of the thumb tabs (on either side of the
Zoom slider) to zoom in or out of your sequence from the selected end of the Zoom
slider, while keeping the other thumb tab locked in place. This also moves the visible
area of the Timeline in the direction you’re dragging as you zoom.
Once you’ve zoomed so far in to your sequence that you can’t see either the beginning
or ending clips in the sequence, you can use the Zoom slider as a scroll bar, to
smoothly move forward or backward to a specific section of your sequence.
Scroll arrows
Playhead indicator
Thumb tab
Click in the space
around the slider to
scroll one length of the
Timeline window.
Zoom slider

Chapter 9
Timeline Basics
135
II
To zoom in and out of the Timeline using the Zoom control:
m
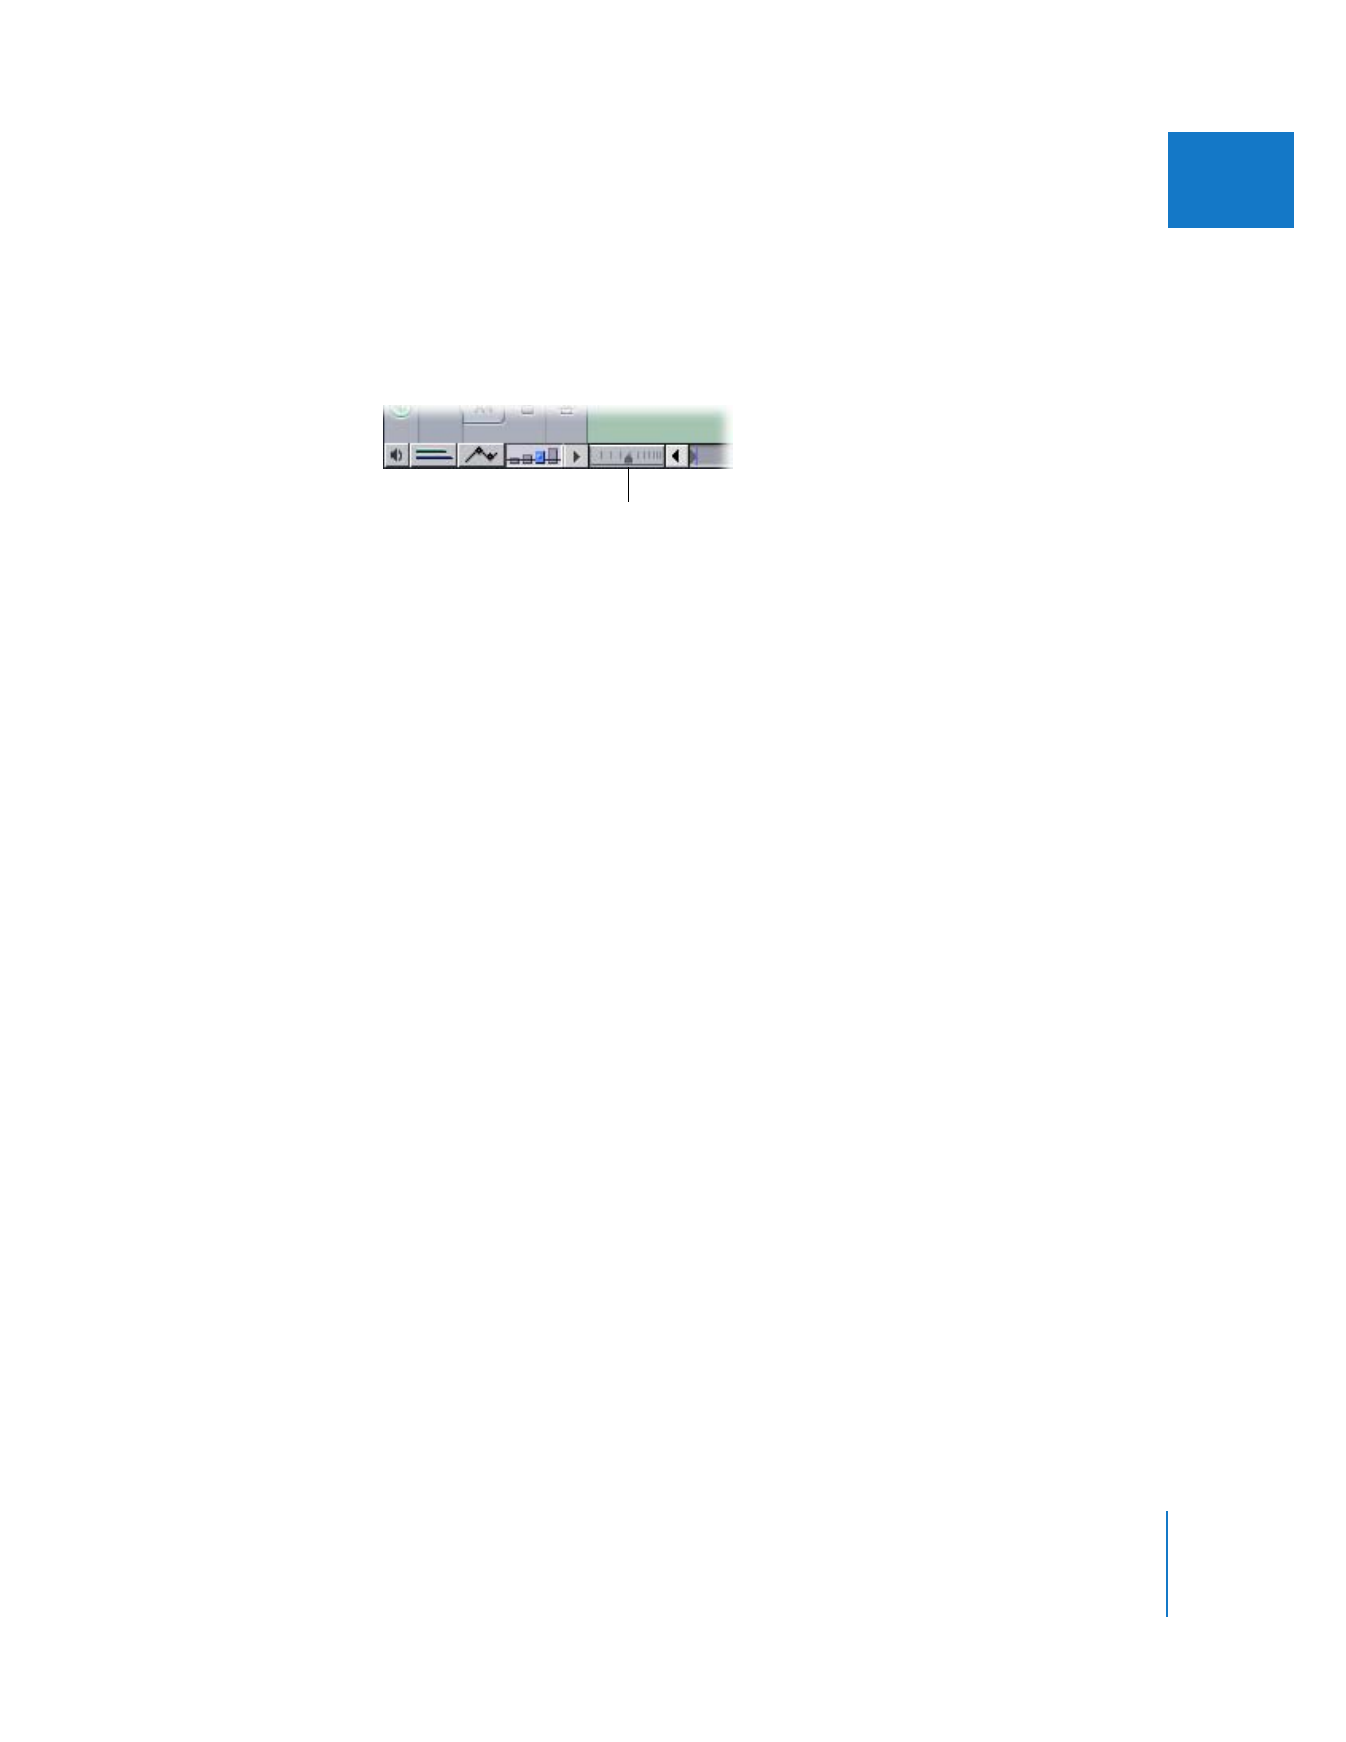
Click or drag the Zoom control to view the Timeline at a different time scale while
keeping either the playhead or the current area of the Timeline centered. Clicking to
the right of the control zooms out to show more of your sequence; clicking to the left
zooms in to show more detail.
To zoom in and out of the Timeline using the Zoom tools:
1
Select the Zoom In or Zoom Out tool in the Tool palette.
2
Do one of the following:
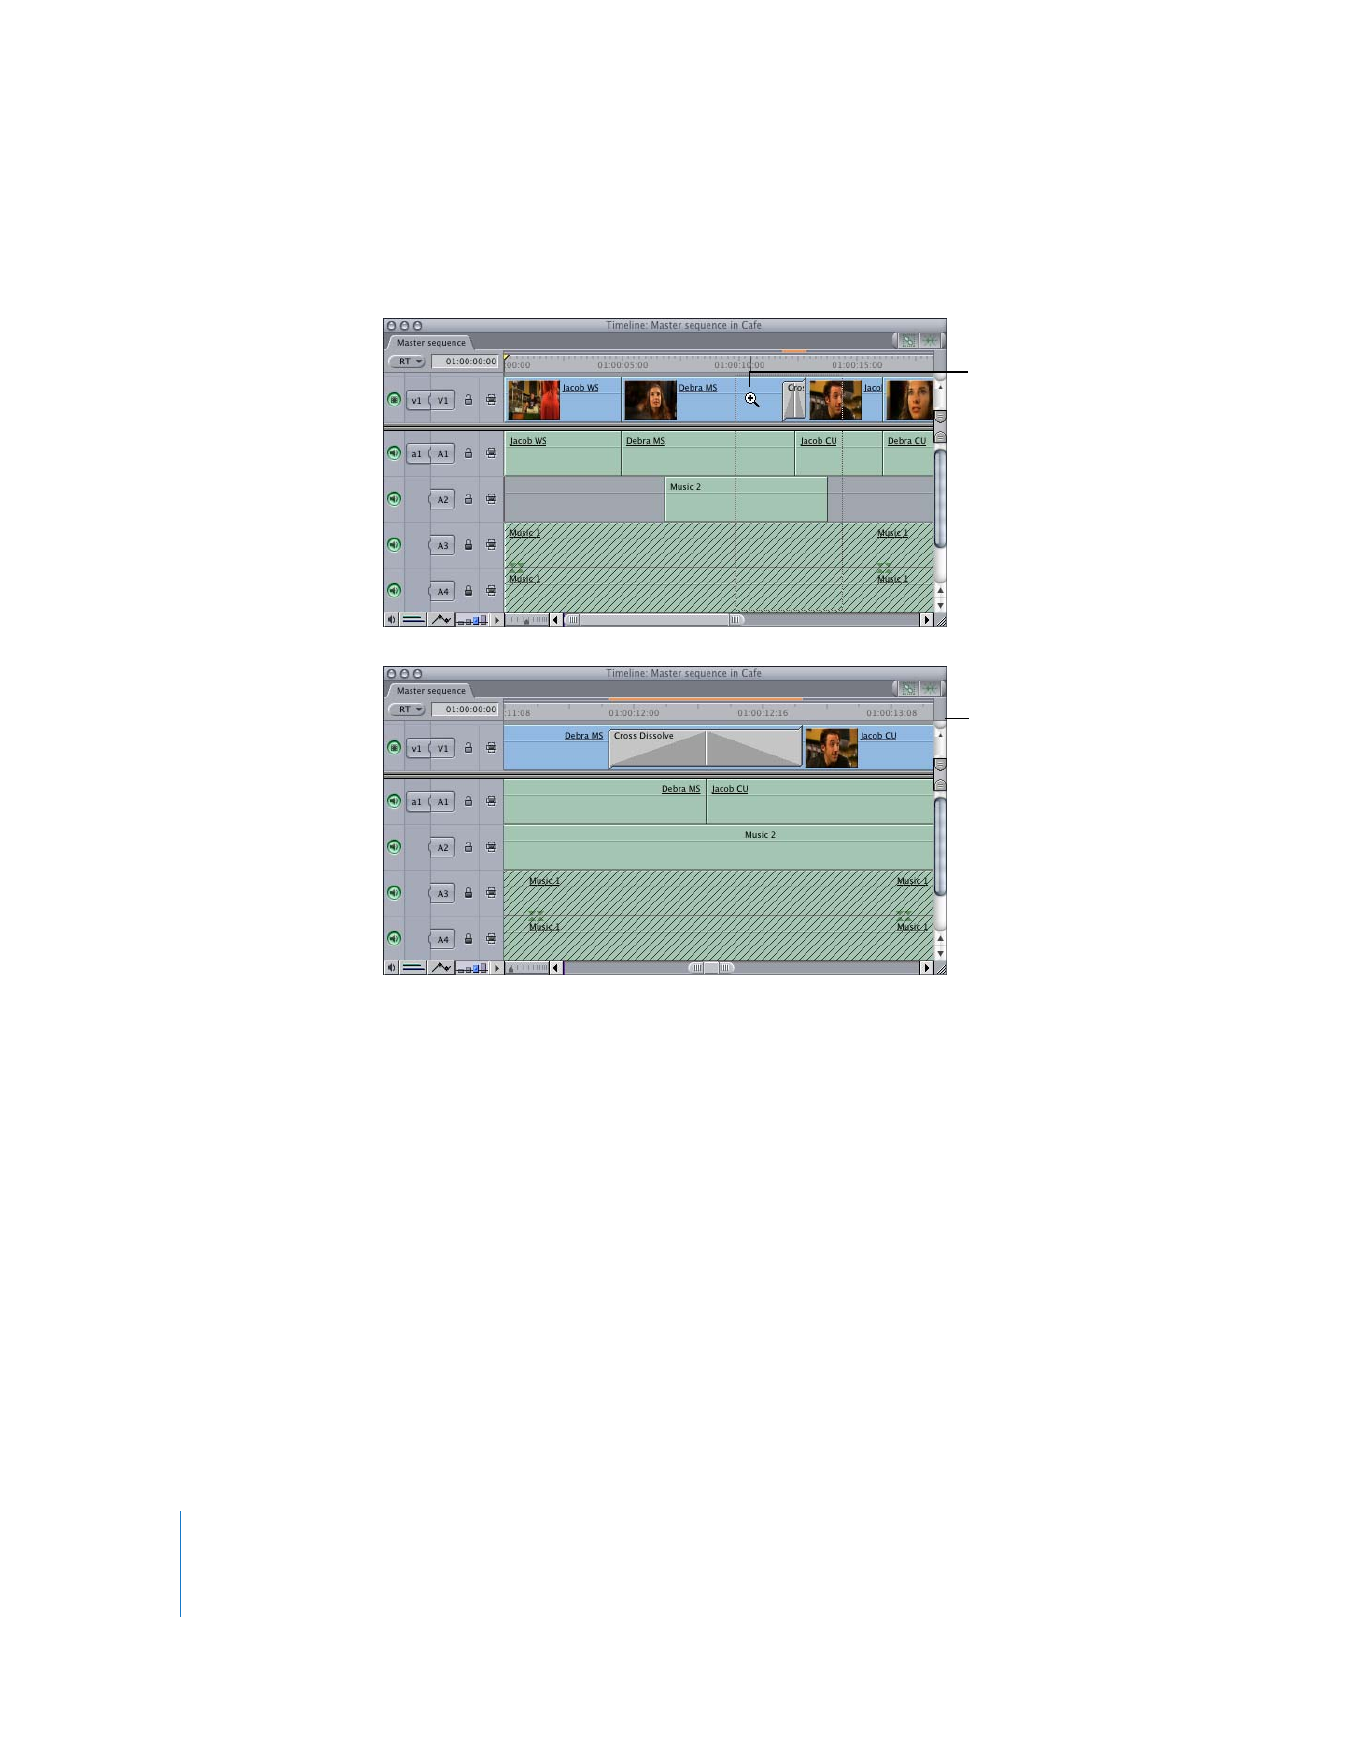
 Click in the Timeline.
 Drag to select a region to zoom in on or out of.
As you drag, the box (or “marquee”) snaps to areas that correspond to the percentage
of zoom in the Timeline.
Clicking or dragging repeatedly increases the zoom factor. When the Timeline is
zoomed in or out to the maximum level possible, the + and – signs on the zoom
tools disappear.
Drag the Zoom control
to change the Timeline
to a different time scale.

136
Part II
Learning About the Final Cut Pro Interface
Note: When the Zoom In or Zoom Out tool is selected, pressing the Option key
temporarily changes it to the opposite tool.
Drag the Zoom In
tool to expand the
sequence.
This shows the above
sequence zoomed in,
so you can see more
details within the
sequence.

Chapter 9
Timeline Basics
137
II
To zoom in and out of the Timeline using menu commands or keyboard shortcuts:
1
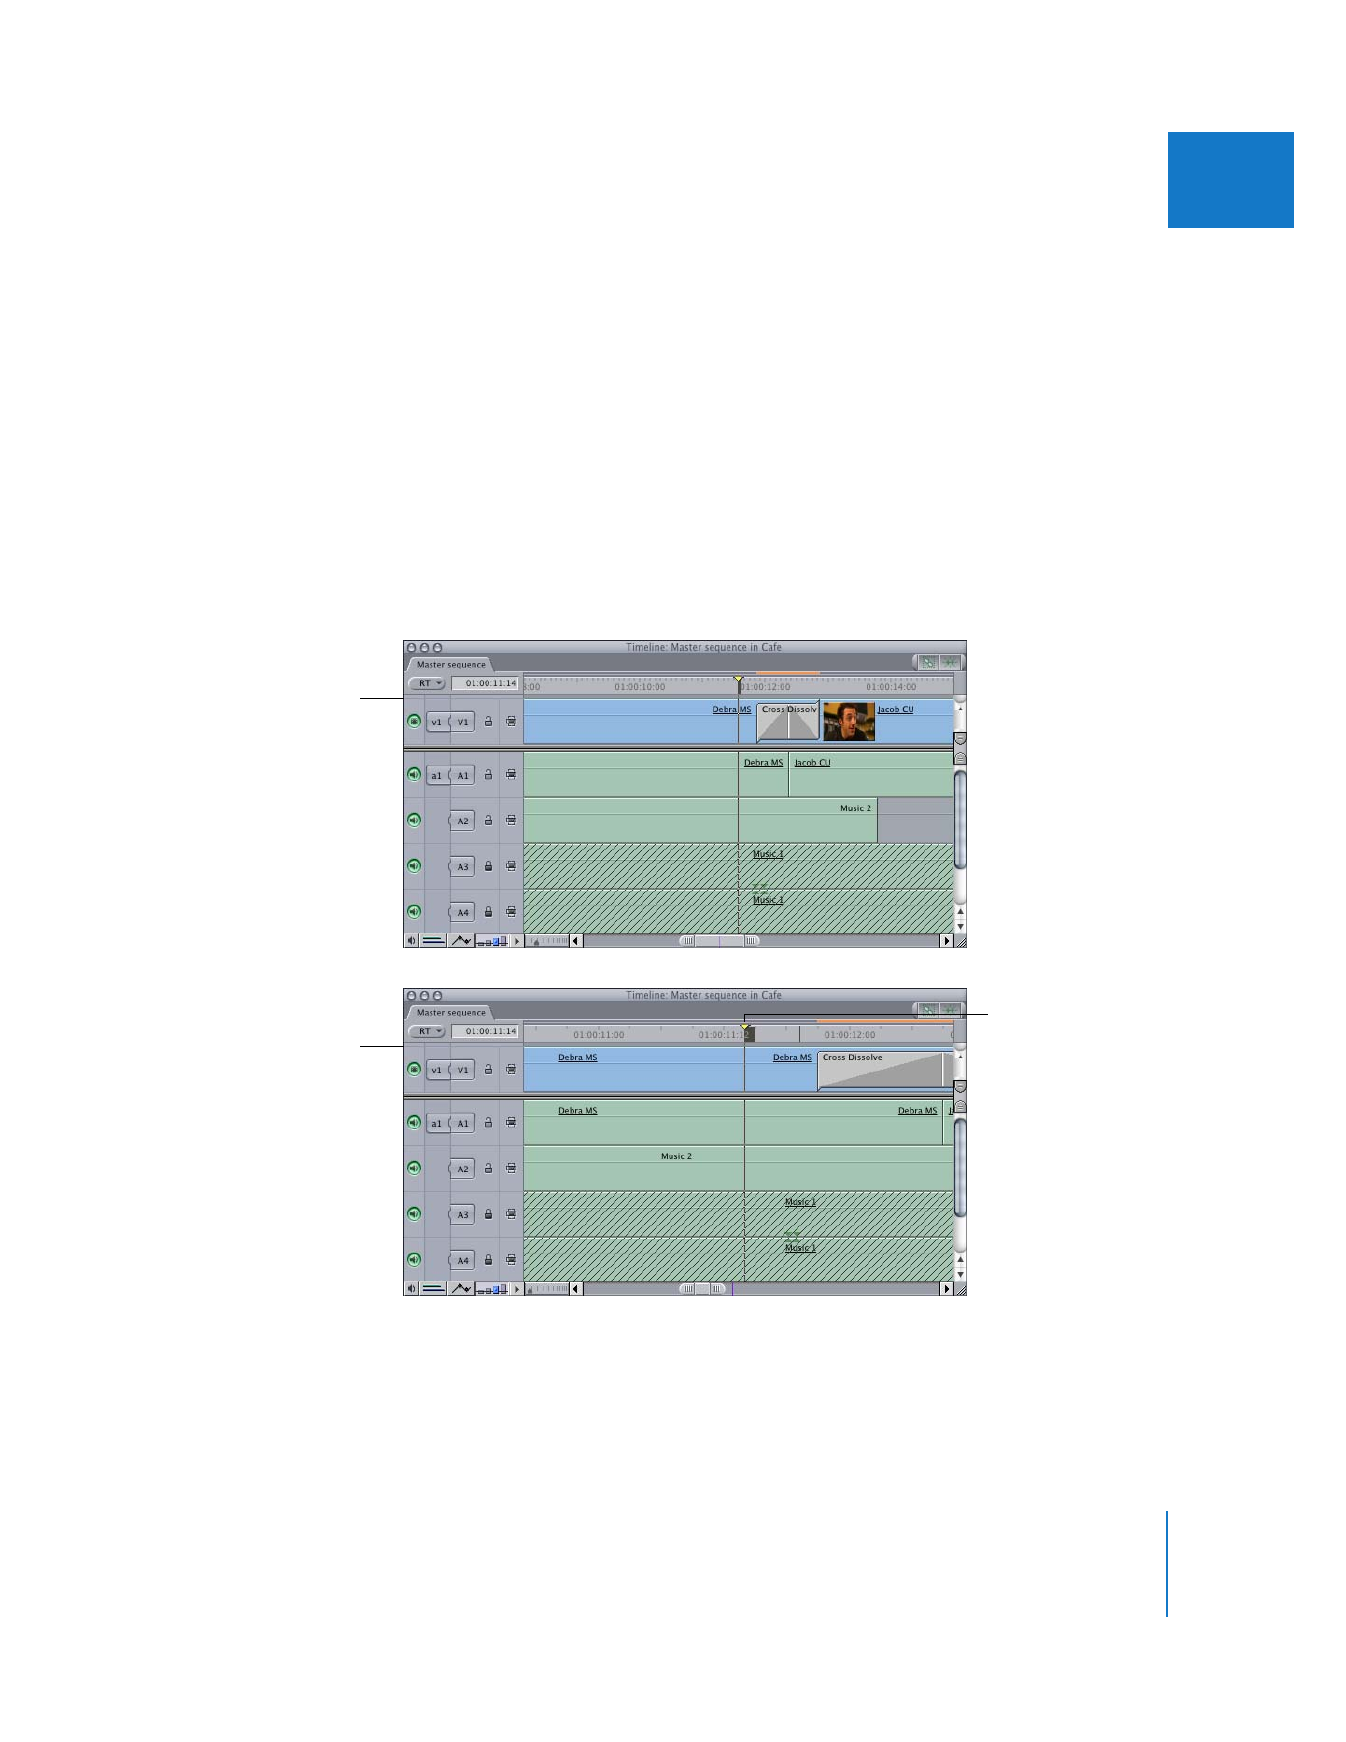
With either the Canvas or the Timeline selected, move the playhead to the position in
the Timeline where you want zooming to be centered, or select one or more clips in
the Timeline that you want to center on as you zoom in or out.
2
Do one of the following:
 Choose View > Zoom In, or press Option-= (equal sign).
Pressing Option-= (equal sign) repeatedly shows more and more detail, down to the
individual frames of your sequence.
 Choose View > Zoom Out, or press Option-– (minus).
This reduces the amount of detail but shows more of your edited sequence until the
entire sequence fits into the Timeline. You can zoom out further to reduce the scale
of your sequence in the Timeline and show more empty area to the right of it.
Before zooming in
The playhead remains
in the same position.
After zooming in

138
Part II
Learning About the Final Cut Pro Interface
To fit the entire contents of the Timeline into the available window size:
m
Press Shift-Z.
The zoom factor changes so that the entire sequence fits into the available window size.
To fit a selected area of the Timeline into the available window size:
1
Using the Selection, Group Selection, or Range Selection tool, select one or more items
in the Timeline.
2
Press Option-Shift-Z.
The zoom factor of the Timeline changes so that the selected items fit into the
available window size.