
View Pop-Up Menu
You can choose various options from this pop-up menu for how you view your clips
and sequences in the Viewer.
 Image, Image+Wireframe, or Wireframe mode: Image is the default, and simply shows
the video of your clip or sequence as it plays back. Image+Wireframe is useful when
you’re using motion effects or compositing. Each video layer in the Viewer has a
bounding box with handles (or a wireframe) that can be used to adjust that clip’s size,
rotation, and position. Wireframe mode shows only the bounding box and handles of
each clip in your sequence, without the corresponding image. For more information
on using motion effects, see Volume III, Chapter 14, “Changing Motion Parameters.”
You can also refer to Volume III, Chapter 15, “Adjusting Parameters for Keyframed
Effects.” For information on compositing, see Volume III, Chapter 19, “Compositing
and Layering.”
 Overlays: Final Cut Pro provides translucent visual cues, called overlays, that help you
easily recognize certain parts of your edit in the Viewer, such as the markers and In
and Out points of clips in your sequence.
Note: To view overlays such as title safe and timecode overlays, you need to enable
this option.
 Title and action safe overlays: These show you the boundaries within which you need
to keep your graphics and text so they’ll appear when the sequence is played back
on television. For more information, see Volume III, Chapter 23, “Creating Titles.”
 Timecode overlays: These overlays display the source timecode for clips and are
color-coded to show which items are in sync. For more information, see “
About
Timecode Overlays and Sync Color Coding
” on page 109.
 Excess luma: This overlay indicates whether the luma levels of your footage are
acceptable for broadcast. For more information, see Volume III, Chapter 27, “Color
Correction.”
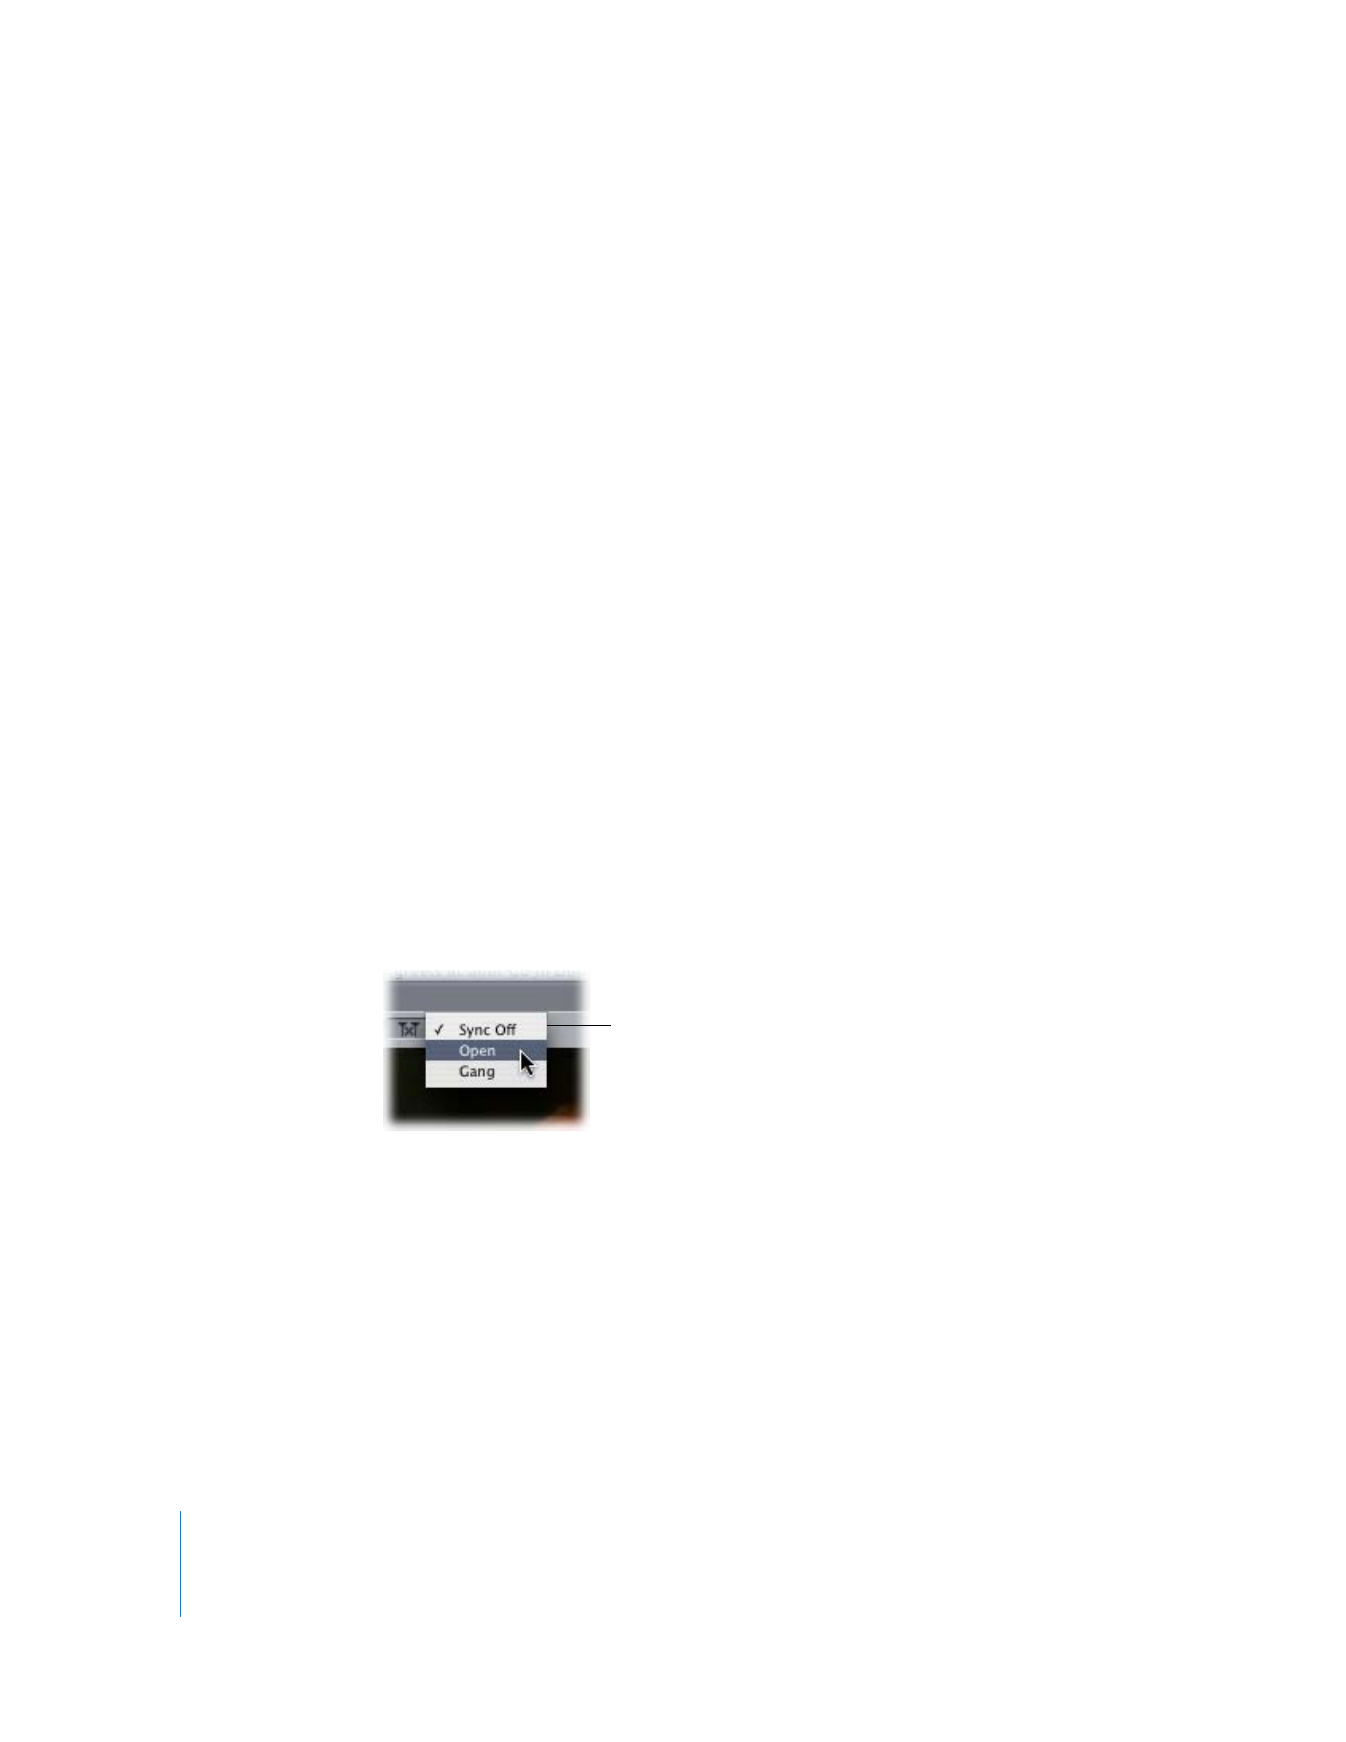
View pop-up menu
86
Part II
Learning About the Final Cut Pro Interface
 RGB, Alpha, or Alpha+RGB: When you’re compositing, it can sometimes be handy to
have a quick look at the alpha channel of your clip. The alpha channel defines areas
of transparency, and can change if various filters are applied. Viewing your sequence
with the Alpha or Alpha+RGB option selected shows you exactly which areas of your
image have transparency. Additional controls are available for viewing the individual
Red, Green, and Blue channels in the View menu.
Important:
If the image display area in the Viewer is all black or all white, it may be
because the Canvas is set to view only the alpha channel instead of the RGB
channels. Try changing the channel view to RGB to solve this problem.
 Black, White, Checkerboard: When working with clips that have an alpha channel, you
can choose different backgrounds to make it easier to see which areas of your
picture are transparent. For example, translucent clips or generated text may be
more visible if you choose a background that emphasizes them, such as
Checkerboard 1 or 2. You can also view Red, Green, and Blue background colors
using the View menu.
None of these view options affect either rendered output or material sent to tape. They
only affect display in Final Cut Pro.