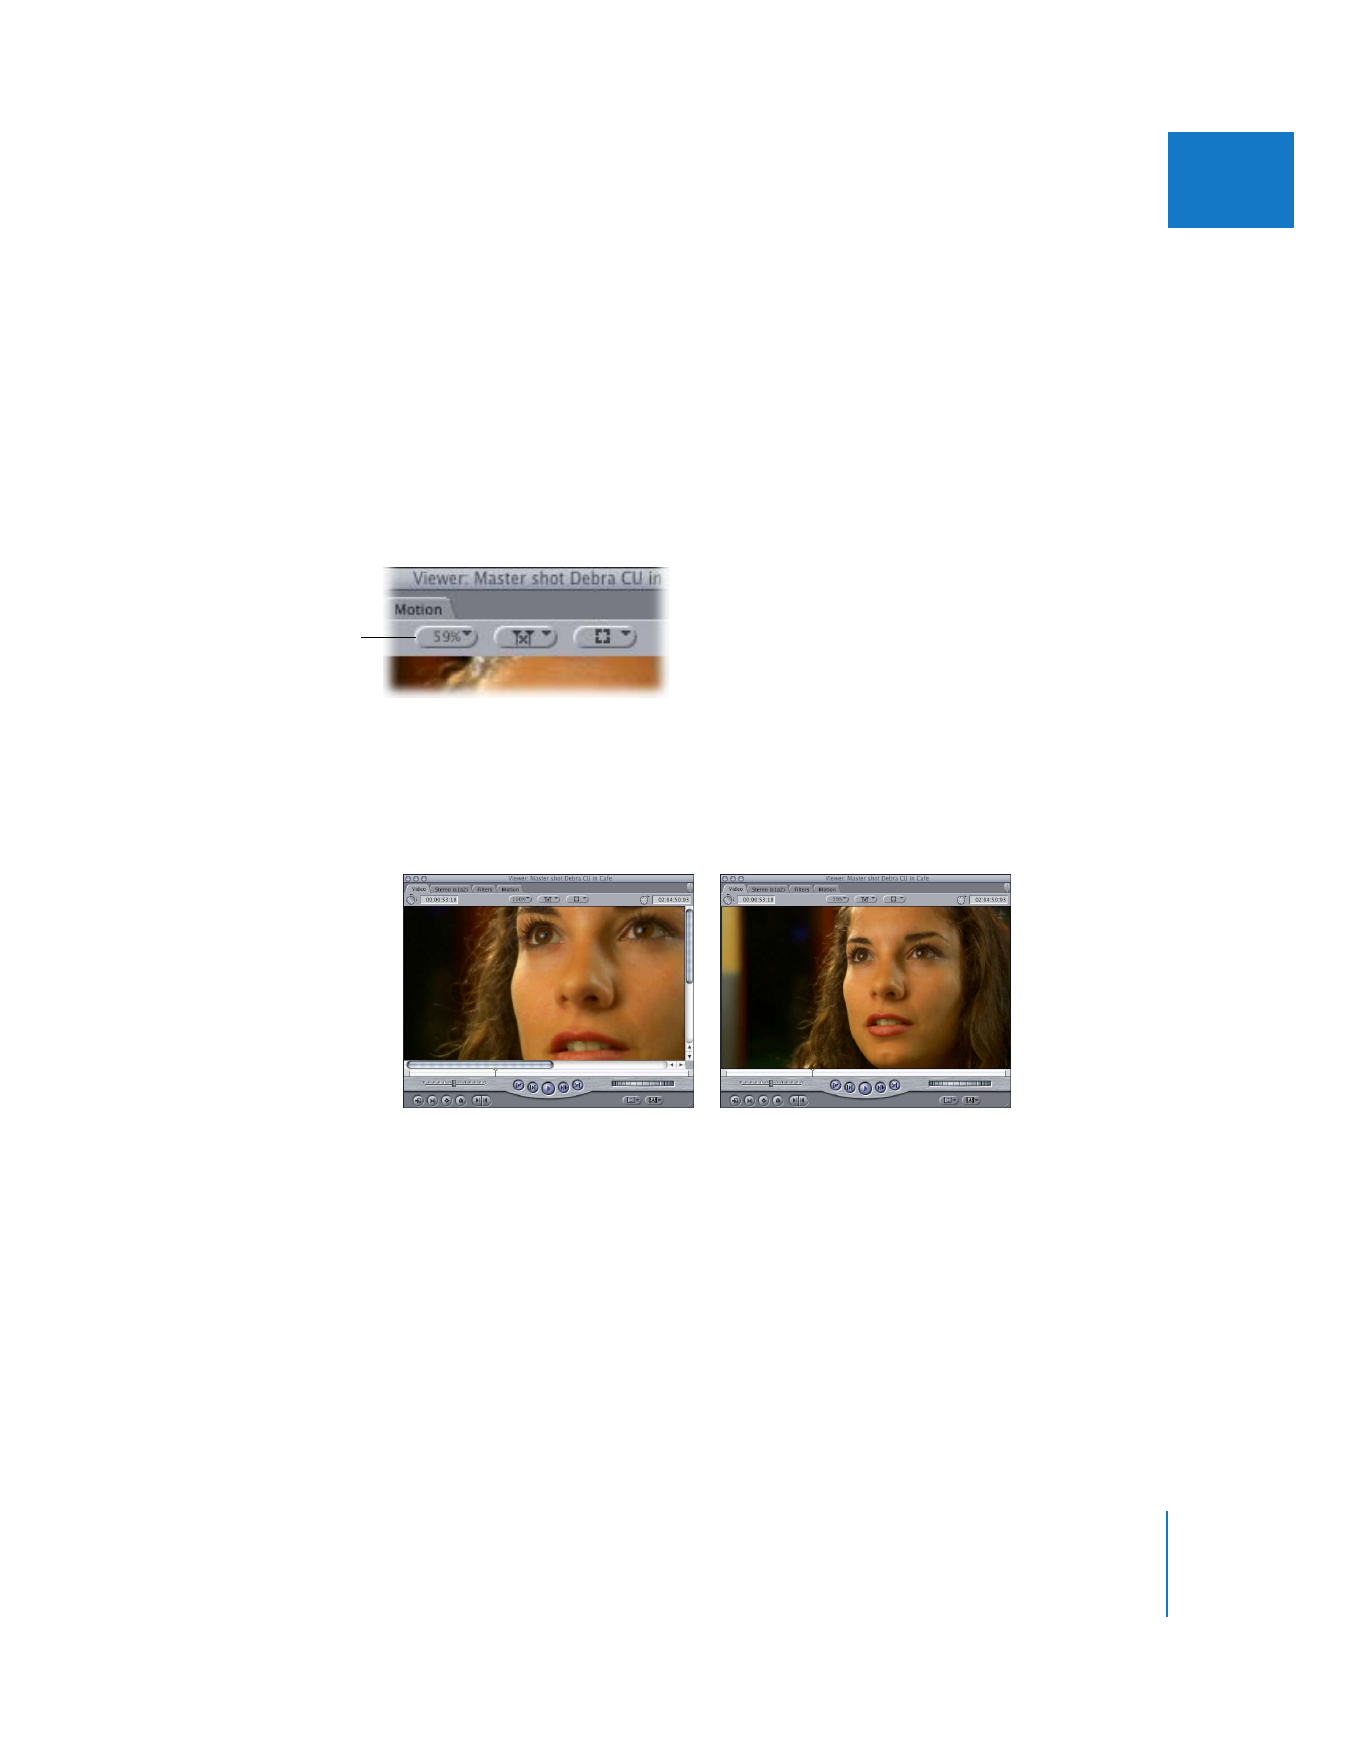
Zoom Pop-Up Menu
Choose a magnification level from this pop-up menu. Your choice affects only the
display size of the image; it doesn’t affect the scaling or frame size of the footage in the
Viewer. You can also change the magnification level from the keyboard by pressing
Command-= (equal sign) to zoom in and Command-– (minus) to zoom out.
Besides simply choosing a magnification level, you can choose one of the following:
 Fit to Window: Increases or decreases the size of your media’s image to match any
size of the Viewer window. You can also do this by clicking the Viewer to make it
active, and then pressing Shift-Z (Zoom to Fit).
Zoom pop-up menu
Before
After

84
Part II
Learning About the Final Cut Pro Interface
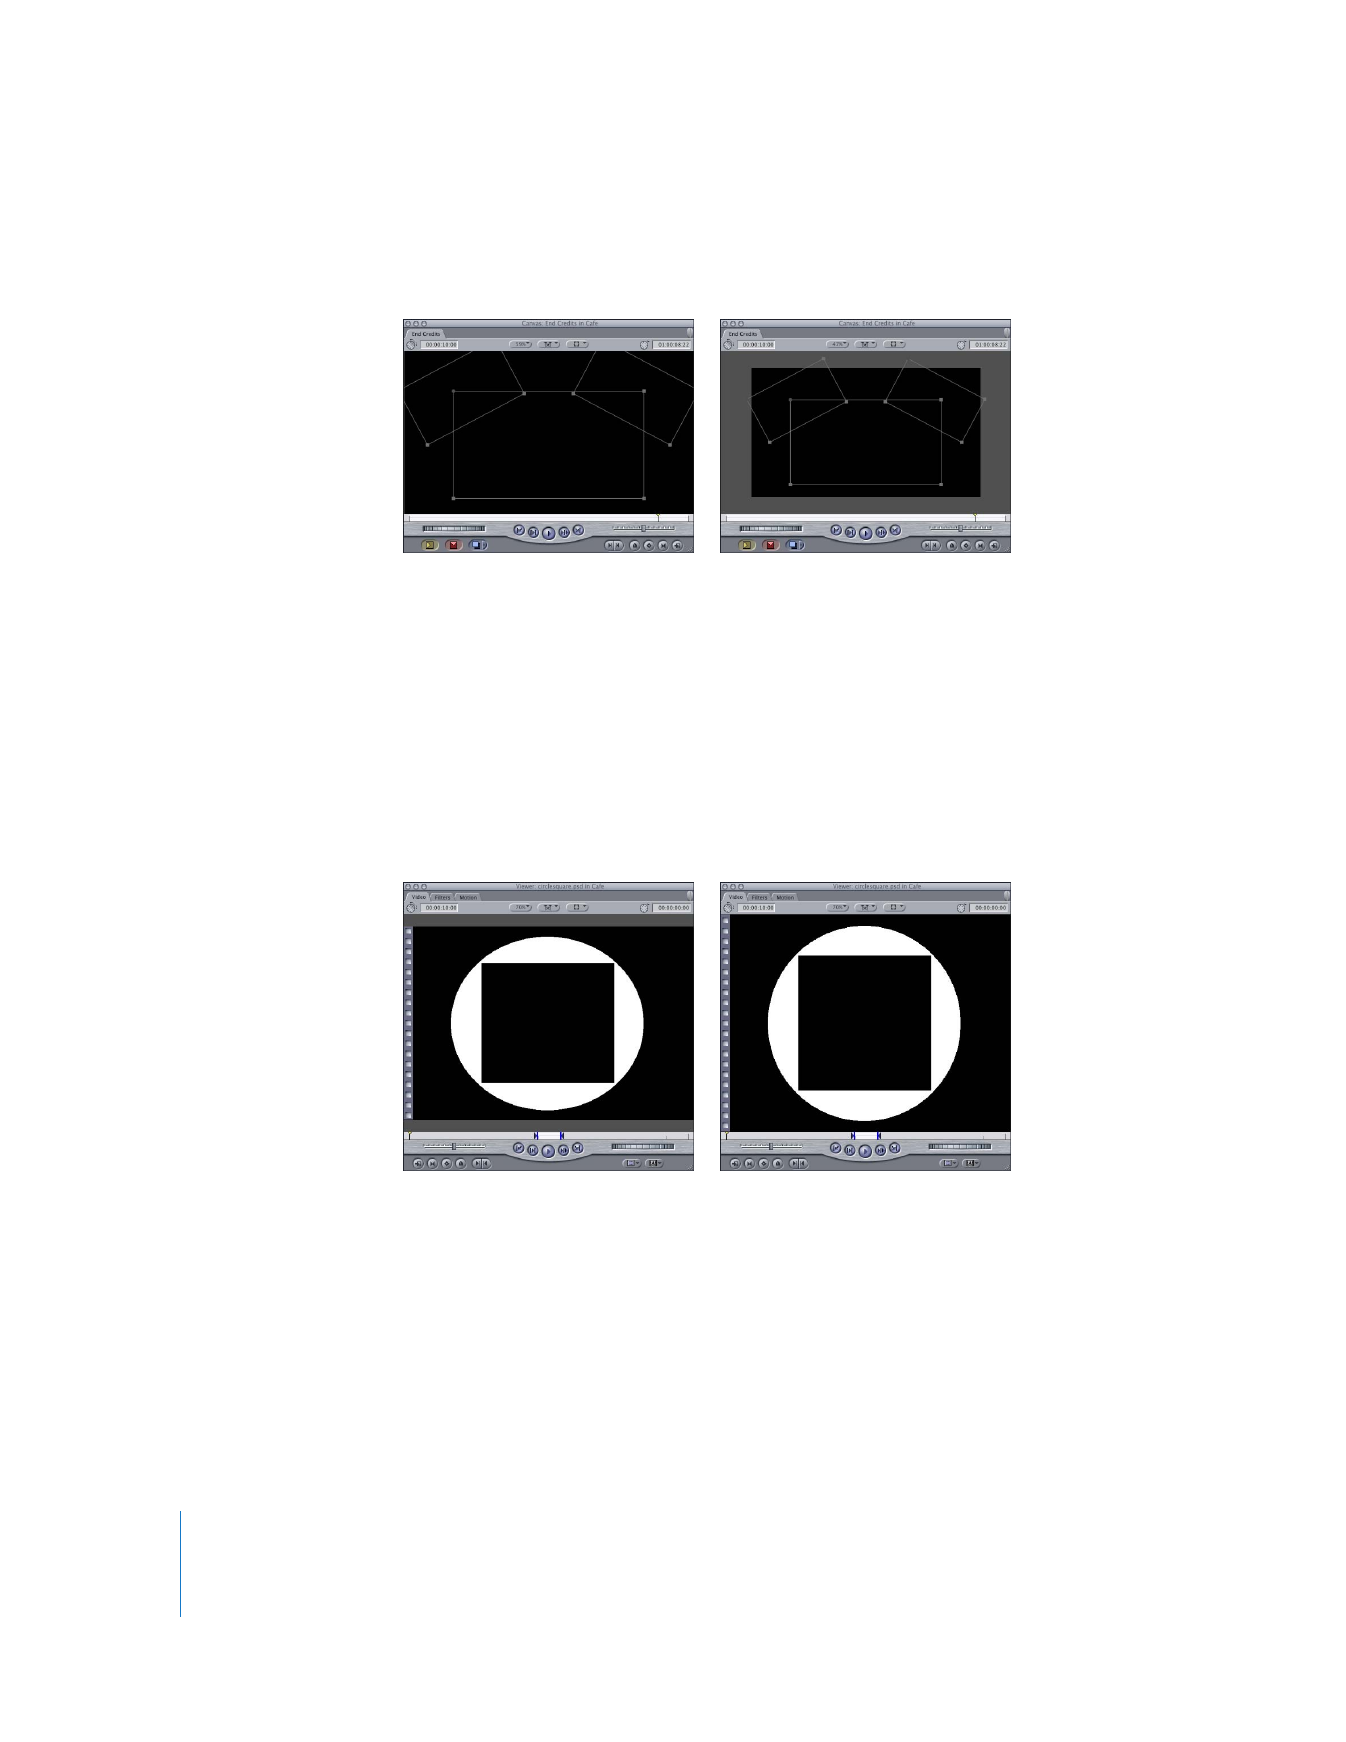
 Fit All: This is similar to the Fit to Window command, but this command takes into
account clips whose borders extend beyond the current Viewer boundaries.
 Show as Sq. Pixels: Displays non-square pixel images as square pixels so they look
correct on your computer screen. Standard definition (SD) video equipment displays
video using non-square pixels, whereas computer monitors display video with square
pixels. Because of the difference in the shape of the pixels, the same video image
looks different on each kind of monitor. Final Cut Pro can simulate how your images
will look on a video monitor using the computer’s display, so that your video images
look correct as you edit. This does not permanently affect your picture; it’s only for
display purposes.
Note: When playing back media with the Viewer scaled to 100 percent, both fields of
interlaced video are displayed. If the Viewer is scaled to anything other than 100 percent
and you’re displaying a DV clip, only one field is shown during playback or while
scrubbing through the clip. When playing back media captured with a third-party video
interface, some interfaces display both fields regardless of the scale of the Viewer, which
may result in visible artifacts in the picture. These are display artifacts only, and do not
exist in the video signal output to tape.
Before
After
Displaying native, non-square pixels
Display pixel as square

Chapter 6
Viewer Basics
85
II
Important:
Clips may not play back smoothly if you zoom in on them so far that part of
the image is obscured, and you see scroll bars to the right and below the Viewer windows.
Other windows blocking the Viewer will also affect playback. Choosing a window layout or
pressing Shift-Z are easy ways to remedy playback quality in this situation.