
Setting Up a Final Cut Pro Editing System
This section explains how to set up a DV editing system. Even if you are building a
more complex editing system, you should read these basic steps first. References to
more advanced information are included within each step.
The basic steps for setting up a Final Cut Pro editing system are:
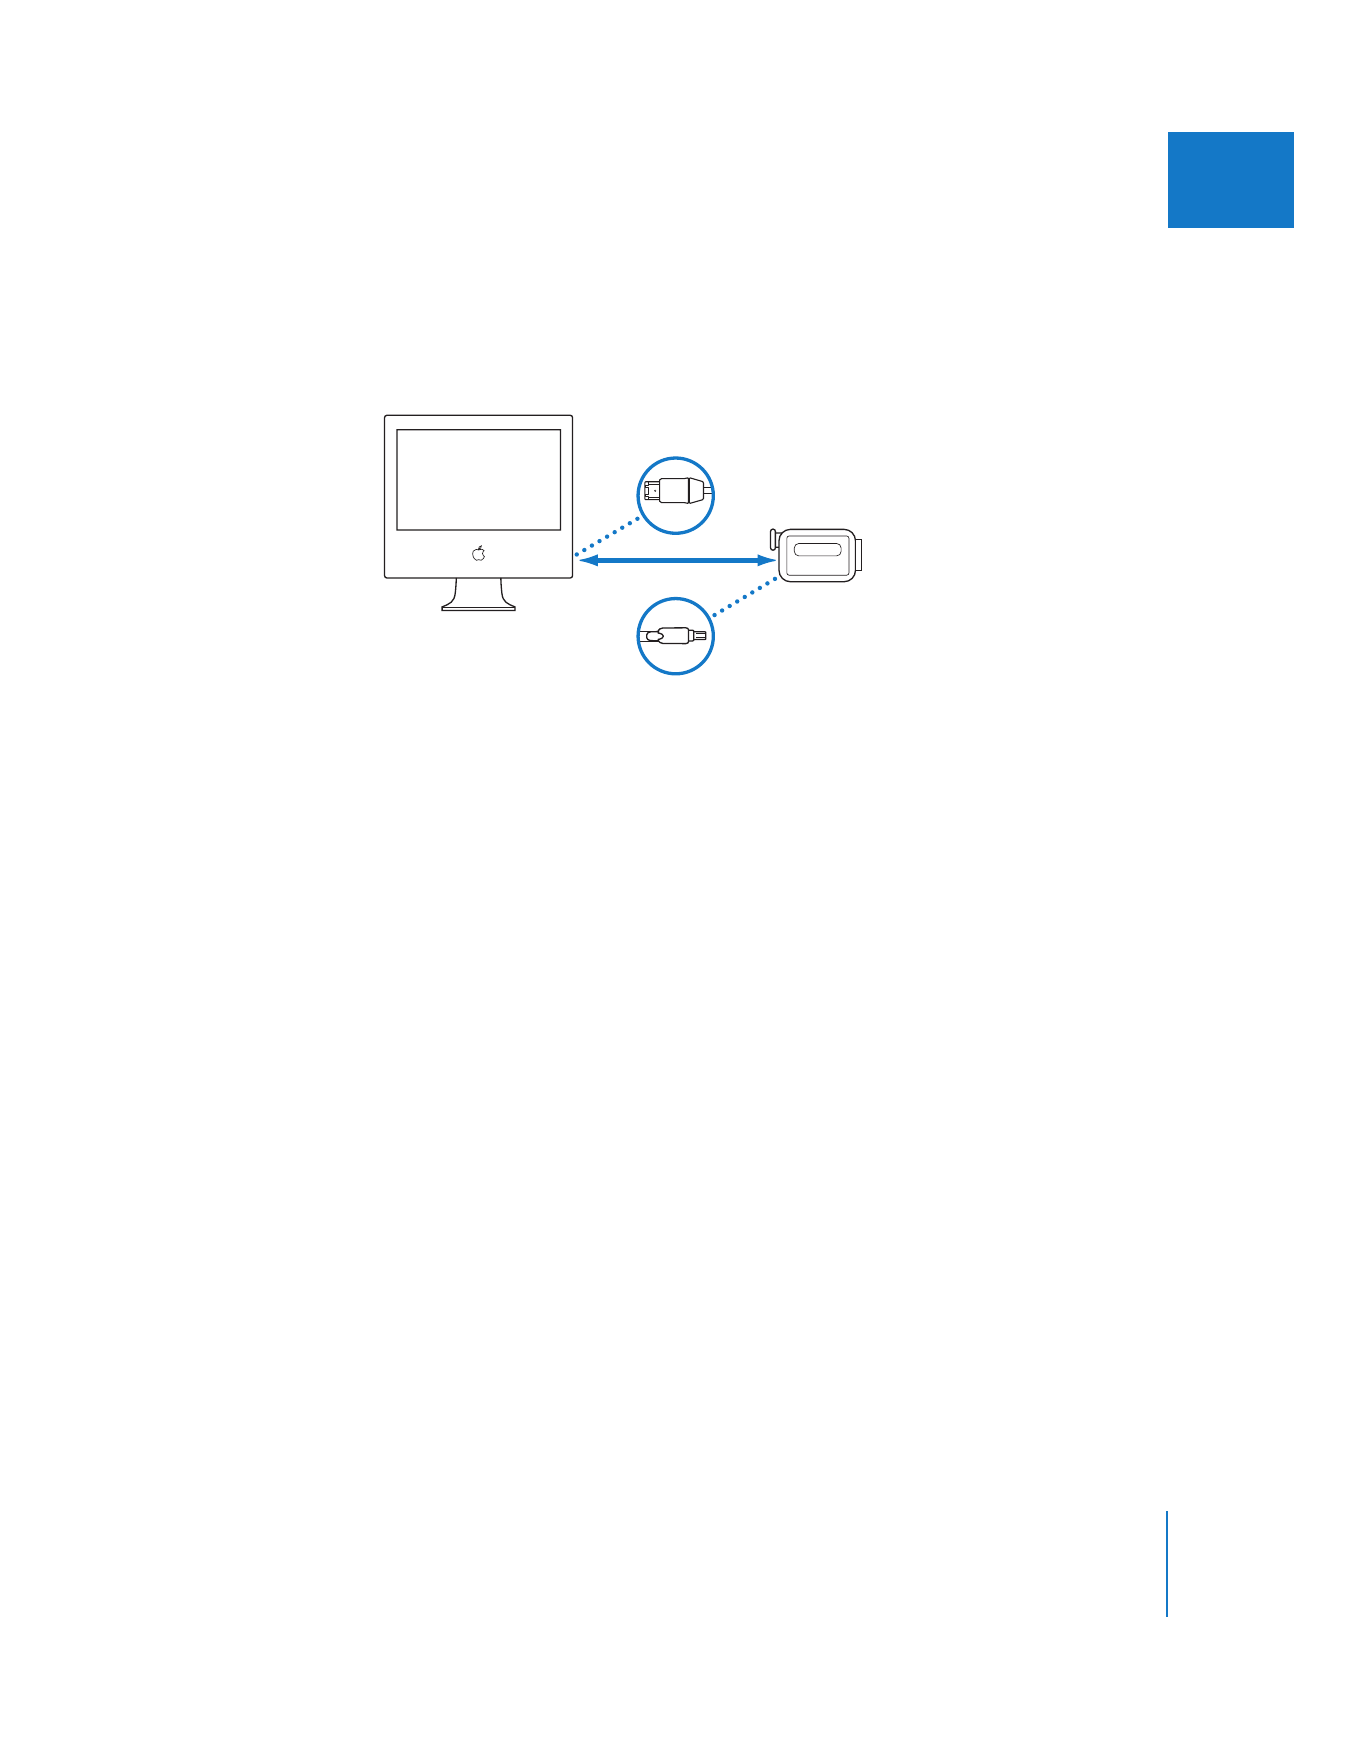
Step 1:
Connect input and output devices for capture and output
If you are using DV video, this means connecting your DV camcorder to your computer
via a FireWire cable. For information about connecting professional and non-DV
equipment, see “
Connecting Professional Video and Audio Equipment
” on page 171.
For information about setting up HDV, DVCPRO HD, IMX, Panasonic P2, or XDCAM HD
devices, choose HD and Broadcast Formats from the Final Cut Pro Help menu.
Step 2:
Connect an external video monitor and audio speakers (optional)
For a basic editing system, you can skip this step. However, external video and audio
monitoring are important for color correction and audio mixing because they ensure
the highest-quality picture and sound possible. For more information, see Chapter 14,
“
External Video Monitoring
,” on page 219 and Volume III, Chapter 2, “Assigning Output
Channels and External Audio Monitors.”
Step 3:
Choose an Easy Setup to configure Final Cut Pro
Easy Setups are software configurations specific to the format you want to capture, edit,
and output. Final Cut Pro includes Easy Setups for most editing configurations. For
more advanced information about Easy Setups, see Volume IV, Chapter 26, “Device
Control Settings and Presets.”
Step 4:
Choose a scratch disk location for captured media and render files
A scratch disk is a hard disk (internal or external to your computer) where Final Cut Pro
stores captured media files and temporary files (such as render files). By default,
Final Cut Pro uses the internal hard disk on which the application is installed. For
advanced options, see Chapter 13, “
Determining Your Hard Disk Storage Options
,” on
page 207.
Step 5:
Establish remote device control between your computer and video deck
Once your basic system is configured, you need to make sure that Final Cut Pro can
communicate with your camcorder or VTR. Remotely controlling your deck allows you
to precisely capture footage to your scratch disk and output to tape. For advanced
information, see Volume IV, Chapter 26, “Device Control Settings and Presets.”
Chapter 11
Connecting DV Video Equipment
163
III