
Adjusting Analog Audio Levels for Capture
Along with the color bars at the beginning of your tape, there may also be a reference
audio tone, usually at 1 kilohertz (kHz), set to 0 decibels (dB) on an analog meter. If
you’re capturing from a master tape in which the audio has already been mixed, all of
the audio levels should have been mixed relative to the level of this reference tone.
The goal is to affect the audio signal as little as possible when you capture audio to
your scratch disk. It’s better to make audio level adjustments after you capture, because
level changes you make in Final Cut Pro are nondestructive. You can always return to
the original audio levels if necessary.
If you’re capturing audio from a tape recorded on location, reference tone at the
beginning of the tape is a good starting point for setting your levels, but chances are
that the audio will vary from shot to shot. In this case, it is important to adjust the
audio gain on your audio interface to record the best possible audio levels. You should
set levels to avoid clipping the audio during capture. Clipped audio has a crackling,
distorted sound that is unacceptable for professional work. Sometimes one setting will
work for every clip on your tape. Other times, you may find yourself adjusting the audio
levels for each clip. It all depends on how widely the audio levels vary on a given tape.
Note: When capturing digital audio, the gain level is already set and cannot be modified.
Chapter 18
Capturing Audio
303
IV
To adjust the audio gain levels before capturing analog audio:
1
In the Log and Capture window, click the Clip Settings tab.
2
Do one of the following:
 Cue your tape to the reference tone recorded at the beginning of the tape, if you’re
recording from a premixed tape that includes a reference tone.
 Cue your tape to the clip with the loudest audio signal of all the clips you want to
capture on that tape.
3
Play back your tape.
4
Verify that the levels coming from your deck match the audio input meters on your
audio interface.
5
In the Clip Settings tabs of the Log and Capture window, enable the audio channels
that you want to capture audio from.
6
Adjust the gain on each audio input of your audio interface so that the Final Cut Pro
audio meters are equivalent to the meters on your deck.
Tone on analog media formats is usually set to 0 dB (analog). You need to choose an
equivalent digital level on the Final Cut Pro audio meters. The level you choose is
dependent on the bit depth you are using to capture your audio, as well as how much
dynamic range your audio has:
 16-bit audio: Typically, you should set a 0 dB analog tone to equal -12 dBFS digital.
 20- or 24-bit audio: You should set a 0 dB analog tone to equal -18 or -20 dBFS.
For more information about bit depth, see Volume III, Chapter 1, “Audio Fundamentals.”
Important:
To avoid distortion, do not allow audio levels to go higher than 0 dBFS on
the Final Cut Pro audio meters.
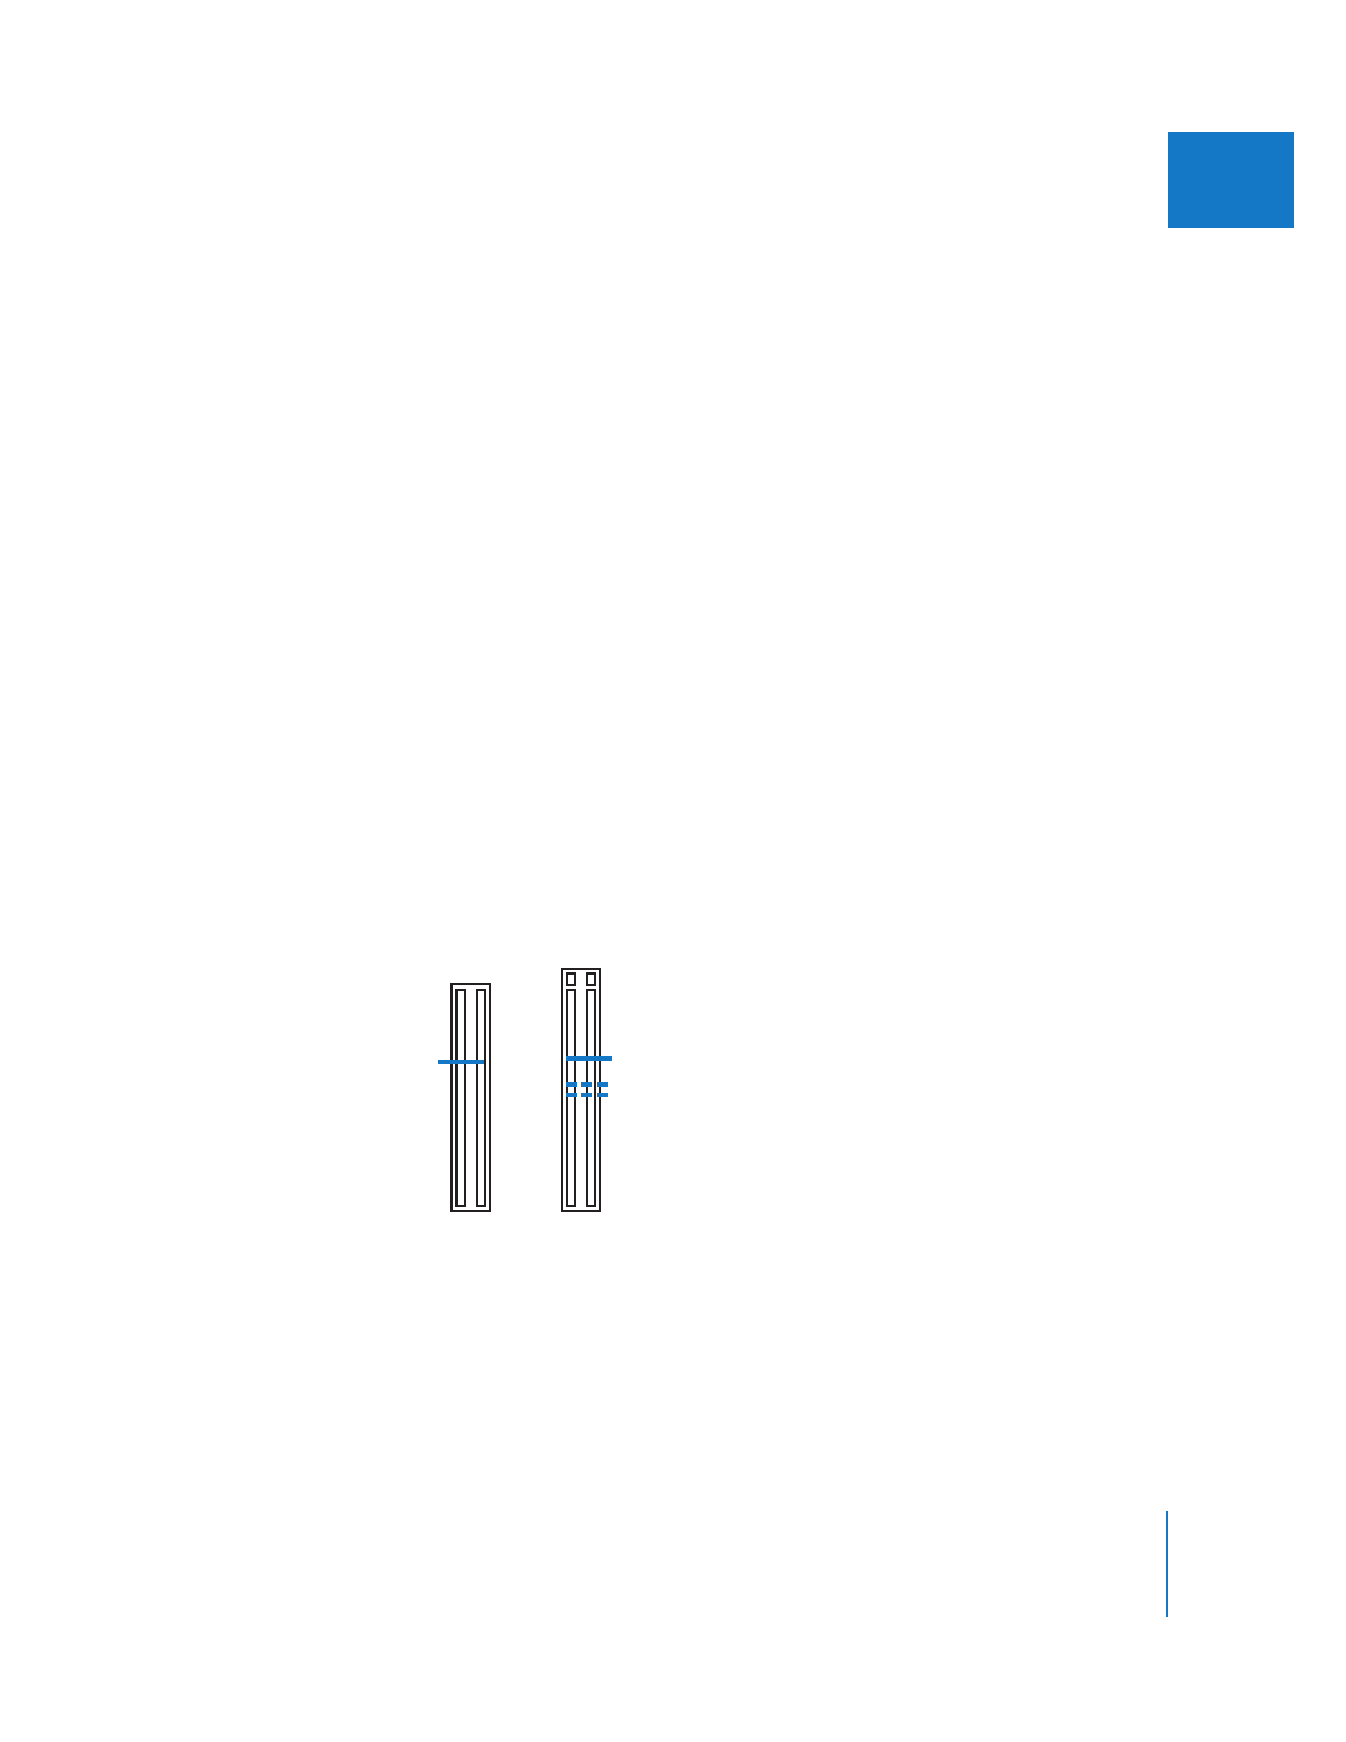
Generic
VU meter
Final Cut Pro
audio meters
-30
-20
-10
-7
-4
-2
0
+2
+4
+7
-
∞
-66
-36
-24
-18
-12
-6
0
Relating 0 dB analog to –12 dB digital
-48

304
Part IV
Logging, Capturing, and Importing
Capturing Audio from an Audio Deck Using Device Control
Final Cut Pro allows you to capture audio from a device-controllable audio deck such as
a professional DAT (digital audio tape) deck or a digital multitrack recorder. This is
mainly useful when capturing audio that was acquired via dual system recording, in
which video and audio were recorded simultaneously to different devices.
As with capturing video, your audio tapes must have timecode recorded on them or
you cannot set In and Out points for capture. Audio decks may be controllable if they
use one of the standard device control protocols (typically, RS-422) supported by
Final Cut Pro.
If you’re planning to capture dual system audio using device control, make sure that
your audio deck is genlocked with the audio or video interface you are using for
capture. For more information on connecting a device-controllable audio deck to your
computer, see “
Connecting Professional Audio Devices
” on page 198. For more
information on capturing synchronized audio, see Volume IV, Chapter 25, “Capture
Settings and Presets.”