Batch Capturing Selected Clips
When you batch capture, you need to select clips in the Browser to capture. If no clips,
sequences, or bins are selected, the clips in the currently assigned logging bin are
batch captured when you use the Batch Capture command.
To batch capture clips:
1
In the Browser, select the clips you want to capture by doing one of the following:
 Select clips.
 Select one or more bins. (All clips in a selected bin will be captured.)
 Select one or more sequences. (All clips in a selected sequence will be captured.)
 Control-click a bin, then choose Set Logging Bin from the shortcut menu. You can
choose the entire project as the logging bin if you want to capture all the clips in
your project.
For more information, see “
Selecting Items in the Browser
” on page 55.
2
Do one of the following:
 If the Log and Capture dialog is open, click the Capture Batch button in the lower-
right corner.
 Choose File > Batch Capture.
 Control-click any of the selected items in the Browser, then choose Batch Capture
from the shortcut menu.
 Press Control-C.

Chapter 17
Capturing Your Footage to Disk
277
IV
3
In the Batch Capture dialog, choose your settings, then click OK.
For detailed information, see “
Learning About the Batch Capture Dialog
” on page 274.
a
Choose which clips you want to capture.
b
If you want, select the Use Logged Clip Settings checkbox.
c
If you want, select the Add Handles checkbox and enter a duration.
d
If the Use Logged Clip Settings checkbox is unselected, choose a capture preset from
the Capture Preset pop-up menu.
Important:
When you finish specifying your settings, check the total disk space needed
at the bottom of the Batch Capture dialog and make sure your scratch disk has enough
space. If you need to specify additional scratch disks, see “
Specifying Scratch Disks
” on
page 165.
4
When you’re ready to capture, click OK.
5
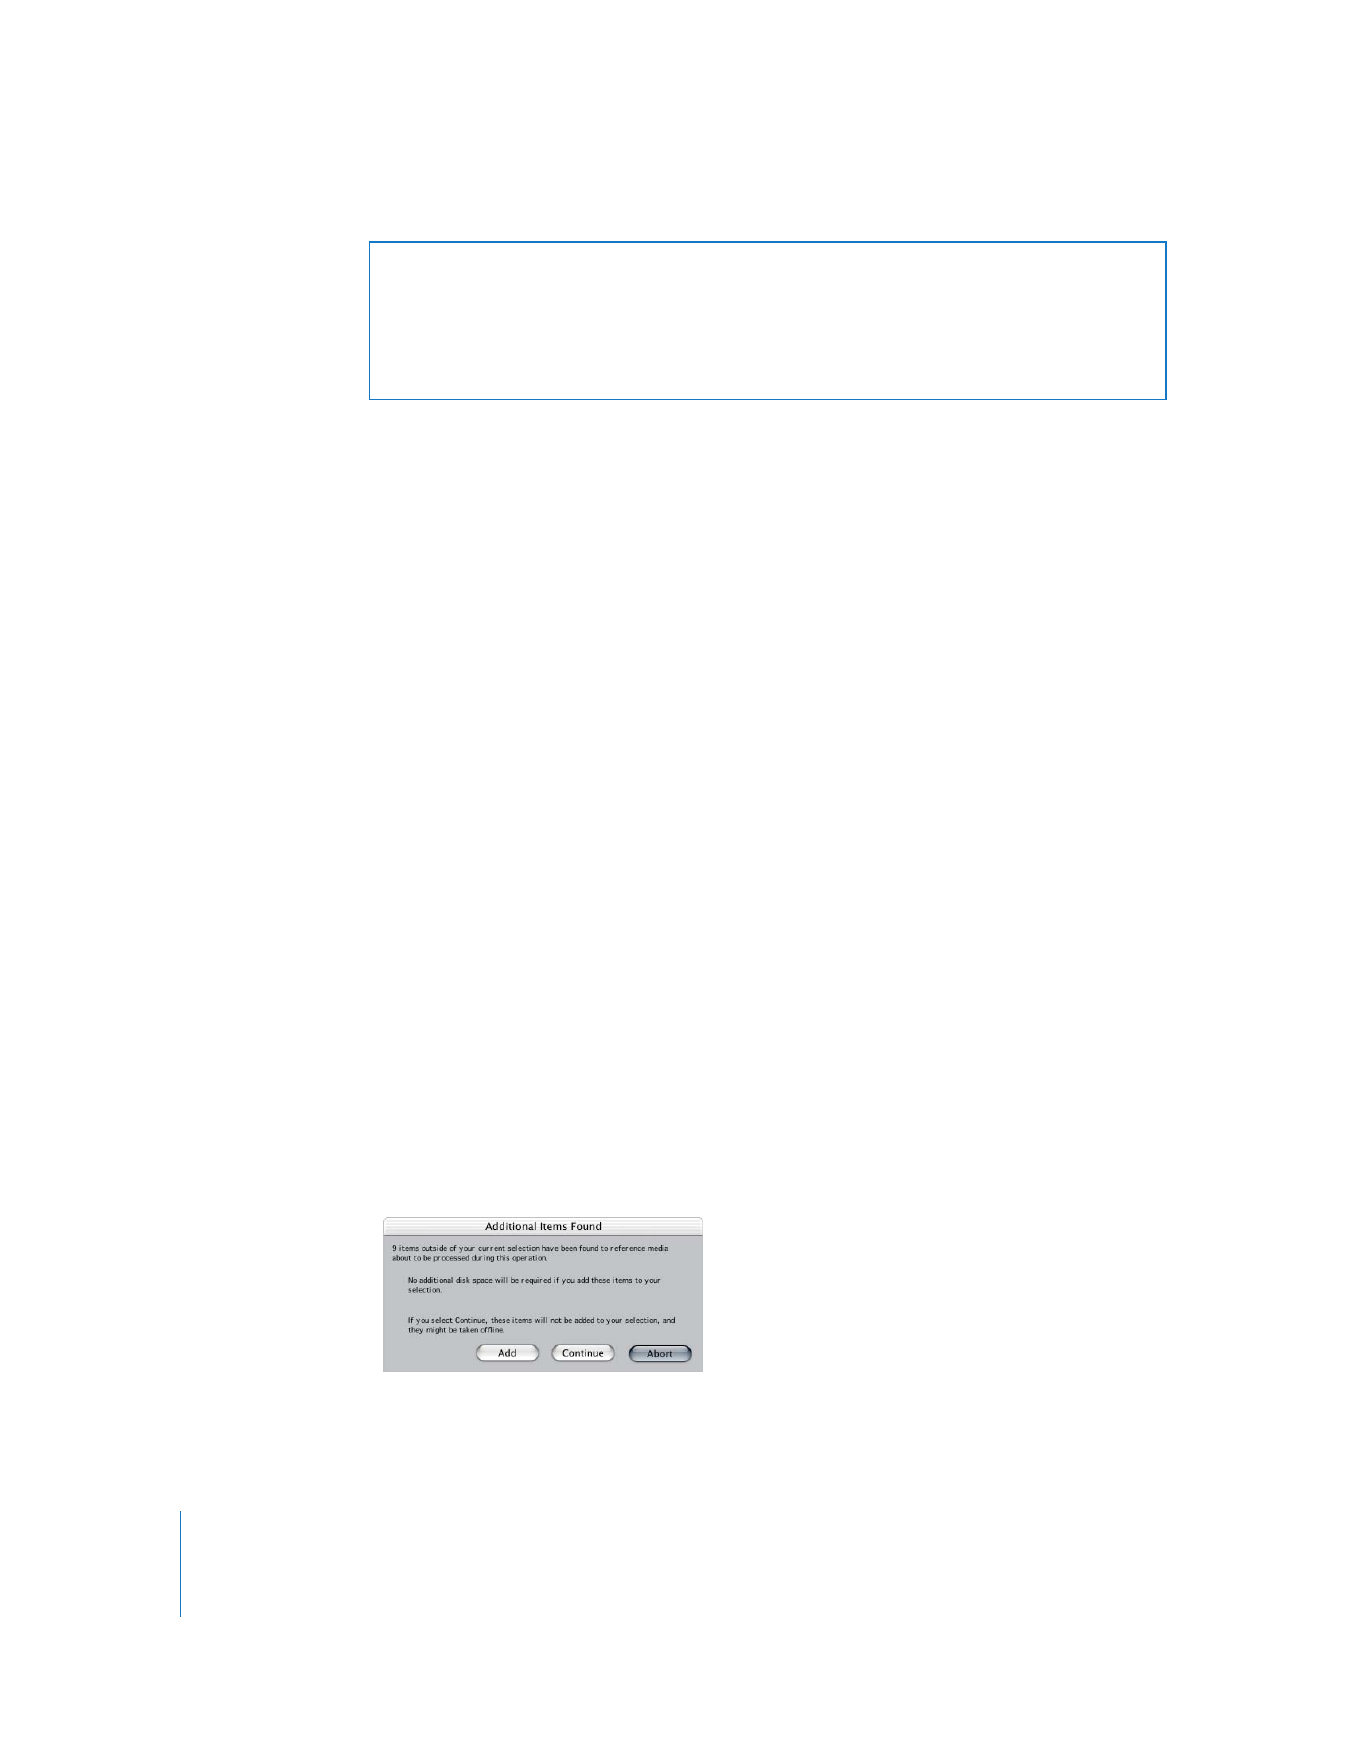
If there are any other clips outside of your current selection that reference the same
media files, the Additional Items Found dialog appears and you must choose an option.
For more information, see “
About the Additional Items Found Dialog
” on page 278.
6
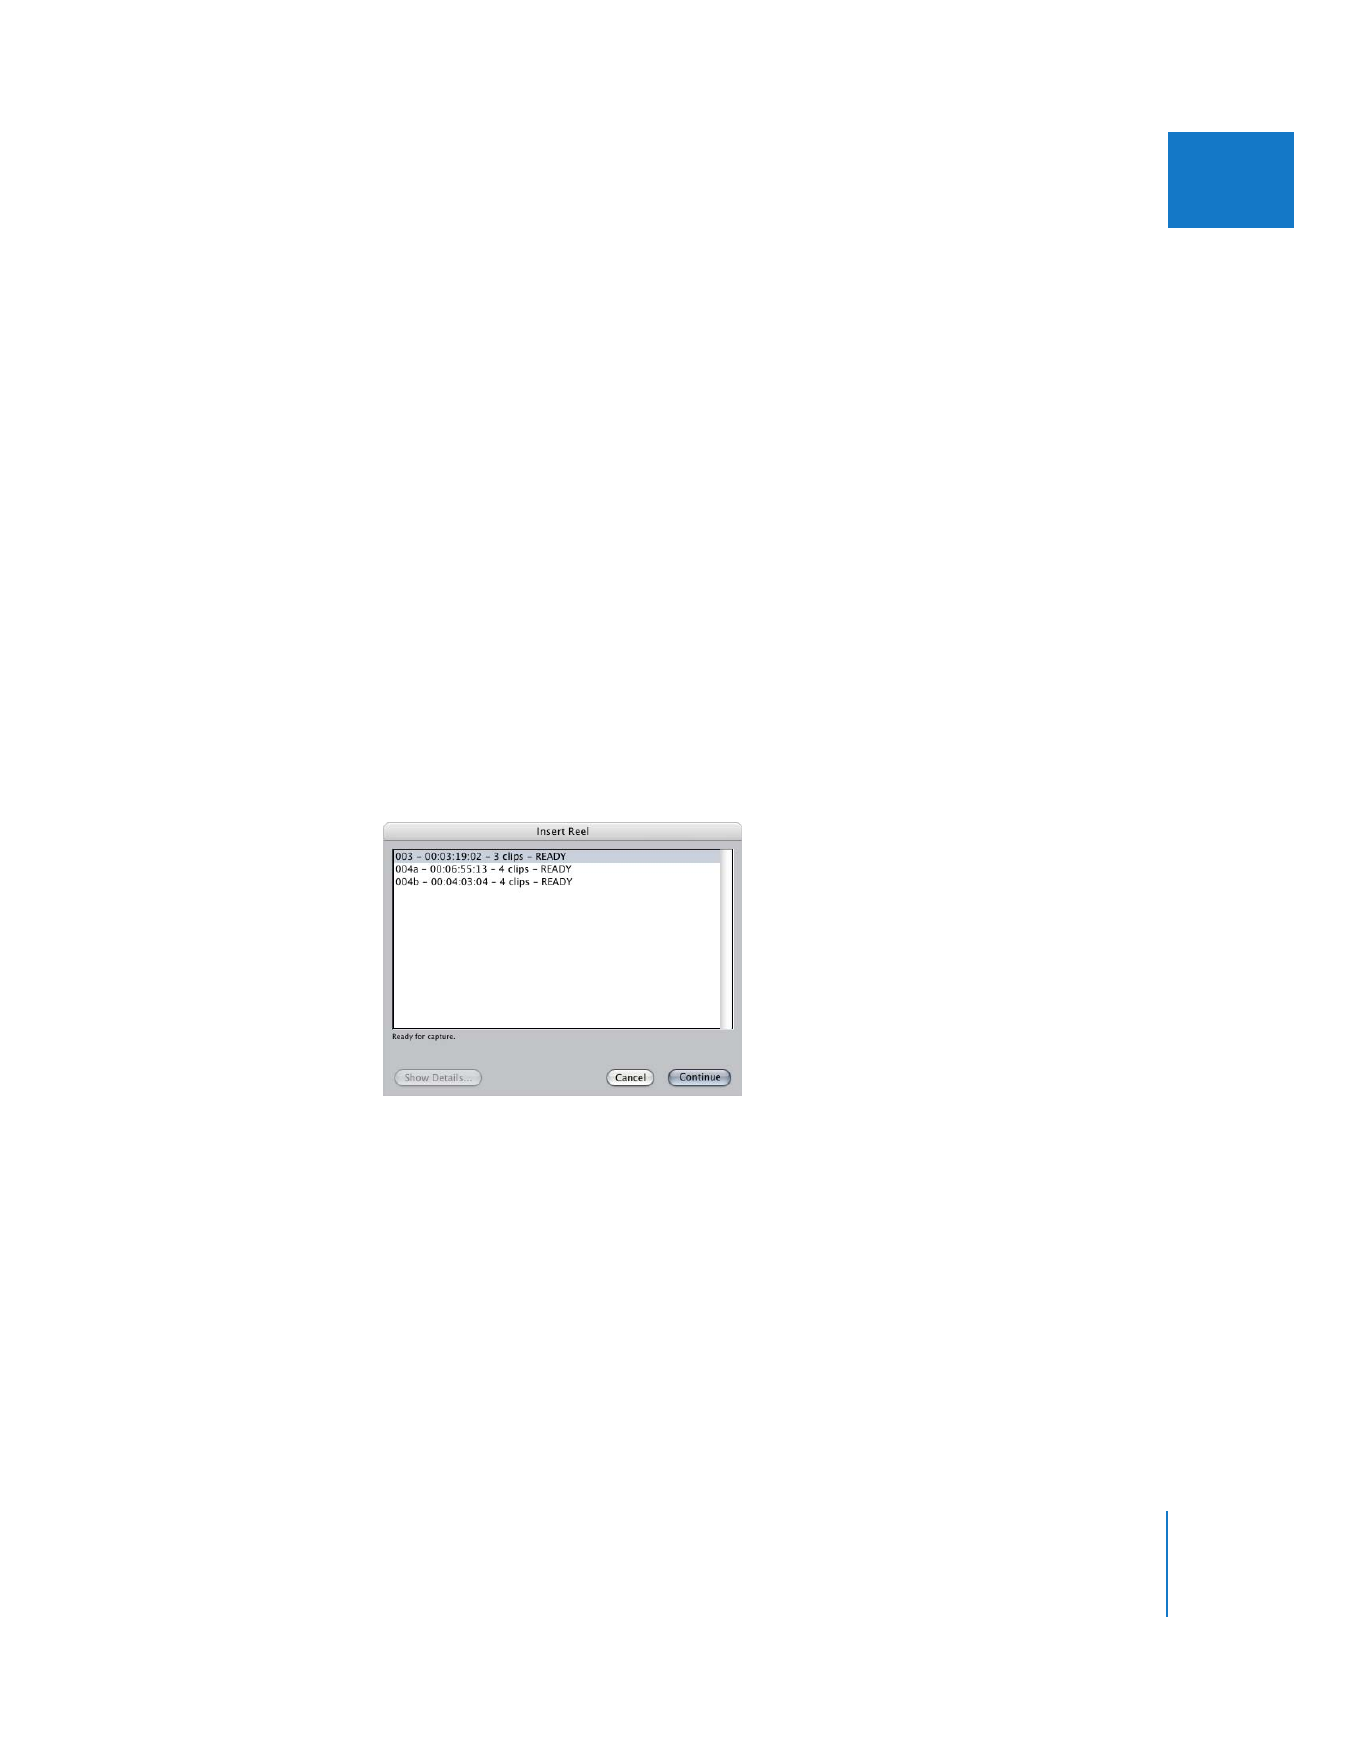
You are prompted with a list of all the reels needed for capture.Select a reel in the list,
then click Continue.
7
Insert the selected reel into your camcorder or VTR.
You’ll need to make sure that your equipment is properly connected and turned on. For
more information, see “
Connecting Your Camcorder
” on page 163 or “
Connecting
Professional Video Devices
” on page 182.
8
Final Cut Pro captures all of the clips on that reel and then prompts you to select
another, until all the clips in the batch have been captured.

278
Part IV
Logging, Capturing, and Importing