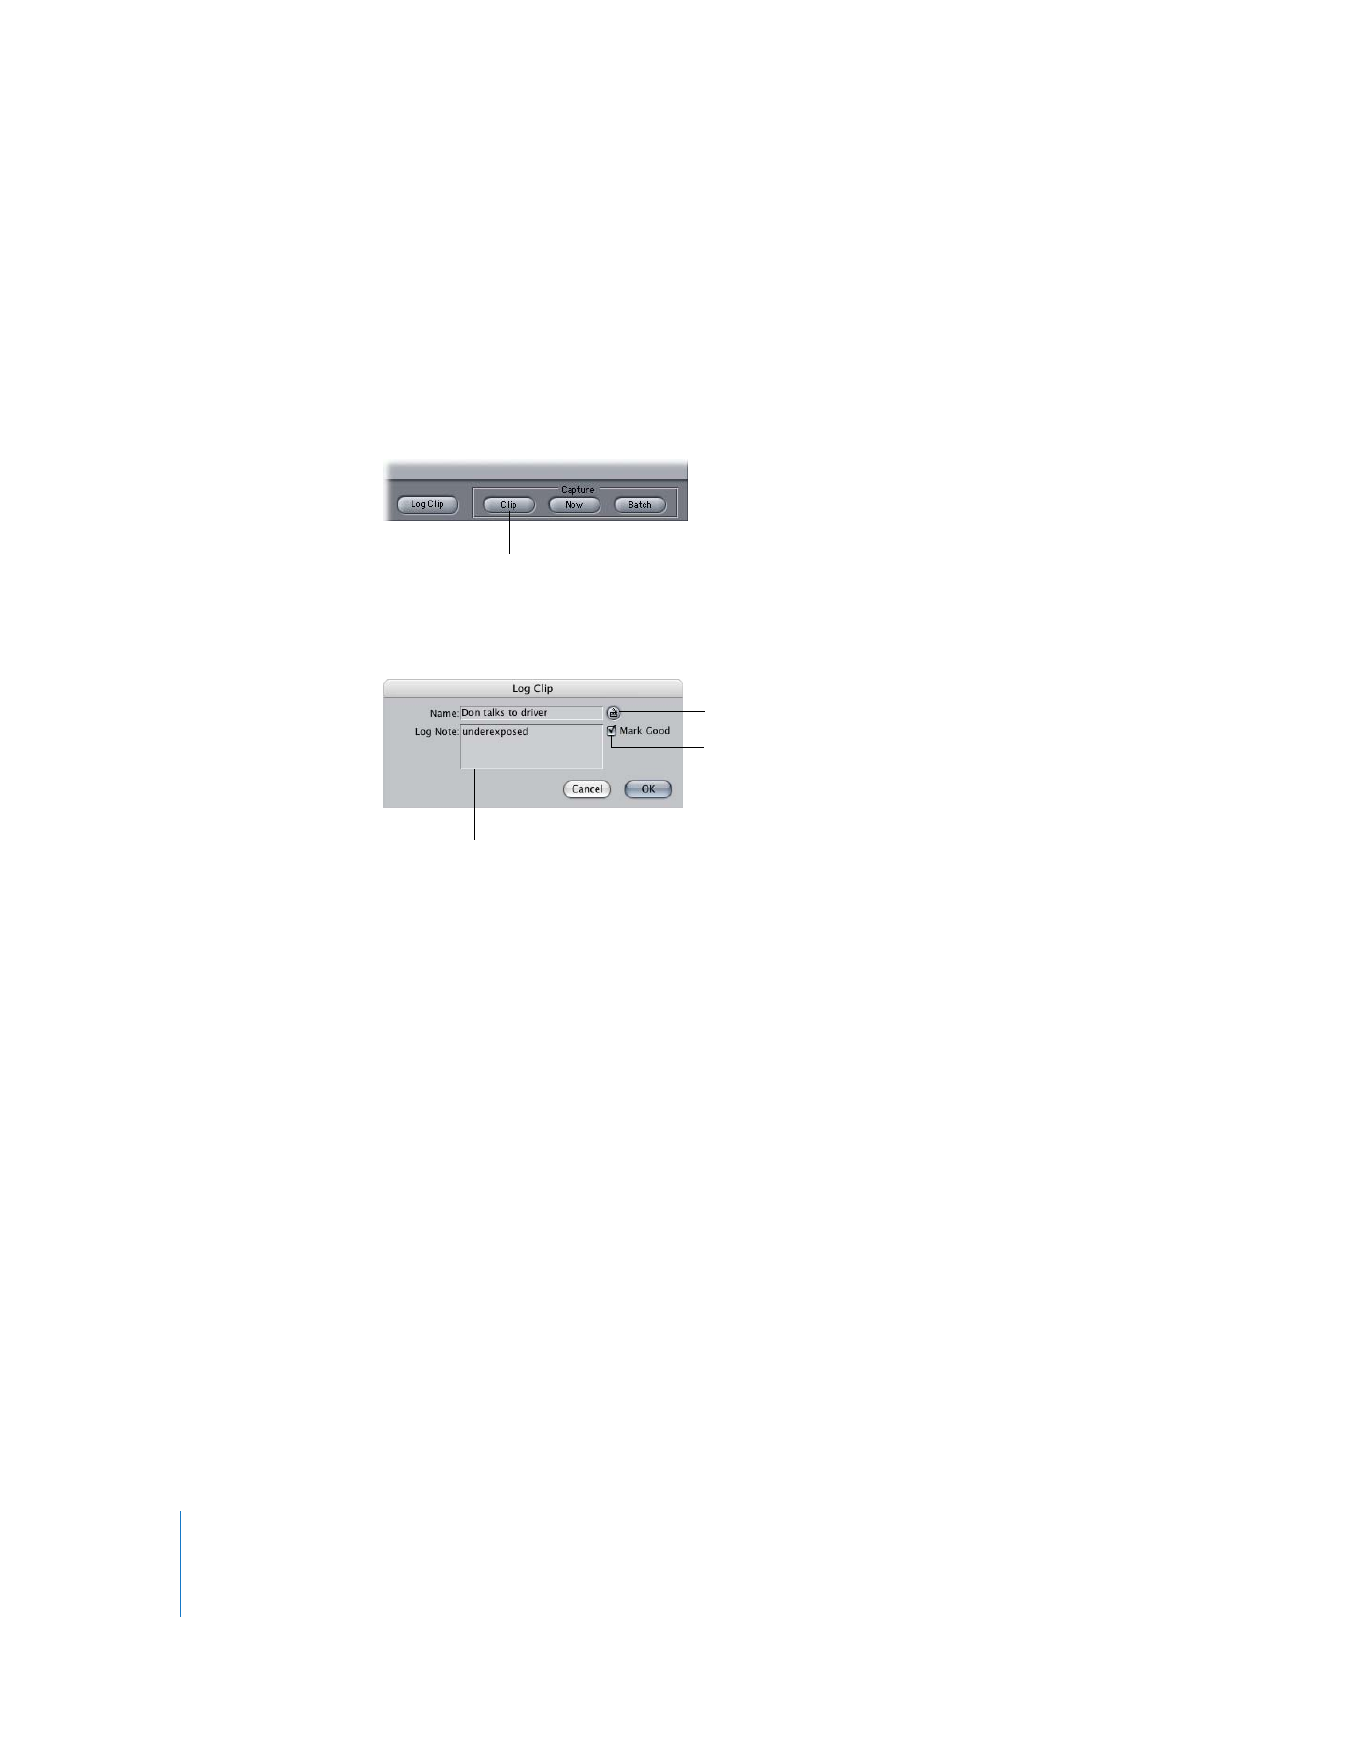
Capturing Clips as You Log (Capture Clip)
For more precise control over the capturing process, some editors prefer to capture
each clip as soon as they’ve logged it. You can use the Capture Clip button in the Log
and Capture window to capture the currently logged clip.
The Capture Clip option is useful in the following situations:
 For tapes with lots of timecode breaks or video/audio settings that need individual
level adjustment per clip, the Capture Clip option gives you more control over each
clip’s settings.
 If you only have a few clips spread across several tapes, it may be faster to log and
capture each clip as you go instead of logging each tape and then batch capturing.
 As an alternative to the Capture Now option, you can set In and Out points near the
beginning and end of each tape and then capture the entire duration of the tape.
Note: The only difference between the Capture Clip and Log Clip buttons is that Log
Clip only creates a clip in your project, while Capture Clip creates a clip and also
captures its media file.

280
Part IV
Logging, Capturing, and Importing
Make sure that your camcorder or deck is connected to your computer and that you’ve
chosen the correct Easy Setup and specified a scratch disk. For more information, see
“
Are You Ready to Log and Capture?
” on page 245.
To capture a single clip in the Log and Capture window:
1
Log the clip using the instructions in Chapter 16, “
Logging Clips
,” on page 247.
2
Once all of the clip information is entered, click the Capture Clip button.
3
If the Prompt checkbox is selected in the Logging tab, a Log Clip dialog appears. Enter
or change any information for this clip, then click OK.
Final Cut Pro rewinds the tape and captures the media file, creating a clip in the
logging bin that represents the captured media file.