Capturing Entire Tapes (Capture Now)
If you have lots of hard disk space, it’s often easiest to capture all your footage to your
scratch disk and log it afterwards. You can then delete the media you don’t need from
the hard disk. Capture Now is also useful for capturing portions of tapes.
Once you’ve captured your tape, you’ll need to break your media files and clips into
smaller pieces. For details, see “
Automatically Creating Subclips Using DV Start/Stop
Detection
” on page 283.
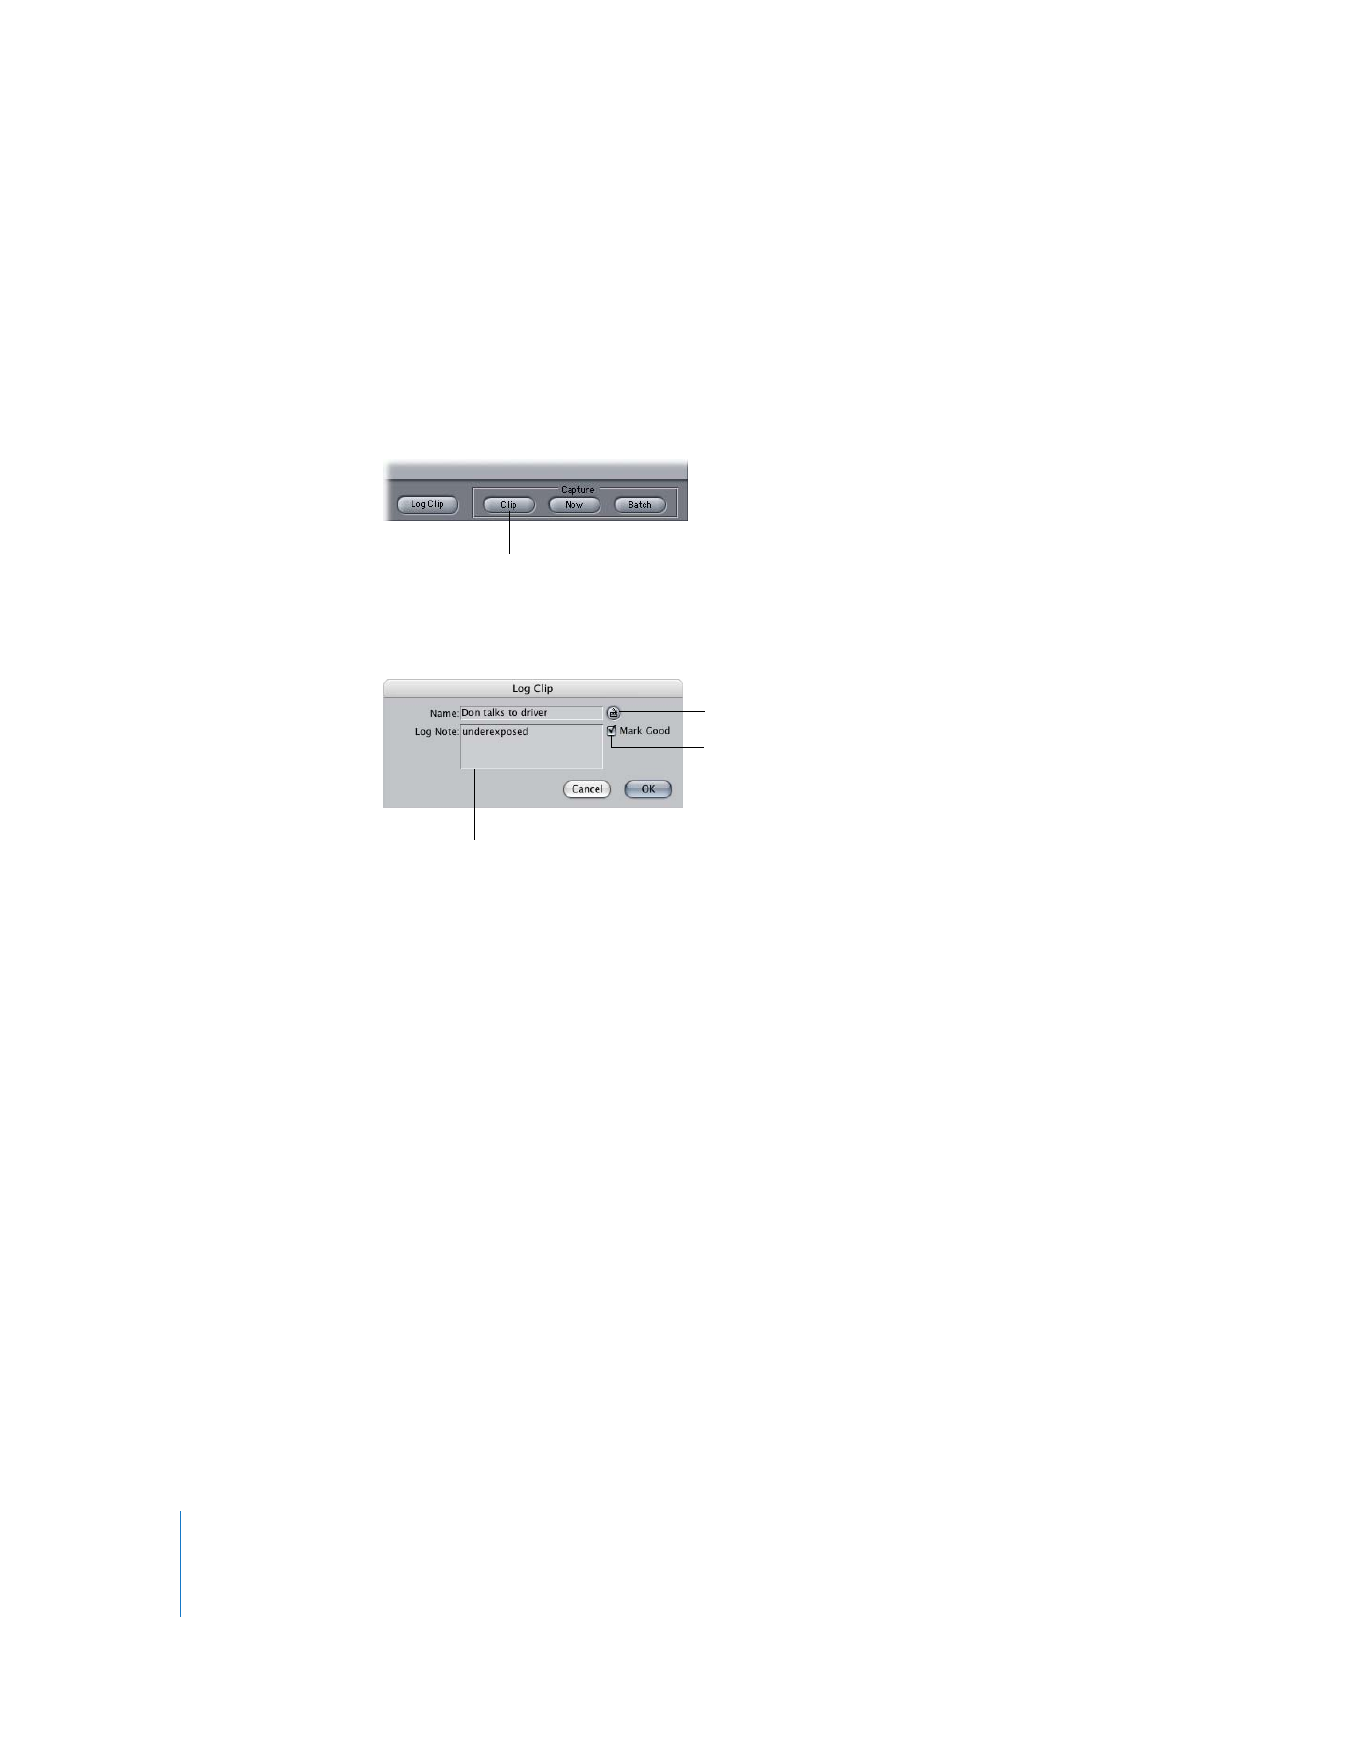
Click here to capture a clip.
Click here to mark the
clip as Good.
Click the Slate button to
increment the clip name.
If desired, enter additional
notes here.

Chapter 17
Capturing Your Footage to Disk
281
IV
There are several reasons to capture entire tapes:
 Reviewing footage is easier once it is on your computer, allowing you to easily
rewind and loop sections of footage while you take notes.
 Capturing entire tapes causes less wear to the original source tapes because you only
play the tapes once while capturing instead of rewinding and fast-forwarding them
during logging and subsequent batch capturing.
 With some DV footage, Final Cut Pro can detect breaks between shots, allowing you
to create clips of each shot without setting In and Out points manually. This feature is
known as DV Start/Stop Detection.
 For footage without timecode, you have to use Capture Now because Final Cut Pro
can’t locate In and Out points for batch capturing.
Once you capture all of your tapes, you can break these large (up to an hour or more)
clips into smaller, more manageable subclips. For instructions on creating subclips and
smaller media files from larger clips, see “
Automatically Creating Subclips Using DV
Start/Stop Detection
” on page 283 or Volume II, Chapter 2, “Creating Subclips.”