
Capturing Footage That Doesn’t Have Timecode
If you capture a media file without timecode, it’s impossible to guarantee accurate
recapture of the exact same clip with the same In and Out points. If you need to
recapture these clips for any reason, such as to capture them at a higher resolution or
to re-create an archived project that no longer has the associated media files, the
recaptured footage won’t be exactly the same, and you won’t be able to automatically
batch capture the clips.
More and more footage is acquired digitally (using DV formats, for example), and
capturing analog, non-timecoded footage is becoming increasingly rare. One way to
avoid capturing from a non-timecoded tape is to first transfer your footage to a
timecoded format, such as DV, Betacam SP, or Digital Betacam, and then capture
footage from the timecoded tape using device control. For more suggestions about
transferring footage from a non-timecoded format to a timecoded format, see
“
Capturing from an Audio Device Without Device Control
” on page 306. (The same
concepts apply to both non-timecoded video and audio footage).
If you have to manually capture footage without timecode or device control,
make sure you:
 Capture media at the same resolution you plan to output: Since you can’t accurately
recapture your clips with the same In and Out points (because you don’t have
remote control of the VTR and timecode precision during capture), you should
capture them at the resolution at which you plan to output your project. This way,
you won’t have to manually recapture later.
 Back up all of your non-timecoded media files: If you back up your clips’ media files,
your source material is always available for reediting. Because video clips require a lot
of disk space, you need to use a high-capacity backup format, such as streaming tape
(for example, Data DAT, Mammoth, DLT, AIT, and VXA), CD-ROM, or DVD-ROM.
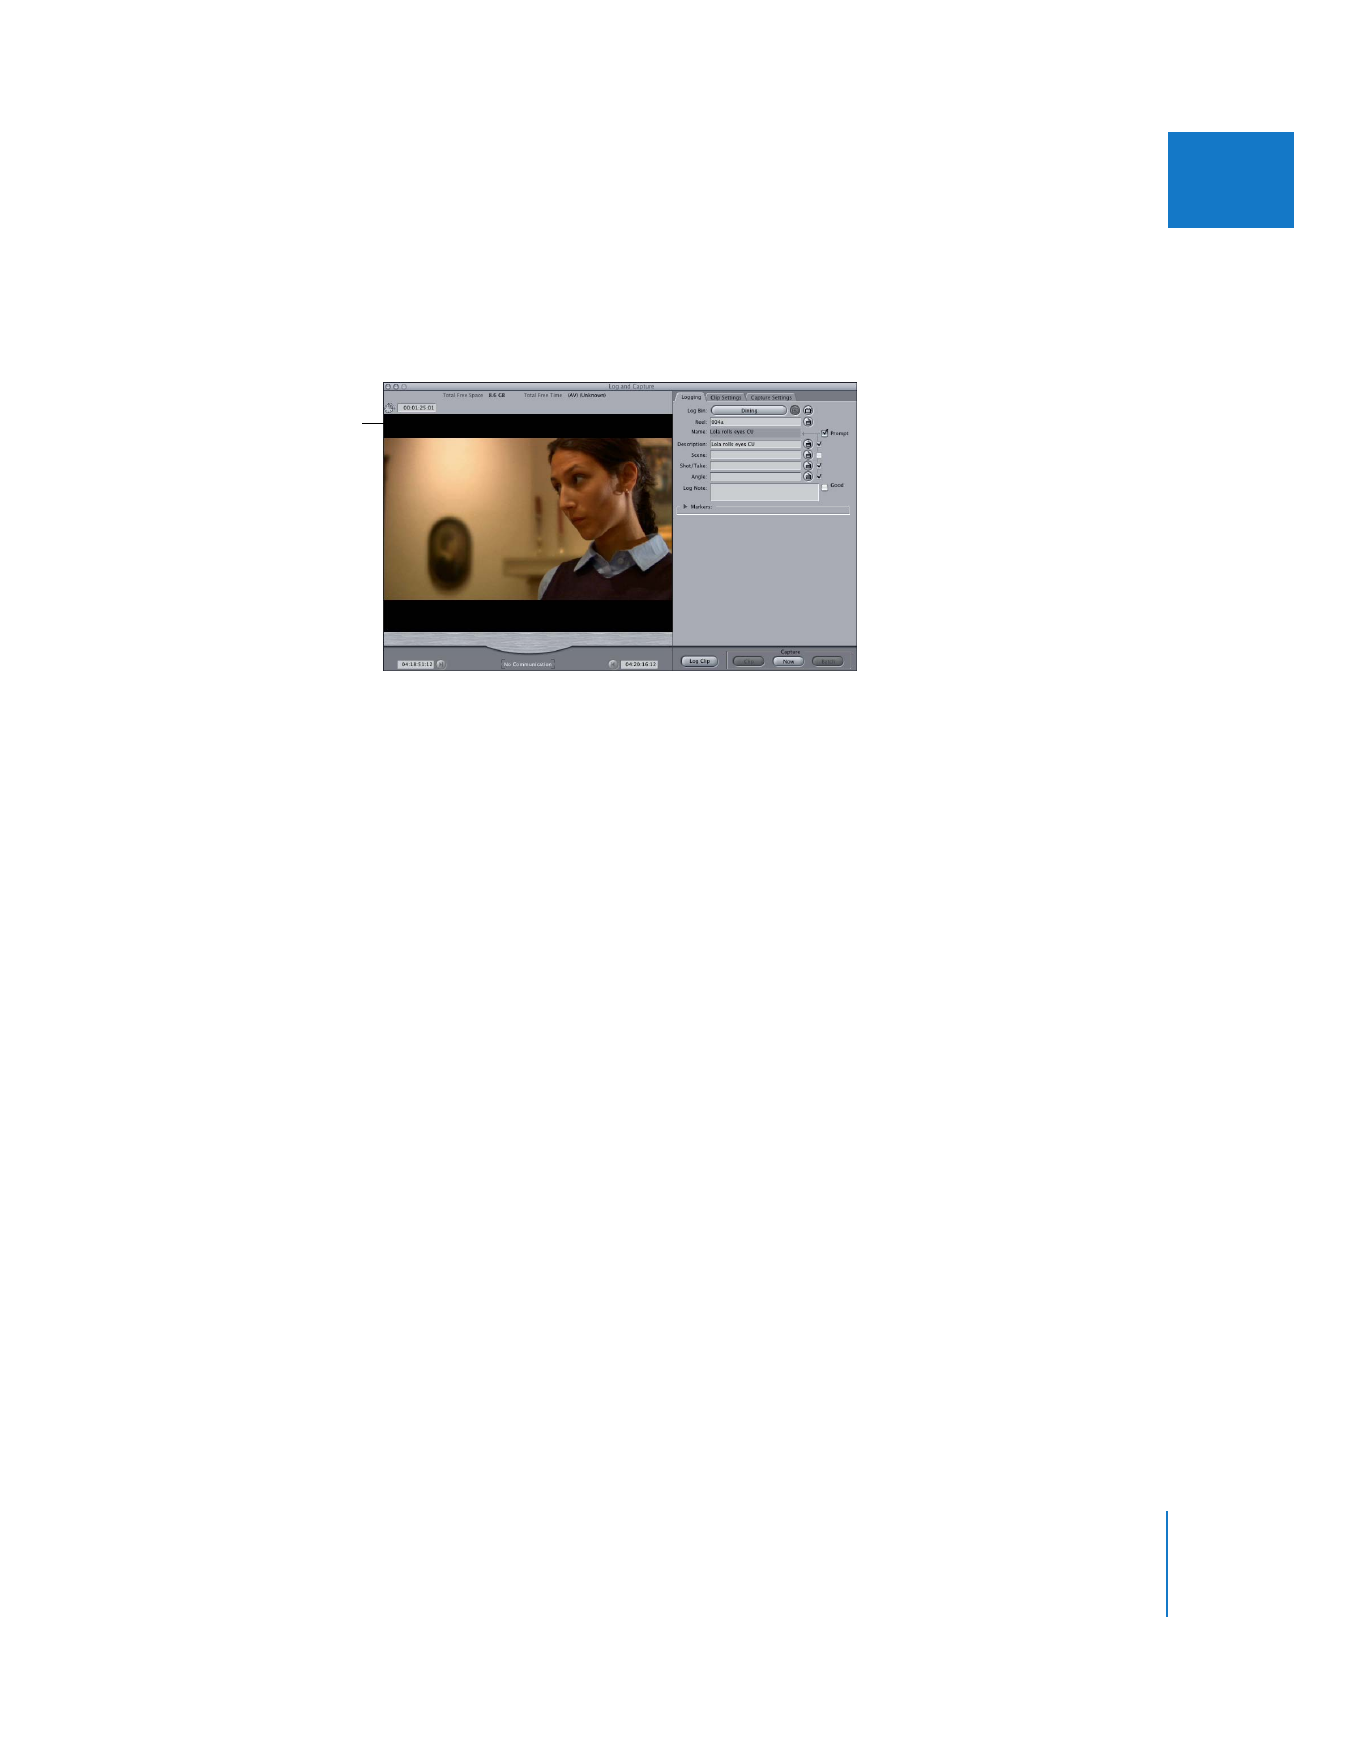
To capture media manually, you press the Play button on your video device, then click the
Capture Now button in the Log and Capture window. When you want to stop the capture,
press Escape. For more information, see the next section, “
Using a Non-Controllable
Device for Capture
” on page 287.
Chapter 17
Capturing Your Footage to Disk
287
IV