Capturing Video and Audio Separately
When you capture video and audio to separate files, two media files are saved on your
hard disk, but the clips appear in your project as merged clips. Capturing your video
and audio as separate files allows you to divide the workload between two scratch
disks, maximizing the performance of each scratch disk you’re using so that you can
capture your video at the highest-possible data rate. Video and audio files captured as
separate files have the same name, with “_v” appended to video files and “_a”
appended to audio files. The files are also captured to two separate folders named
Capture Scratch and Audio Capture Scratch, respectively.
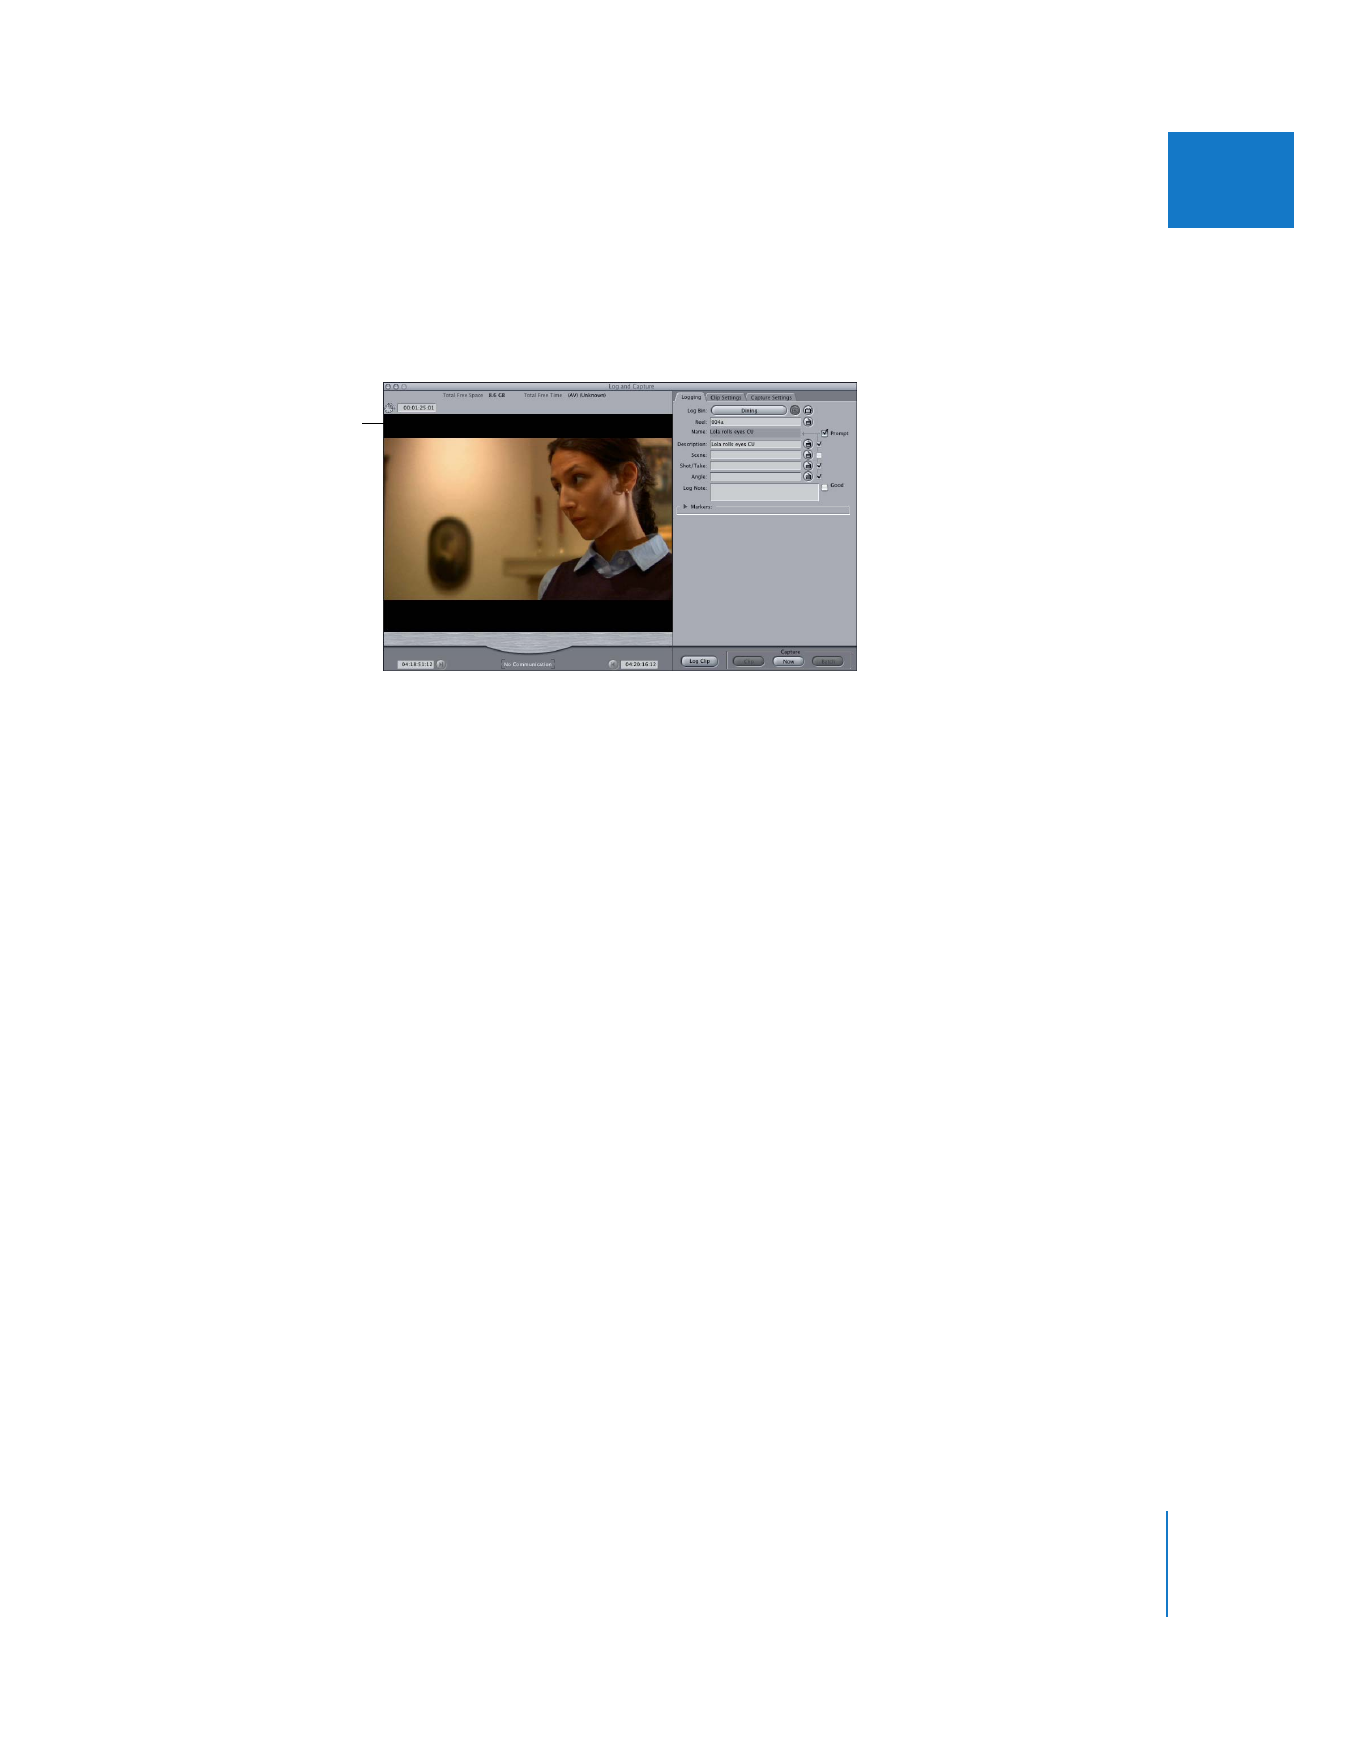
If you aren’t using device
control, the Log and
Capture window is
simplified.

288
Part IV
Logging, Capturing, and Importing
To capture video and audio to separate files:
1
Choose Final Cut Pro > System Settings, then click the Scratch Disks tab.
2
Select the Capture Audio and Video to Separate Files checkbox.
Note: For capturing DV (including DVCPRO, DVCPRO 50, and DVCPRO HD) media, it’s
usually best to leave this checkbox unselected.
3
Select the checkboxes corresponding to the type of files you want to store on each
scratch disk: Video Capture, Audio Capture, Video Render, and Audio Render.
For example, if you want to capture video and audio to separate scratch disks, choose
two different scratch disks, then select the Video Capture option on one disk and the
Audio Capture option on the other. You can also capture separate video and audio files
to the same scratch disk, assuming the combined video and audio data rates don’t
exceed your scratch disk data rate.
4
Click OK to save your scratch disk settings.