Importing Media Files into Your Project
317
IV
To import a file or folder:
1
In the Browser, select a project or bin where you want to store your imported clips.
 To import files or folders into the main, or root, level of a project, click that project’s tab.
 To import files into a bin within a project, double-click the bin. The bin opens in a
separate window.
For more information, see Volume II, Chapter 1, “Organizing Footage in the Browser.”
2
Do one of the following:
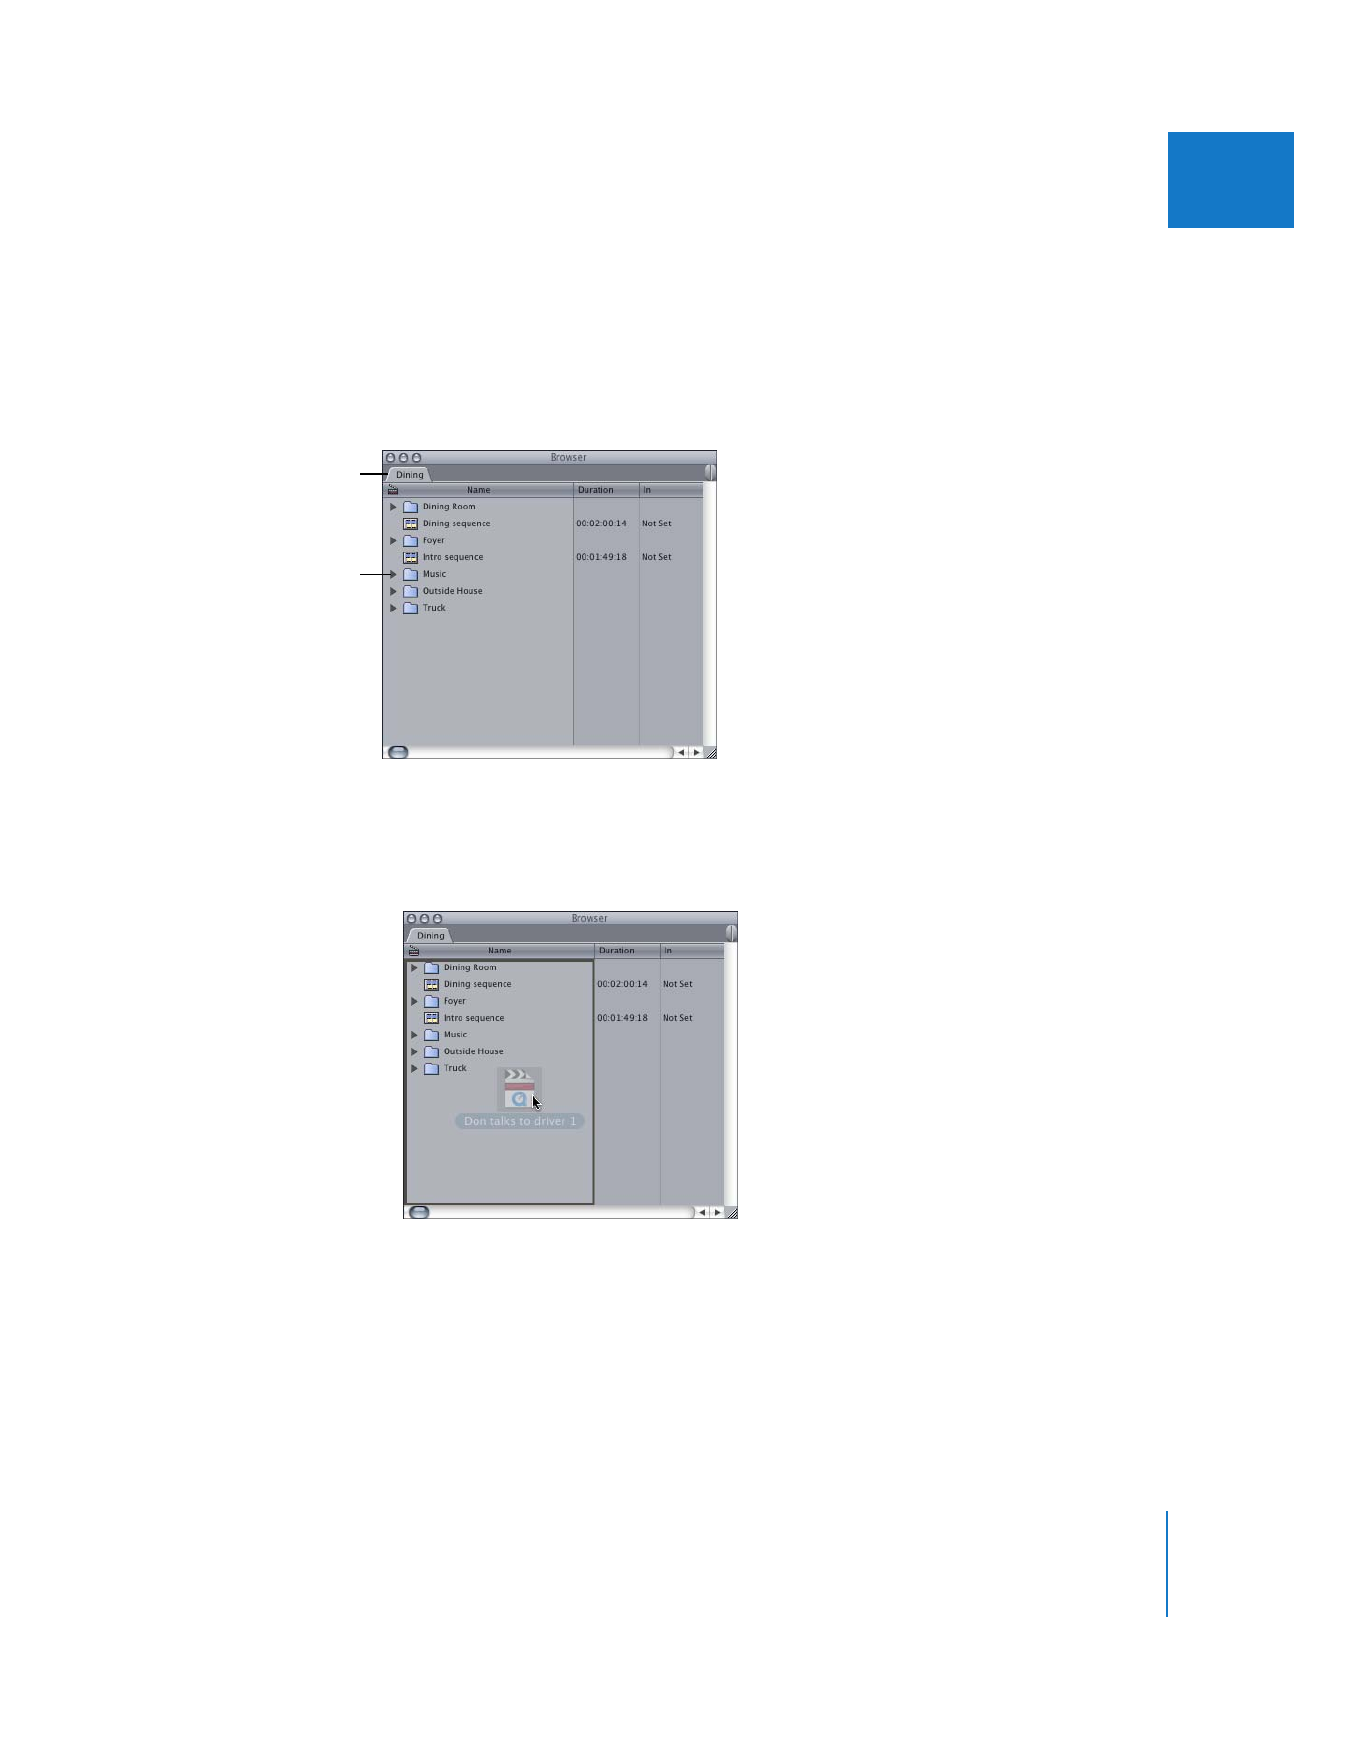
 Drag one or more files or folders from the Finder to a project tab or bin in the
Browser. This is a fast and easy way to import many files.
To import files at the
main level, click a
project’s tab.
To place imported
files into a bin, first open
the bin by double-
clicking it.

318
Part IV
Logging, Capturing, and Importing
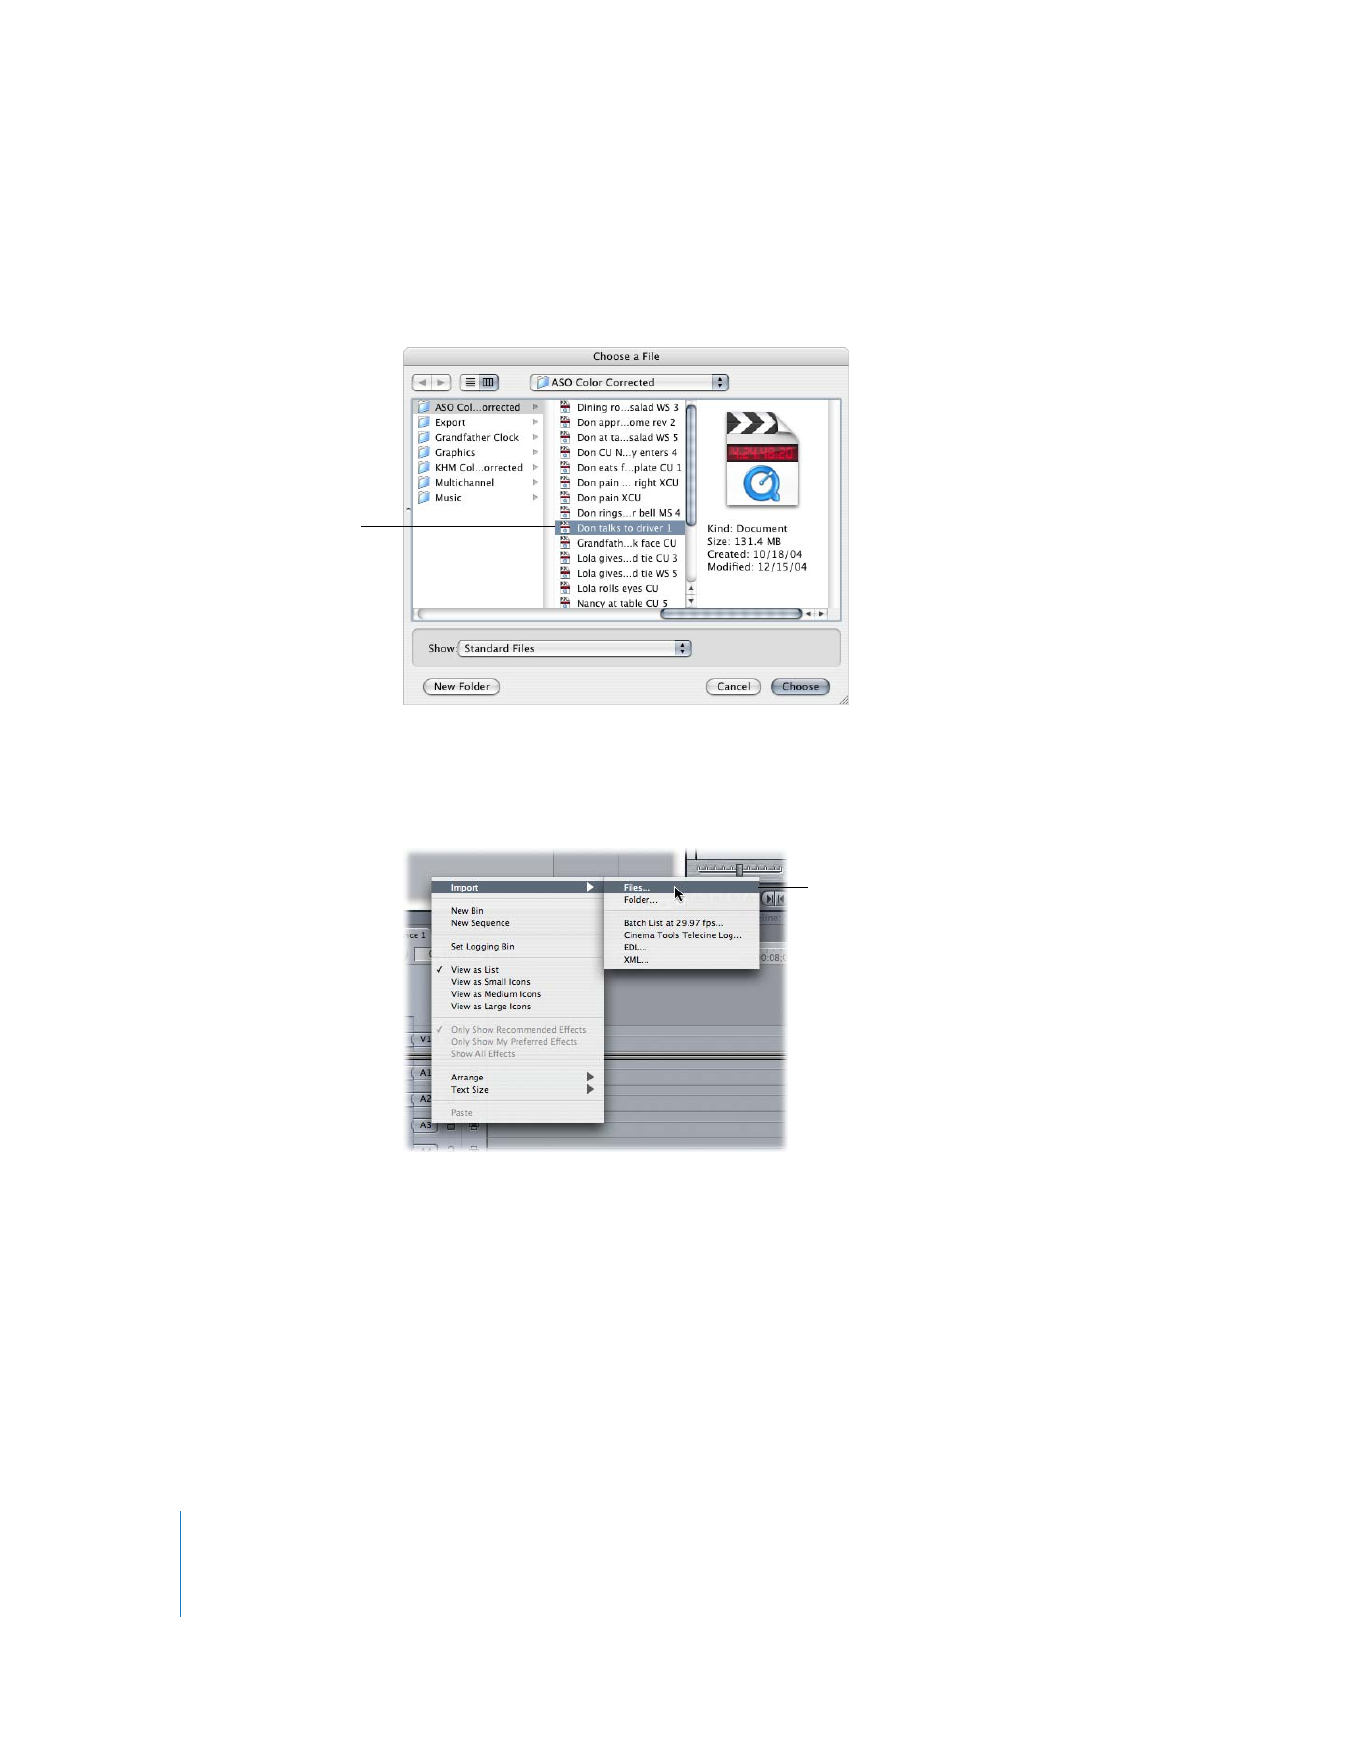
 Choose File > Import, then choose File or Folder from the submenu. (To import a file,
you can also press Command-I.) Select one or more files or folders in the dialog, then
click Choose.
 Control-click in the Browser or a bin’s window, then choose Import > Files or
Import > Folder from the shortcut menu. Select a file or folder in the dialog, then
click Choose.
Select the file (or folder)
you want to import,
then click Choose.
Choose an import option, then in
the dialog that appears, locate the
file or folder you want to import
and click Choose.

Chapter 20
Importing Media Files into Your Project
319
IV
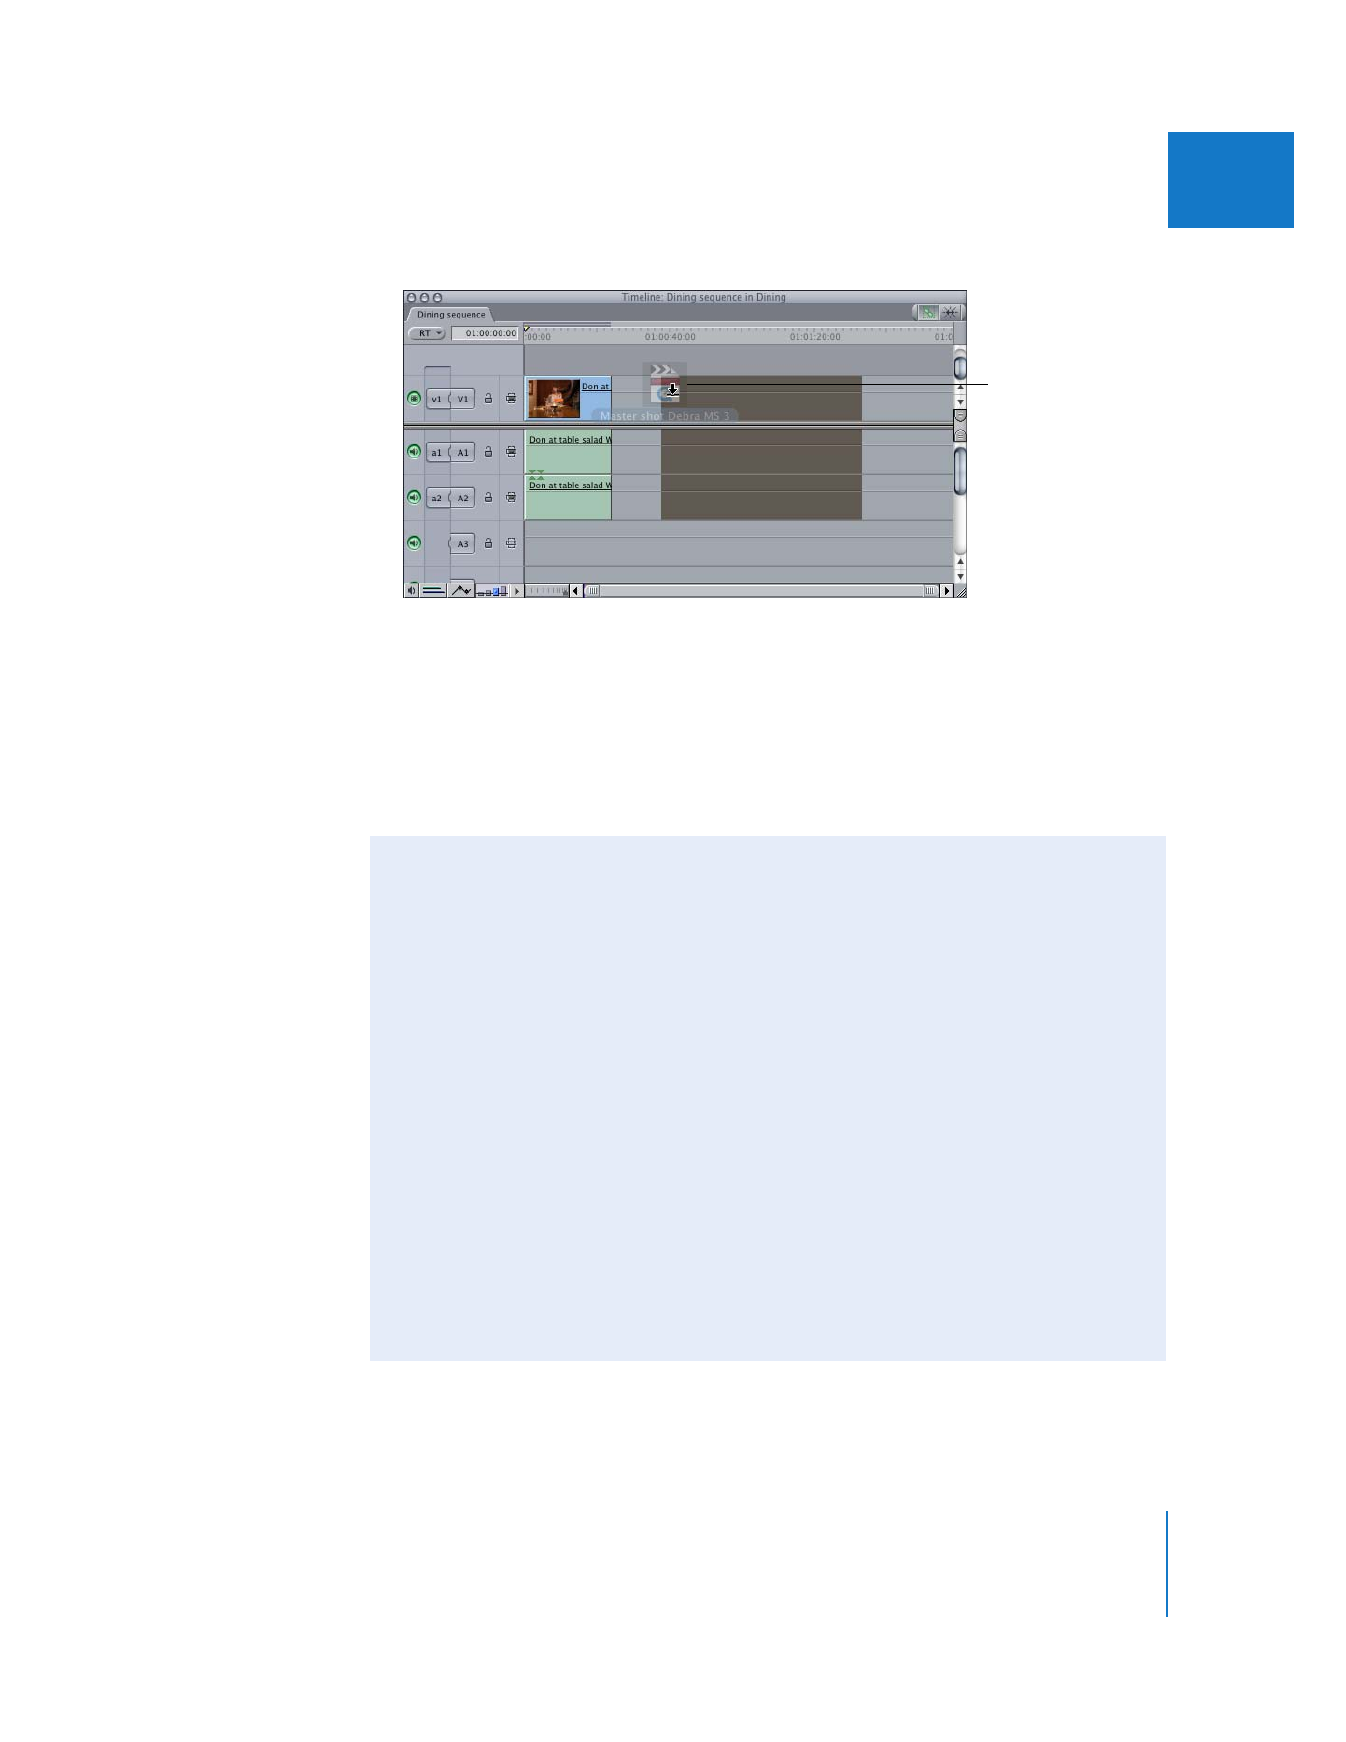
 You can also drag the files or folders from your desktop to the Timeline of a sequence.
Important:
Dragging media files directly to a sequence in the Timeline creates
independent clips, which have no master clips in the Browser. This can make media
management more difficult later. For more information about master-affiliate clip
relationships, see Volume IV, Chapter 4, “Working With Master and Affiliate Clips.”
3
Save your project.
For more information, see “
Creating and Saving Projects
” on page 32.
Clips you drag directly
to the Timeline are
independent (they
have no master clips
in the Browser).