Converting a Numbered Image Sequence to a QuickTime Movie
You can use QuickTime Pro to convert a numbered image sequence into a QuickTime
movie. This is useful if you want to convert all your images into a single clip. You can
then import the movie into Final Cut Pro and use it the way you use any other clip.
To convert a numbered image sequence into a QuickTime movie:
1
Open QuickTime Player.
2
Choose File > Open Image Sequence.
3
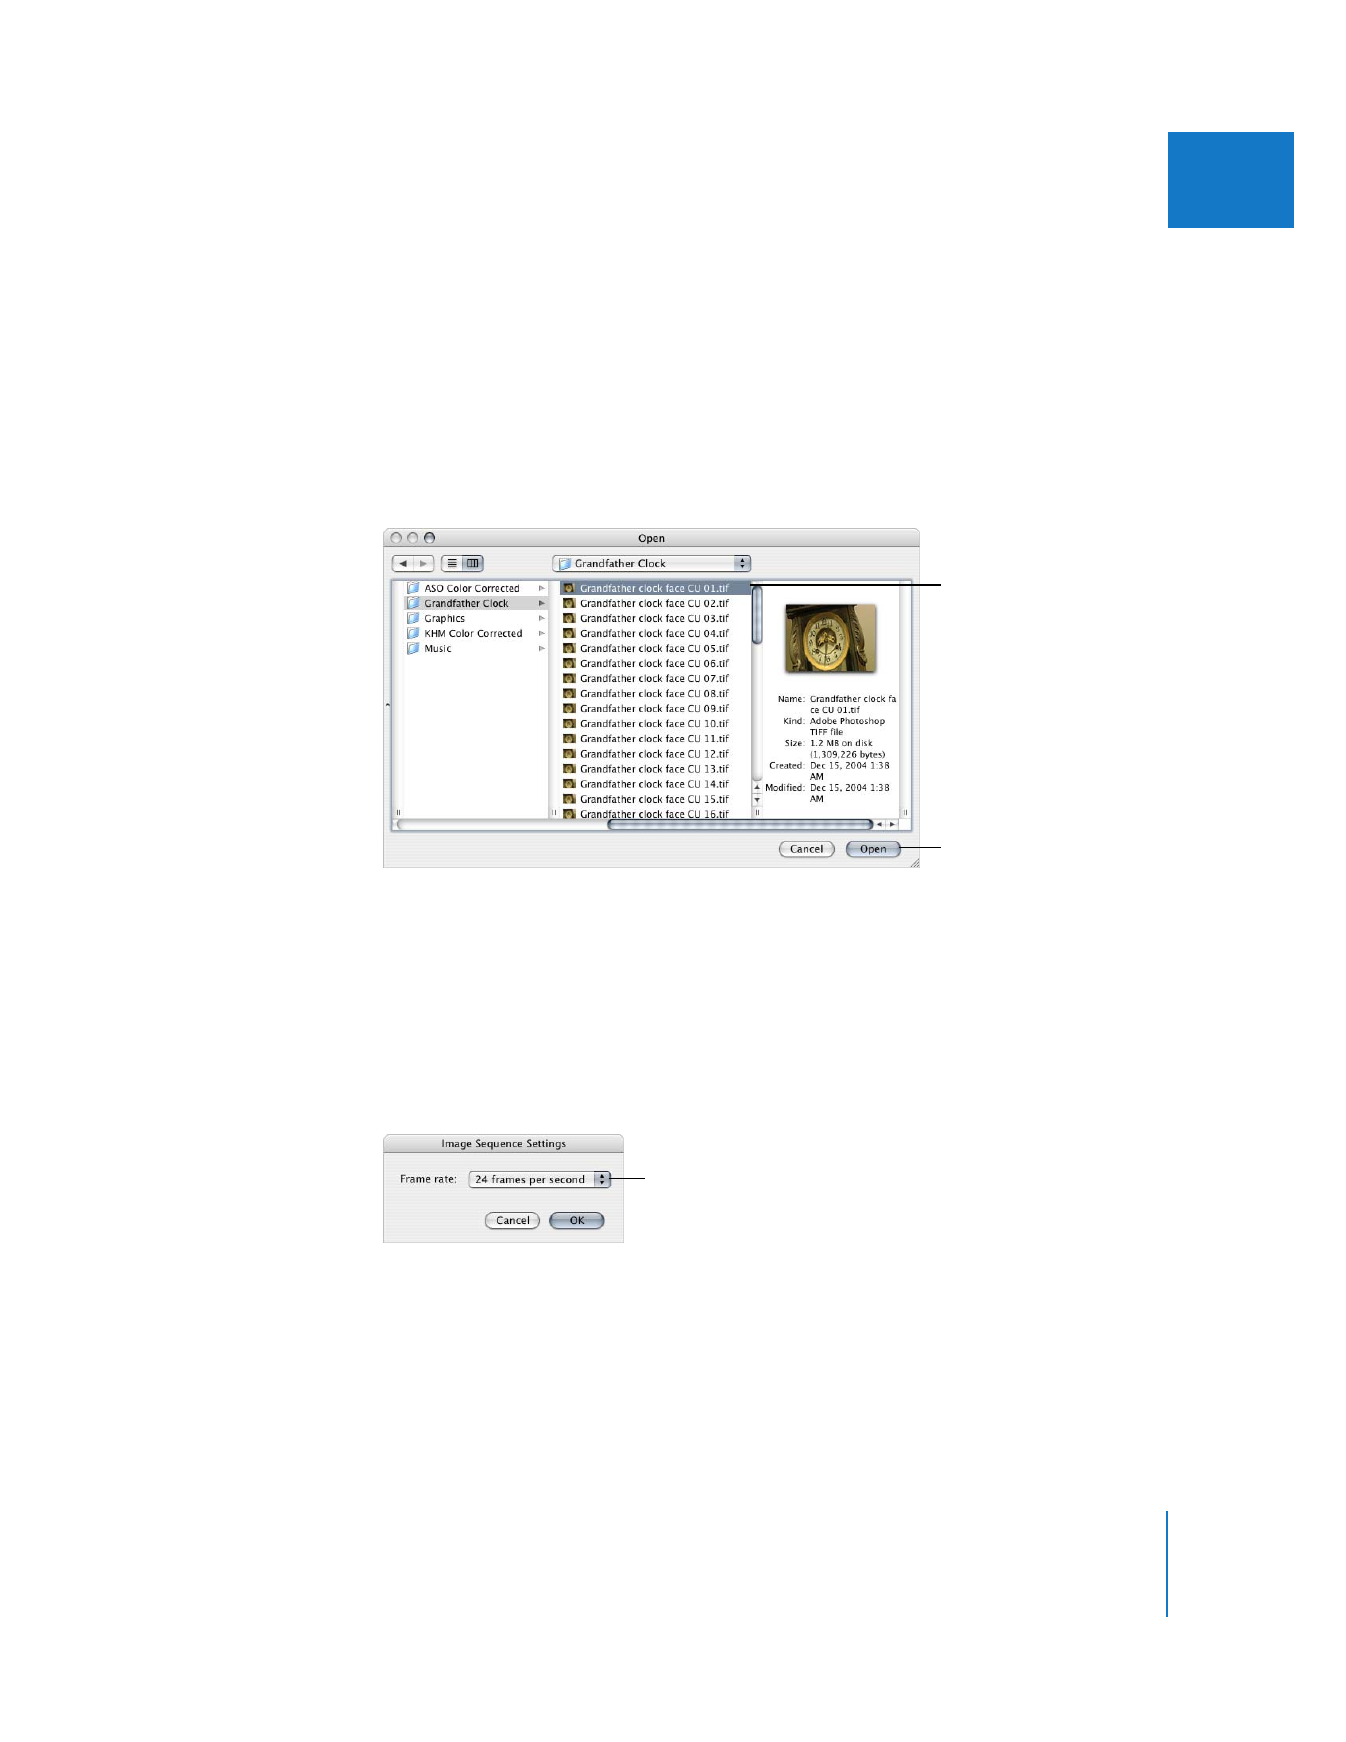
Locate the first numbered file of the image sequence you want to import, then click Open.
4
In the Image Sequence Settings dialog, choose a frame rate, then click OK.
You can choose any frame rate, but there is almost always an intended correct frame
rate based on the original format. If you aren’t sure, check with the person who
generated the image sequence to make sure you choose the proper frame rate. NTSC
uses 29.97 fps, PAL uses 25 fps, film traditionally uses 24 fps, and HD might use any of
the above, as well as 59.94 or 60 fps. For more information, see Volume IV, Appendix B,
“Frame Rate and Timecode.”
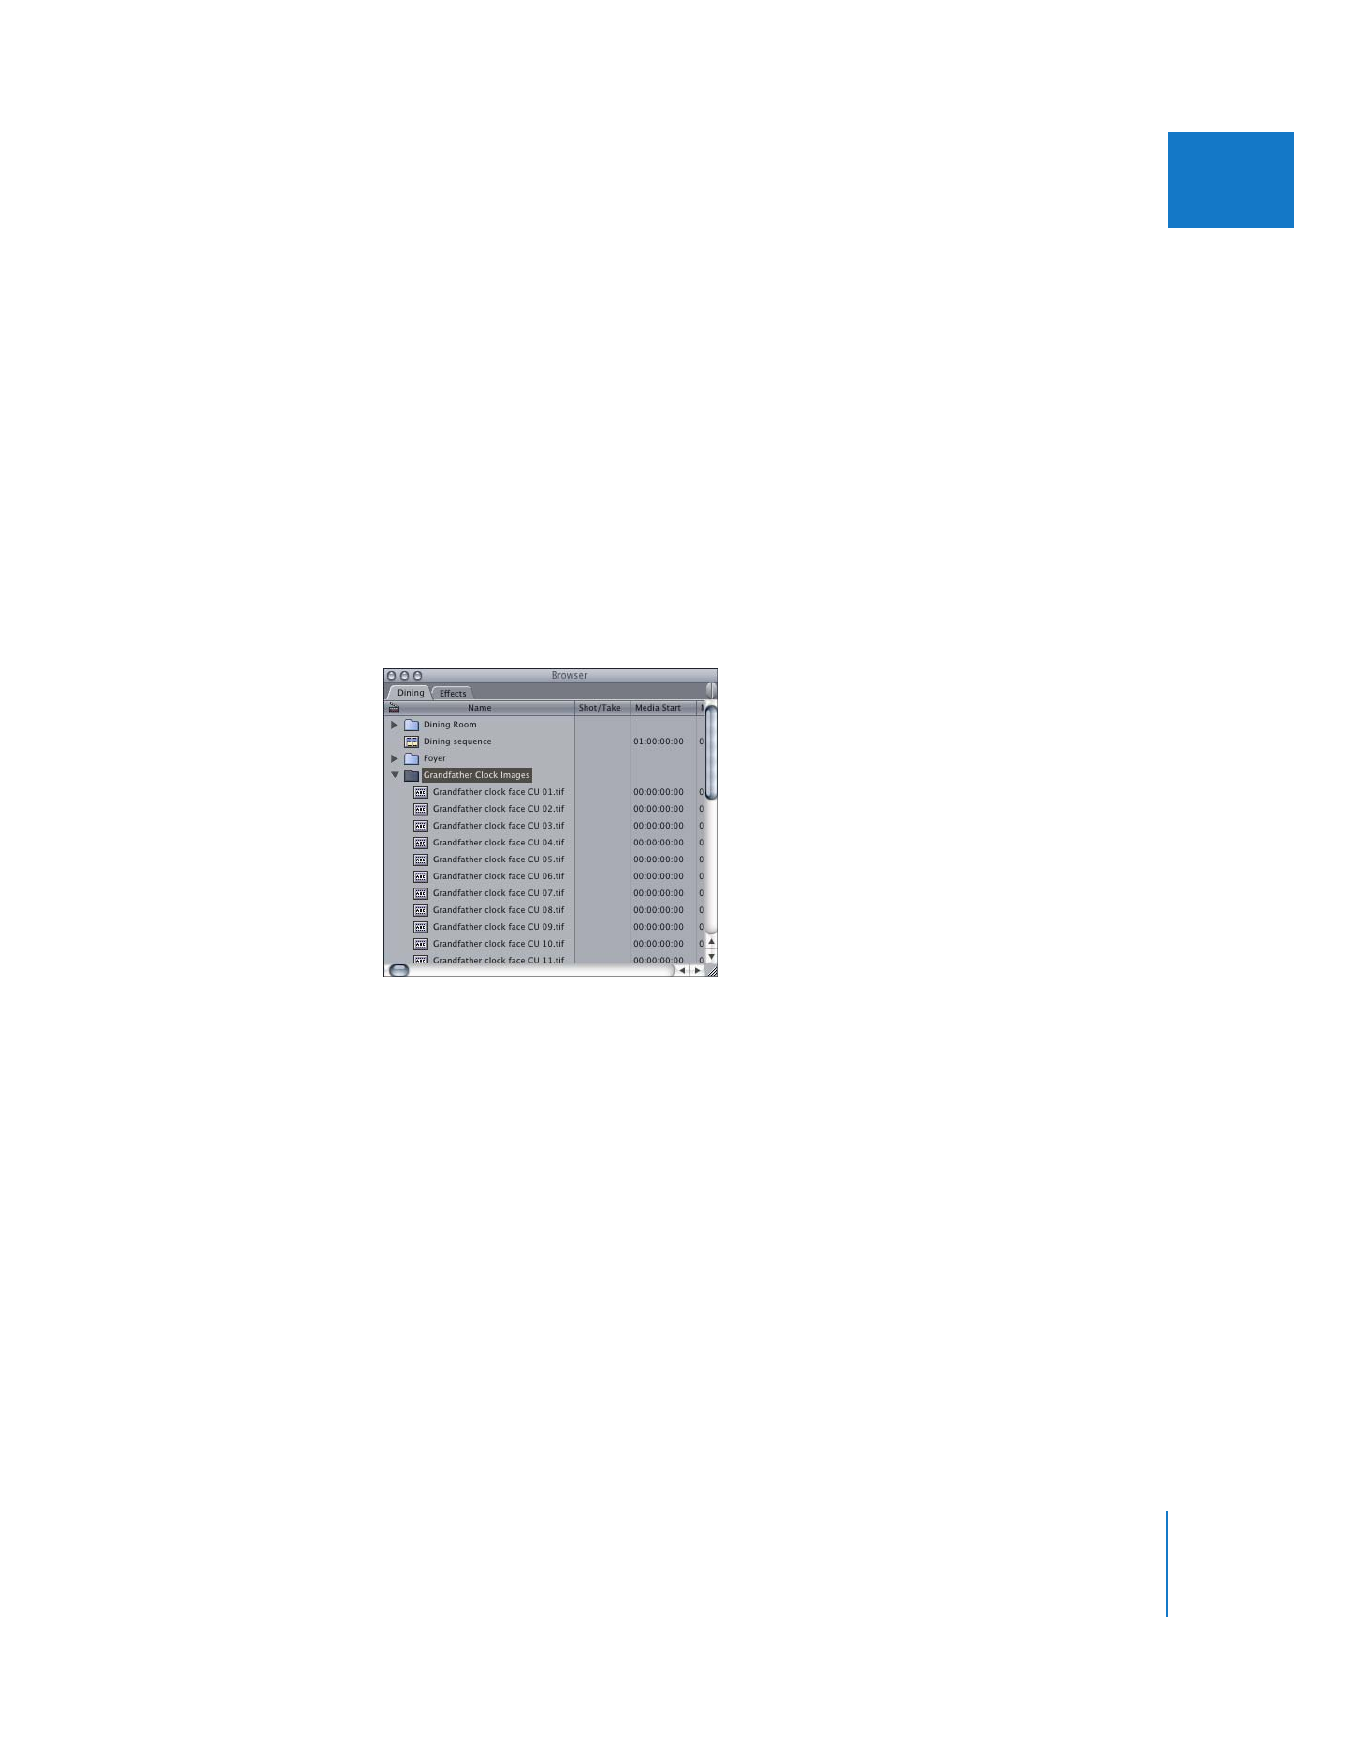
Your image sequence is imported into QuickTime Player as an uncompressed video file.
Then click Open.
Locate and select
the first file of your
image sequence.
Choose a frame rate for
the movie from this
pop-up menu.
330
Part IV
Logging, Capturing, and Importing
5
Choose File > Save.
Note: You can also choose File > Export > QuickTime Movie. This gives you the option
to customize the dimensions and codec of the movie. For more information, see
Volume IV, Chapter 17, “Exporting QuickTime Movies.”
6
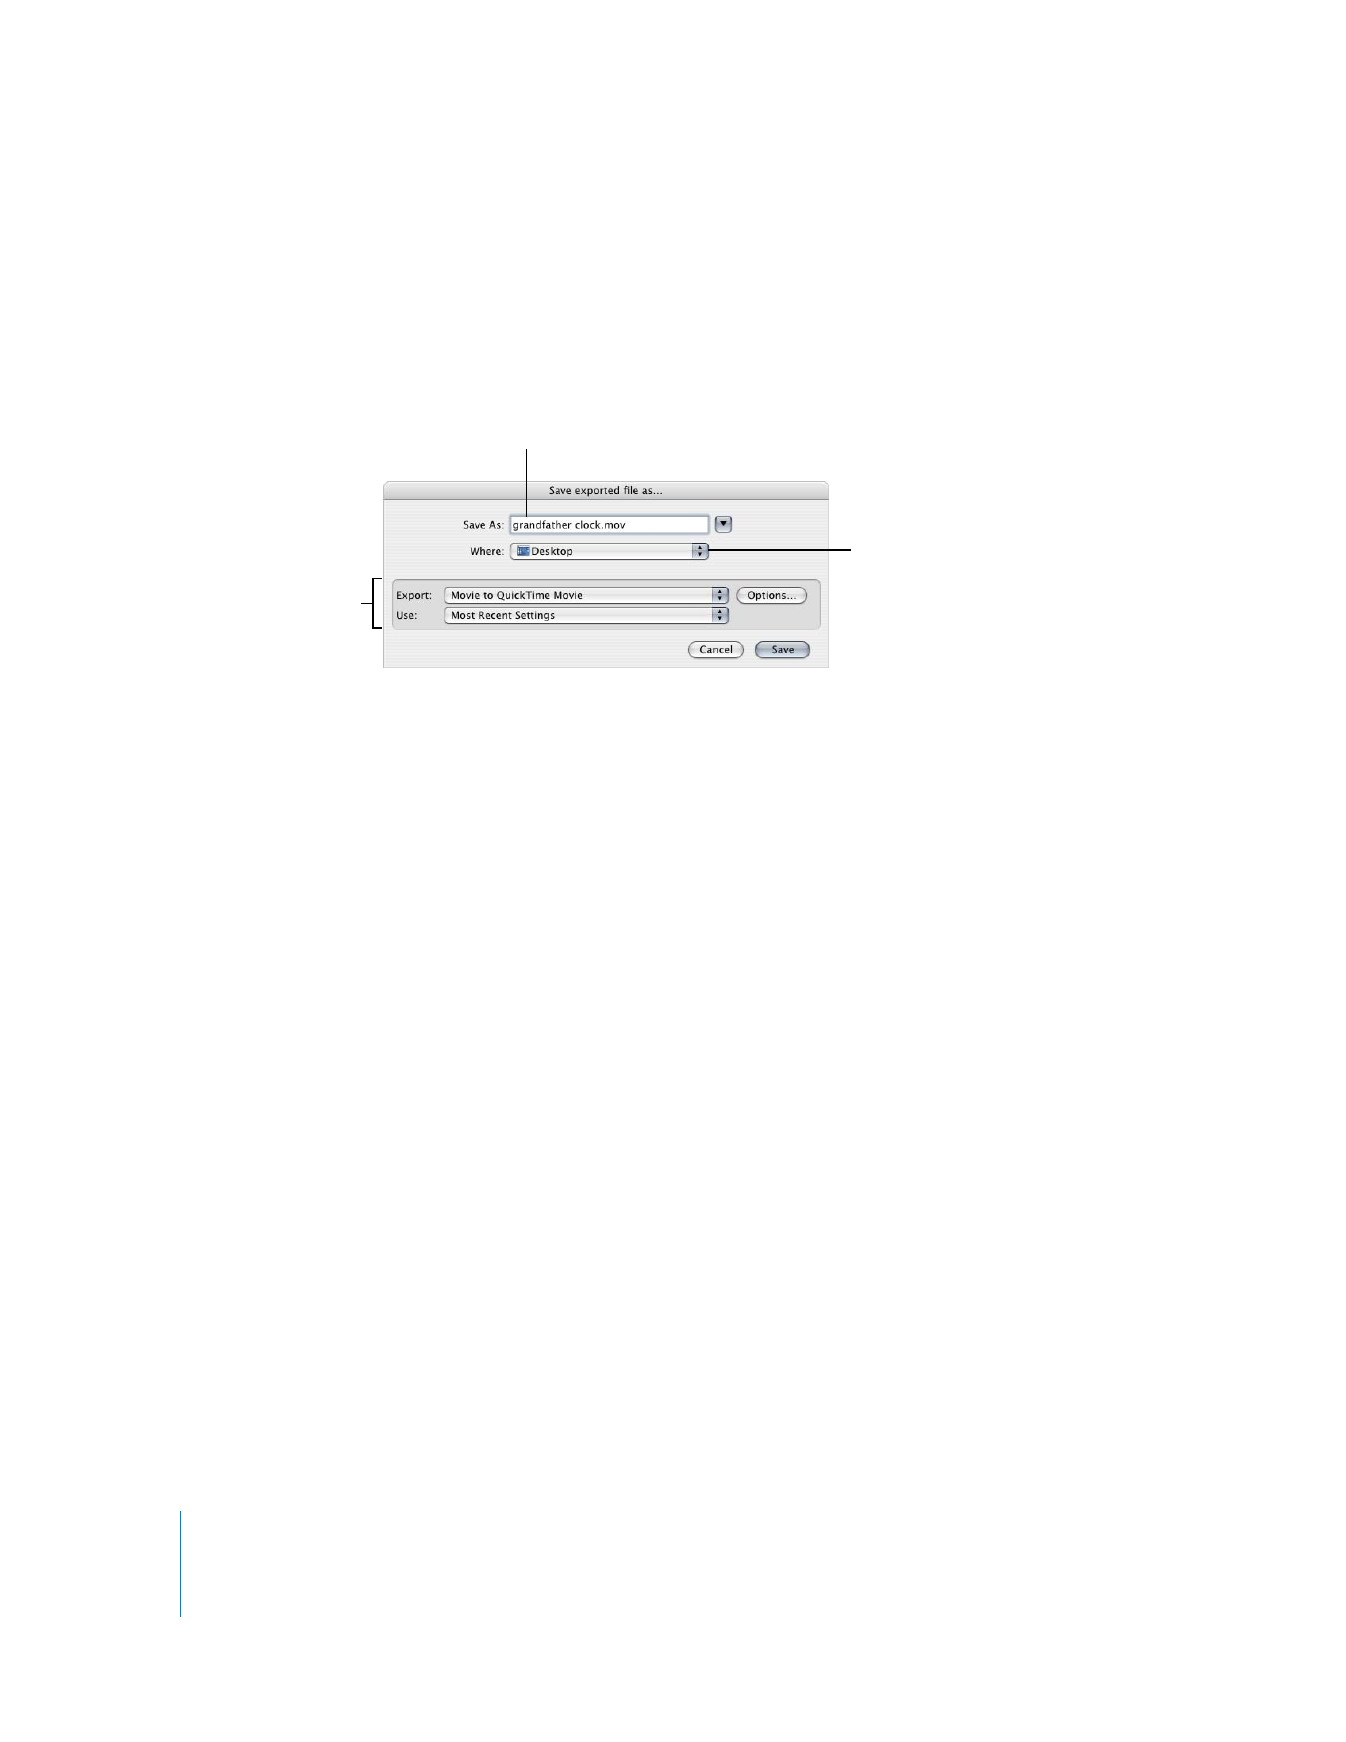
Choose a location and enter a name for the file.
7
Choose an option for how you want to save the movie, then click Save.
 Save normally: If you choose this option, QuickTime Player creates a reference movie
that points to the original folder of image files. No data is actually duplicated, so the
reference movie itself is very small, takes very little hard disk space, and is quick to
create. The resulting movie file is the same as a QuickTime movie file and can be
imported into Final Cut Pro just like any other QuickTime file.
Note: Since a reference movie needs the original source material for playback, if you
give this clip to someone else, you must give them the original image files as well.
 Make movie self-contained: If you’re going to be giving this clip to someone else, the
easiest thing to do is to make it self-contained. This type of movie takes longer to
save and consumes more hard disk space than a reference movie. However, a self-
contained movie isn’t dependent on other files and is a better option for exchanging
and archiving files.
Because no compression is applied (other than any that may have been used in the
original image sequence files), the saved movie is uncompressed and may not play
back in real time. After you import the movie and edit it into a sequence, Final Cut Pro
rerenders this clip using the codec specified in your sequence settings.
Choose a save option.
Choose a place
to save the file.
If you wish, enter a name
for the file.
Chapter 20
Importing Media Files into Your Project
331
IV