Assigning Labels and Setting Label Names to Help
Manage Your Media
Each item in Final Cut Pro has two label properties: Label and Label 2. Both label
properties can be customized in different ways:
 Label: This can be one of several names and associated colors as assigned in the
Labels tab of the User Preferences window. This property affects the color of its clip,
sequence, or bin.
 Label 2: This can be any text you type in the Label 2 Browser column or Item
Properties window. This field is not limited to the various labels in the User
Preferences window for the Label property, but it also does not provide the
convenient color-coding of that property.
Both label properties are displayed when you have Standard Columns selected in the
Browser, but you can always choose to hide or show these columns as needed. (To
choose Standard Columns, Control-click any column heading in the Browser, then
choose Standard Columns from the shortcut menu.)
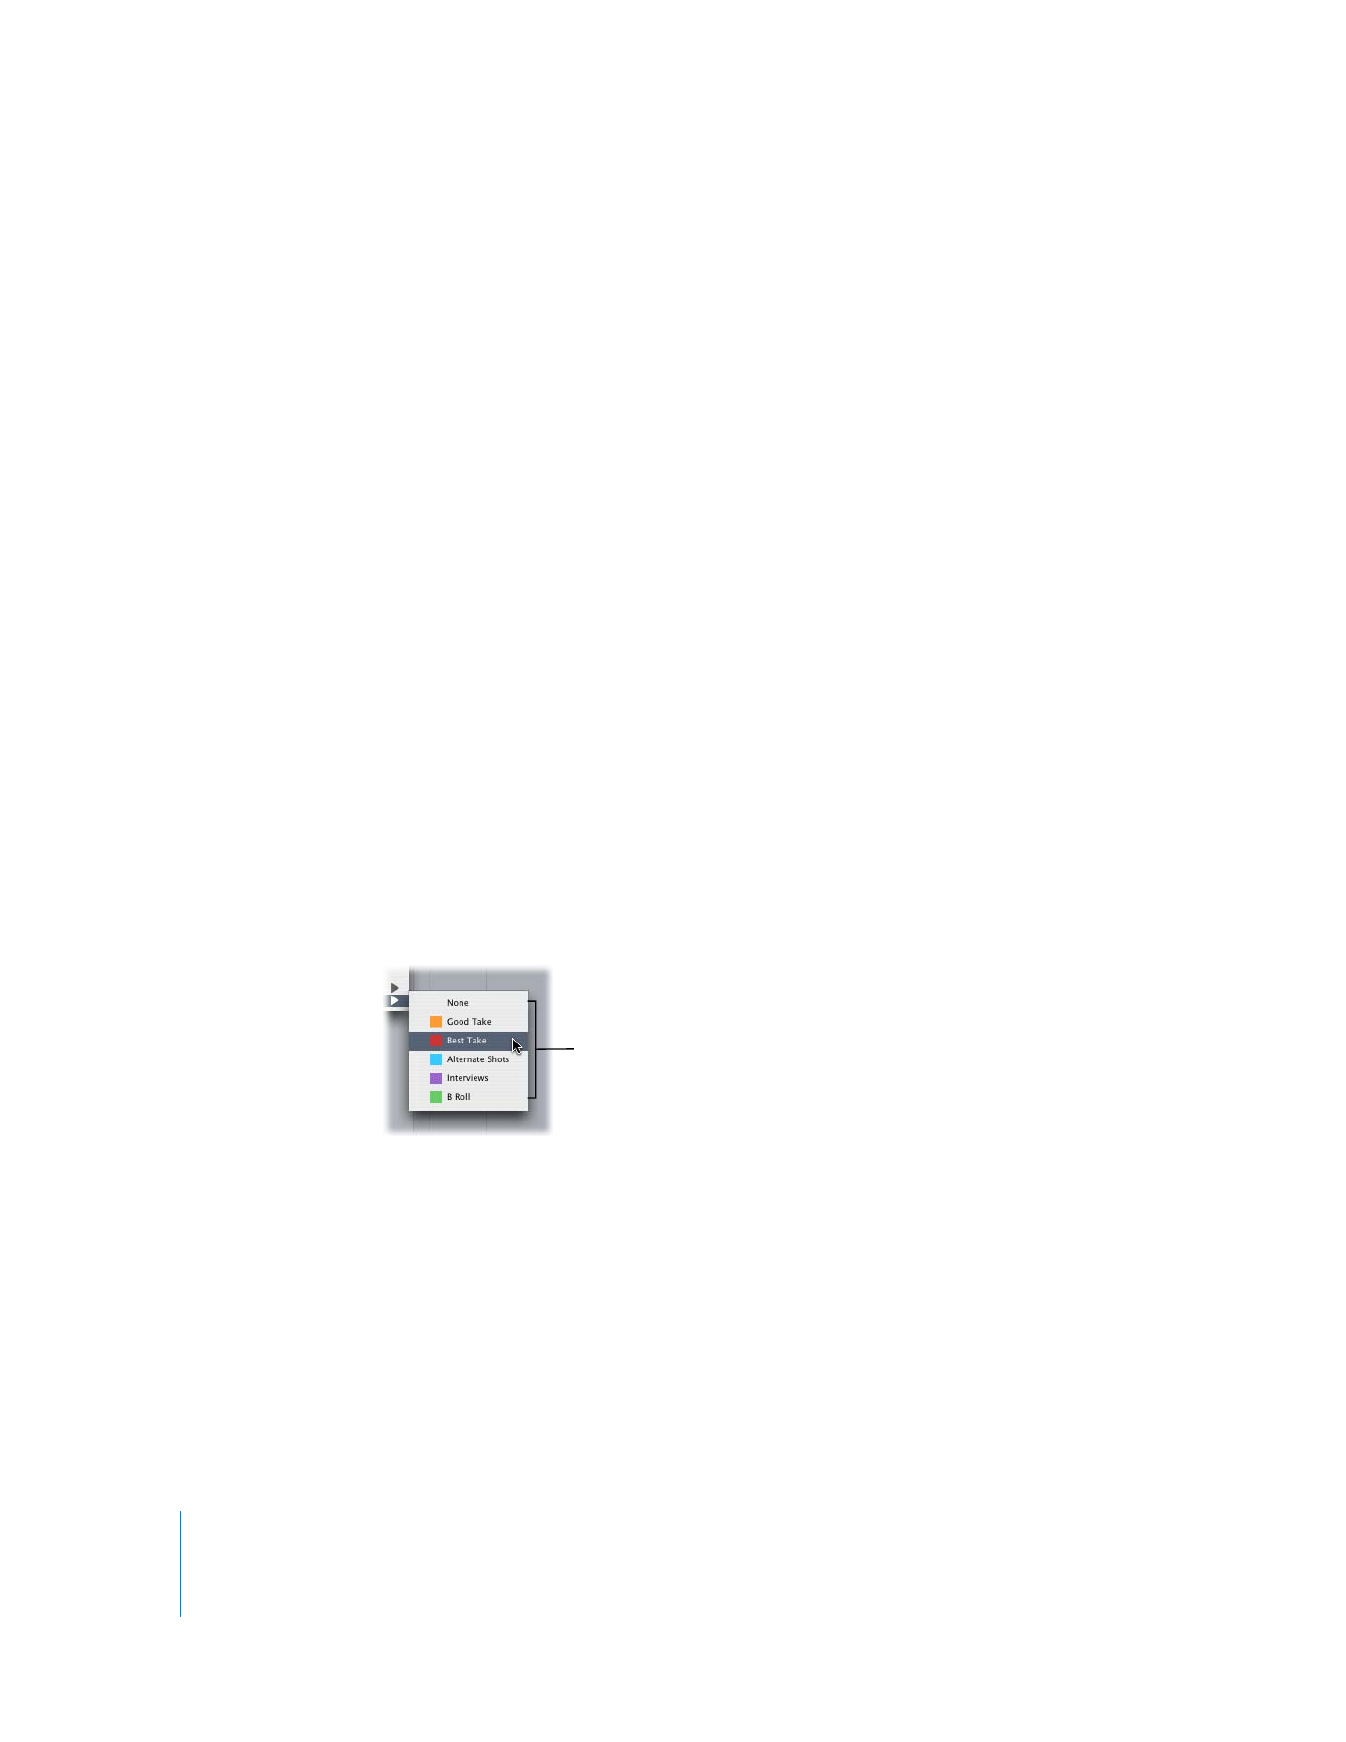
To assign a label to a clip in the Browser, do one of the following:
m
Control-click in the Label column of the clip, then choose a label from the shortcut
menu.
m
Control-click a clip, choose Label from the shortcut menu, then choose a label from
the submenu.
m
Select a clip, choose Edit > Item Properties > Logging Info, Control-click in the Label
field, then choose a label from the shortcut menu.
These are the various
labels available.

Chapter 1
Organizing Footage in the Browser
25
I
To assign a label to multiple clips at once:
1
Select the clips you want to label in the Browser.
For information about selecting clips, see Volume I, Chapter 5, “Browser Basics.”
2
Do one of the following:
 Control-click one of the selected clips, choose Label from the shortcut menu, then
choose a label from the submenu.
 Control-click in the Label column of one of the selected clips, then choose a label
from the shortcut menu.
To set and assign a label in the Label 2 property of a clip, do one of the following:
m
Click in the Label 2 column of the clip, type a label name, then press Return or Enter.
m
Select a clip, choose Edit > Item Properties > Logging Info, click in the Label 2 field and
type a label name, then click OK.
If you’ve already specified at least one label in the Label 2 property of any clip in
your project, you can assign one of those existing labels to the Label 2 property of
other clips.
To assign a label in the Label 2 property of a clip:
m
Control-click in the Label 2 column of a clip, then choose a label from the
shortcut menu.
All of the labels in the Label 2 fields of the clips in your project appear in this menu.
To assign a label in the Label 2 property for multiple clips at once:
1
Select the clips you want to label in the Browser.
For information about selecting clips, see Volume I, Chapter 5, “Browser Basics.”
2
Control-click in the Label 2 column of one of the selected clips, then choose a label
from the shortcut menu.
Select the clips
you want to label.
Then Control-click
in the Label column
and choose a label.

26
Part I
Organizing Footage and Preparing to Edit