Types of Markers
There are several kinds of markers that you can add in Final Cut Pro.
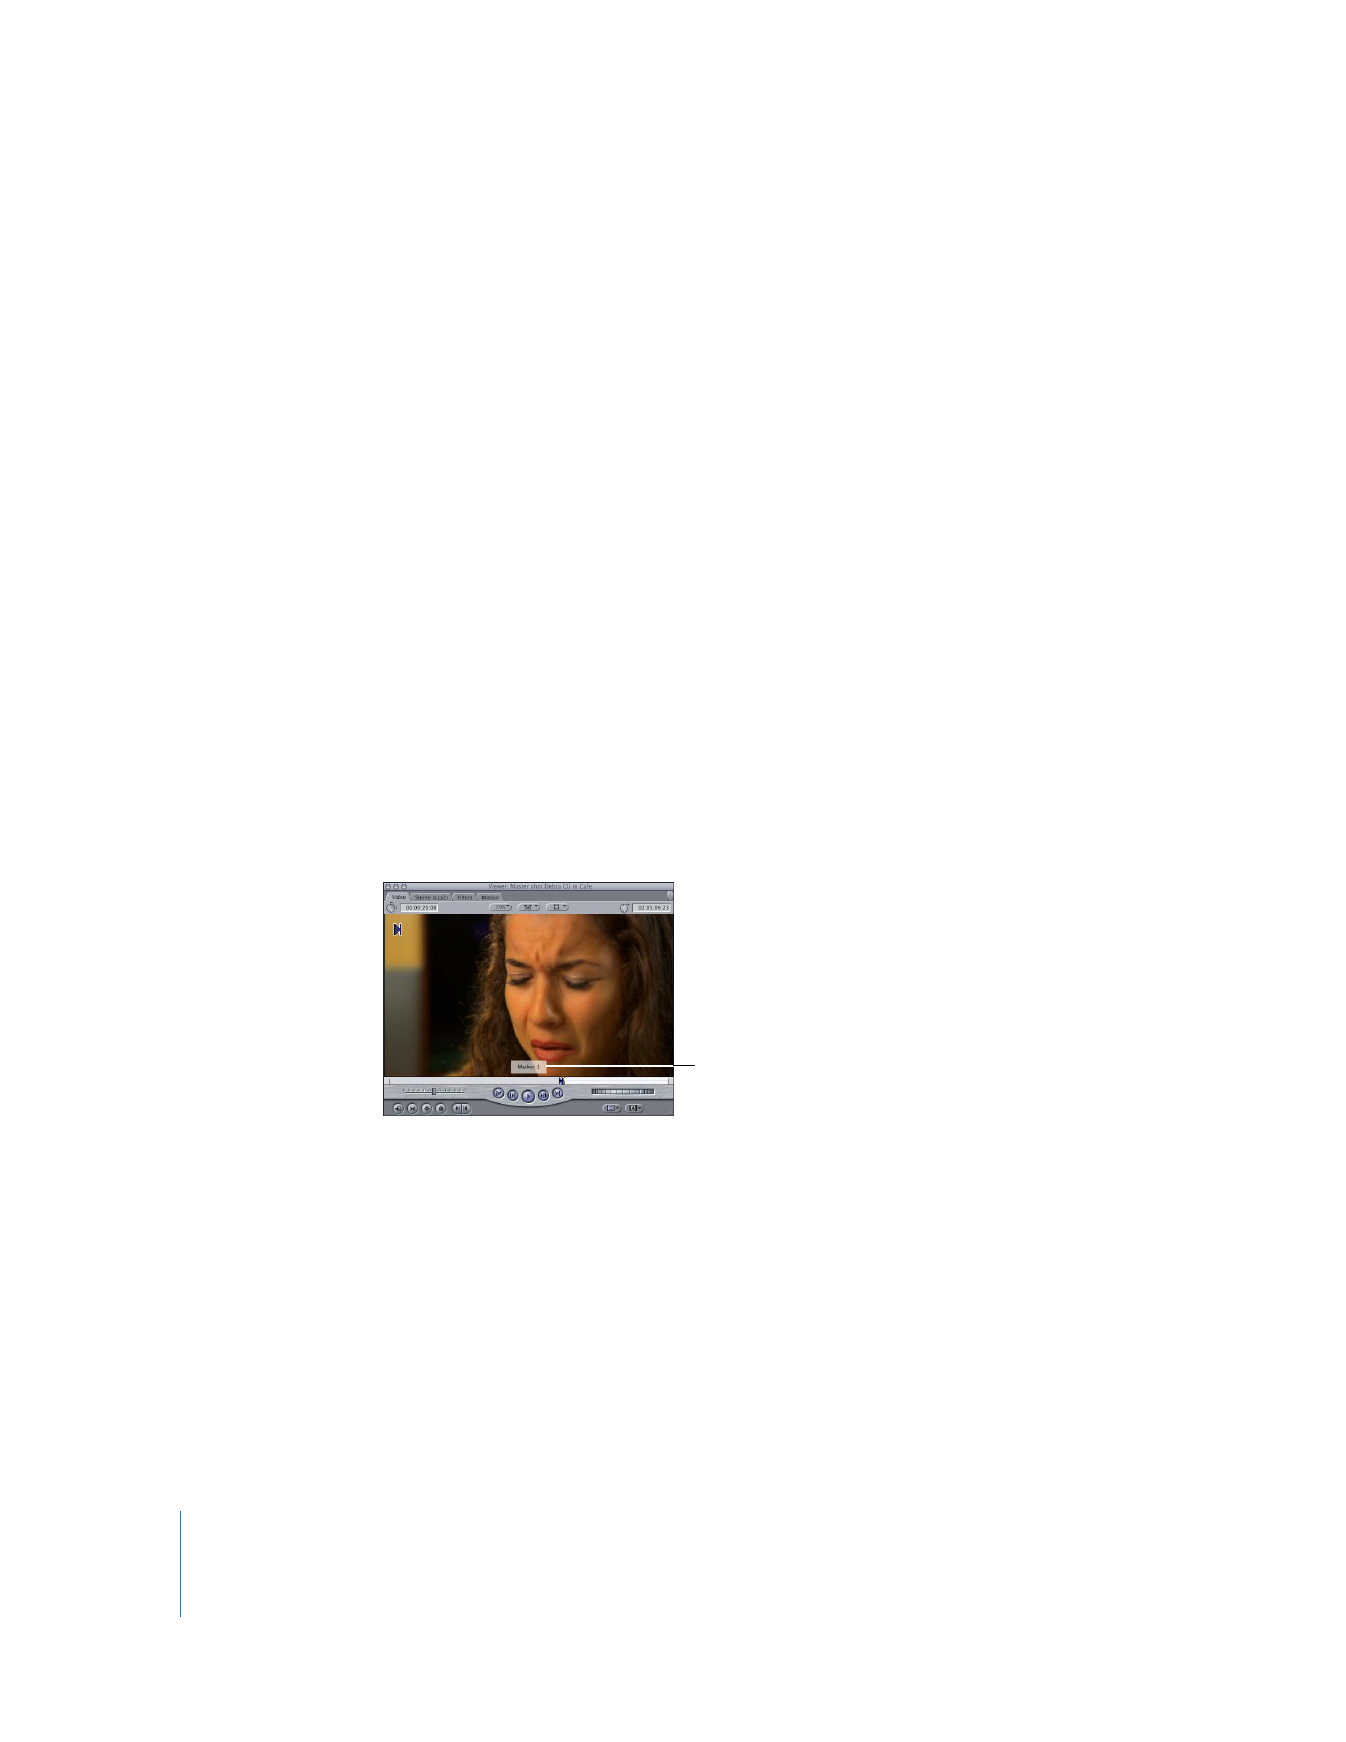
 Note marker: This is the default marker that is created when you add a marker to a
clip or sequence.
 Chapter marker: These markers are automatically translated into DVD chapter
markers in applications such as DVD Studio Pro. A chapter marker is distinguished by
the text <CHAPTER> appearing in the Comment field of its Edit Marker window.
 Compression marker: Also known as manual compression markers—these are markers
you can add to a sequence or clip to indicate when Compressor or DVD Studio Pro
should generate an MPEG I-frame during compression. To improve MPEG
compression, you should add compression markers when there is an abrupt visual
change from one frame to the next within a clip. A compression marker is
distinguished by the text <COMPRESSION> appearing in the Comment field of its
Edit Marker window in Final Cut Pro.
 Scoring marker: These markers are used for marking important visual cues to sync
music to. They are visible when you open an exported QuickTime movie in
Soundtrack Pro. A scoring marker is distinguished by the text <SCORING> appearing
in the Comment field of its Edit Marker window.
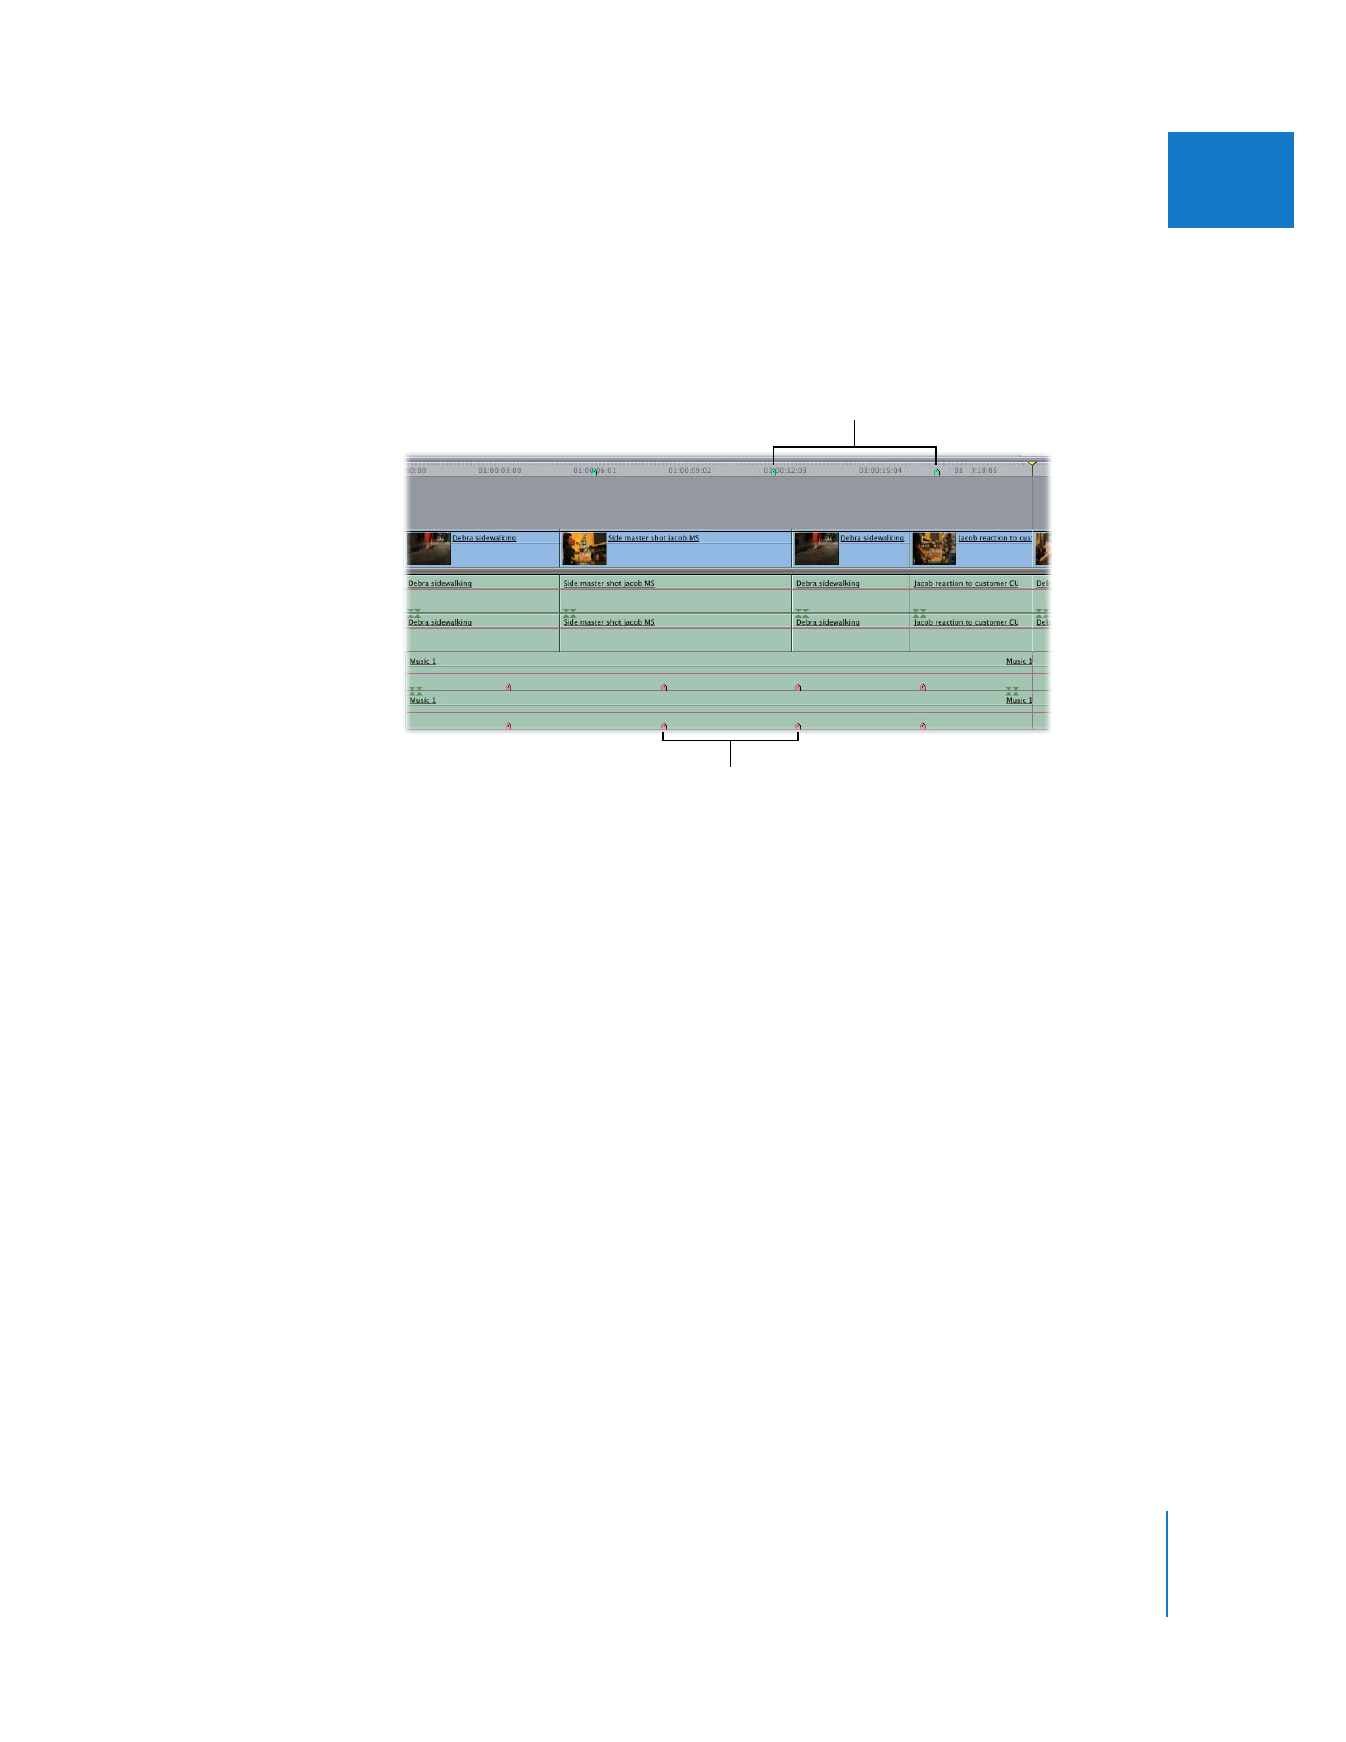
Green sequence markers
Pink clip markers
56
Part I
Organizing Footage and Preparing to Edit
 Audio peak marker: Any audio samples over 0 dBFS are marked when you choose
Mark > Audio Peaks > Add. These markers show where in your clip the audio is
digitally clipping, indicating you should reduce the level at that point. You can clear
audio peak markers by choosing Mark > Audio Peaks > Clear. For more information,
see Volume IV, Chapter 9, “Diagnostic Tools for Clips.”
 Long frame marker: During capture, some frames may be captured with a longer
duration than is acceptable. This can lead to playback and output problems. To mark
long frames, you can choose Tools > Long Frames > Mark. If your clip has long
frames, you can try recapturing the clip or avoid using that part of the media file. For
more information, see Volume IV, Chapter 9, “Diagnostic Tools for Clips.”