Navigating with Markers
You can navigate through your clip or sequence using the markers you’ve set. This is
useful when you want to quickly navigate to specific points in a clip or in the Timeline.
For example, you can place markers in the Timeline to mark two different frames for
matching during color correction, or you may place markers to quickly jump to
different scenes in a sequence.
To move the playhead to a marker in the Viewer or Canvas, do one of the following:
m
Drag the playhead to the marker in the scrubber bar.
If snapping is turned on, the playhead snaps to the position of a nearby marker. When
the playhead is over a marker in the Viewer or Canvas, the marker turns yellow.
m
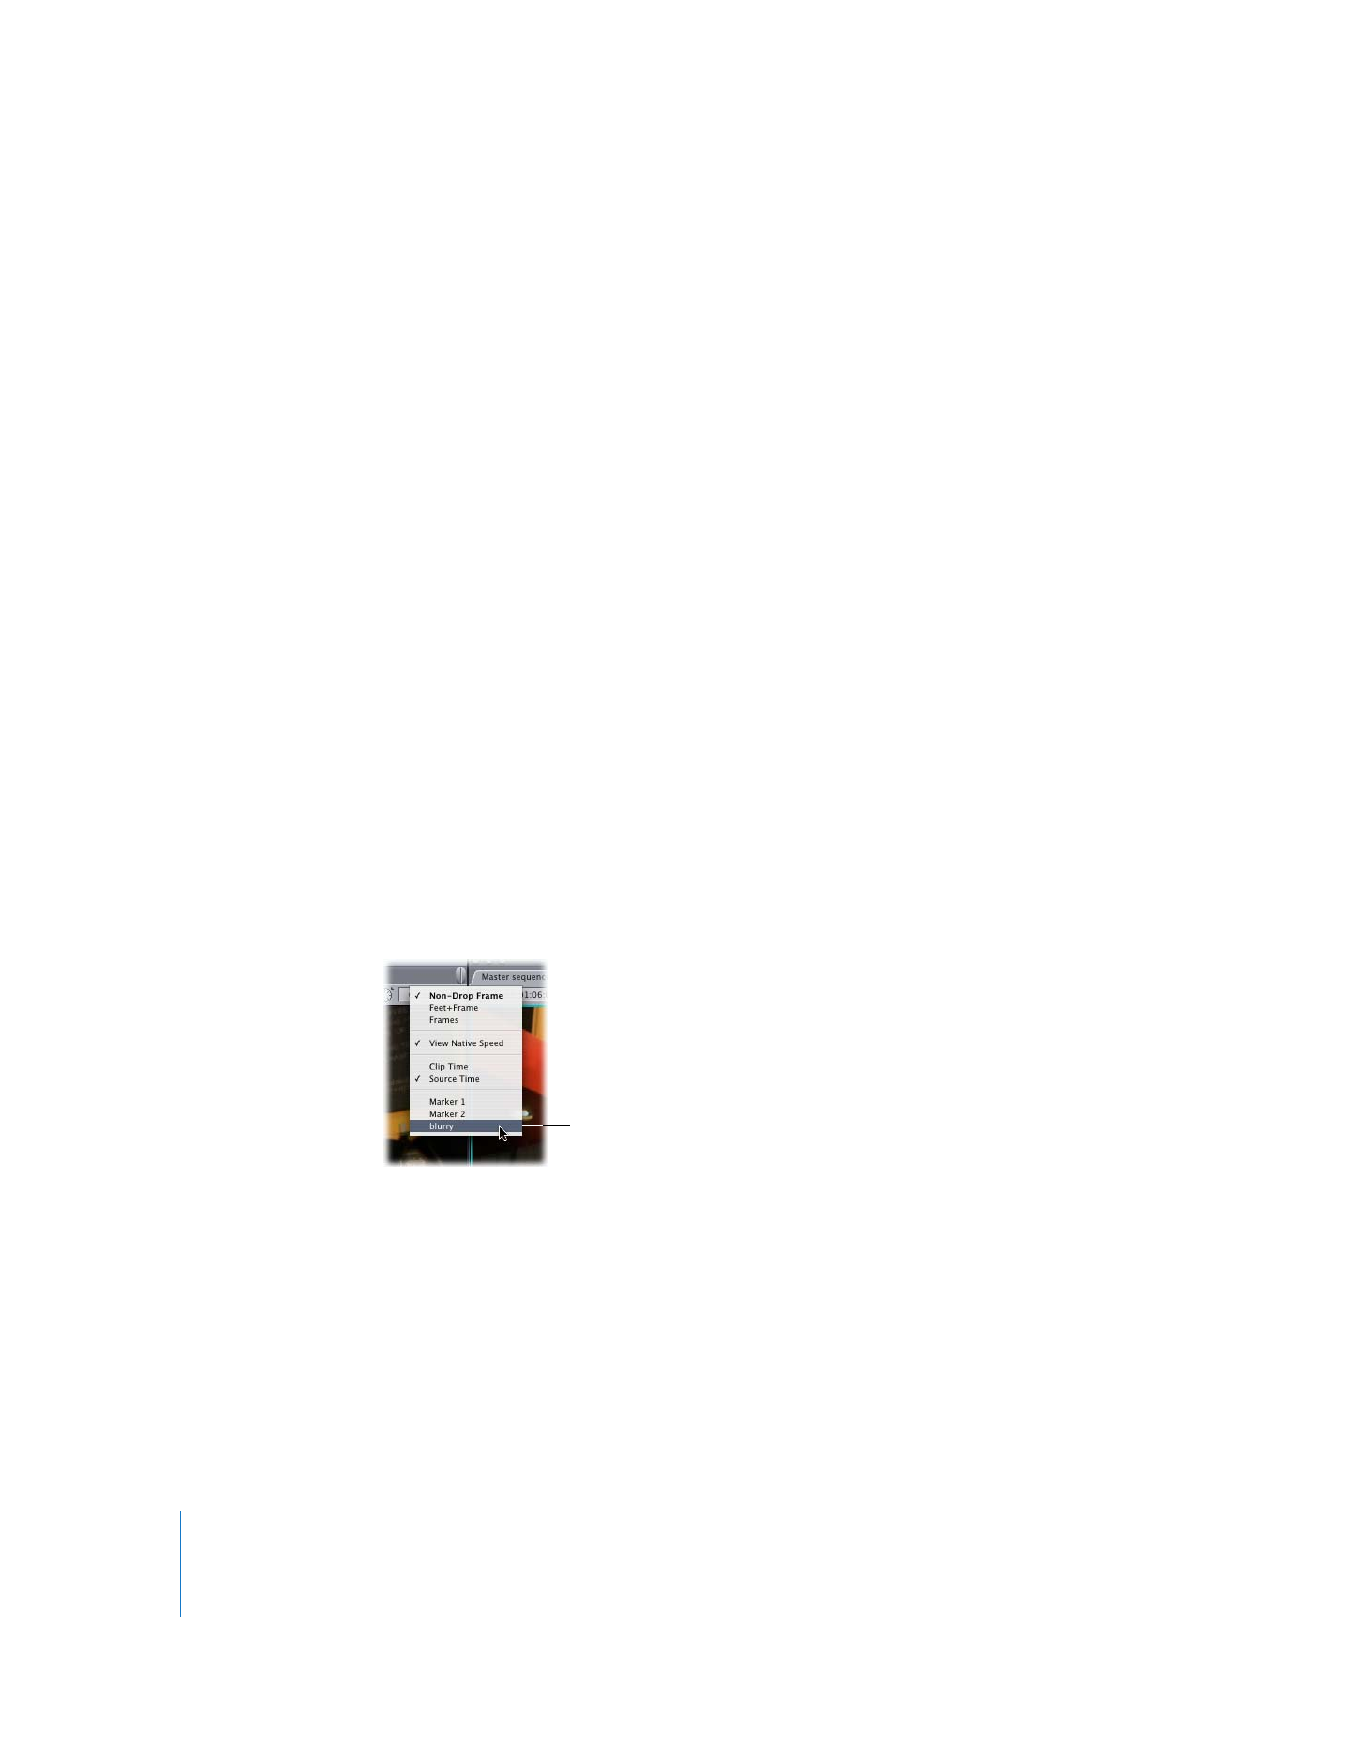
Control-click in the Current Timecode field, then choose a marker from the
shortcut menu.
Choose a marker.
Chapter 4
Using Markers
63
I
To move the playhead to a clip or sequence marker in the Timeline, do one of
the following:
m
Drag the playhead to a sequence marker in the ruler.
If snapping is turned on, the playhead snaps to the position of a nearby marker.
m
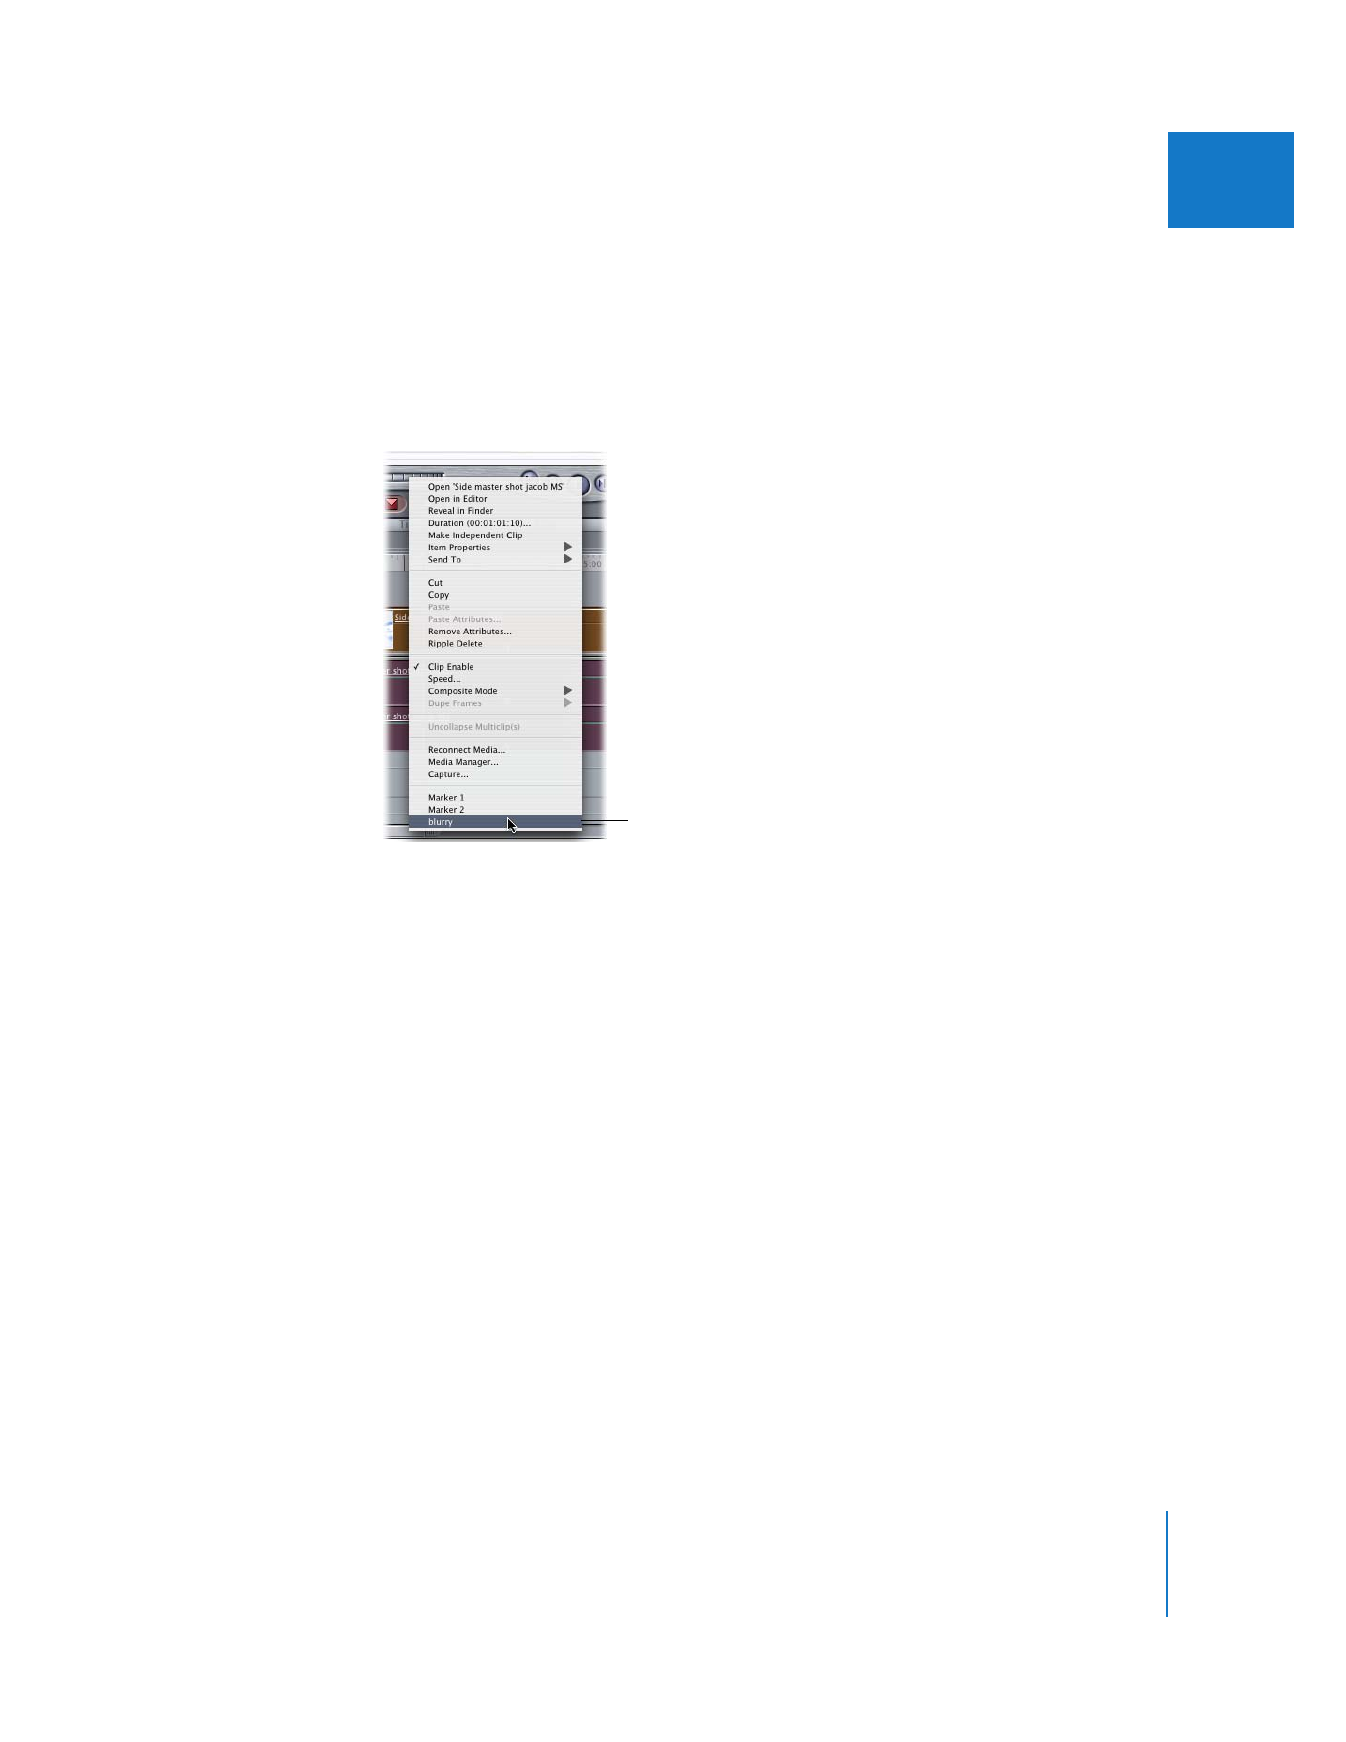
Control-click the Timeline ruler, then choose a marker from the list of sequence and clip
markers in the shortcut menu.
To move to the next marker (to the right), do one of the following:
m
Choose Mark > Next > Marker.
m
Press Shift-M.
m
Press Shift–Down Arrow.
To move to the previous marker (to the left), do one of the following:
m
Choose Mark > Previous > Marker.
m
Press Option-M.
m
Press Shift–Up Arrow.
Choose a marker.
64
Part I
Organizing Footage and Preparing to Edit