Moving Clips Numerically
When you want to move clip items precisely, you can move them by entering positive
or negative timecode values.
To move an item by entering a timecode value:
1
In the Timeline, select the clip item or items you want to move.
2
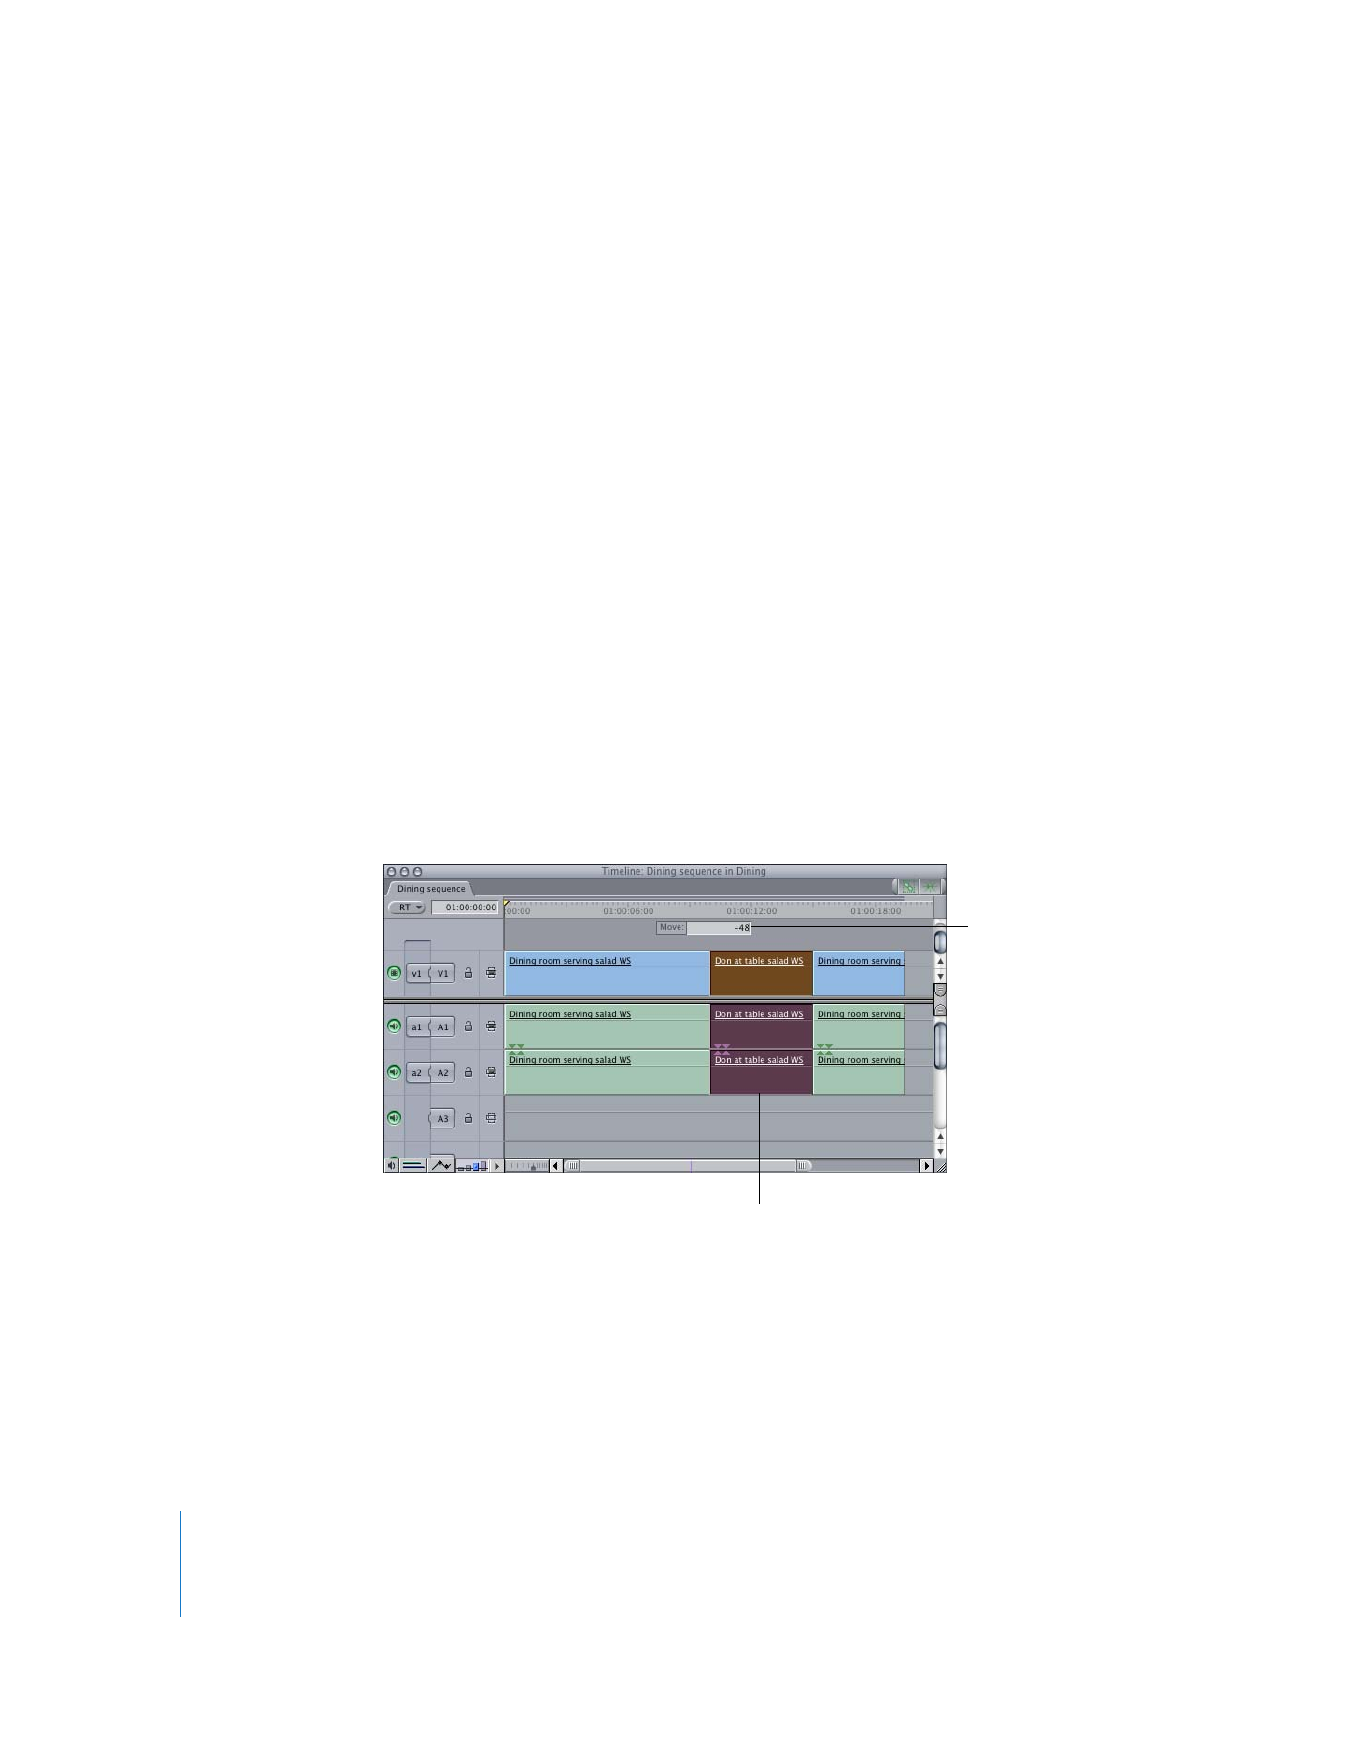
Type a relative timecode value for where you want the clip to be positioned.
For example, type +48 (or simply 48) to move the item 48 frames forward. To move 48
frames backward in time, type –48. When you type a number, a Move field appears
above the track. You can also type a regular timecode value to move the clip to that
location in the Timeline.
Note: Don’t click in the Current Timecode field before you do this, or you’ll move the
playhead instead.
The number
of frames moved
Clip items to be moved
Chapter 12
Arranging Clips in the Timeline
193
II
3
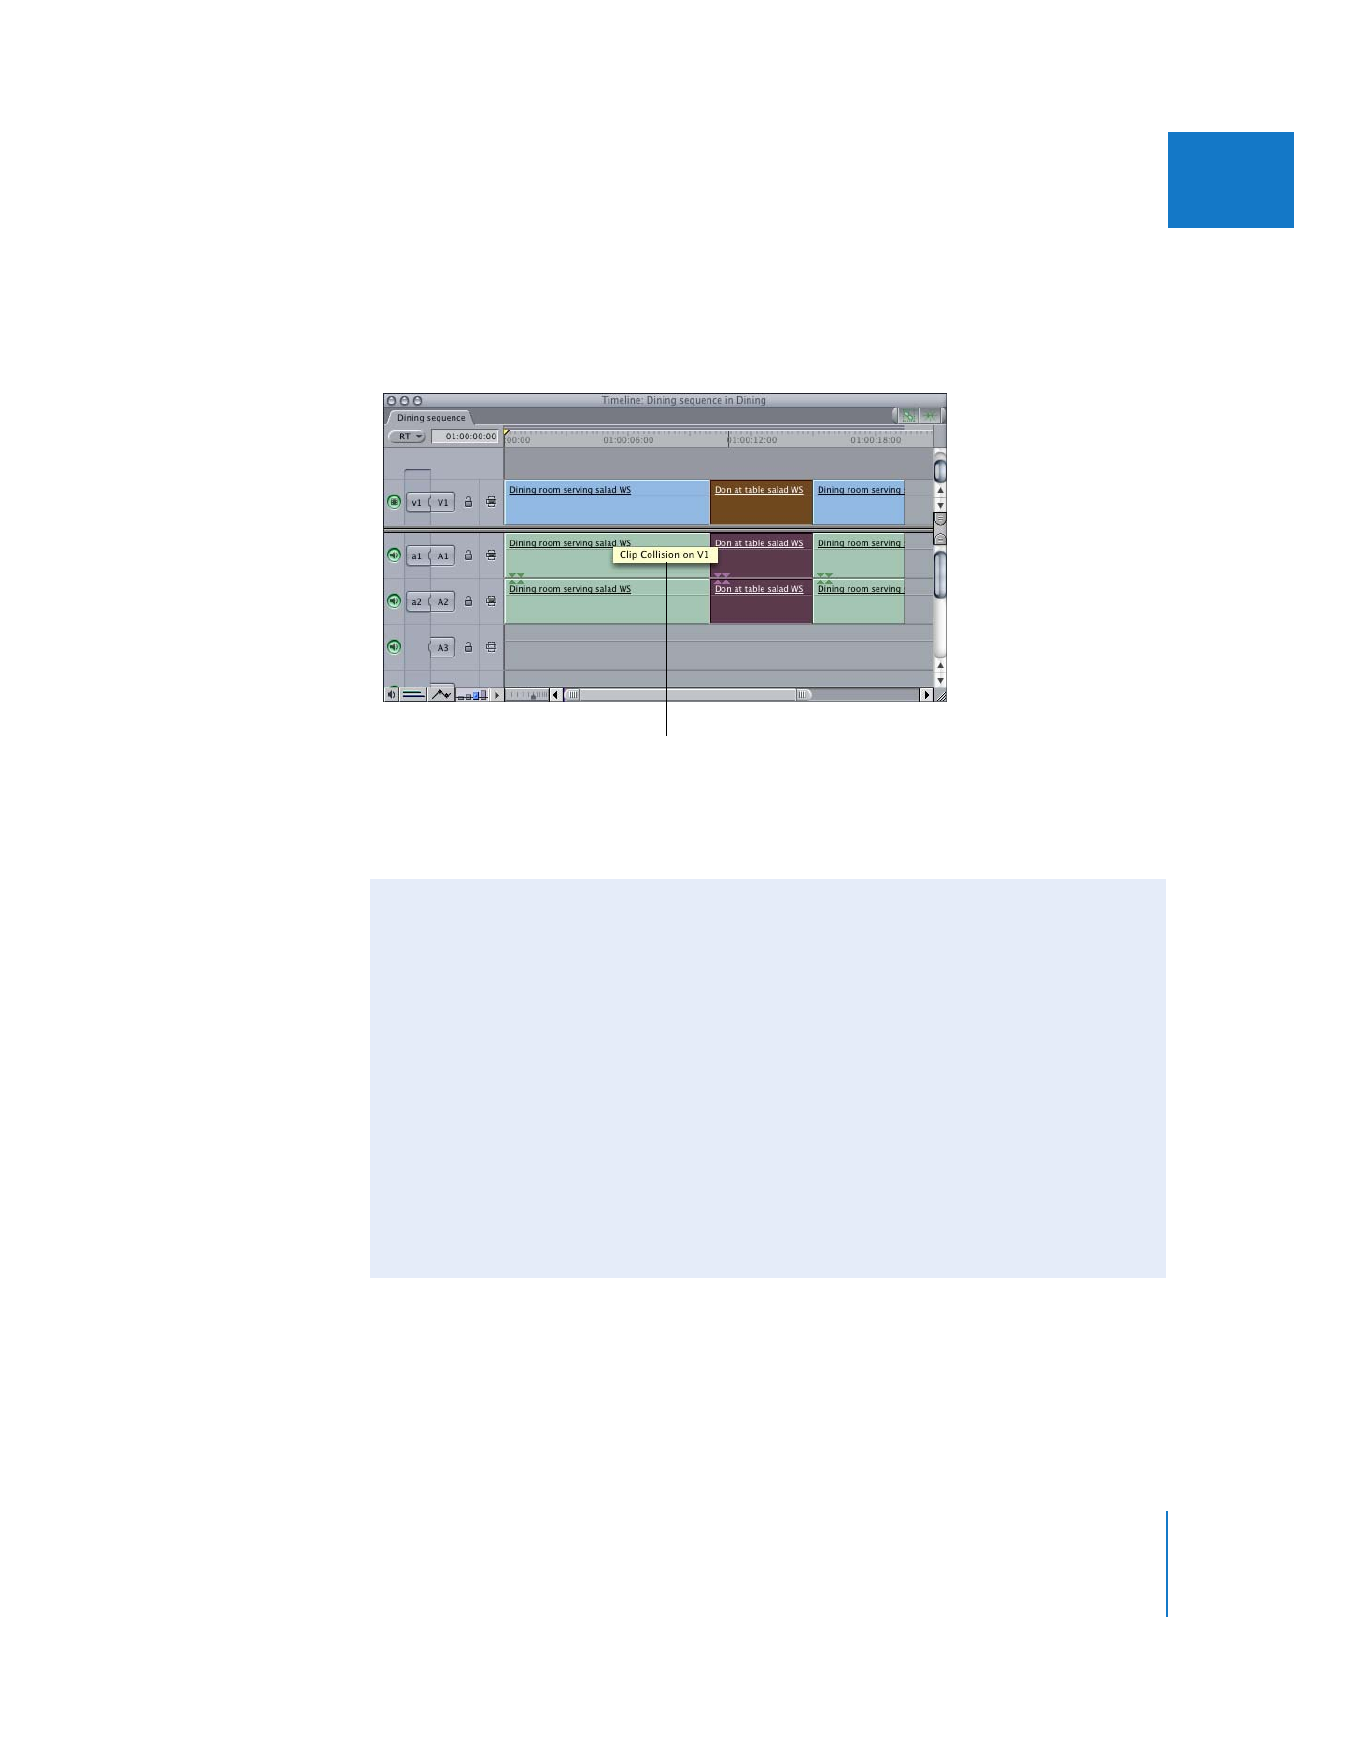
Press Return.
The clip moves to the new location if there aren’t any other clip items in the way. If
there are, you’ll see a “Clip Collision” message indicating which track had a clip that
interfered with your edit.
For more information about editing numerically using timecode, see Chapter 18,
“
Performing Slip, Slide, Ripple, and Roll Edits
,” on page 317 and Chapter 20, “
Trimming
Clips Using the Trim Edit Window
,” on page 357.
Clip Collision message