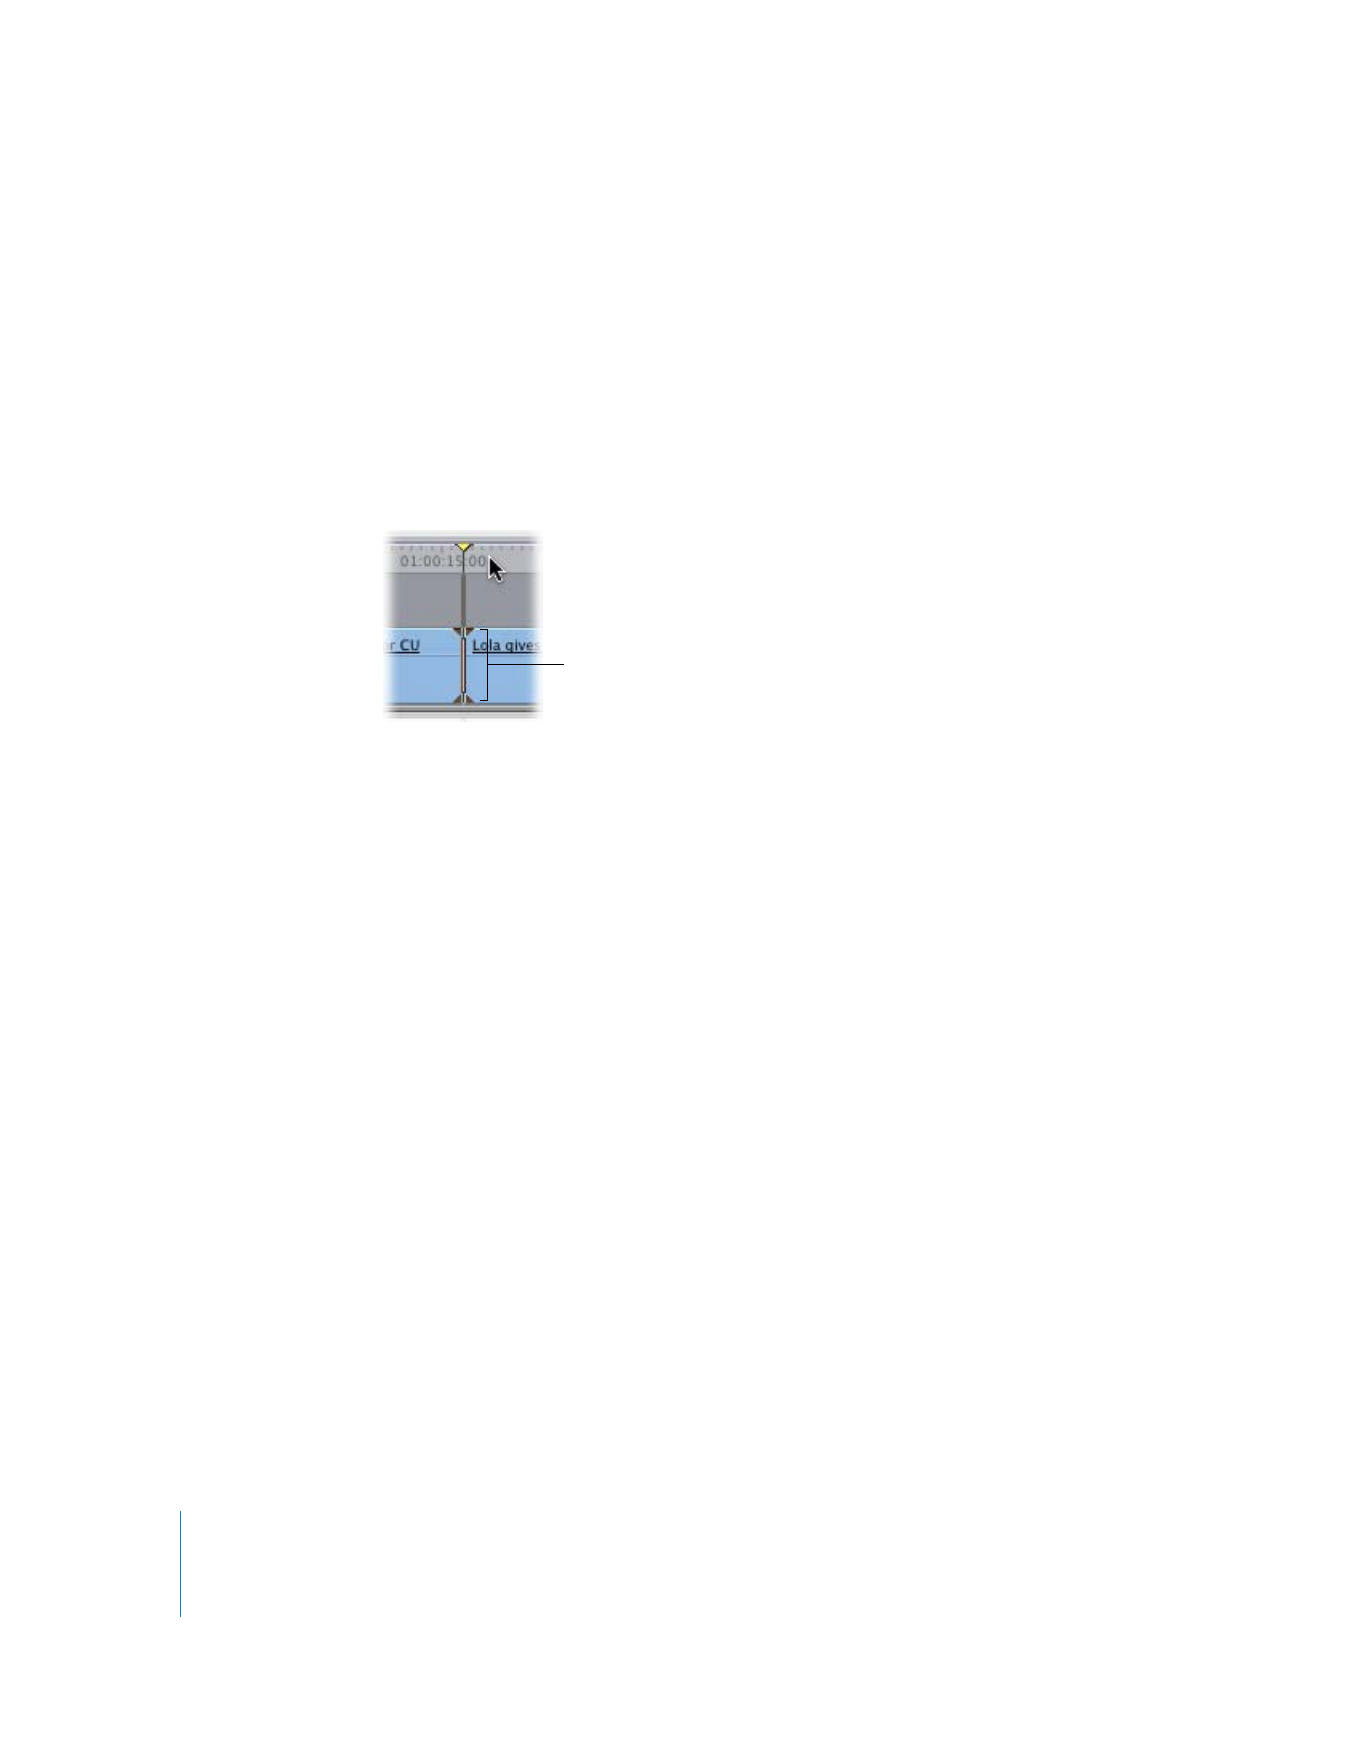
Snapping to Points in the Timeline
The Timeline is where you arrange clip items, scene by scene and shot by shot. The
snapping feature helps you line up large groups of clips without accidentally creating
gaps. To arrange content, you need to know how to move, copy, cut, paste, and delete
within a sequence.
The snapping behavior makes it easier and quicker to do things like line up a video and
audio clip item on two tracks, or align the playhead to a particular marker. When
snapping is turned on, items you move in the Timeline, including the playhead and
selected clips, appear to jump, or “snap,” directly to certain points in the Timeline.

190
Part II
Rough Editing
Several elements trigger snapping in the Timeline:
 Clip boundaries
 The playhead
 Markers
 Keyframes
 In and Out points
When you drag the playhead or a selected clip item in the Timeline, it “snaps” to these
elements when it encounters them.
While snapping is extremely useful, it can also be a hindrance if you’re trying to move a
clip only a few frames among a series of markers and clip boundaries, and you don’t
want it to snap to any of these points. Fortunately, you can turn snapping on or off at
any time, even while you’re dragging a clip.
To turn snapping on or off, do one of the following:
m
Press N (you can do this even while you’re dragging).
m
Choose View > Snapping. (A checkmark indicates snapping is on.)
m
Click the Snapping button in the Timeline.
If the Snapping button is not in the Timeline button bar, you can add it. For more
information about customizing button bars, see Volume I, Chapter 10, “Customizing the
Interface.”
Snapping affects the functions of many of the editing tools in Final Cut Pro, such as the
Ripple and Roll tools, as well as the playhead in both the Viewer and the Canvas.