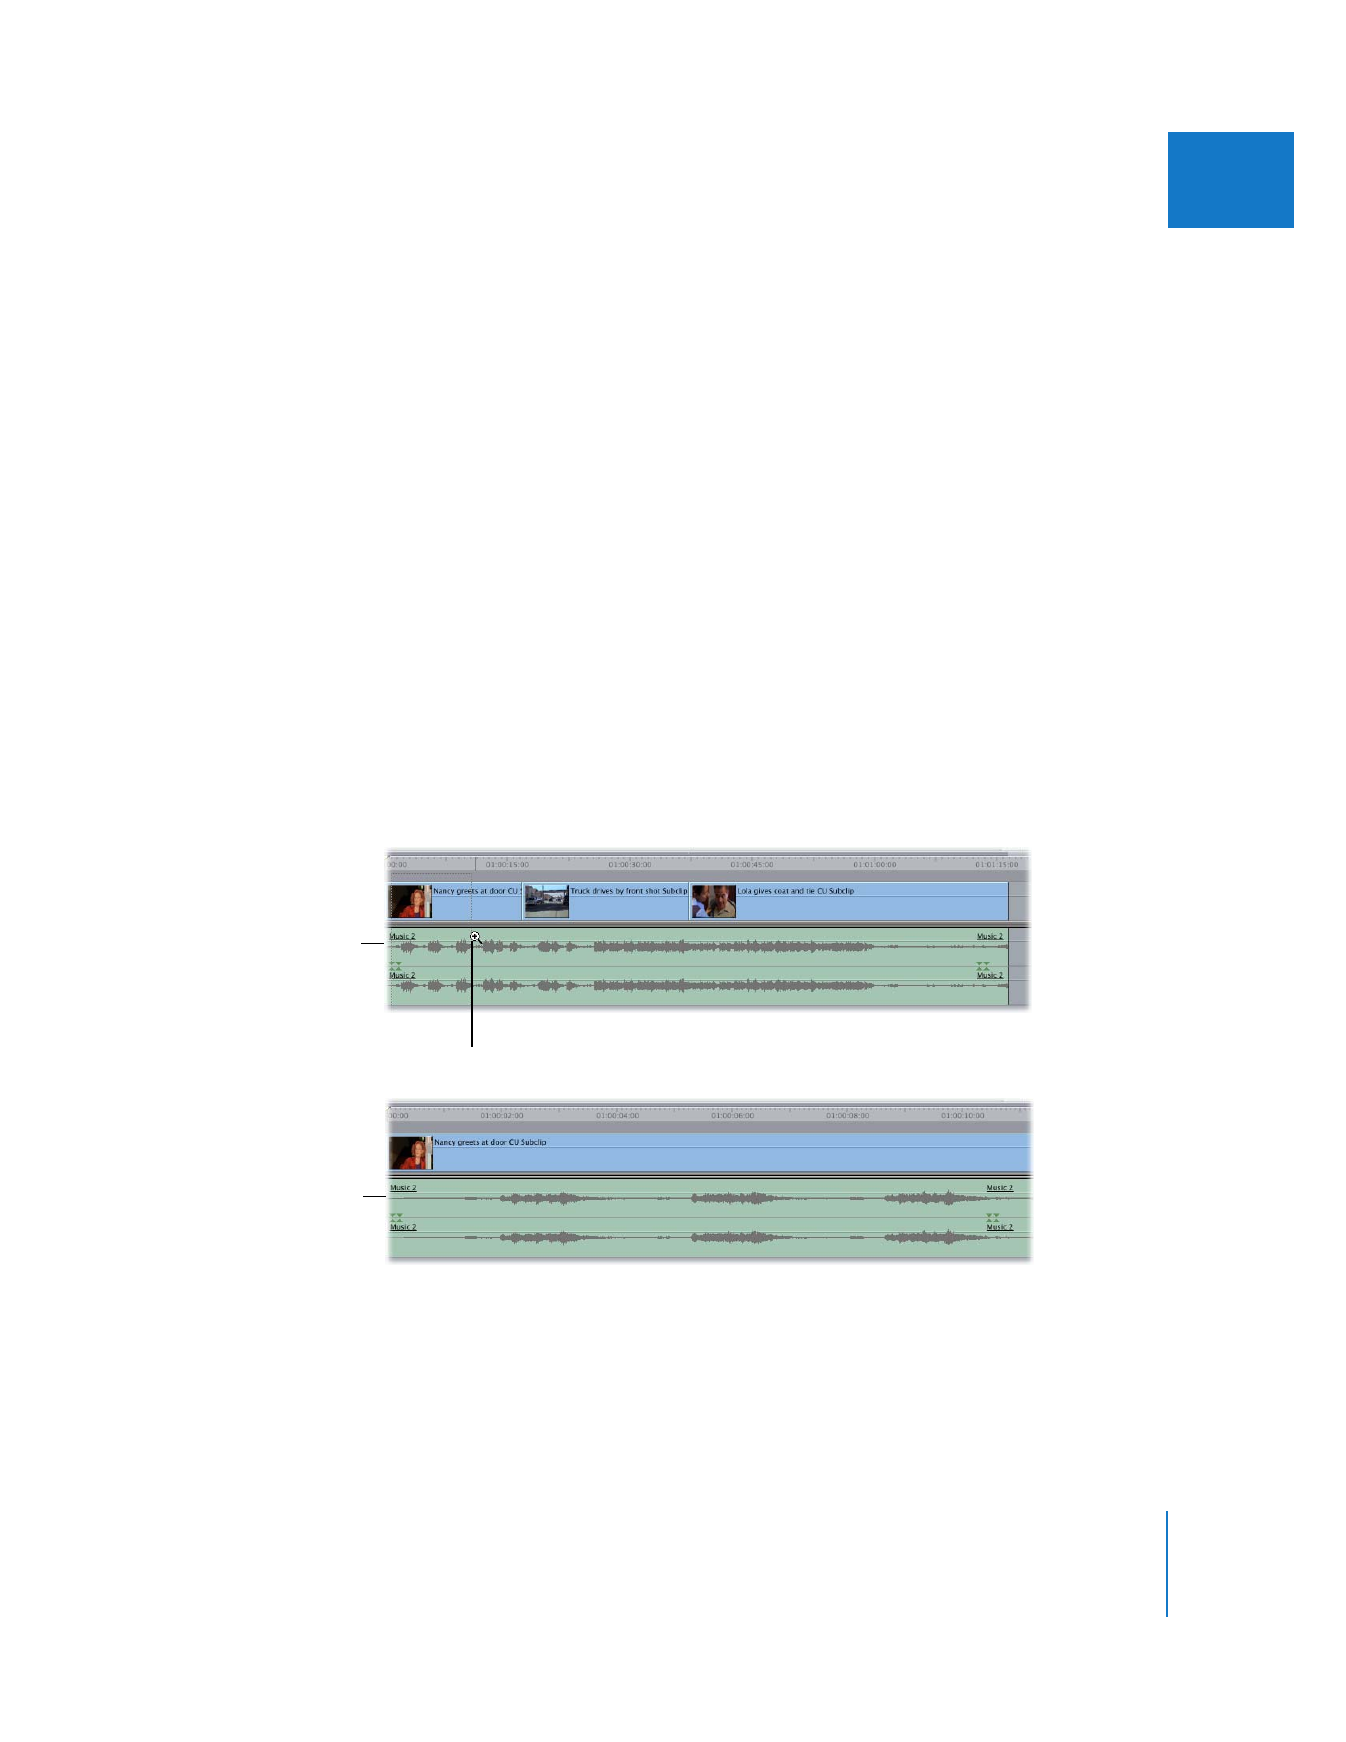
Zooming In and Out of Waveforms in the Timeline
There are several ways you can zoom in and out of waveform displays in the Timeline.
Make sure you have waveform displays turned on (see “
Displaying Waveforms in the
Timeline
” on page 301).
You can also use the Zoom control and Zoom slider in the Timeline. These controls
work the same way they do in the audio tabs of the Viewer. For information on using
these controls, see “
Zooming In or Out of the Waveform Display Area
” on page 294.
To zoom in and out of the Timeline using the zoom tools:
1
Select the Zoom In or Zoom Out tool in the Tool palette (or press Z).
2
Do one of the following:
 Click in the waveform area of a track in the Timeline.
 Drag to select a region to zoom in or out on.
Clicking or dragging repeatedly increases or decreases the zoom factor, depending on
which tool is selected. When the Timeline is zoomed in or out to the maximum level
possible, the + (plus) and – (minus) signs on the zoom tools disappear.
∏
Tip: Pressing the Option key with either the Zoom In or the Zoom Out tool selected
temporarily changes it to the opposite tool.
Before zooming in
Zoom In tool
After zooming in

304
Part II
Rough Editing