Example: Replacing Unwanted Audio with Room Tone
As you edit dialogue, you’ll often need to cut out pieces of audio that you don’t want in
the sequence. For example, the director may have given directions in between an
actor’s lines, or the sound recordist might have bumped into something while shooting
on location for a documentary. As long as there’s no dialogue happening at the same
time, it’s pretty easy to cut out unwanted sounds. If you simply delete the sound,
however, you’ll be left with a gap in your audio that sounds artificial. Since there’s
always a low level of background noise, known as room tone, in any recording, a
moment of complete silence is jarring.
In order to edit out unwanted sections of audio without creating obvious gaps, it’s
common practice to record a certain amount of room tone during a shoot. The
recordist simply has everyone stand quietly for thirty seconds or so, and records the
ambient sound of the room. If you’ve recorded some room tone during your shoot, you
can capture it so that, as you edit, you have a long piece of “silence” that you can edit in
whenever you need to cover a gap in the location audio.
If, for some reason, room tone was not captured for a particular scene, but you have a
gap you need to fill, you can try to copy a section from another clip in the same scene
that has a pause in the dialogue, and paste it to fill the gap. If you have no pauses that
are long enough to cover your gap, you can try to copy and paste a short pause
multiple times. But there’s a chance that it will end up sounding like a loop, which will
be too noticeable. In this case, you can use the following method to obtain a long
section of room tone from a short copied pause in the dialogue.
To create a section of room tone from a short pause:
1
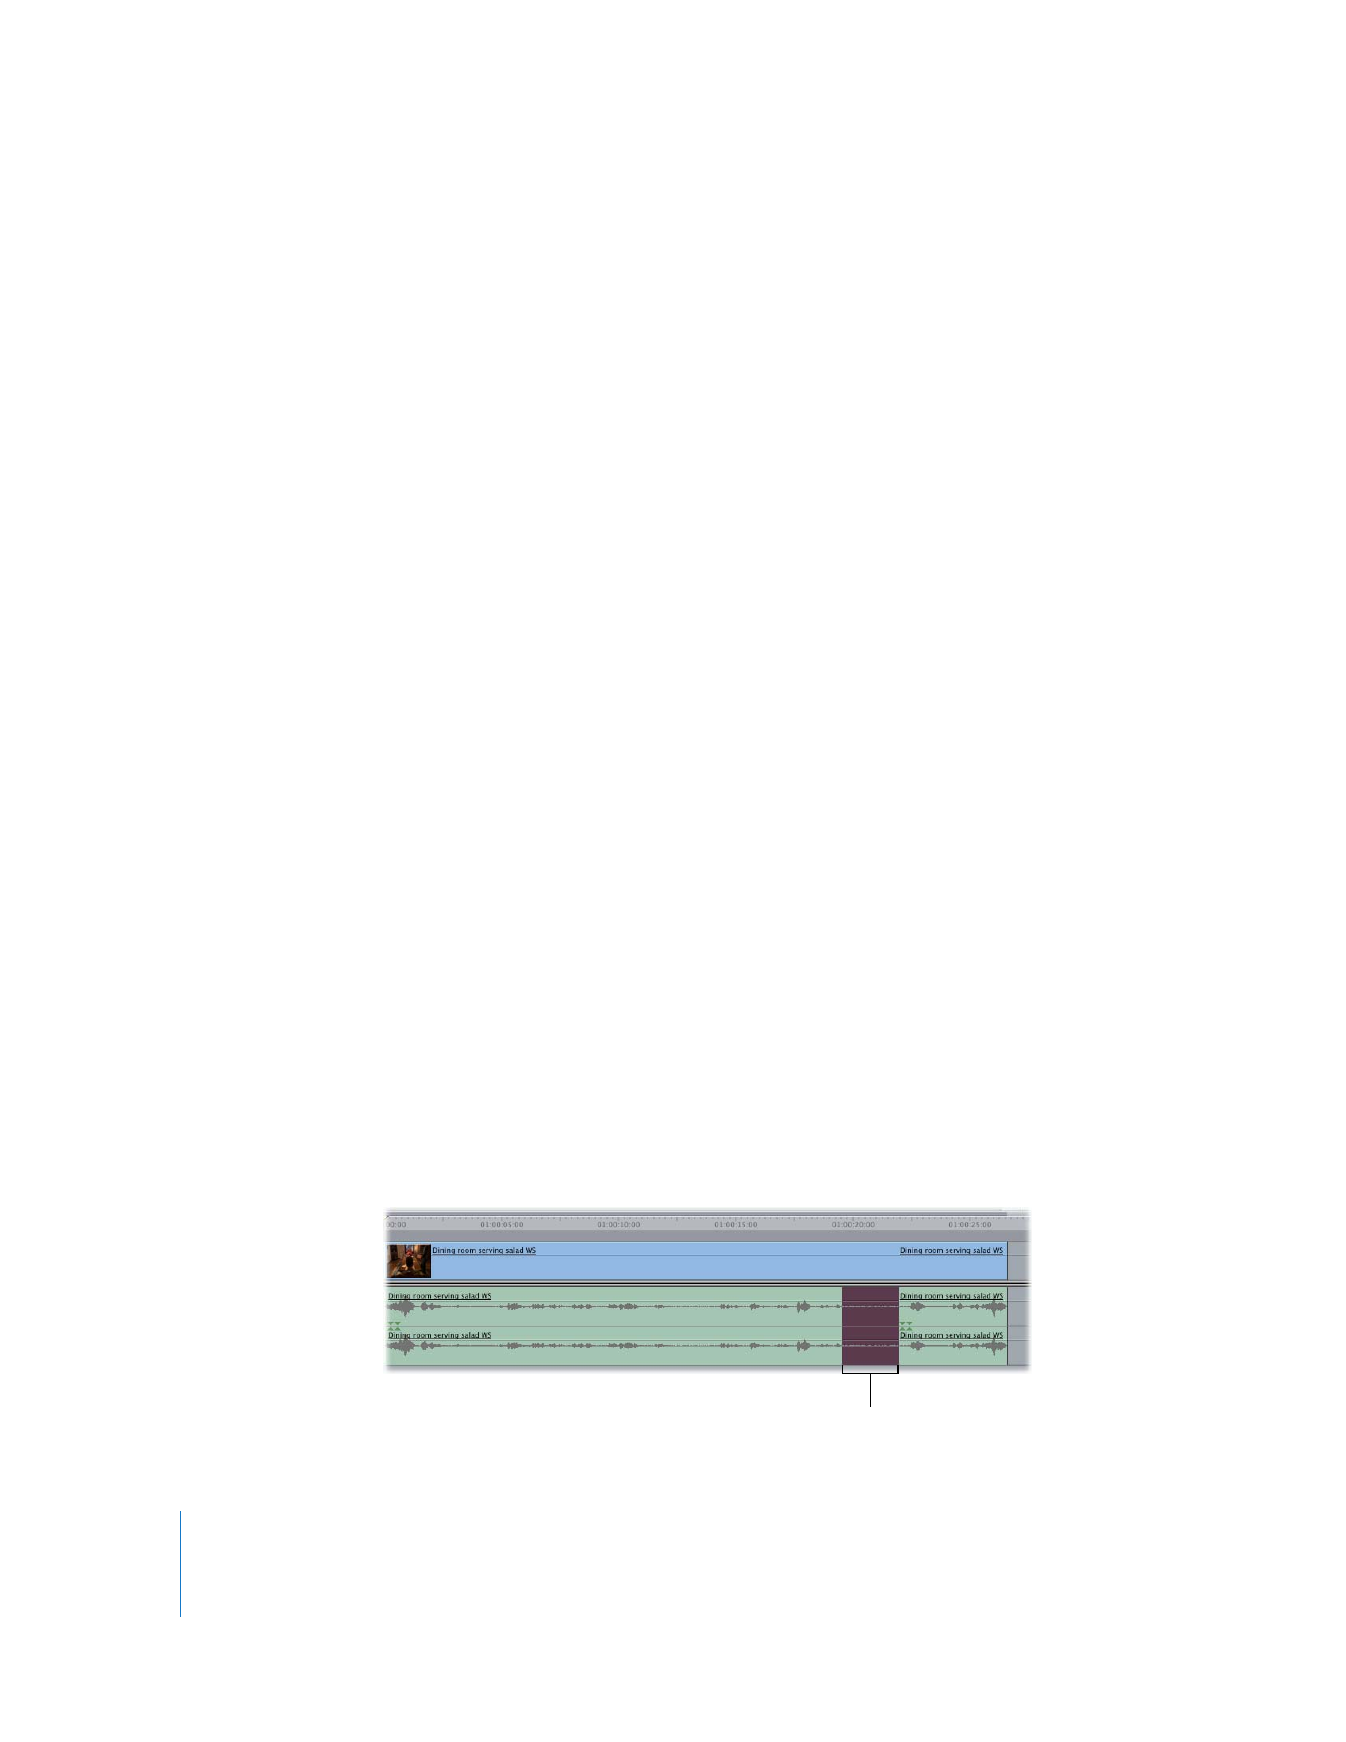
Find the longest pause you can in the dialogue clip with the gap you need to fill, then
copy the section that contains the pause. If you’re in the Timeline, you can use the
Range Selection tool.
The long pause in your
clip is selected.

Chapter 17
Audio Editing Basics
311
II
2
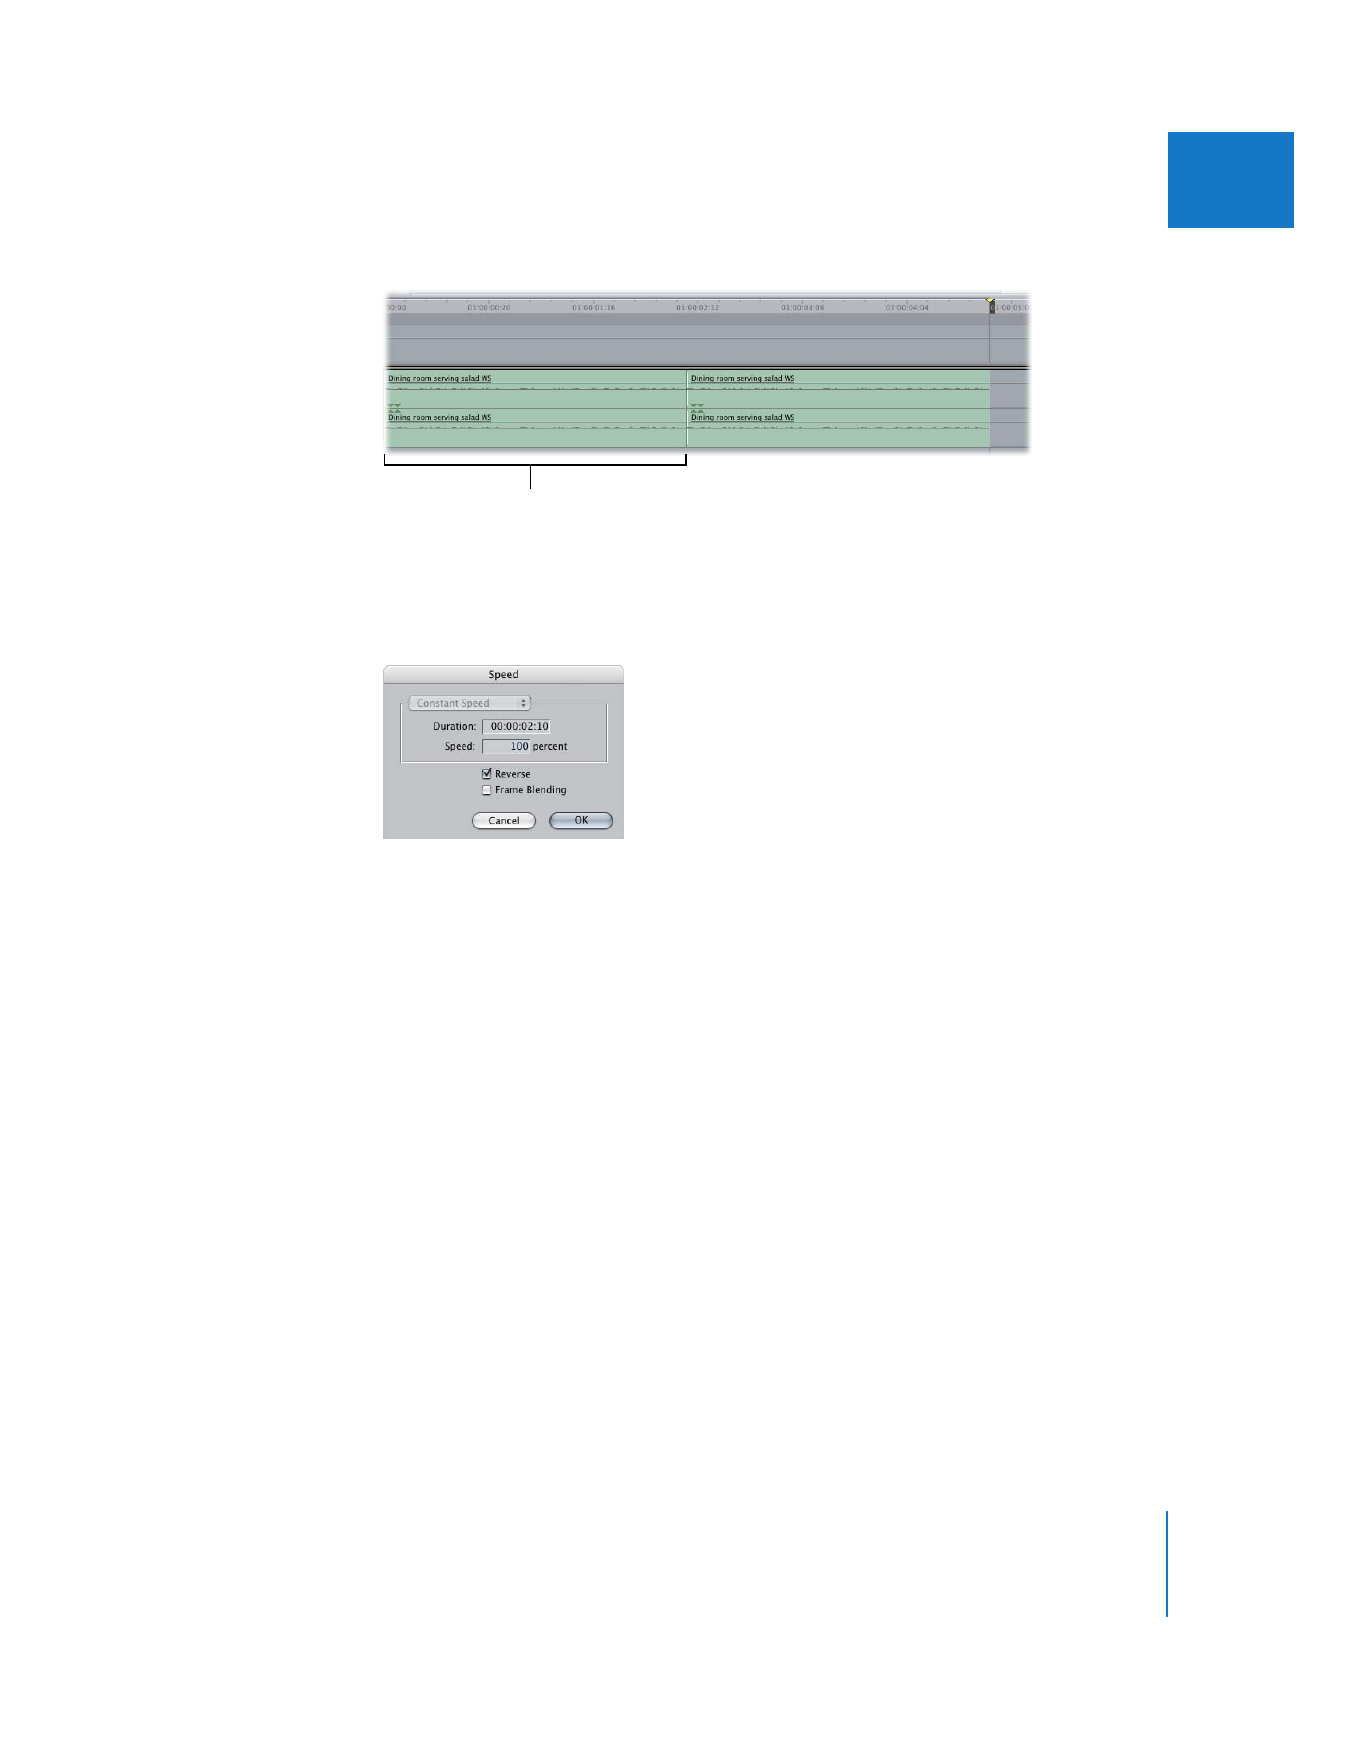
Create a new sequence, name it “Room Tone,” and paste the audio pause into it twice.
3
Select the clip containing the second pause, then choose Modify > Speed.
4
In the Speed dialog, click the Reverse checkbox to select it.
5
Play the resulting clips.
The looping sound should be gone, but if you hear a clicking at the edit point between
the two clips, you may have to add a cross fade transition between them to smooth
this out. For more information, see Chapter 21, “
Adding Transitions
,” on page 371.
If the looping effect is not obvious, you may want to skip the speed reversal step. You
may also need a longer section of ambient tone, or several different sections.
Experiment to see what works best.
6
Cut and paste as many pairs of these clips as you need to fill the necessary duration,
adding cross fades between each pair.
Paste the pause section
you just copied twice
into a new sequence.

312
Part II
Rough Editing
7
Render the Room Tone sequence, then edit the sequence into the gap in your program,
just as you would a clip.
To replace an unwanted section of an audio clip with room tone:
1
Make the tracks that contain the unwanted audio the audio destination tracks, then
disconnect the video destination track.
2
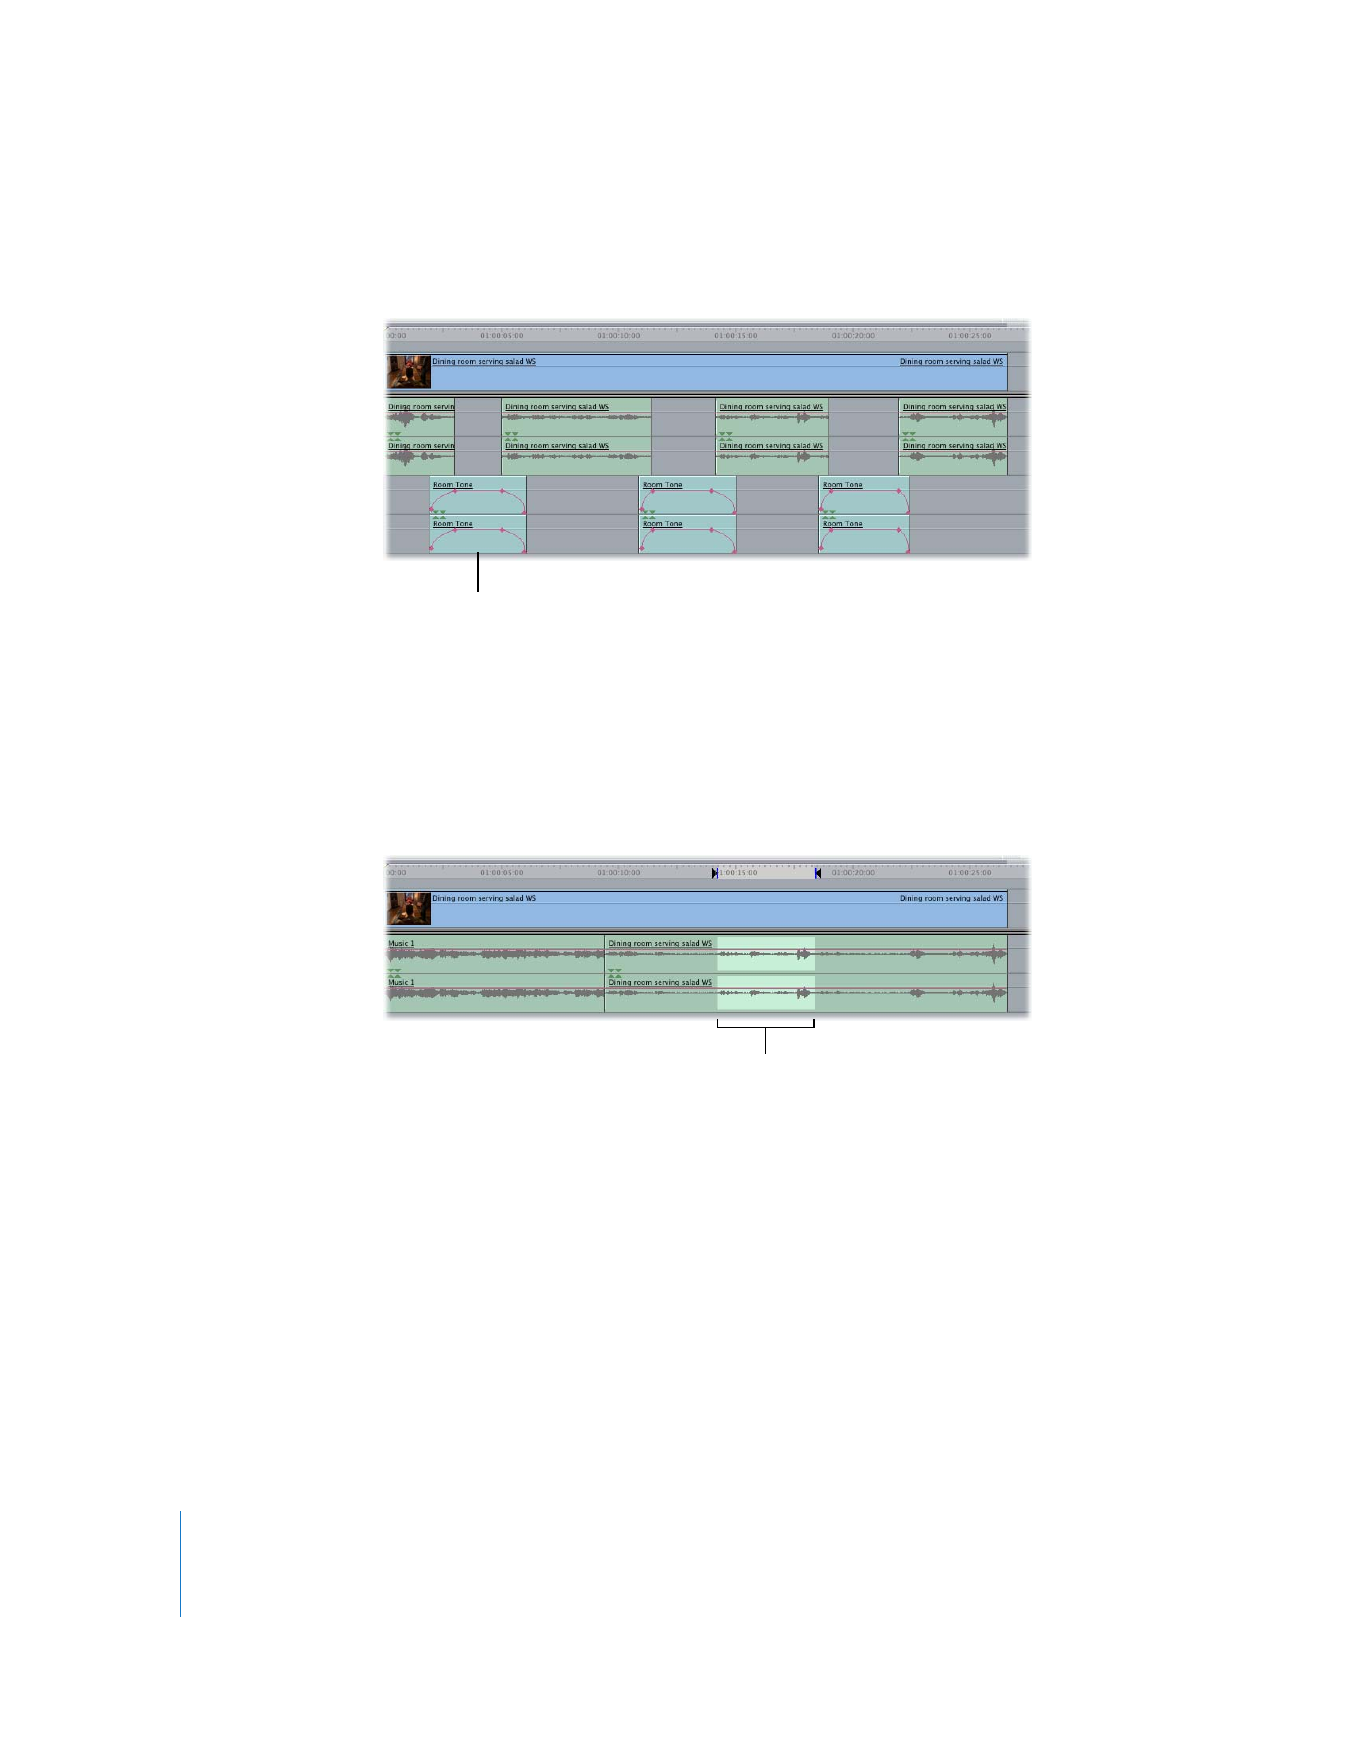
Play your clip using the J, K, and L keys, and set In and Out points right before and after
the section of audio you want to replace.
3
Move the Canvas or Timeline playhead to the In point.
4
Drag your Room Tone sequence into the Viewer, and move the Viewer playhead to the
start of the section of room tone you want to use.
5
Set an In point in the Viewer.
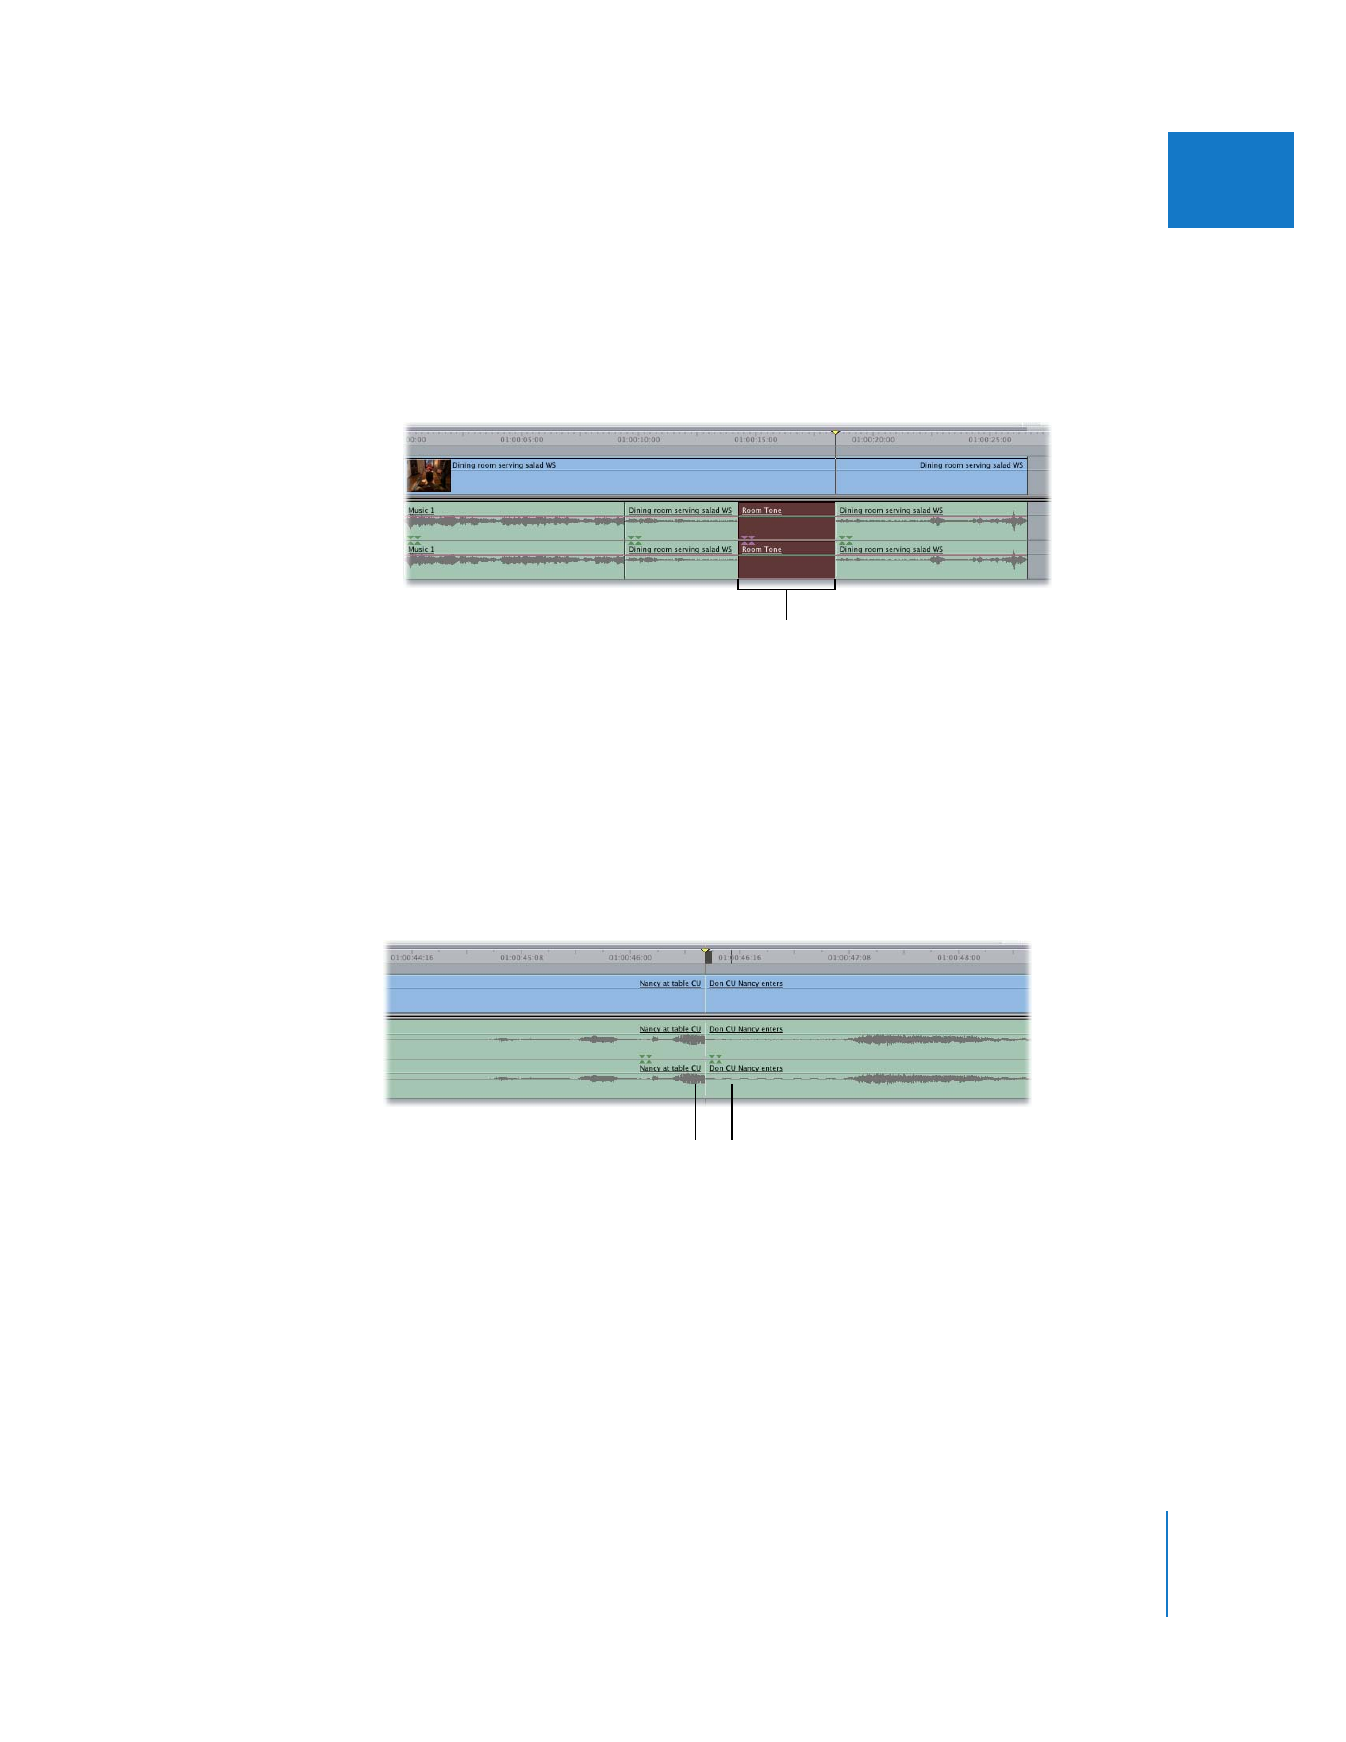
Edit the Room Tone
sequence into your existing
sequence to fill the gap.
In and Out points are set to
mark the section you want to
replace with room tone.

Chapter 17
Audio Editing Basics
313
II
6
Edit the room tone into your sequence by doing one of the following:
 Drag the Room Tone sequence from the Viewer to the Overwrite section of the Edit
Overlay in the Canvas.
 Click the Overwrite button in the Canvas.
 Press F10.