Doing Simple Insert and Overwrite Edits in the Timeline
When you drag clips to the Timeline, you can perform insert or overwrite edits. (For
more information about insert and overwrite edits, see “
Performing the Different Types
of Edits
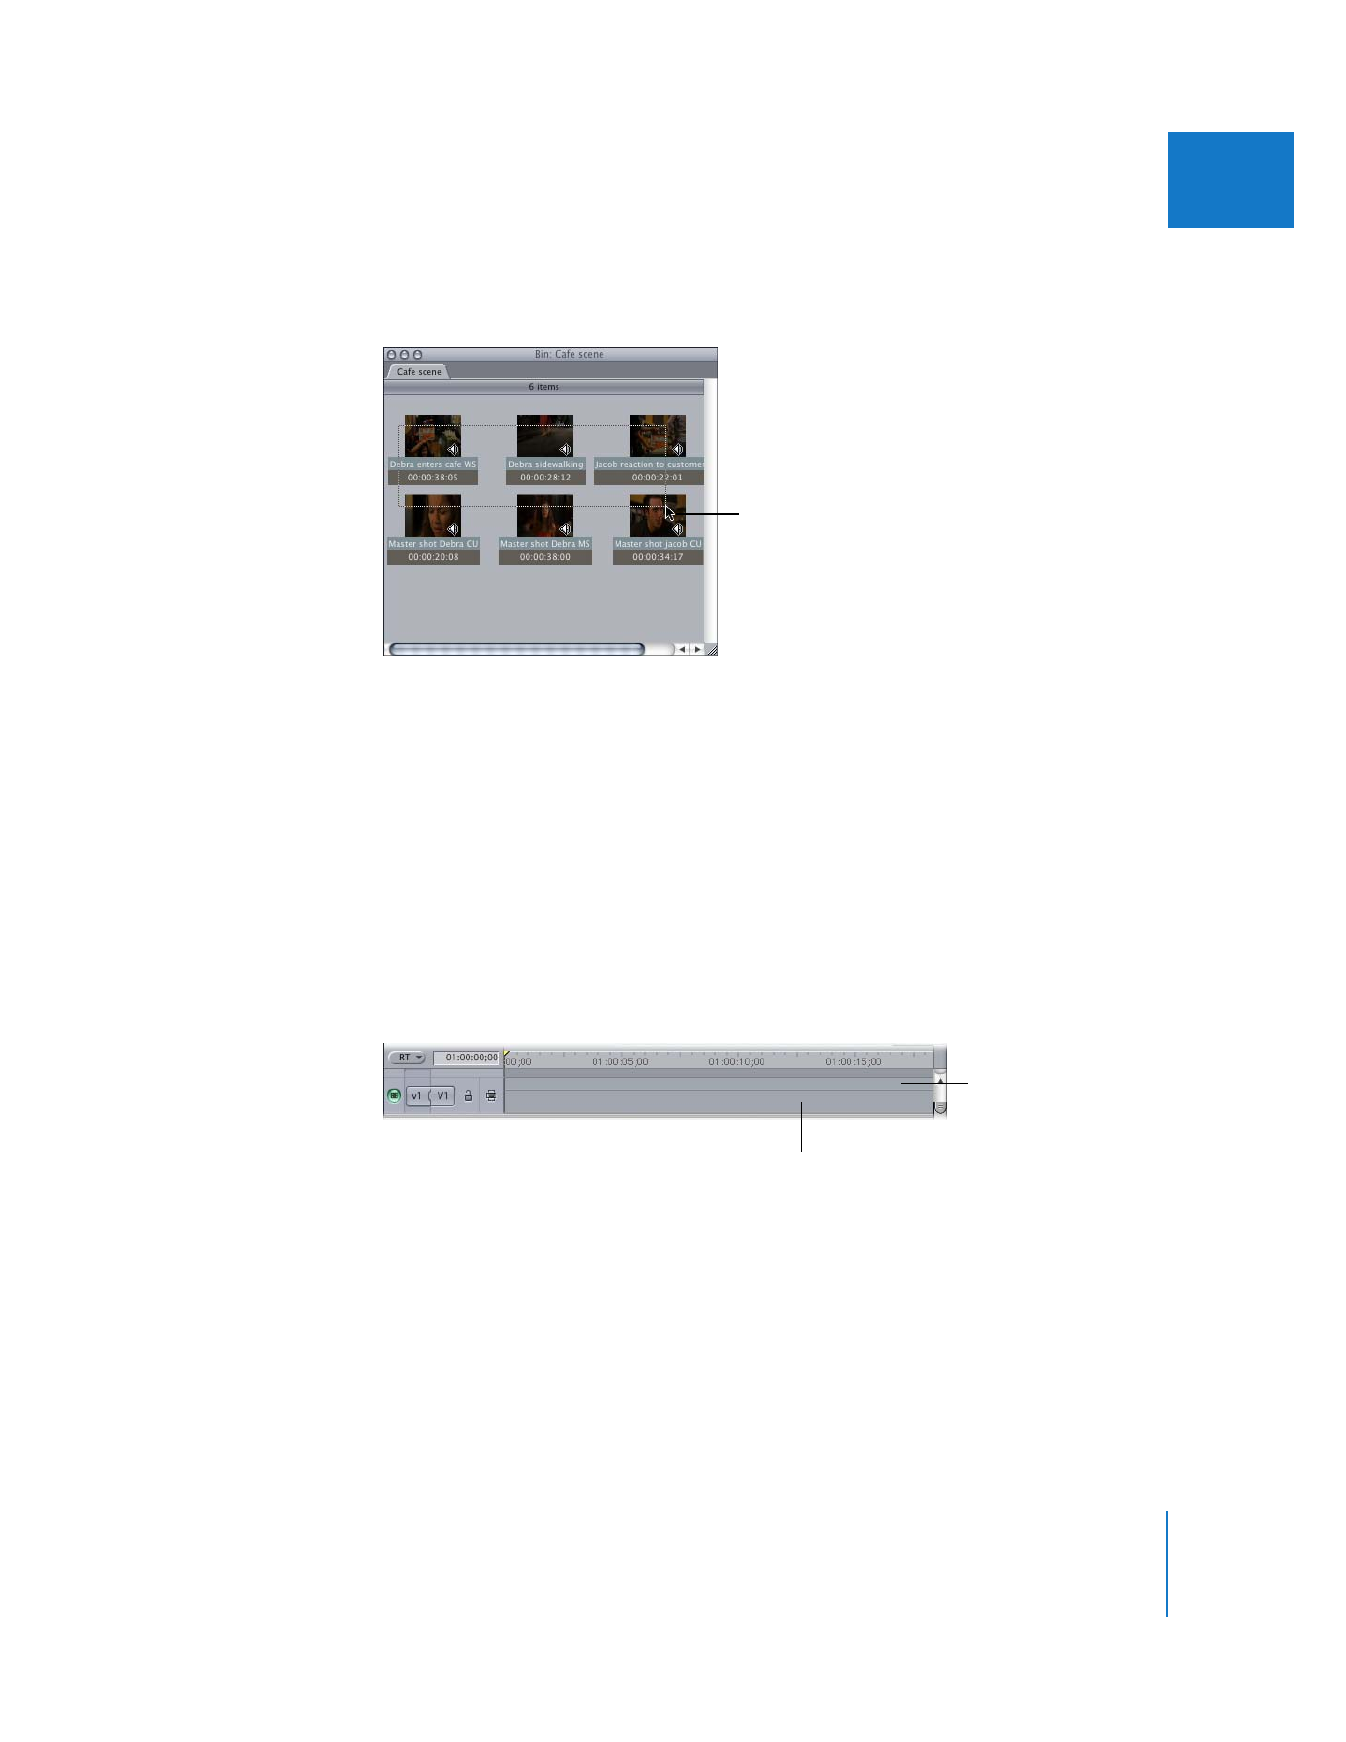
” on page 149.) Each track in the Timeline is divided into two areas by a thin
gray line. The region of the track you drag the clip into determines whether an insert or
overwrite edit is performed.
As you move the pointer from one region of the track to the other, it changes to
indicate the type of edit—a right arrow for an insert edit and a down arrow for an
overwrite edit.
Note: If you are dragging clips from the Browser, the corresponding edit button is also
highlighted in the Canvas window.
Drag to select the clips you
want to edit into your
sequence.
Overwrite edit area
(lower two-thirds)
Insert edit area
(upper third)
140
Part II
Rough Editing
To drag a clip from the Video tab in the Viewer, click anywhere in the video picture in
the Viewer and drag. To drag a clip from the Audio tab in the Viewer, click the drag
hand and then drag.
Note: To drag a multiclip from the Viewer to the Canvas or Timeline, you need to hold
down the Option key while you drag in the Viewer.
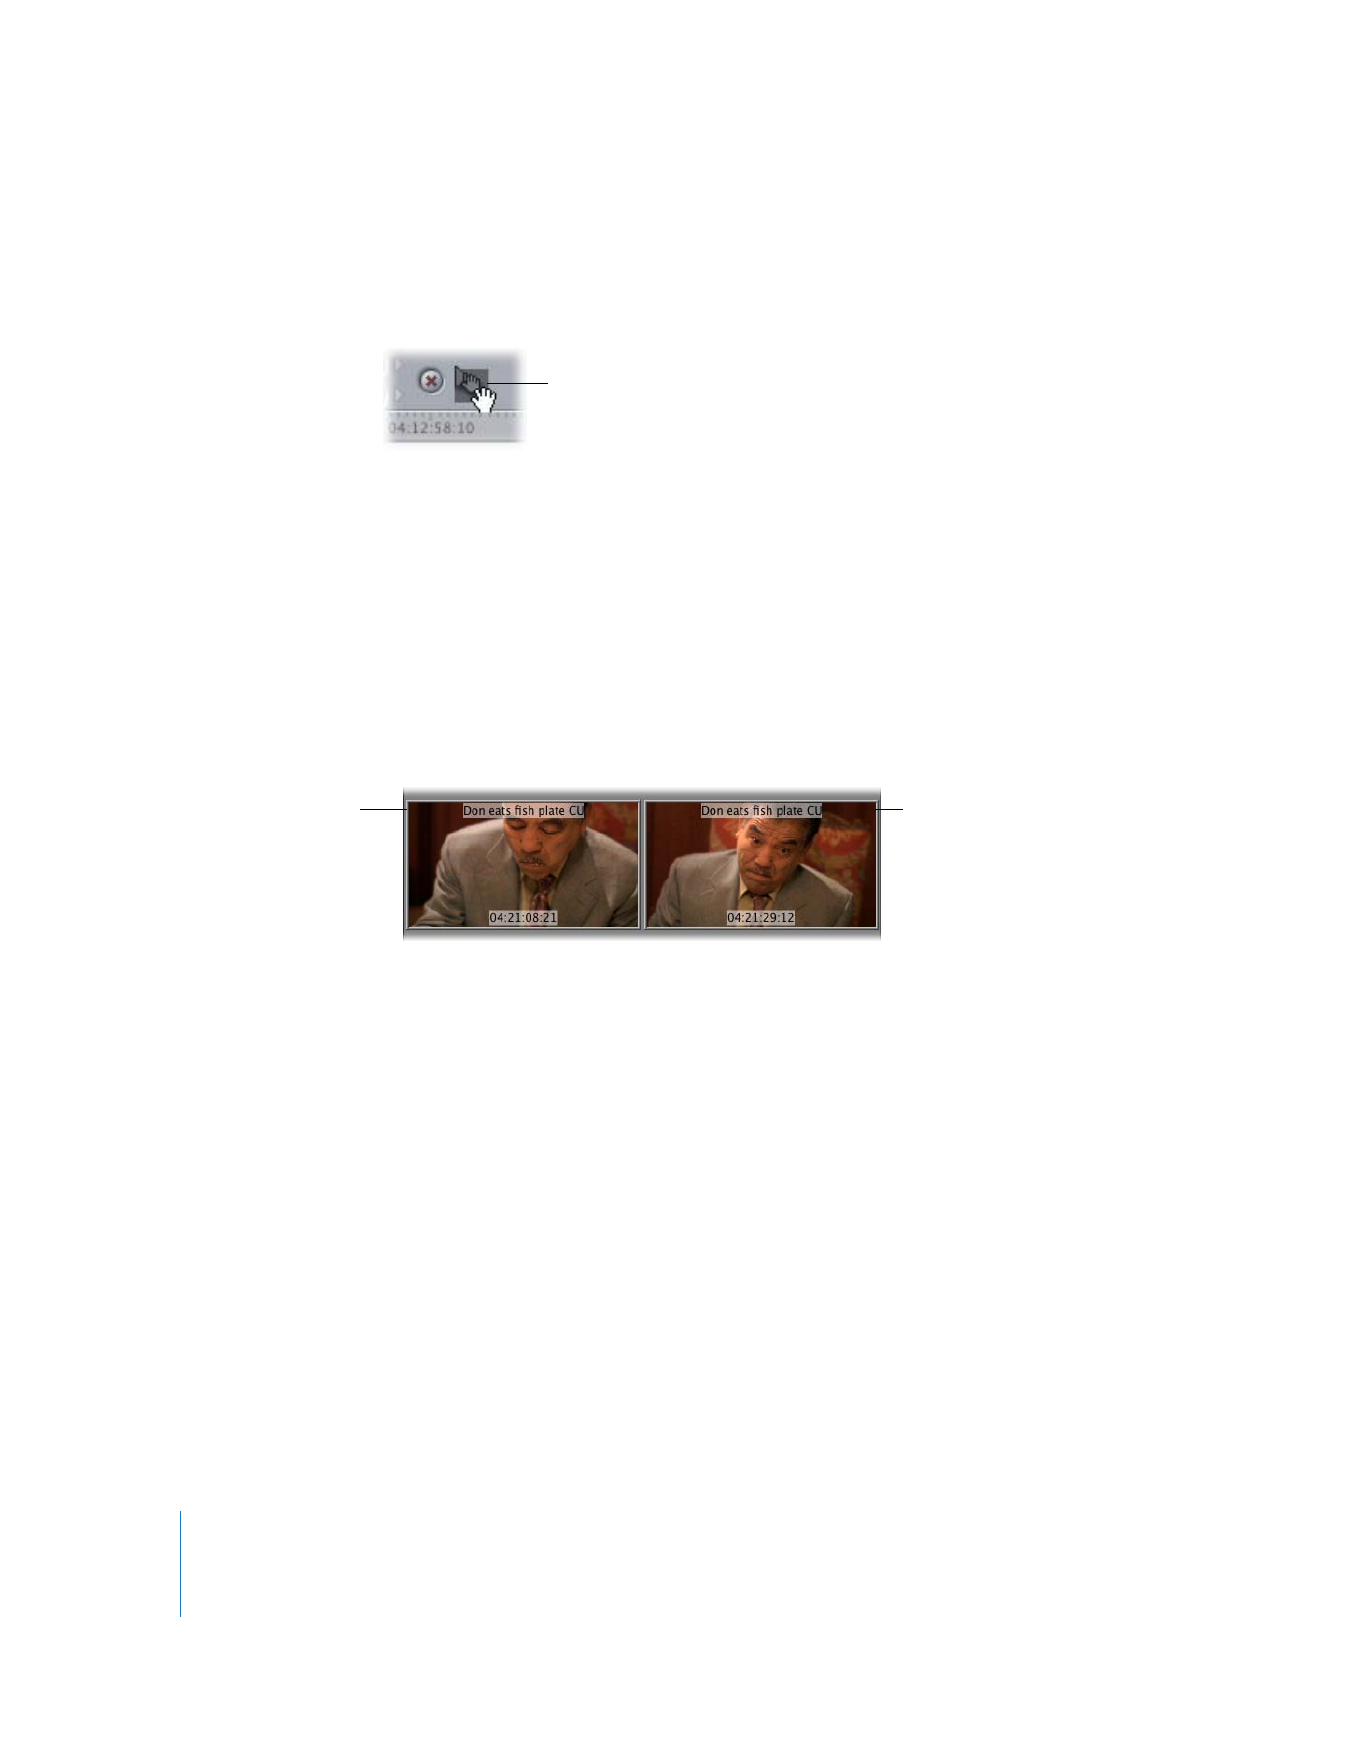
As you drag your clip into the Timeline, a two-up display appears in the Canvas to show
you the sequence In and Out points for the edit you’re performing. What appears in
this display depends on the kind of edit.
 If you’re performing an overwrite edit, the two-up display shows the frame before the
clip being edited in (on the left) and the frame immediately after it (on the right).
Clip names appear at the top of the display, and each frame’s source timecode
number appears at the bottom.
 If you’re performing an insert edit, the two-up display shows two adjacent frames,
because the source clip you are inserting splits the underlying clip at the point where
you insert it.
 If you’re editing a clip into an empty area of the Timeline, both of the frames in the
two-up display are black, no matter what kind of edit you’re performing.
Note: If the Caps Lock key is engaged, the two-up display is disabled.
Drag hand
The last sequence
frame before your
incoming clip
The first sequence
frame after your
incoming clip
Chapter 9
Drag-to-Timeline Editing
141
II
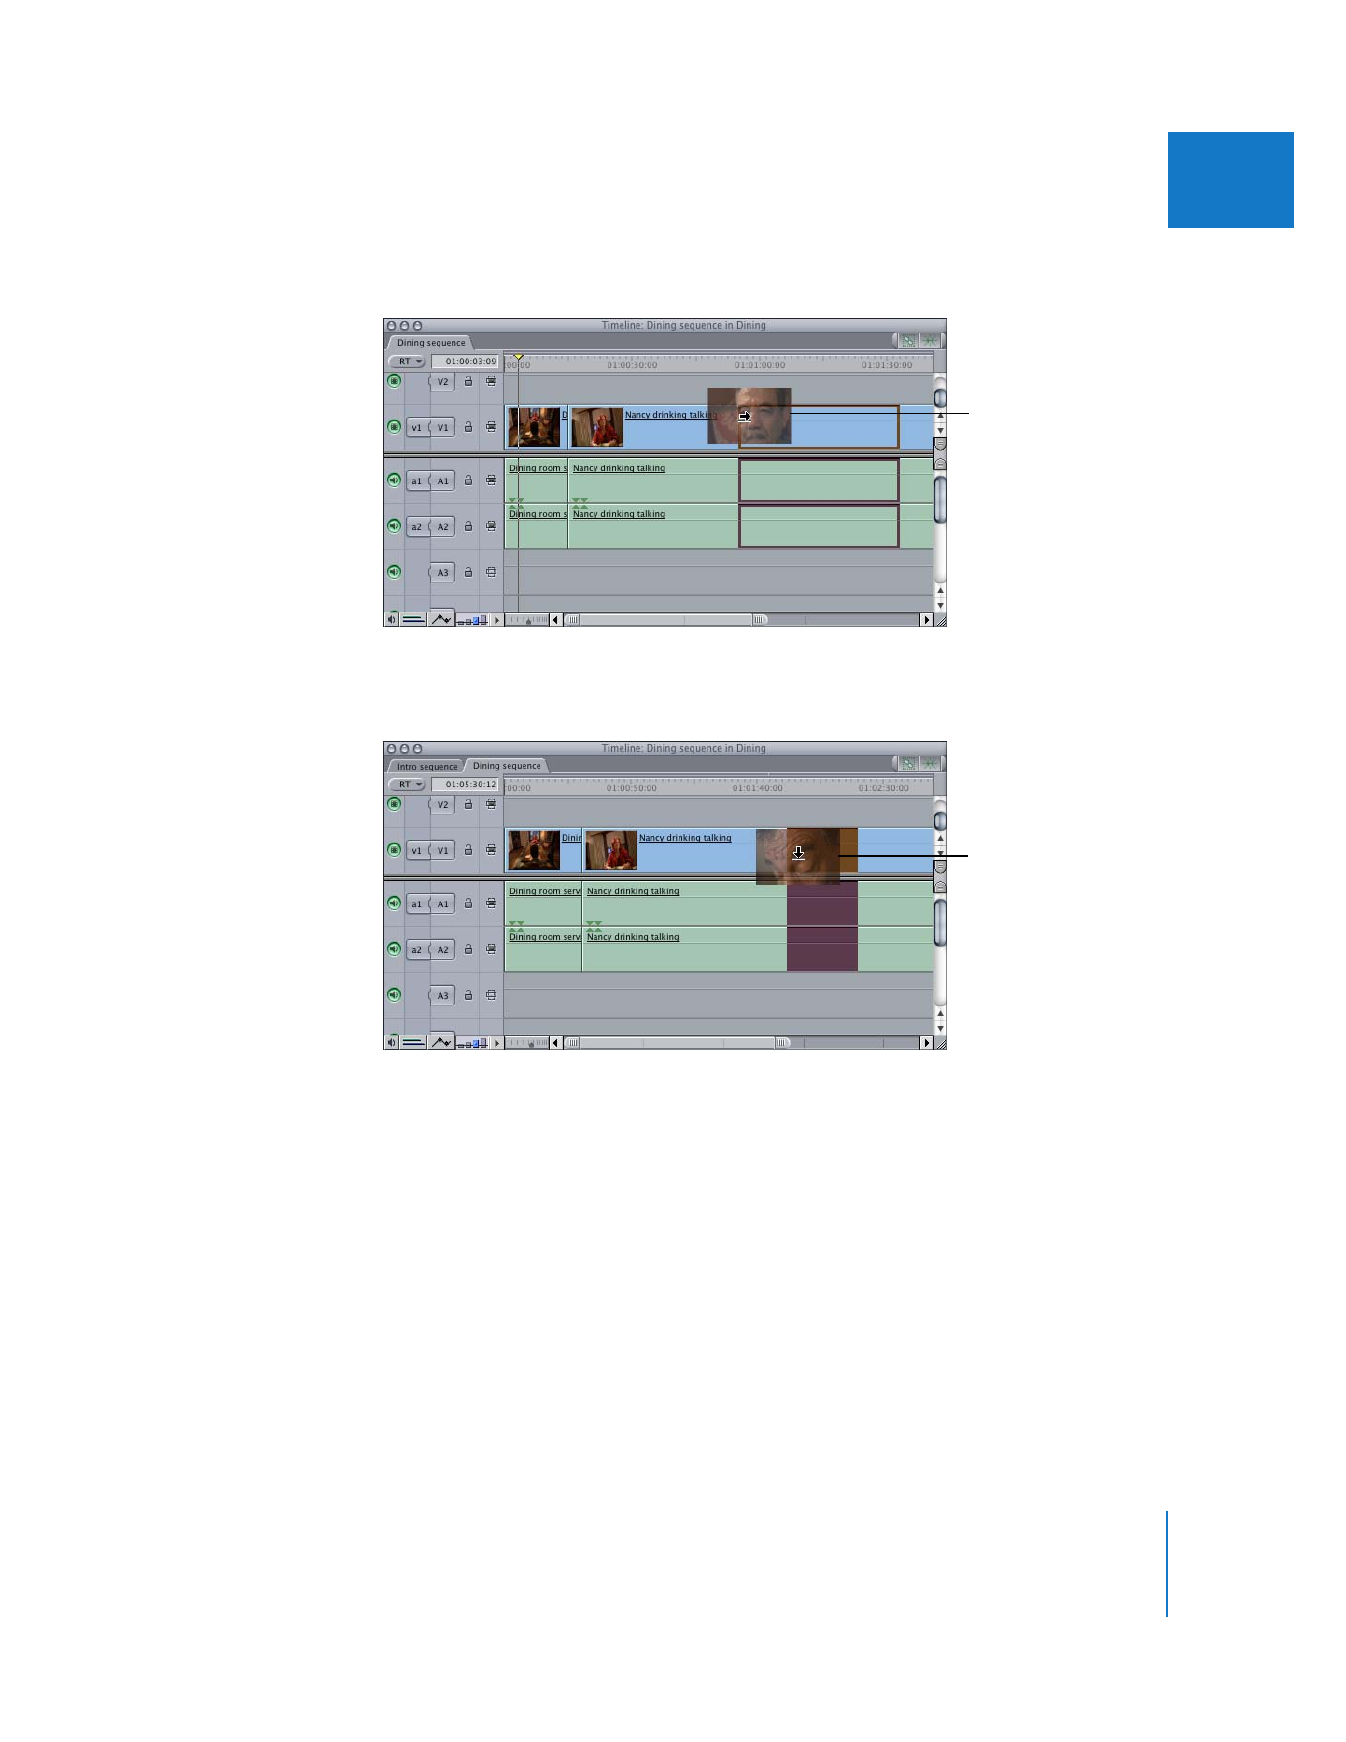
To do an insert edit:
m
Drag the clip to the upper third of a track in the Timeline.
To do an overwrite edit:
m
Drag the clip to the lower two-thirds of a track in the Timeline.
Note: If you drag a sequence clip to another location within the sequence, an
overwrite edit is performed by default. To perform an insert edit instead, hold down
the Option key after you begin dragging the clip.
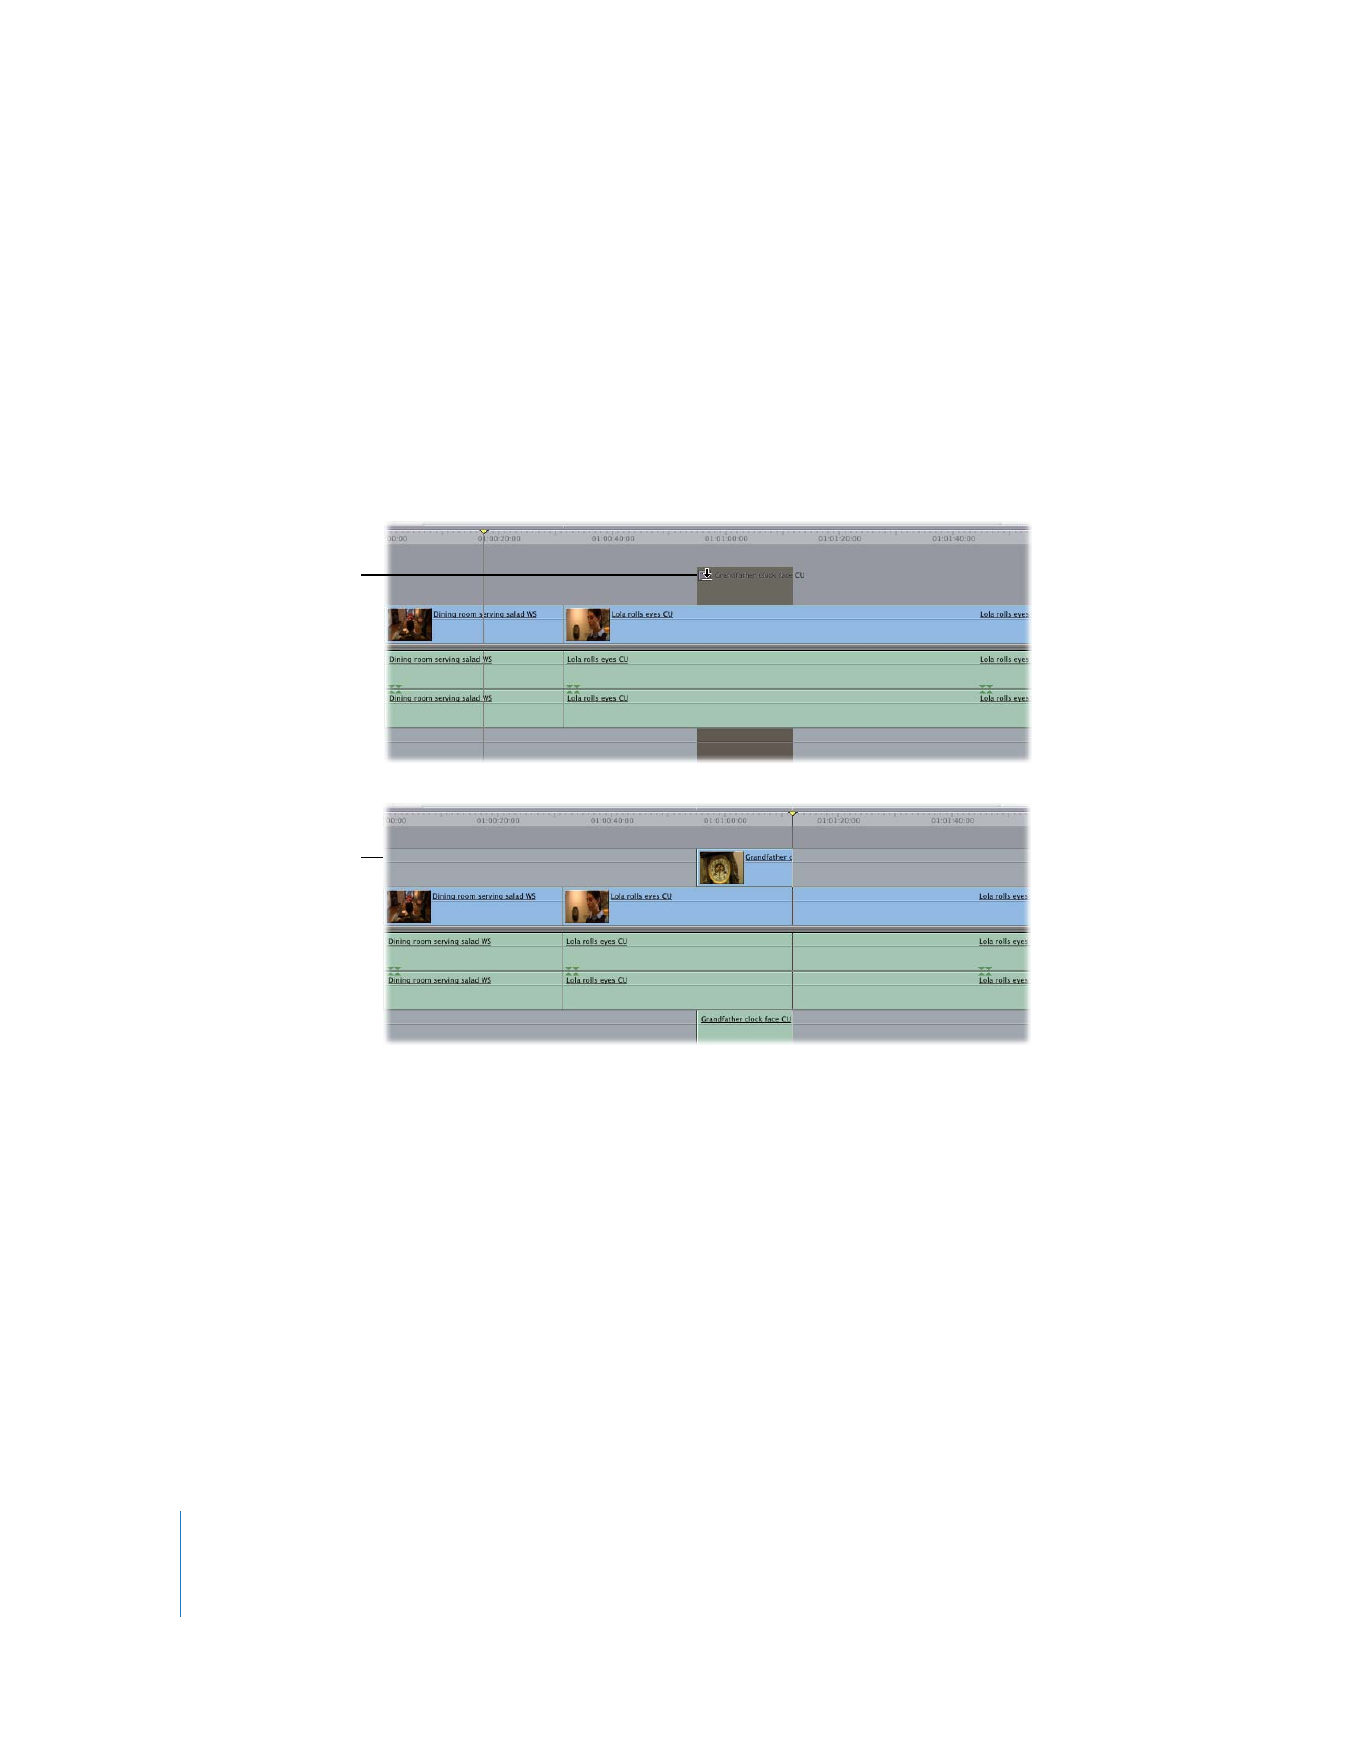
Drag a clip to the upper
third of a track to do an
insert edit.
Drag a clip to the lower
two-thirds of a track to
do an overwrite edit.
142
Part II
Rough Editing