Using Auto Select to Specify Tracks for Selections
Auto Select controls determine which tracks are affected by an operation. When
sequence In and Out points are defined, operations such as the Copy and Lift
commands are limited to the regions of Auto Select–enabled tracks between the
Timeline In and Out points. You can intentionally disable Auto Select controls for tracks
that you don’t want to operate on.
186
Part II
Rough Editing
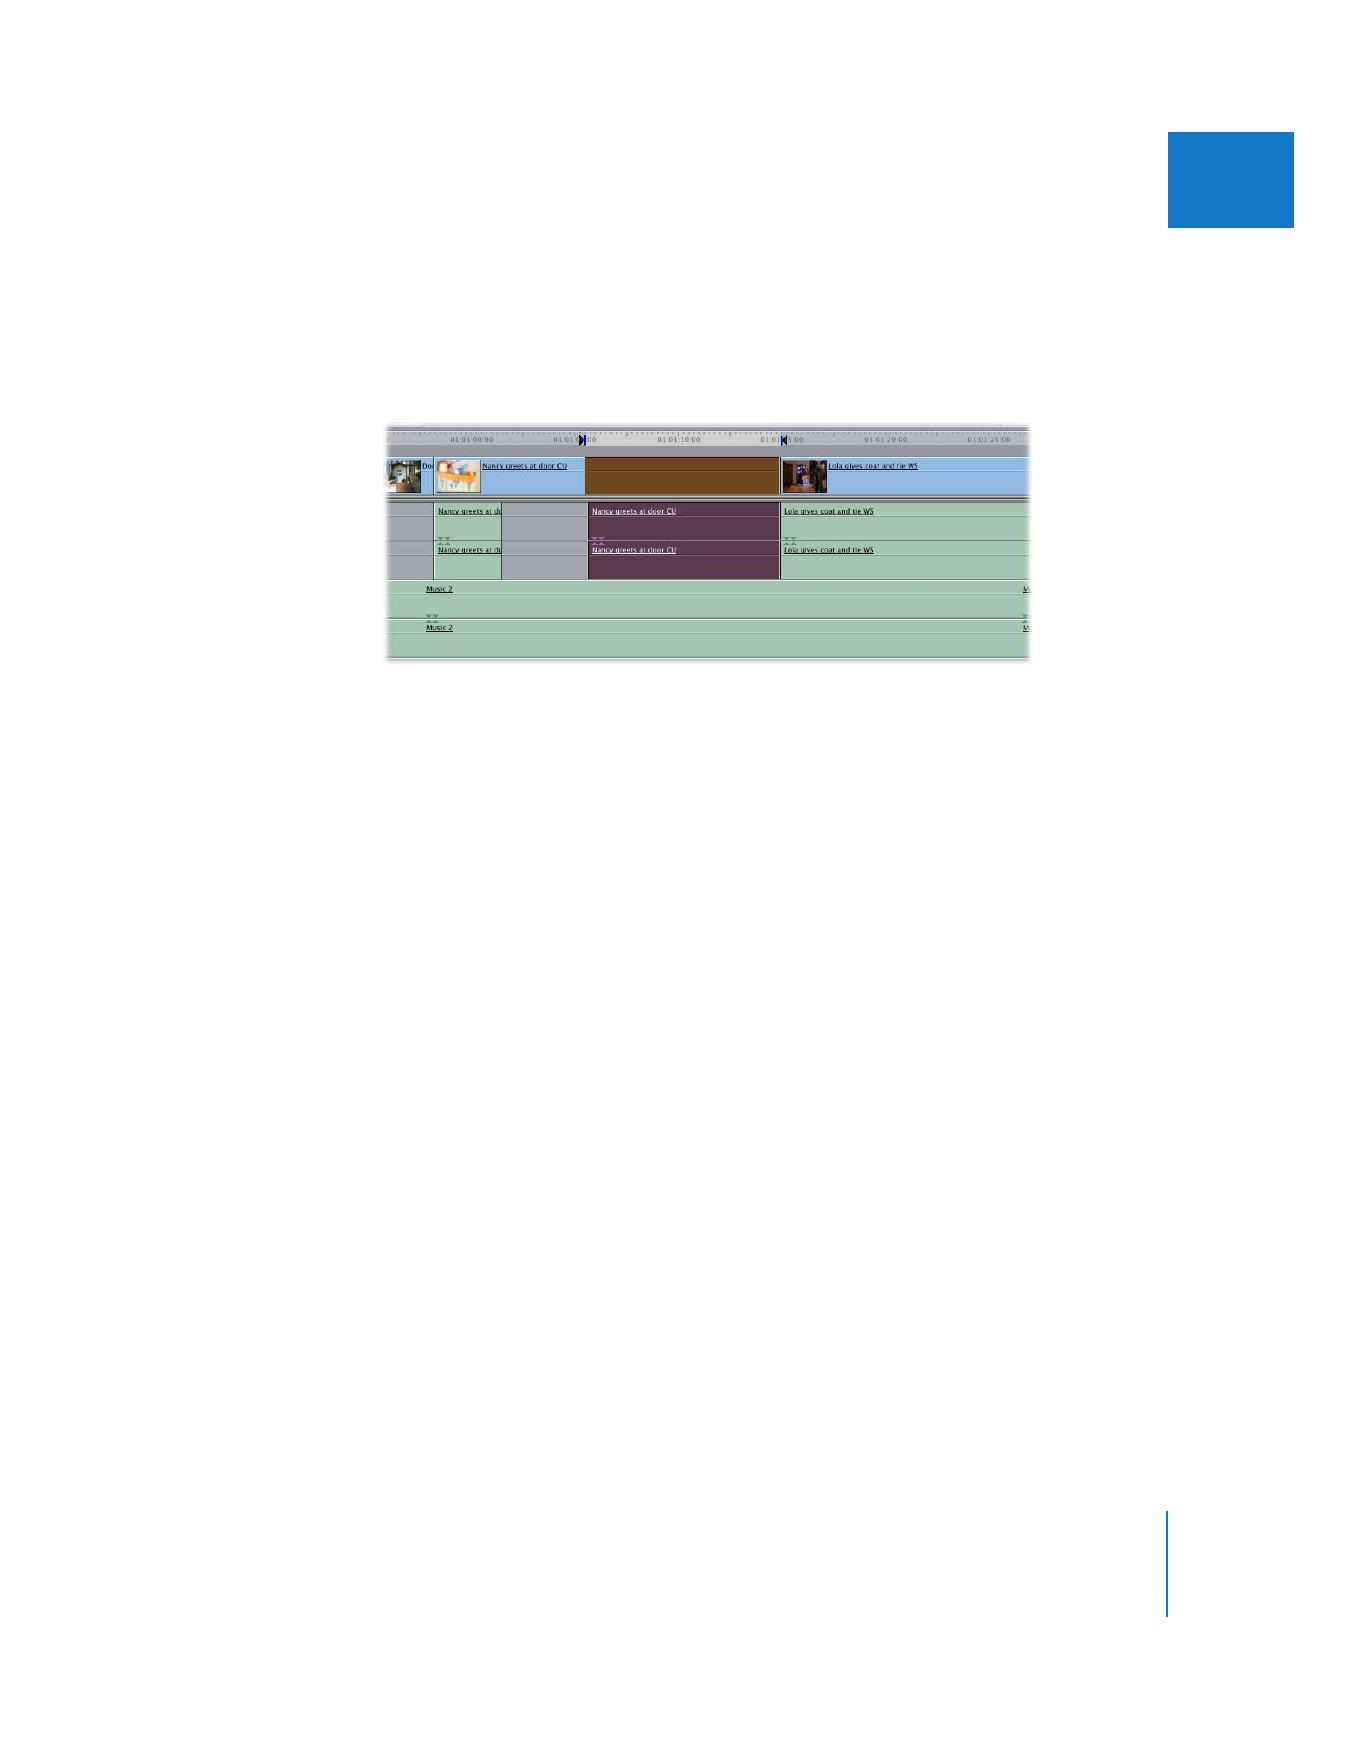
As you can see in the picture below, tracks A1 and A2 are not highlighted because Auto
Select is not enabled for those tracks.
The Auto Select controls provide precise control over which part of the Timeline you
cut, copy, or delete from. Suppose you have a sequence with one video and two audio
tracks. By disabling Auto Select on audio tracks A1 and A2, you can select items on
track V1 by setting In and Out points in the Canvas or Timeline. Items in the audio
tracks are not selected.
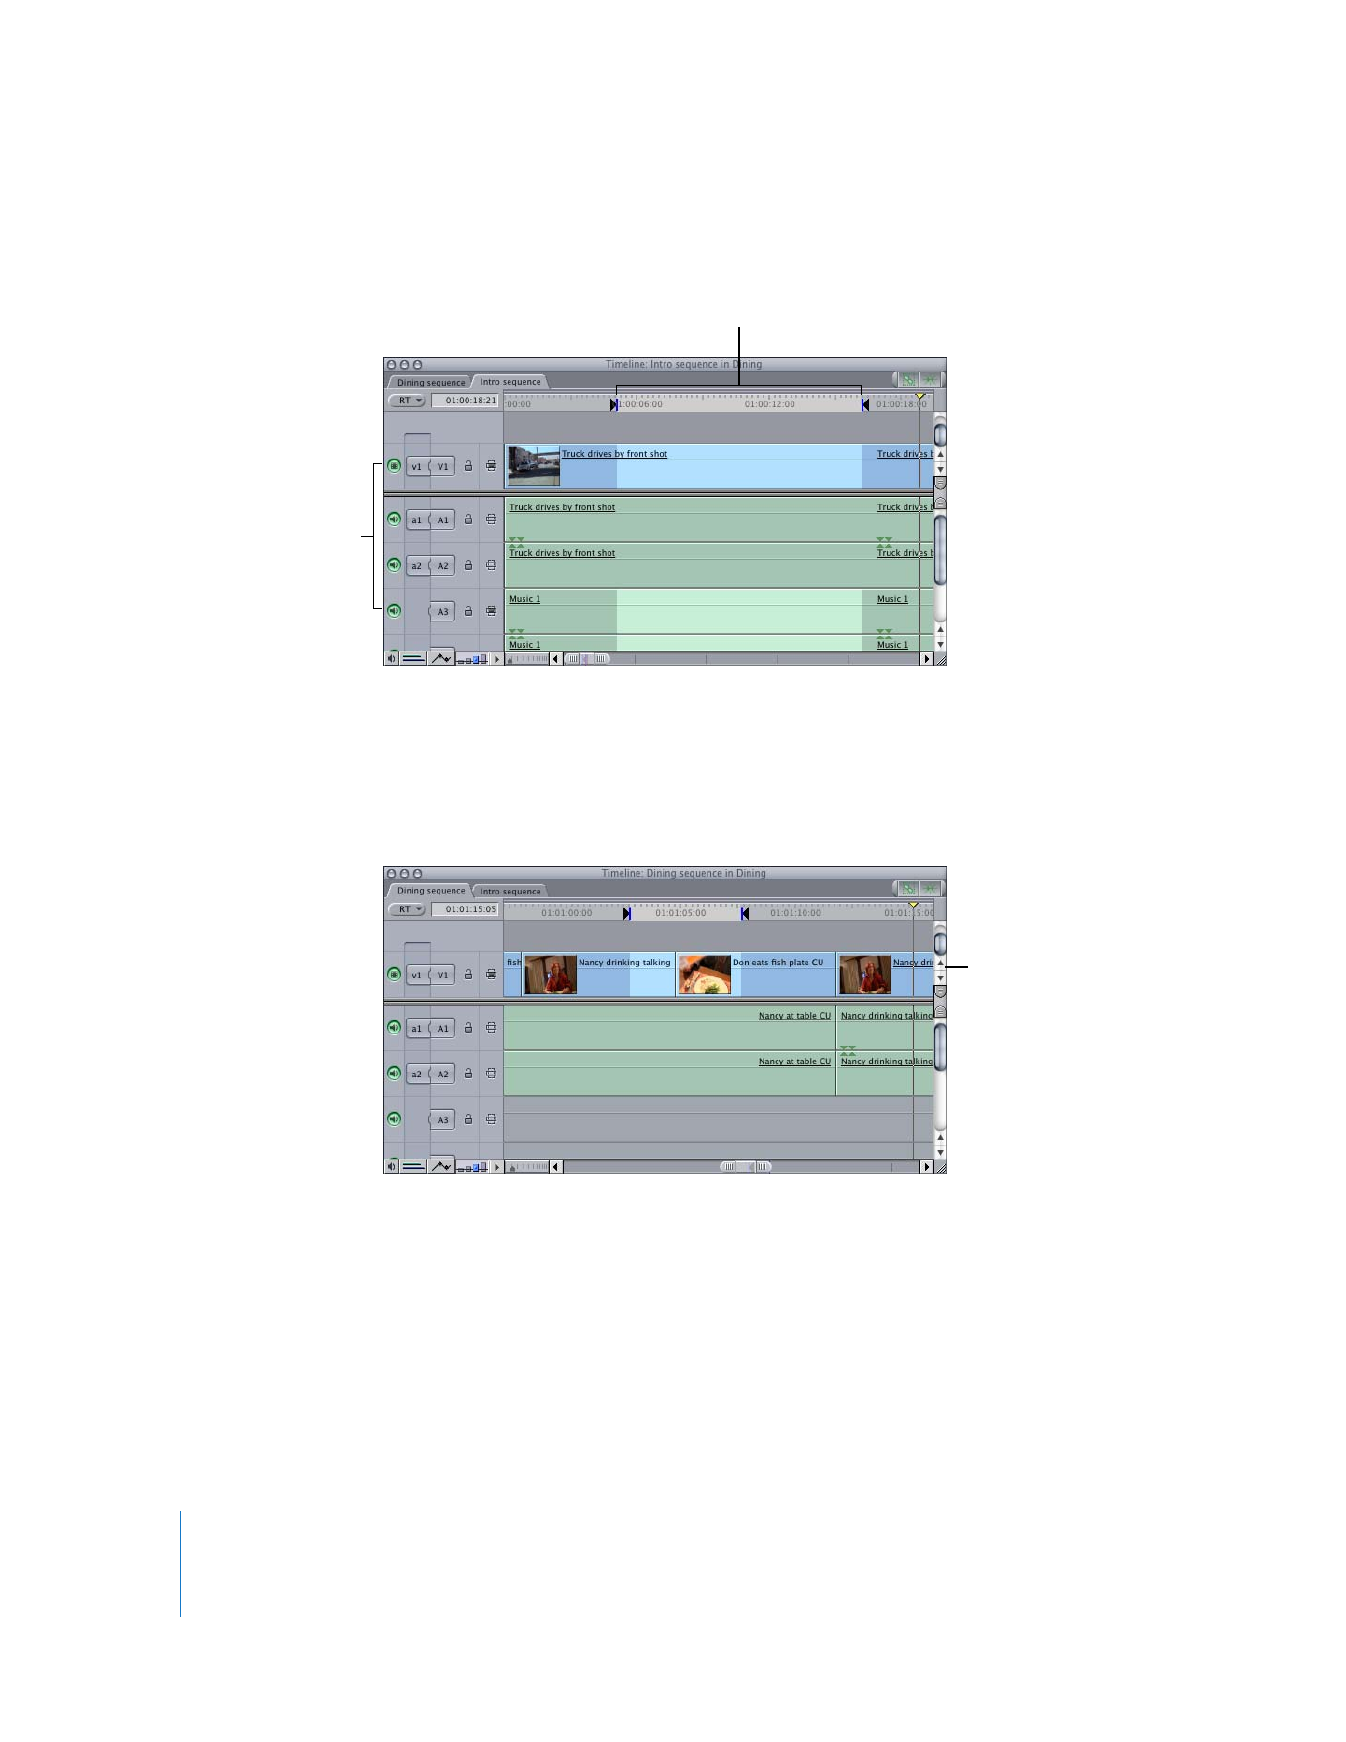
Auto Select is enabled for
these two tracks.
In and Out points
Before deleting
Chapter 11
Finding and Selecting Content in the Timeline
187
II
If you press the Delete key, only the items on track V1 are deleted.
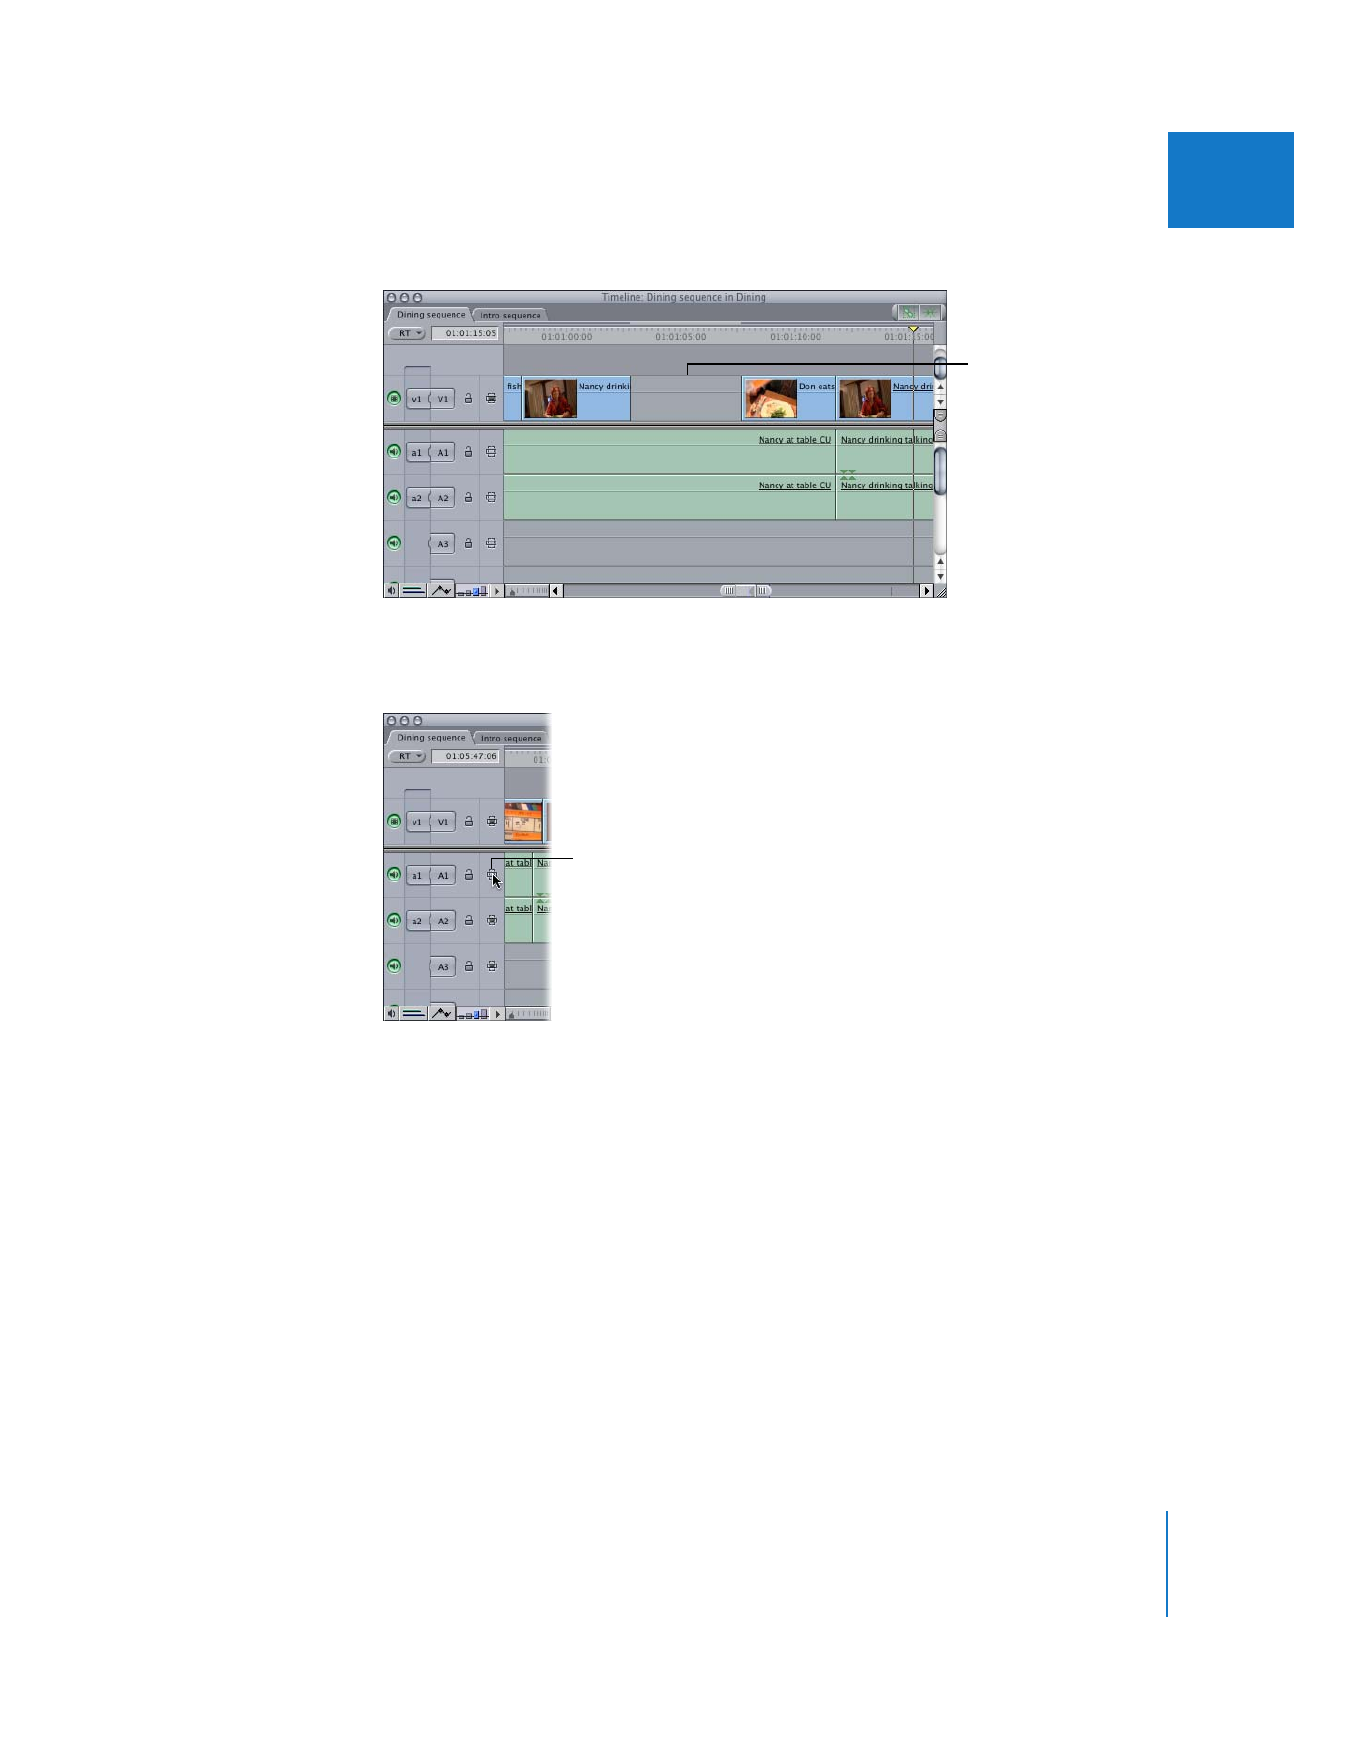
To enable or disable Auto Select on a track:
m
Click the Auto Select control for the track.
After deleting; only
the selected region
is deleted.
Auto Select control
188
Part II
Rough Editing
To enable Auto Select on one track while simultaneously disabling Auto Select on all
other tracks:
m
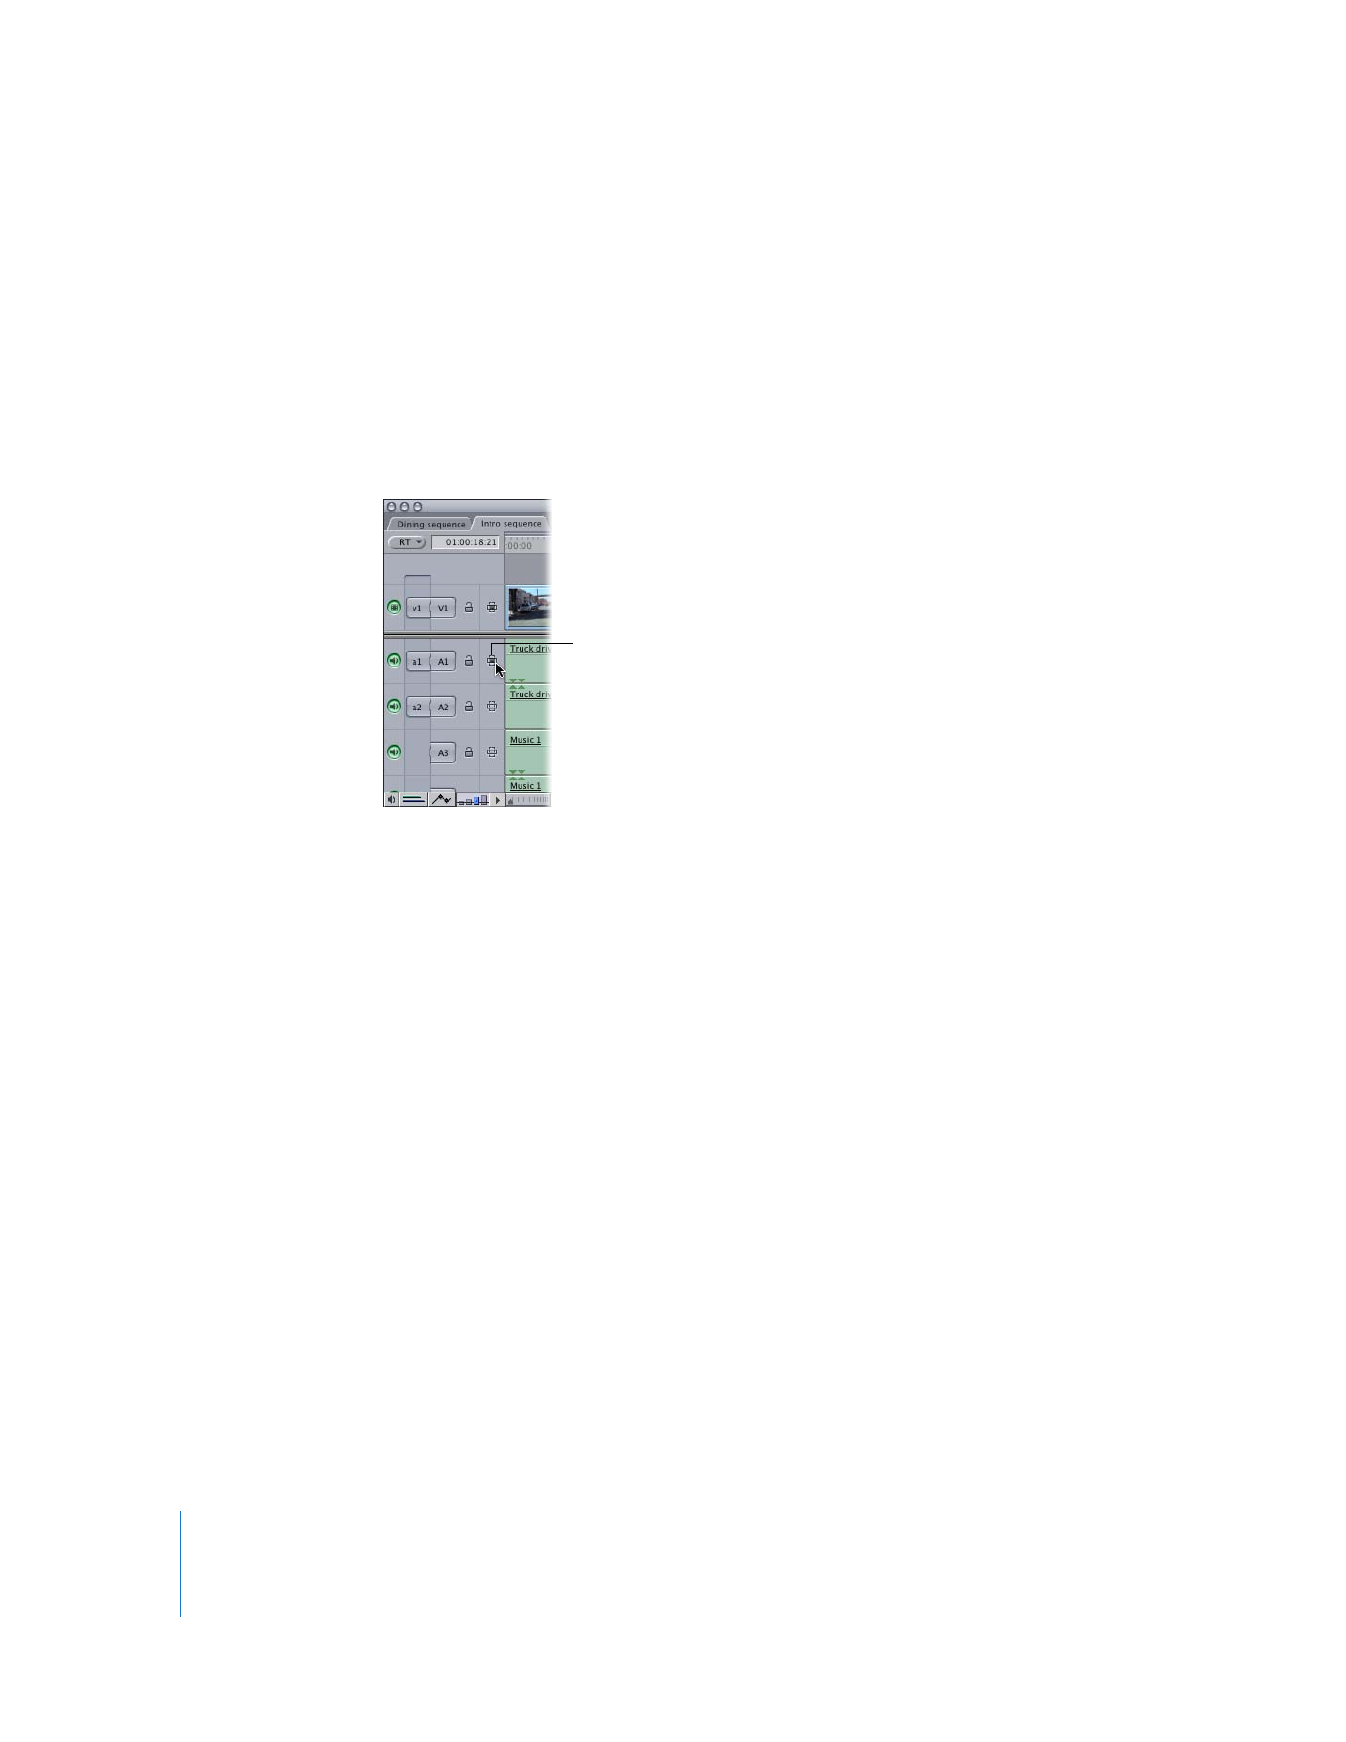
Option-click the Auto Select control on the track you want single out for Auto Select. (If
Auto Select is off for all tracks, you need to Option-click the control twice.)
If you Option-click the Auto Select control on a video track, Auto Select is disabled on
all other video tracks in the sequence. If you Option-click the Auto Select control on an
audio track, Auto Select is disabled on all other audio tracks in the sequence. Option-
clicking allows you to quickly target a single track for editing operations.
To explicitly select a region between Timeline In and Out points:
1
Enable the Auto Select controls for tracks you want to select from, and disable the Auto
Select controls for tracks you want to exclude from your selection.
2
Set In and Out points in the Timeline.
3
Choose Mark > In to Out (or press Option-A).
The region of clips between the In and Out points on tracks with Auto Select enabled
is selected.
In some instances, the Auto Select controls are ignored:
 If no Auto Select controls are enabled, nothing in the Timeline is automatically
highlighted, and only selected clips will be operated upon (just as in earlier versions
of Final Cut Pro).
 If you use the Selection, Range Selection, or Edit Selection tool to select clips in the
Timeline, these selections are prioritized over the region between sequence In and
Out points on tracks with Auto Select enabled.
 If you use a command that only applies to the topmost visible video clip item (such as
switching or cutting between multiclip angles, or performing match frame
operations), the clip item seen in the Canvas is affected by your command, not the
clip on the lowest-numbered track with Auto Select enabled.
Option-click the control
for the track you want
to single out for
Auto Select.

12
189
12