
Learning About the Out Point Inclusive Rule
Before you begin to set In and Out points, it’s important to understand the “Out point
inclusive” rule that Final Cut Pro follows, so you can avoid an unexpected extra frame at
your Out point.
Out point inclusive means that when you set an Out point at the position of the
playhead, the frame that the playhead is on is included in your edit. This rule means that
whenever you set In and Out points, the minimum duration set is always one frame
long. For example, if you place the playhead on a specific frame, and then set both an In
point and an Out point, the In point is placed at the beginning of the frame and the Out
point is placed at the end, resulting in a one-frame duration. If this rule did not exist, it
would be possible to create edits with zero duration, which would be useless.
To see exactly how the Out point inclusive rule works:
1
Double-click a sequence in the Browser to open it in the Timeline.
2
Choose Mark > Mark In (or press I) to set an In point in the sequence.
3
Move the playhead several seconds later in the Timeline.
4
Press Command-= (equal sign) to zoom in closely to the location of the playhead.
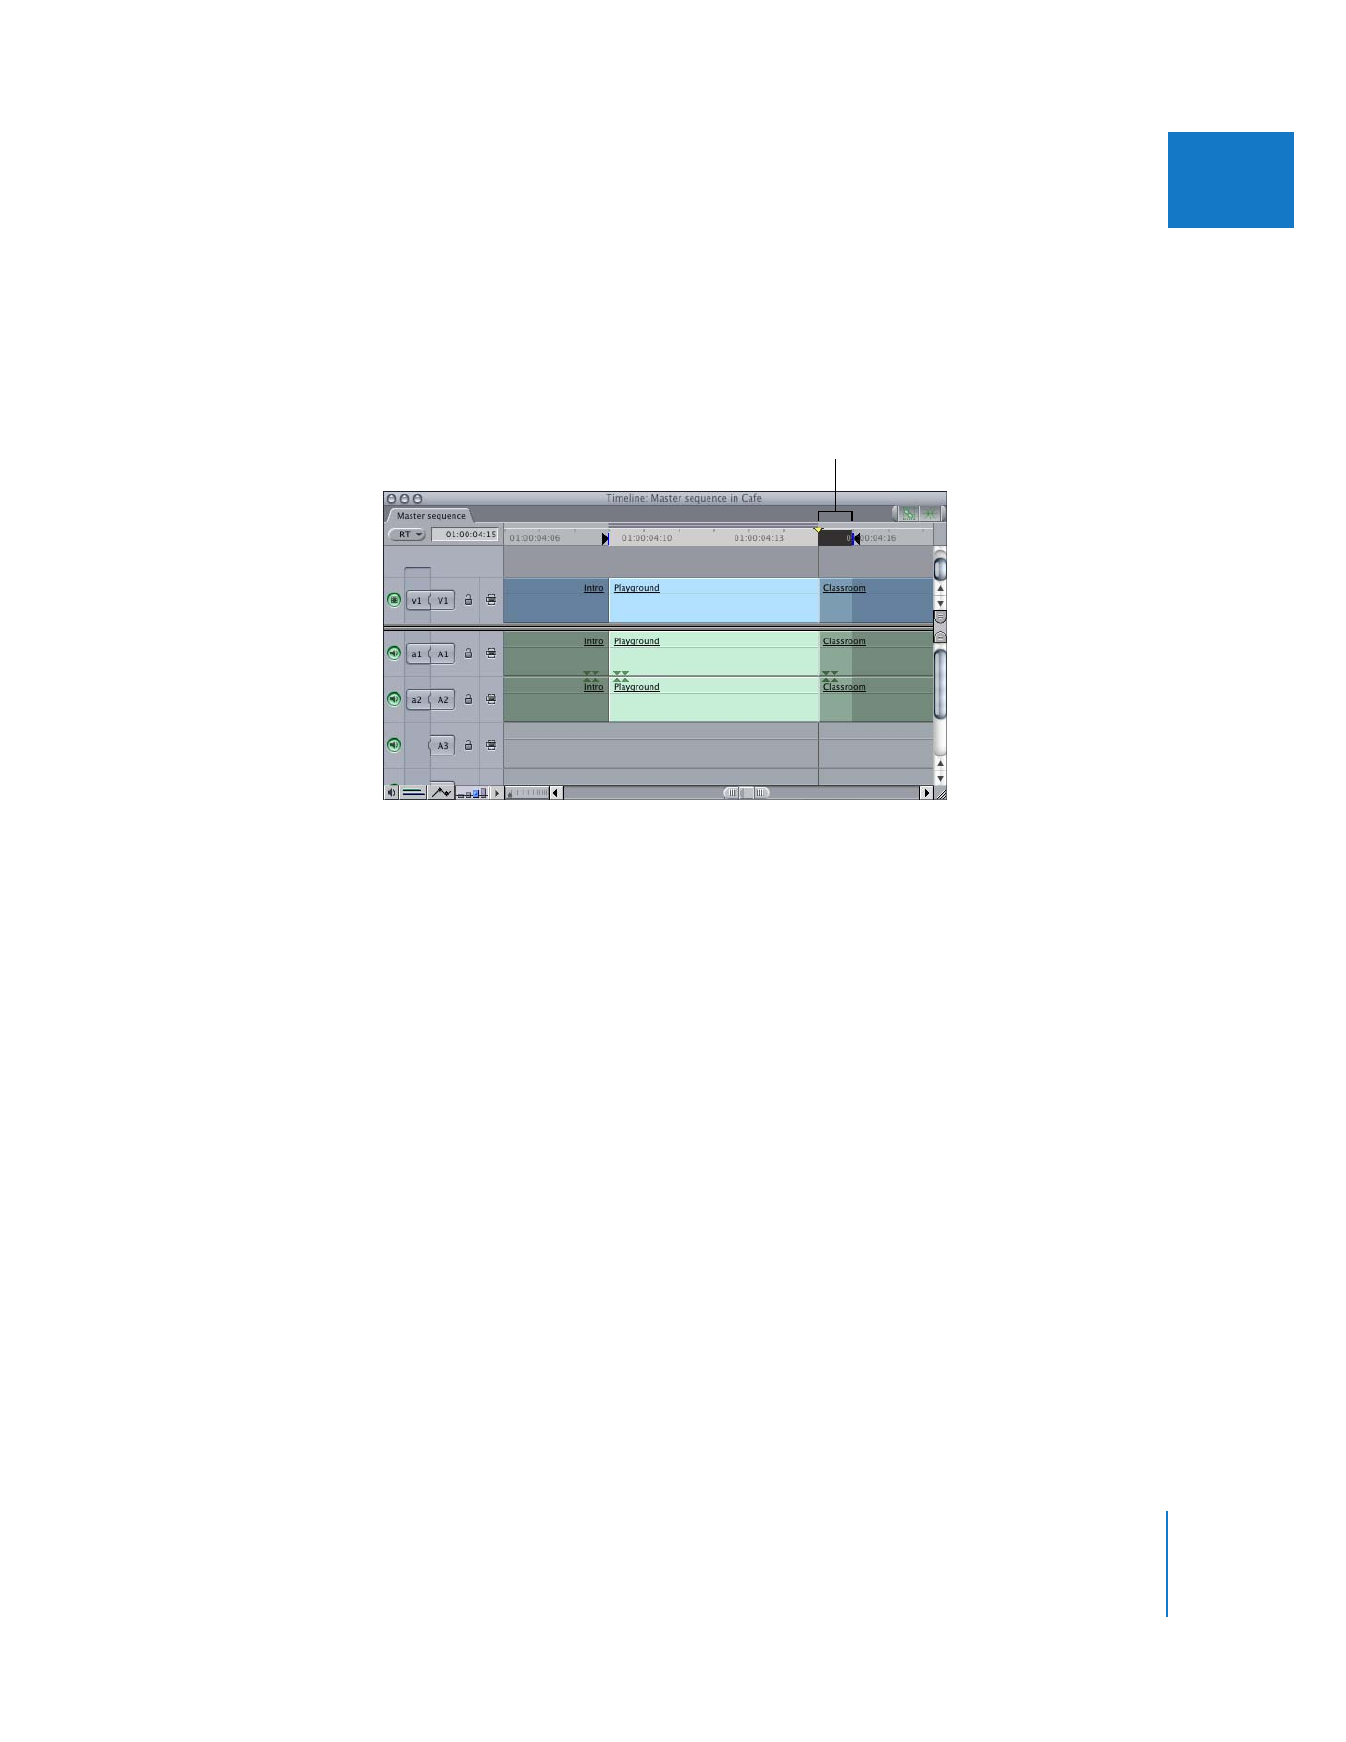
You can see that the ruler is highlighted directly after the playhead. The duration of this
highlighted area is one frame.
5
Choose Mark > Mark Out (or press O) to set an Out point in the sequence.
The Out point is placed at the end of the duration of the frame. This is because the Out
point includes the duration of the frame on which the playhead is currently positioned.
In point
The Out point includes
the duration of the frame.
Chapter 7
Setting Edit Points for Clips and Sequences
101
II