Setting Clip In and Out Points in the Viewer
When you set In and Out points for a clip in the Viewer, only the frames from the In point
to the Out point will be edited into your sequence. If you haven’t explicitly set an In or
Out point, Final Cut Pro uses the Media Start and the Media End points, respectively.
To set an In or Out point for a clip in the Viewer:
1
Double-click the clip to open it in the Viewer.
2
Move the playhead to the location in the clip where you want to place the In or
Out point.
3
Do one of the following:
 Press I to set an In point or press O to set an Out point.
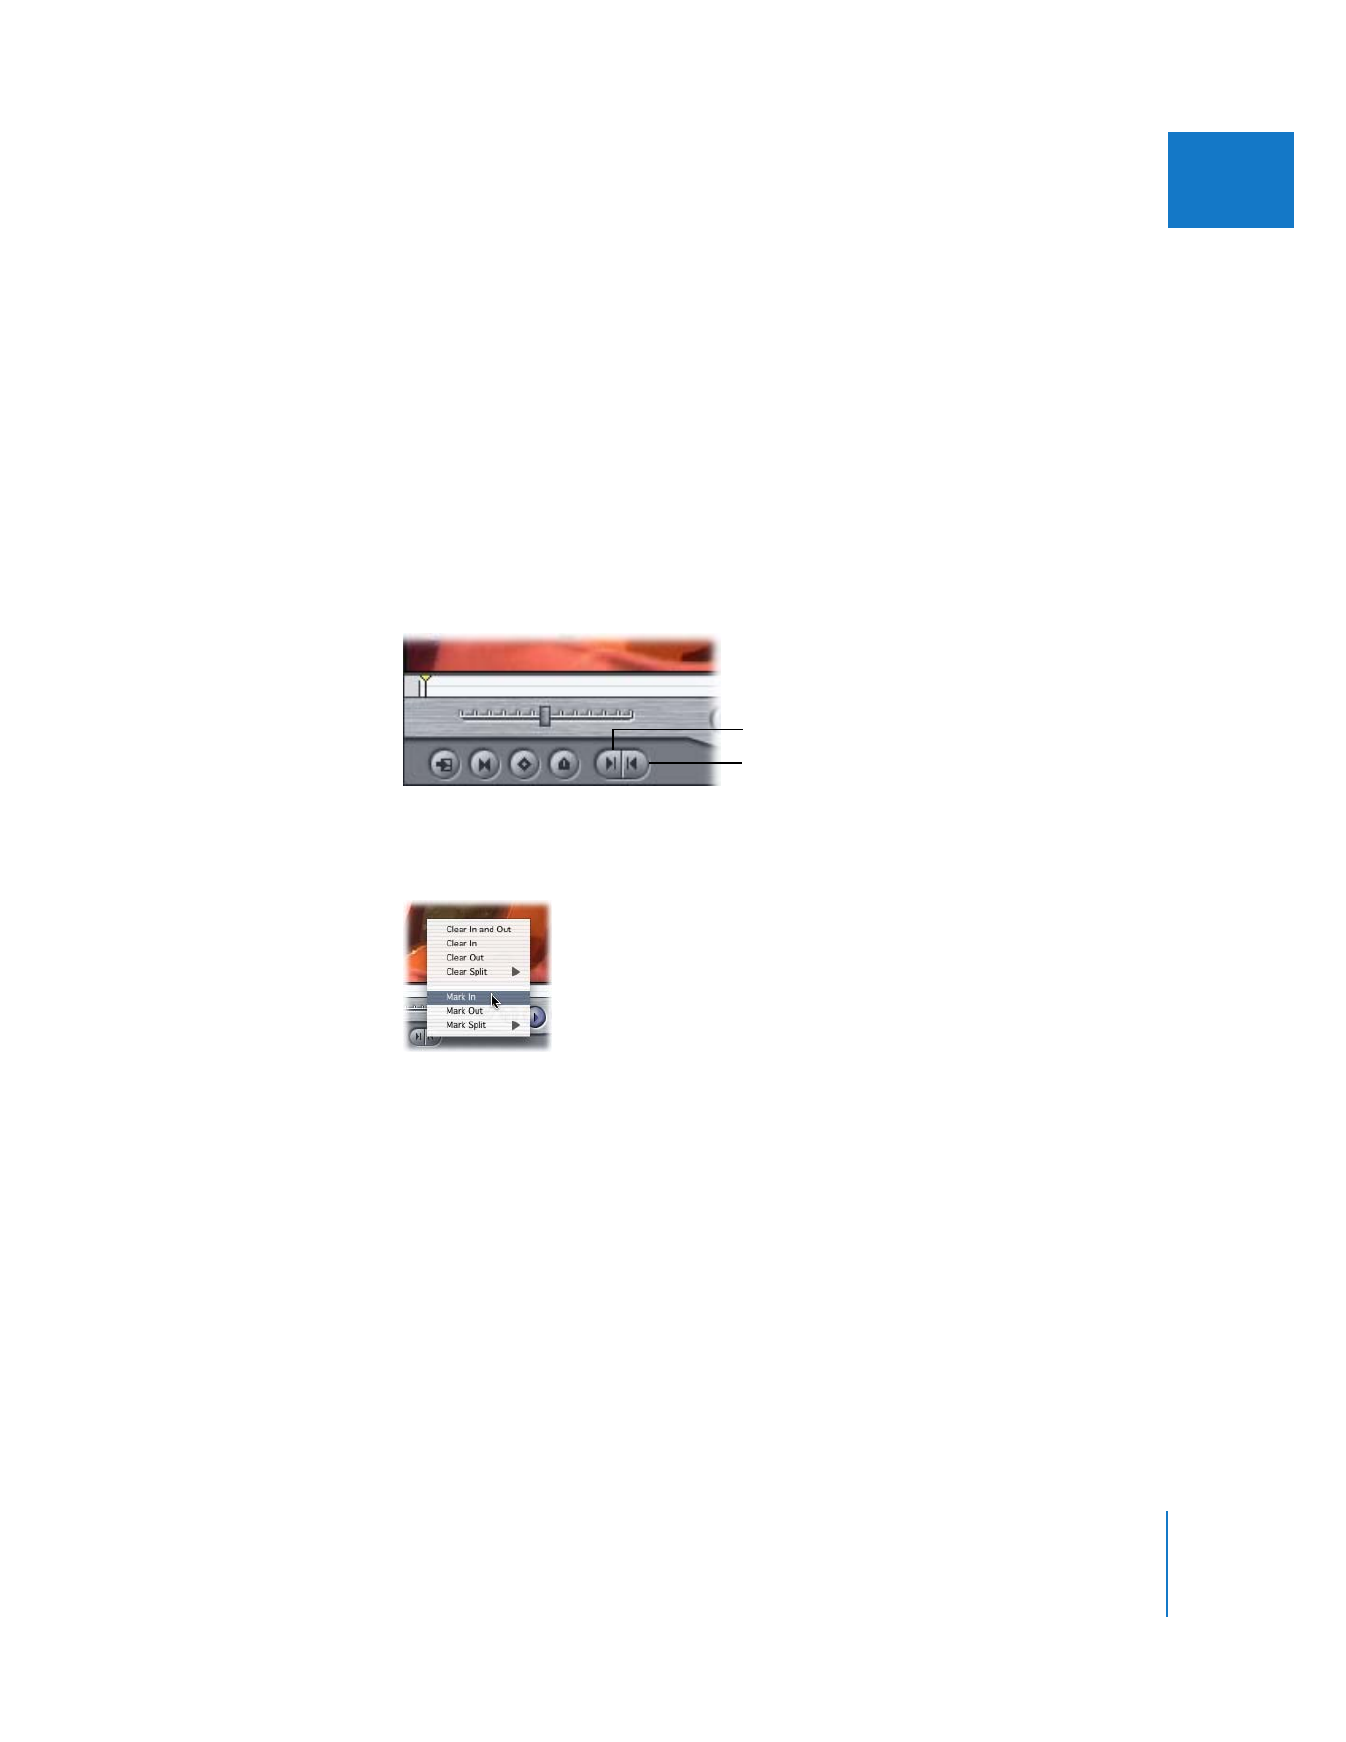
 Click the Mark In or Mark Out button.
 Control-click in the scrubber bar, then choose Mark In or Mark Out from the
shortcut menu.
 Choose Mark > Mark In, or choose Mark > Mark Out.
For many editors, it’s much more intuitive to set the start (In) and end (Out) points
of a clip while the clip is actually playing. This way you can set the In or Out point
immediately when you hear or see the frame you want. With Final Cut Pro, this is
easy to do.
Mark Out button (O)
Mark In button (I)

104
Part II
Rough Editing
To set an In or Out point while playing a clip:
1
Position the playhead at the beginning of the clip.
2
Press the Space bar or click the Play button to start playing a clip in the Viewer.
3
Do one of the following:
 Press I once to set an In point or press O once to set an Out point.
 Press and hold the I or O key.
The In or Out point is set at the location of the playhead when you release the key.
 Click the Mark In or Mark Out button once.
 Click and hold the Mark In or Mark Out button.
The In or Out point is set at the location of the playhead when you release the button.