Performing a Replace Edit
A replace edit is a specialized form of overwrite edit. A replace edit places the frame at
the current Viewer playhead position at the Canvas/Timeline playhead location in your
sequence. You can use a replace edit to:
 Edit a clip into your sequence so that the current frame in the Viewer is placed at the
current playhead location in your sequence
 Quickly replace an entire shot that’s already in your edited sequence
 Resynchronize a video or audio clip item with an unlinked clip item in an
adjacent track
For example, if you have two clips, each of which shows a different camera angle of the
same action, you may decide you want to replace the shot currently used in the
Timeline with the other angle. You can place both the Viewer and Timeline playheads
on frames where the action matches in each shot, and then replace the sequence clip
with the clip from the Viewer.
Replace edits follow a few special rules:
 Replace edits use the current playhead positions in the Timeline and the Viewer to
place the source clip in the Timeline.
 Replace edits never use clip In and Out points specified in the Viewer. If these points
have been set, they will be ignored.
 Replace edits only replace existing clip items in your sequence. For example, if you
perform a replace edit using a Browser clip containing video and audio items in a
segment of your sequence containing only a video clip item, only the sequence
video clip item is replaced; no additional clip items are added. To add additional clip
items during an edit, you can use an overwrite edit instead.
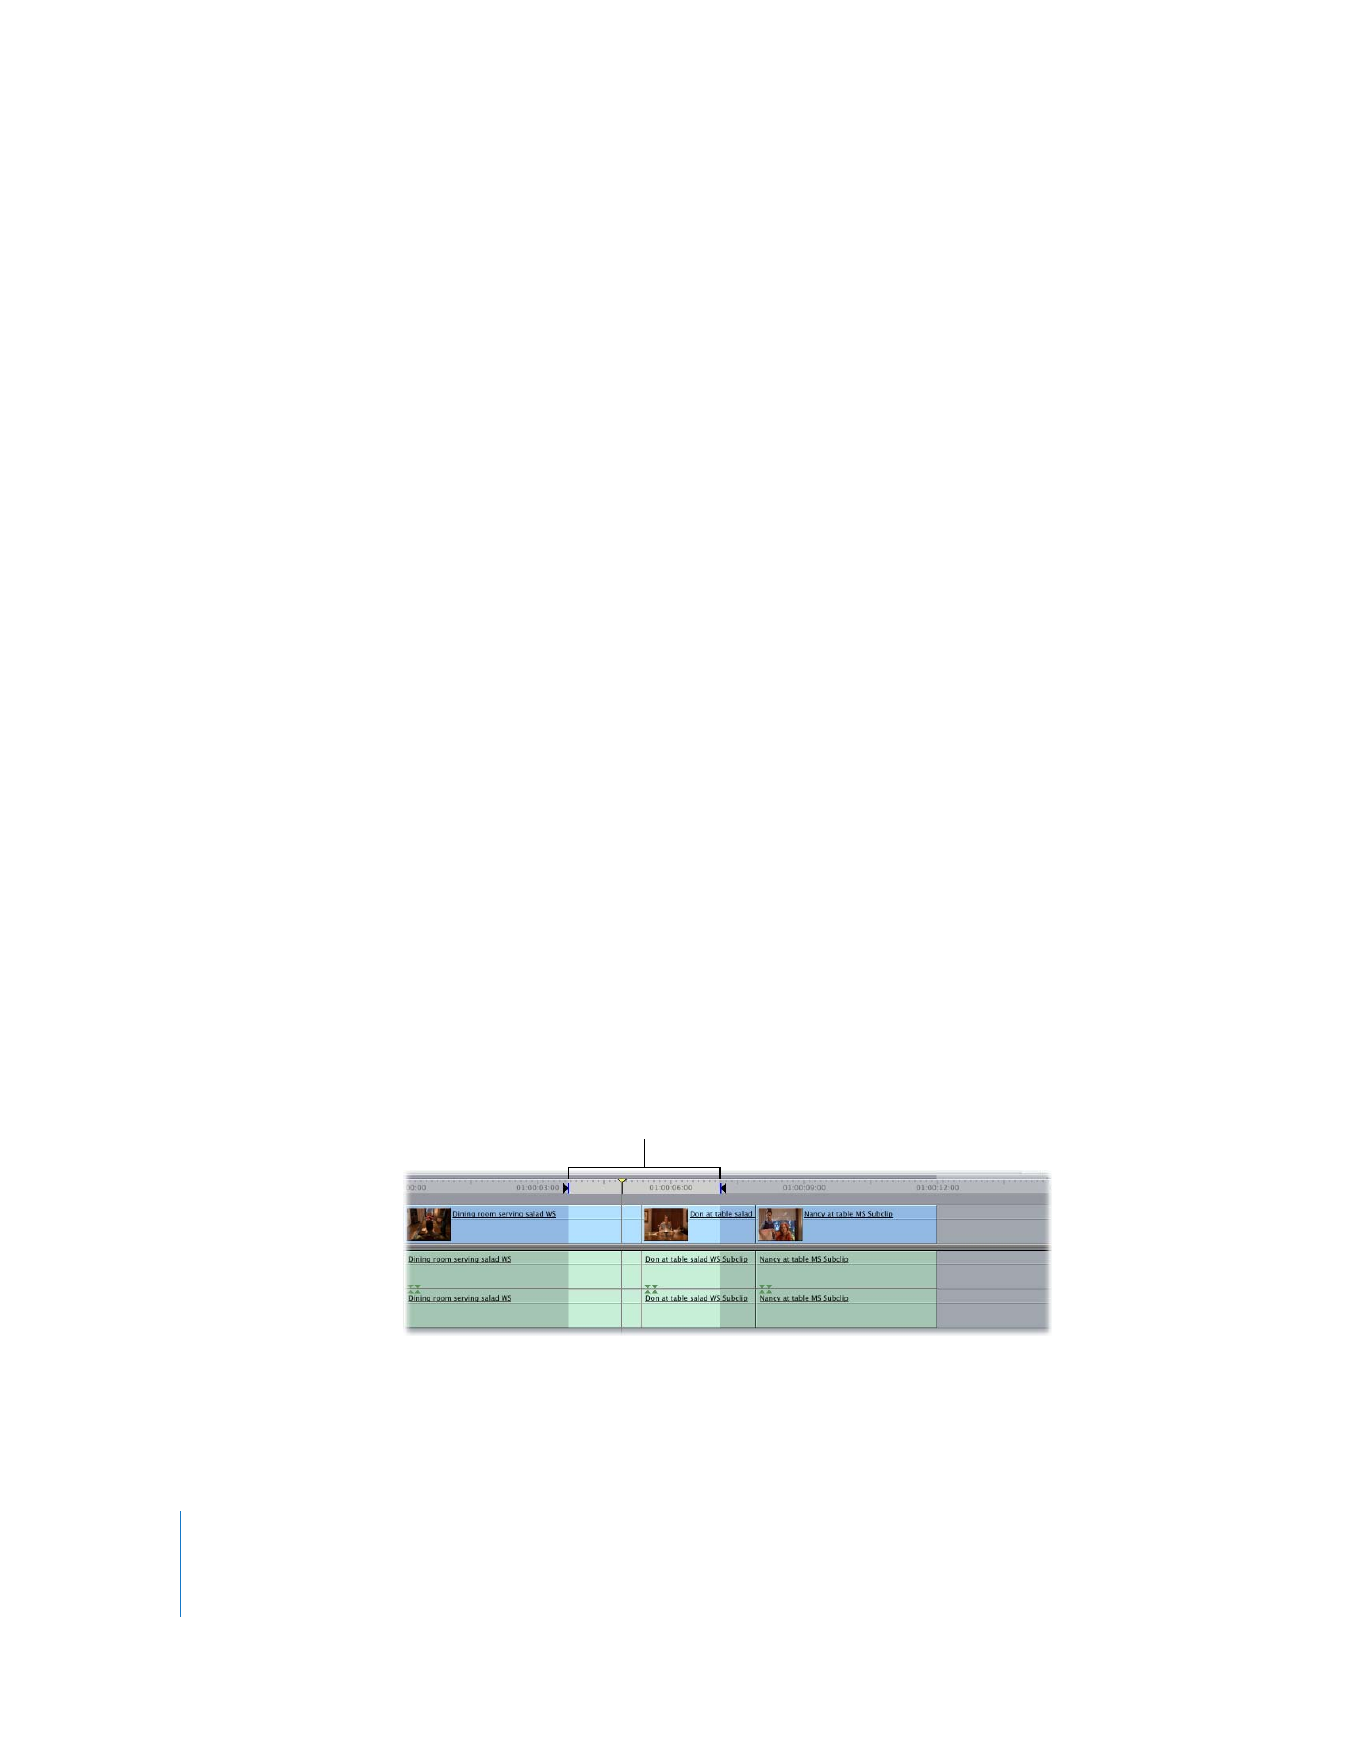
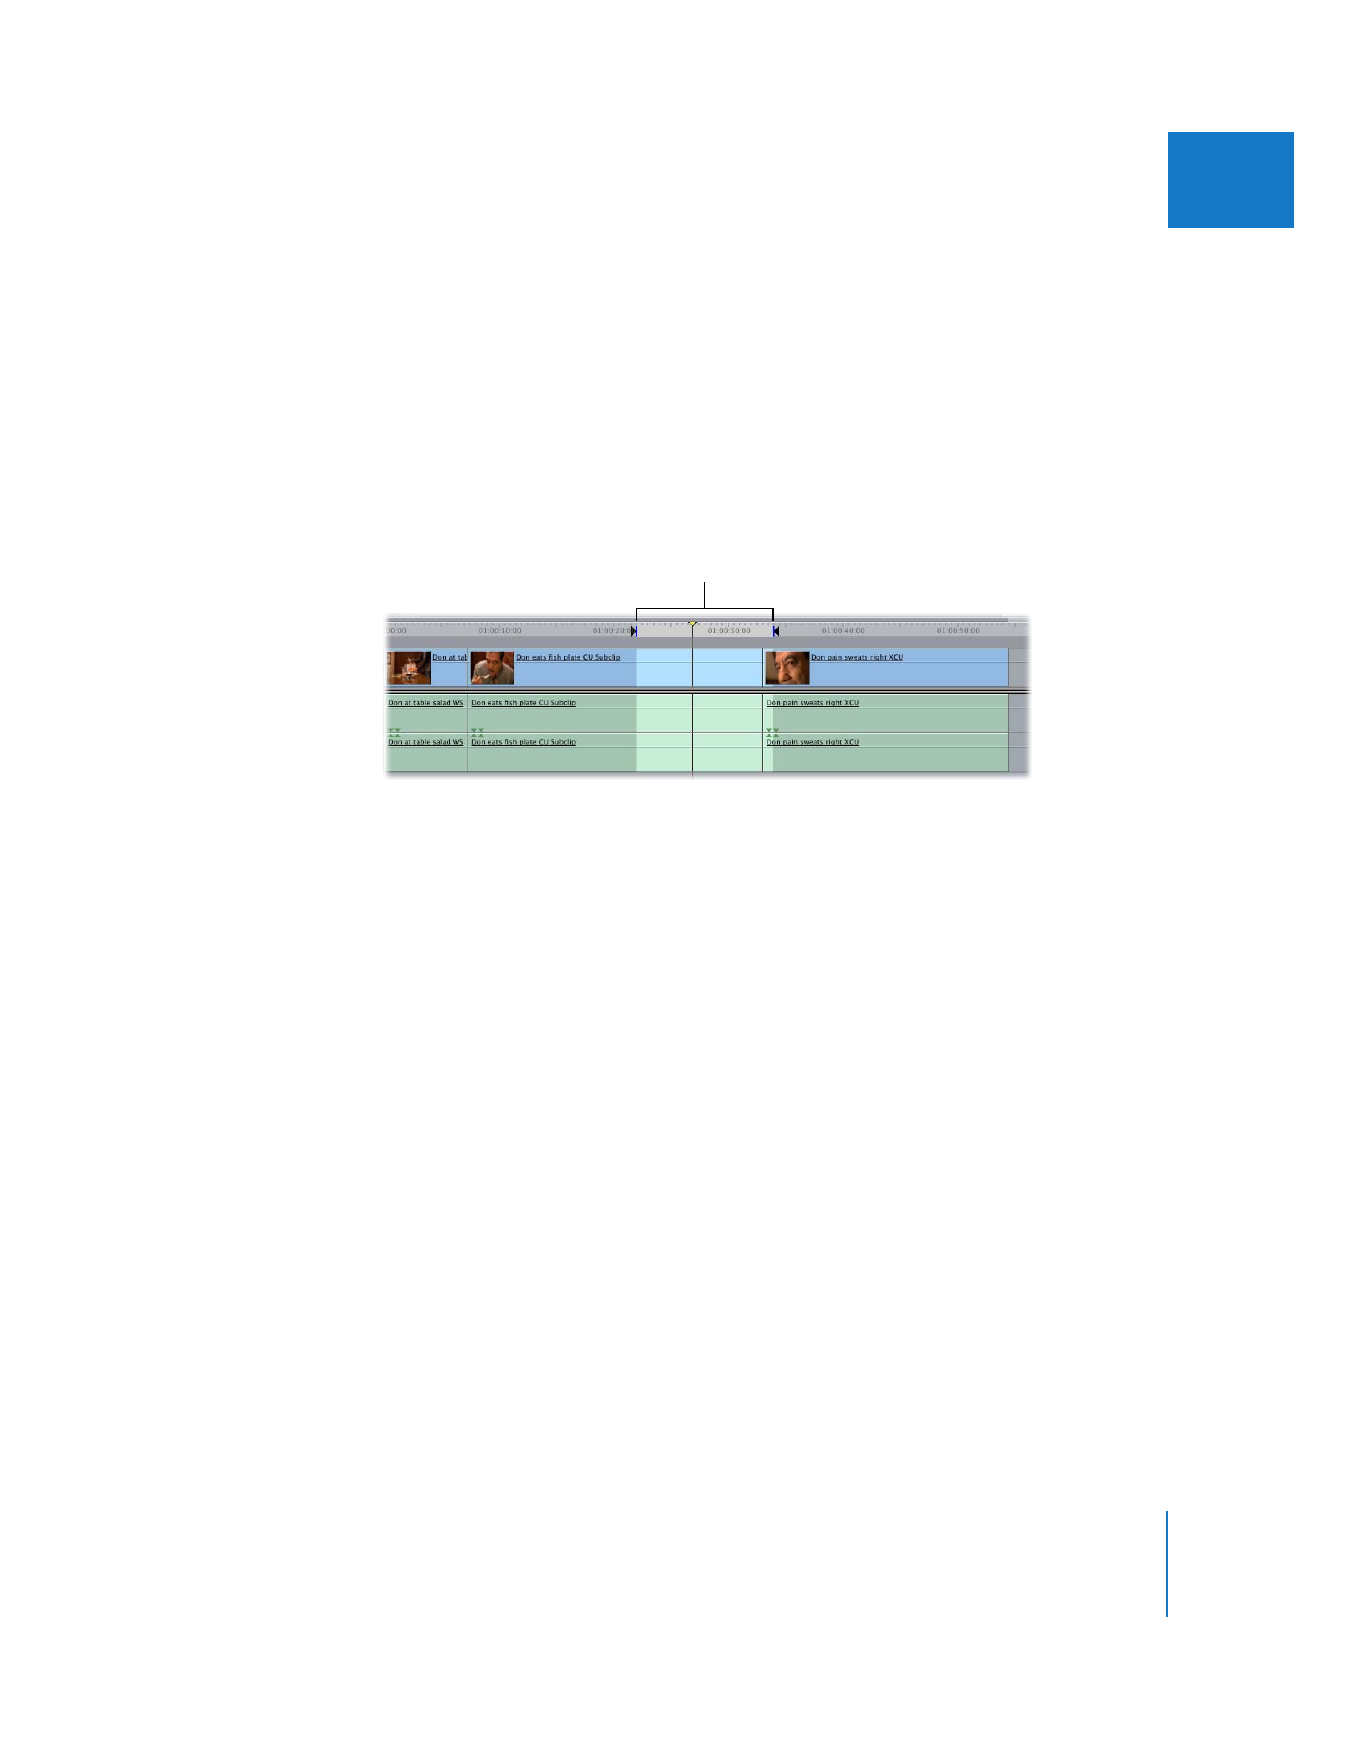
Note: If you do set In and Out points in the Timeline, they will be used even if they
span multiple clips, as long as there’s enough media on either side of the playhead in
your source clip.
In and Out points
spanning multiple clips

Chapter 10
Three-Point Editing
157
II
 A replace edit places the source clip into your sequence so that the frame at the
position of the playhead in the Viewer is located at the Canvas/Timeline playhead
position. Therefore, it’s important that you have enough media in your source clip to
the left and right of the playhead in the Viewer to accommodate the space you’ll be
filling in the Timeline. If you don’t, you’ll see an “Insufficient content for edit” message.
 If you perform a replace edit by dragging a clip directly from the Browser,
Final Cut Pro uses the location of the Viewer playhead from the last time that clip
was open in the Viewer. If the clip is newly imported and has never been opened in
the Viewer, Final Cut Pro uses that clip’s starting frame, since that is the default
starting position for a clip.
 You can only perform a replace edit with one clip at a time. If you select multiple
clips, only the first one will be used.
The most basic use of the replace edit is to quickly and easily replace a clip in your
edited sequence with a source clip synchronized around a similar action.
To replace an entire clip in the Timeline with a clip synchronized to a point in
the sequence:
1
In the Timeline, move the playhead to a frame you want to match with a source clip.
For example, if both the sequence and source clip are shots of a person jumping, you
could move the Canvas/Timeline playhead to the first frame where the person’s feet
leave the ground.
2
Make sure that the correct Source and Destination controls are connected in the
Timeline for the clip you want to replace.
3
Double-click the replacement source clip to open it in the Viewer, then move the
Viewer playhead to the frame you want to match in the Timeline. Do not set any edit
points for the clip in the Viewer.
For example, if both the sequence and source clip are shots of a person jumping, you
could move the Viewer playhead to the first frame where the person’s feet leave the
ground. This frame will be placed at the location of the playhead in the Timeline.
158
Part II
Rough Editing
4
Do one of the following:
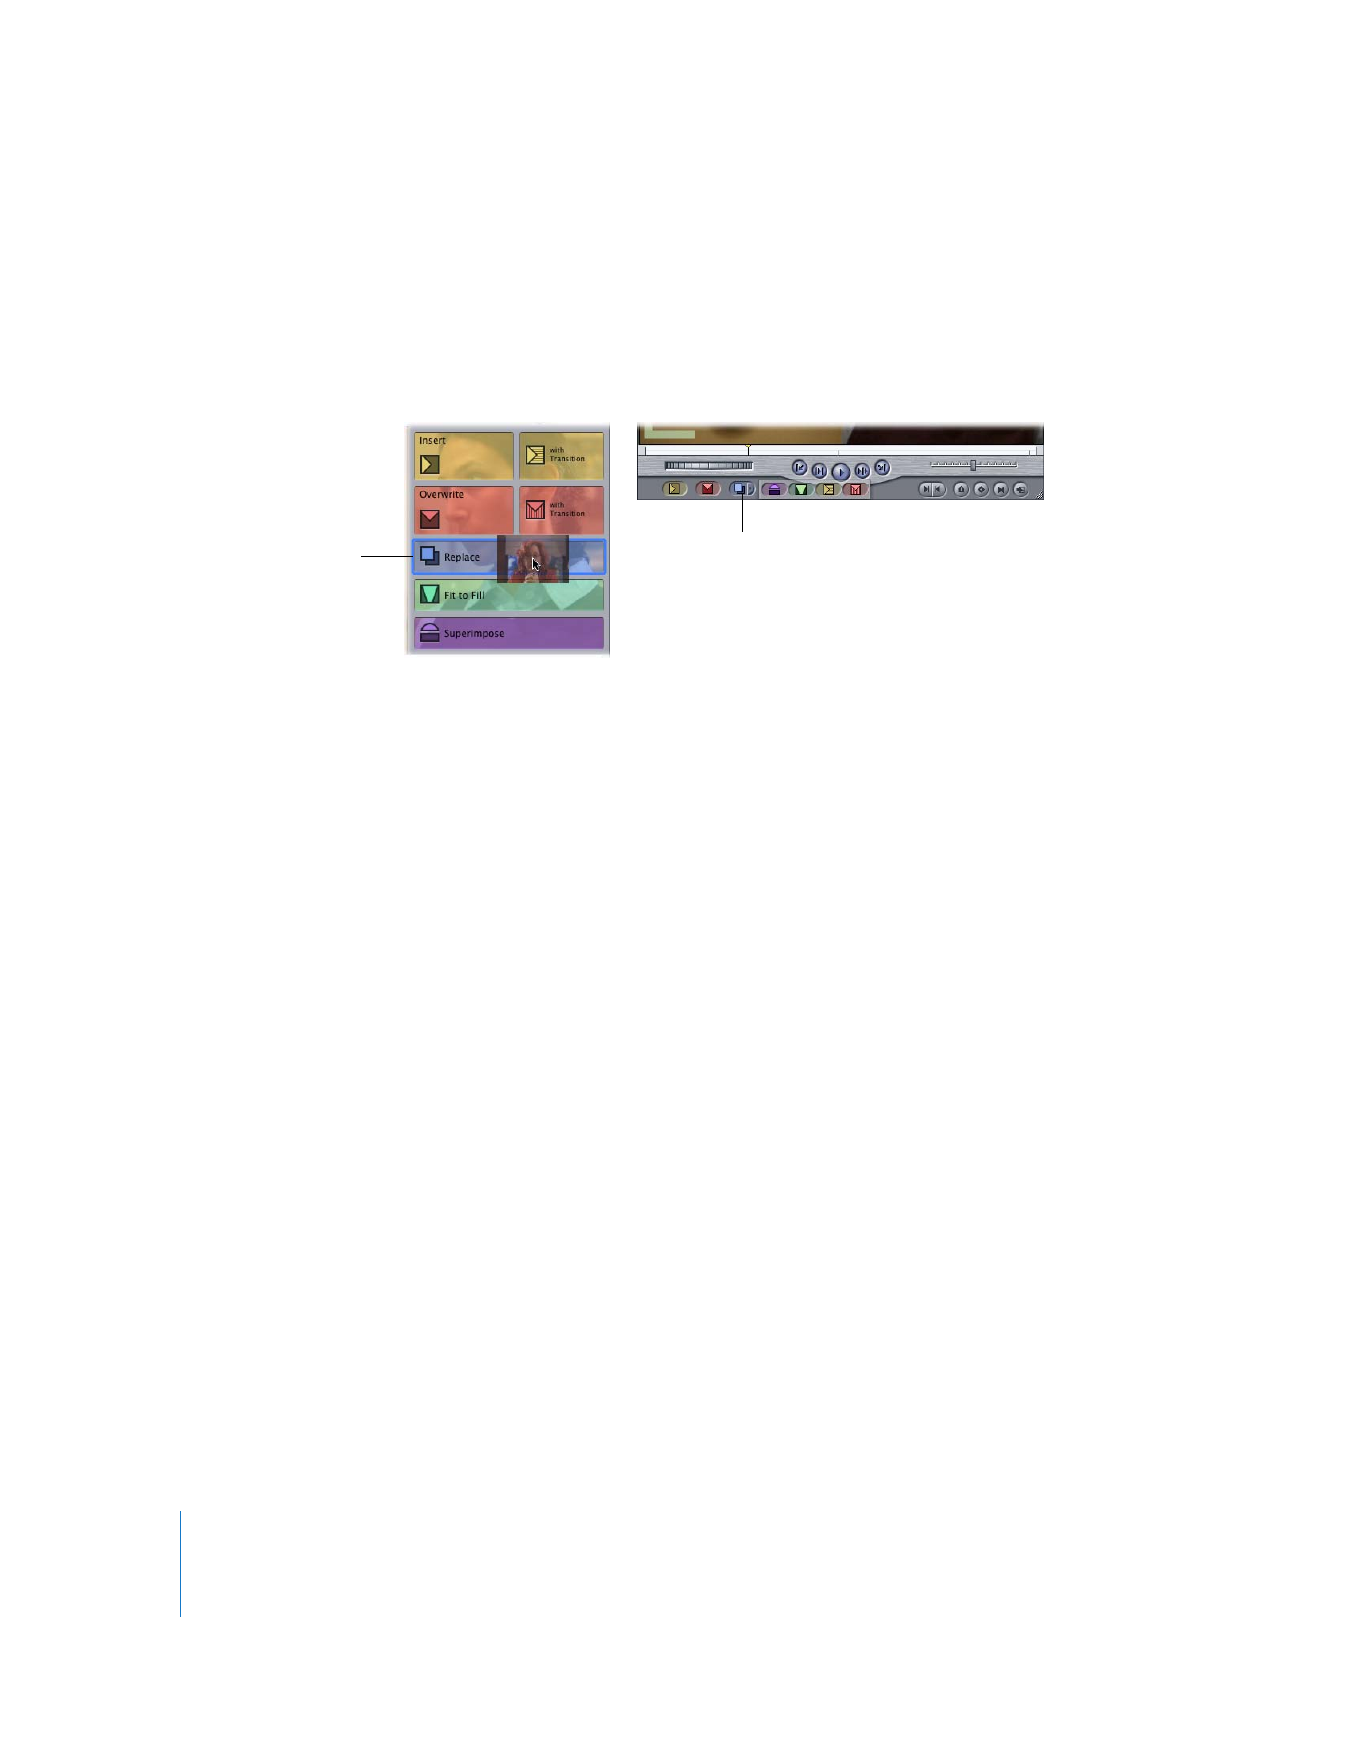
 Drag the clip from the Viewer to the Replace section of the Edit Overlay in
the Canvas.
 Click the Replace button in the Canvas.
 Press F11.
Important:
Make sure that the clip in the Viewer contains enough media on either side
of the playhead to fill the duration of the clip you want to replace in the Timeline. If it
doesn’t, you’ll see an “Insufficient content for edit” message.
Another common use of the replace edit is to line up a frame in a clip that’s already in
your edited sequence with an audio cue in an adjacent clip. For example, if you have a
video clip of a man dancing and an audio clip in another track of music, you can use a
replace edit to place a different portion of the same video clip into your sequence at
the same location, aligning a frame showing a particular movement of his foot with a
particular beat of the music.
Replace button
Replace section
of the Edit Overlay
in the Canvas
Chapter 10
Three-Point Editing
159
II
To use a replace edit to resync a video clip to an audio clip in another track:
1
In the Timeline, choose Mark > Clear In and Out (or press Option-X) to delete any
sequence In and Out points.
2
In the Timeline, find the audio cue you want to sync your video clip to, and position the
playhead there.
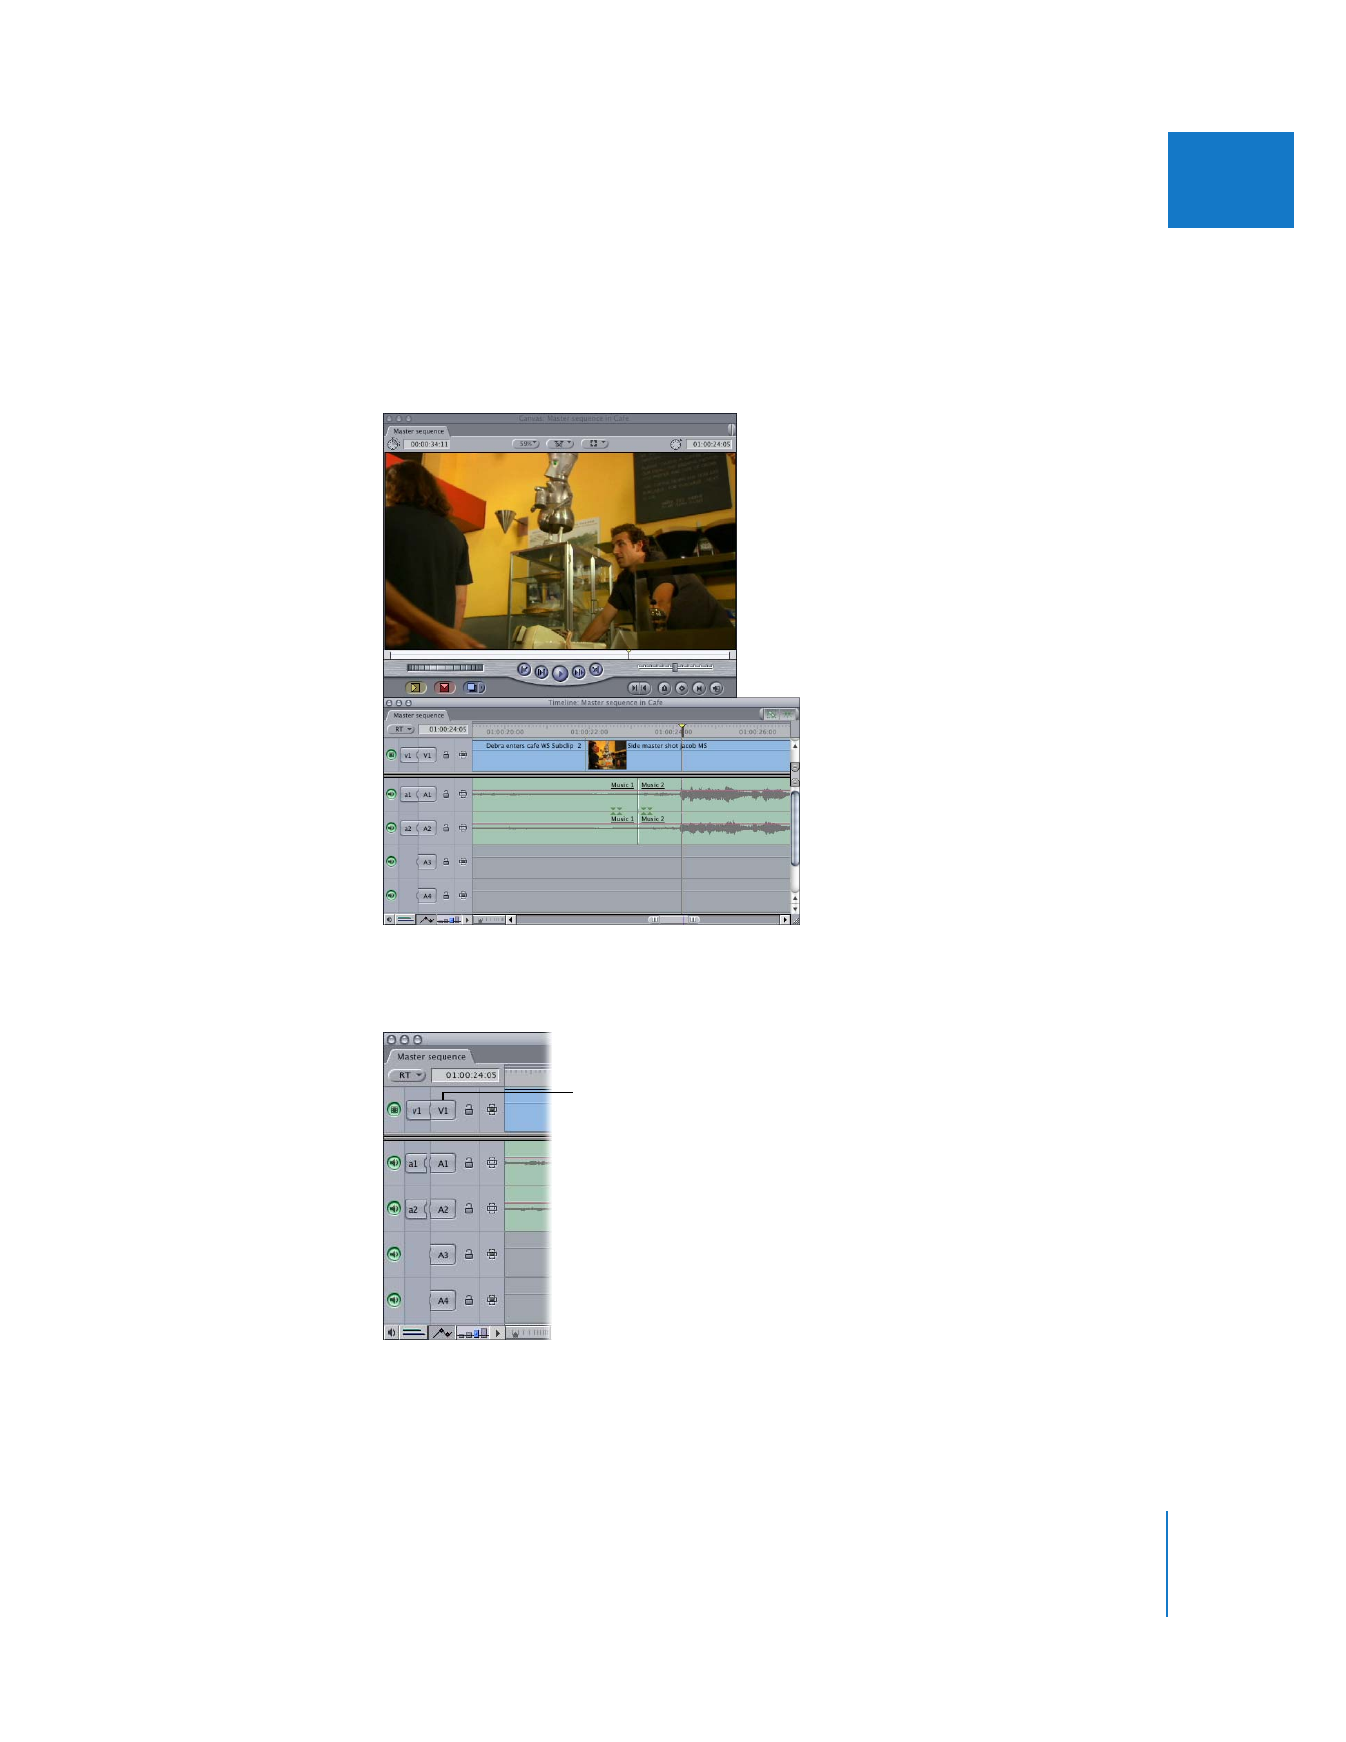
3
Make sure that the Source and Destination controls in the Timeline are set to the tracks
containing your video clip, and not your audio clip.
The video track should
be the only destination
track set.
160
Part II
Rough Editing
4
Without moving the Timeline playhead, press the F key to perform a match
frame operation.
This opens the master clip that the video clip in your sequence came from in the
Viewer, placing the playhead in the Viewer over the same frame that was under the
playhead in the Timeline. For more information on match frame editing, see “
Matching
Frames Between Sequence and Master Clips
” on page 430.
5
Move the playhead in the Viewer to the new frame that you want to align with the
audio cue that you selected in the Timeline.
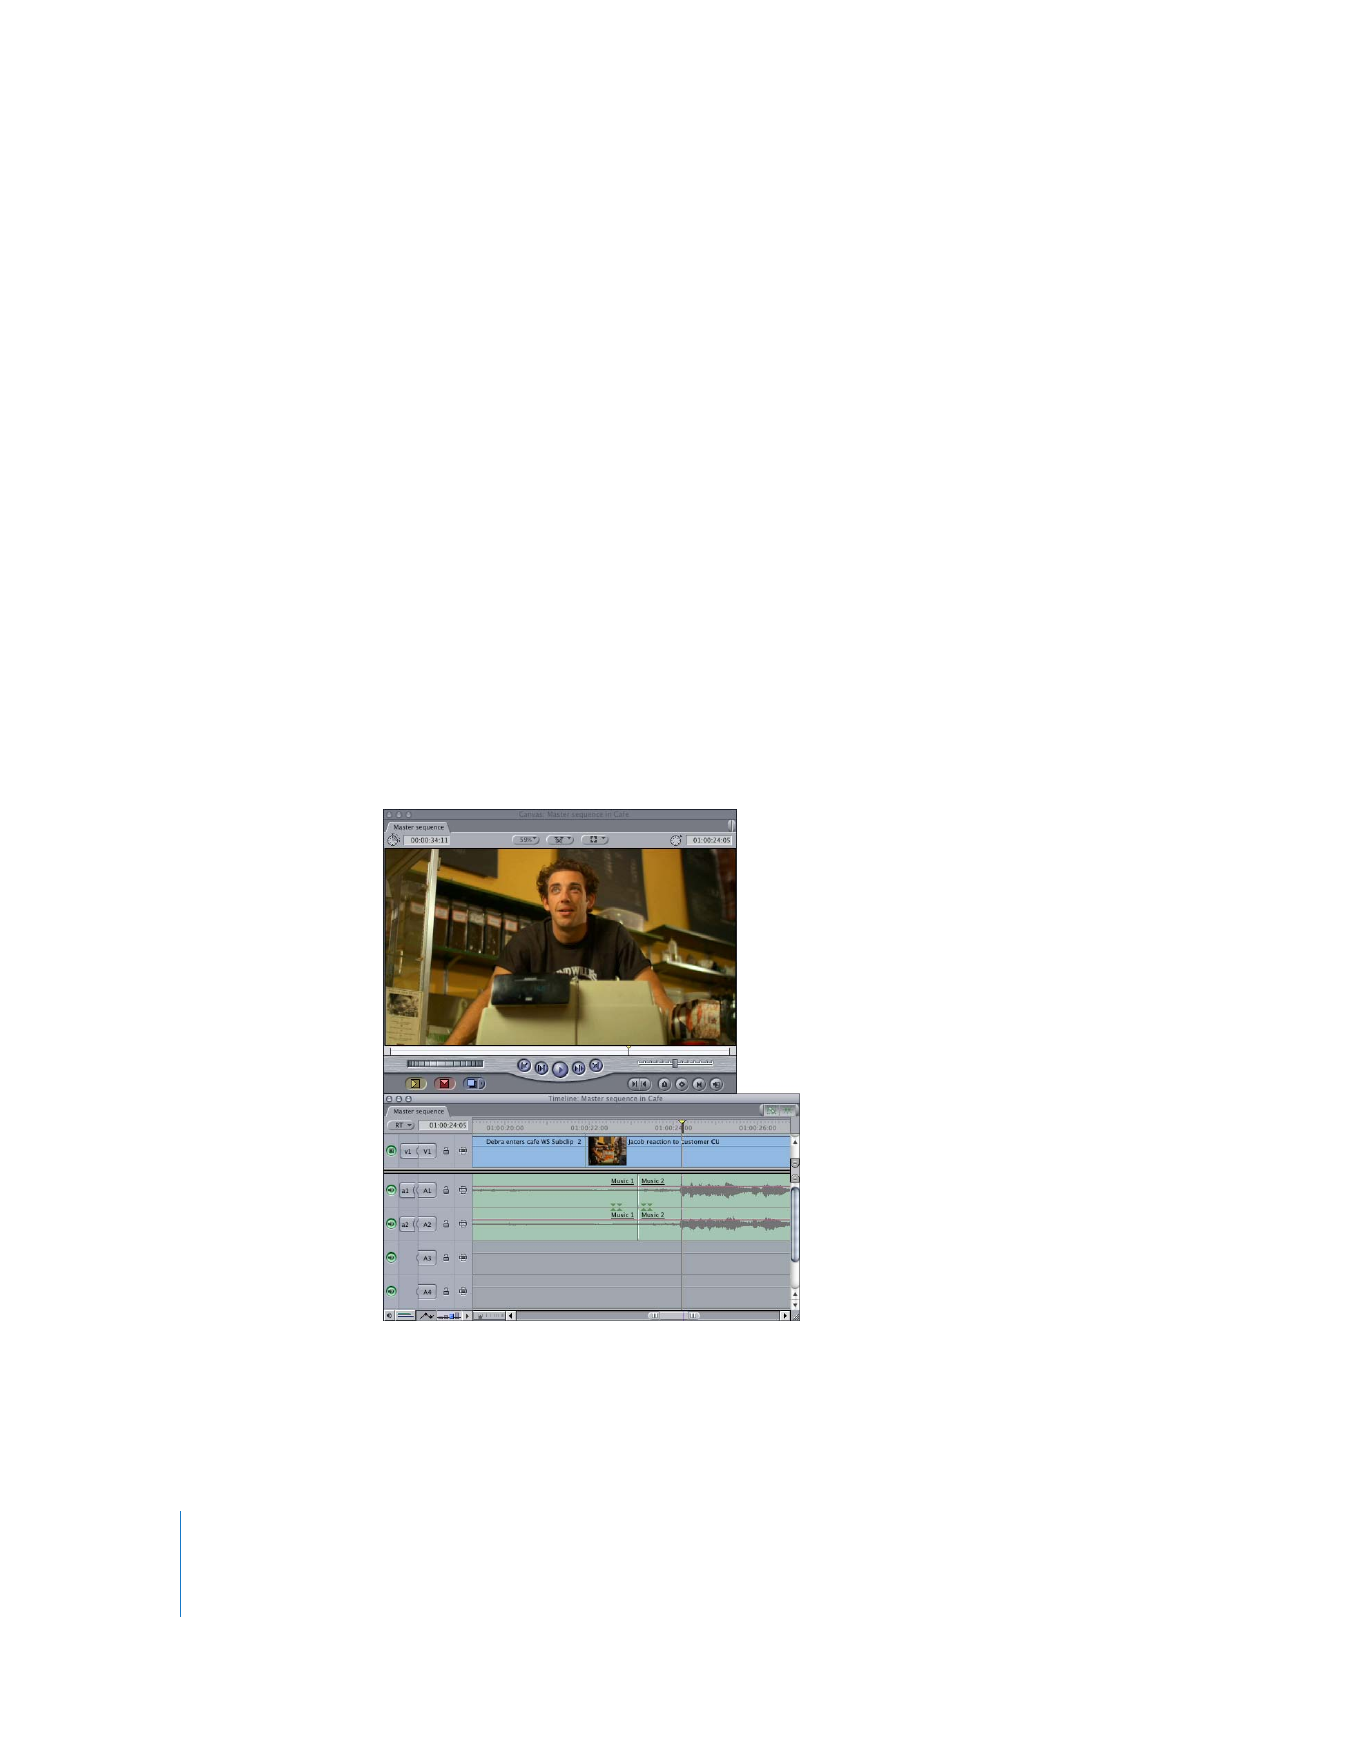
6
Now that the Timeline playhead is lined up with the audio cue in your sequence and
the Viewer playhead is lined up with a video frame that you want to sync to it, perform
the edit by doing one of the following:
 Drag the clip from the Viewer to the Replace section of the Edit Overlay in
the Canvas.
 Click the Replace button in the Canvas.
 Press F11.
The original video clip item in your sequence is replaced with a new copy of the clip,
which is synchronized with your audio cue.
Chapter 10
Three-Point Editing
161
II
Important:
Make sure that the clip in the Viewer contains enough media on either side
of the playhead to fill the duration of the clip you want to replace in the Timeline. If it
doesn’t, you’ll see an “Insufficient content for edit” message.
If you set In and Out points in a sequence, a replace edit can overwrite more than one
clip at a time. A replace edit still works the same way: the Timeline and Viewer
playheads are used as the matching points for the edit.
To use a replace edit with sequence In and Out points:
1
In the Canvas or the Timeline, set In and Out points for the section of your sequence
you want to replace.
2
Move the playhead to the frame that you want the source clip to line up with.
This frame can be at any point between the In and Out points.
3
Make sure that the tracks containing the items you want to replace are set as
destination tracks.
4
Double-click the clip you want to use to replace the selected area (to open it in the
Viewer), then move the playhead to the frame you want to line up with the playhead in
the Timeline.
5
Do one of the following:
 Drag the clip from the Viewer to the Replace section of the Edit Overlay in
the Canvas.
 Click the Replace button in the Canvas.
 Press F11.
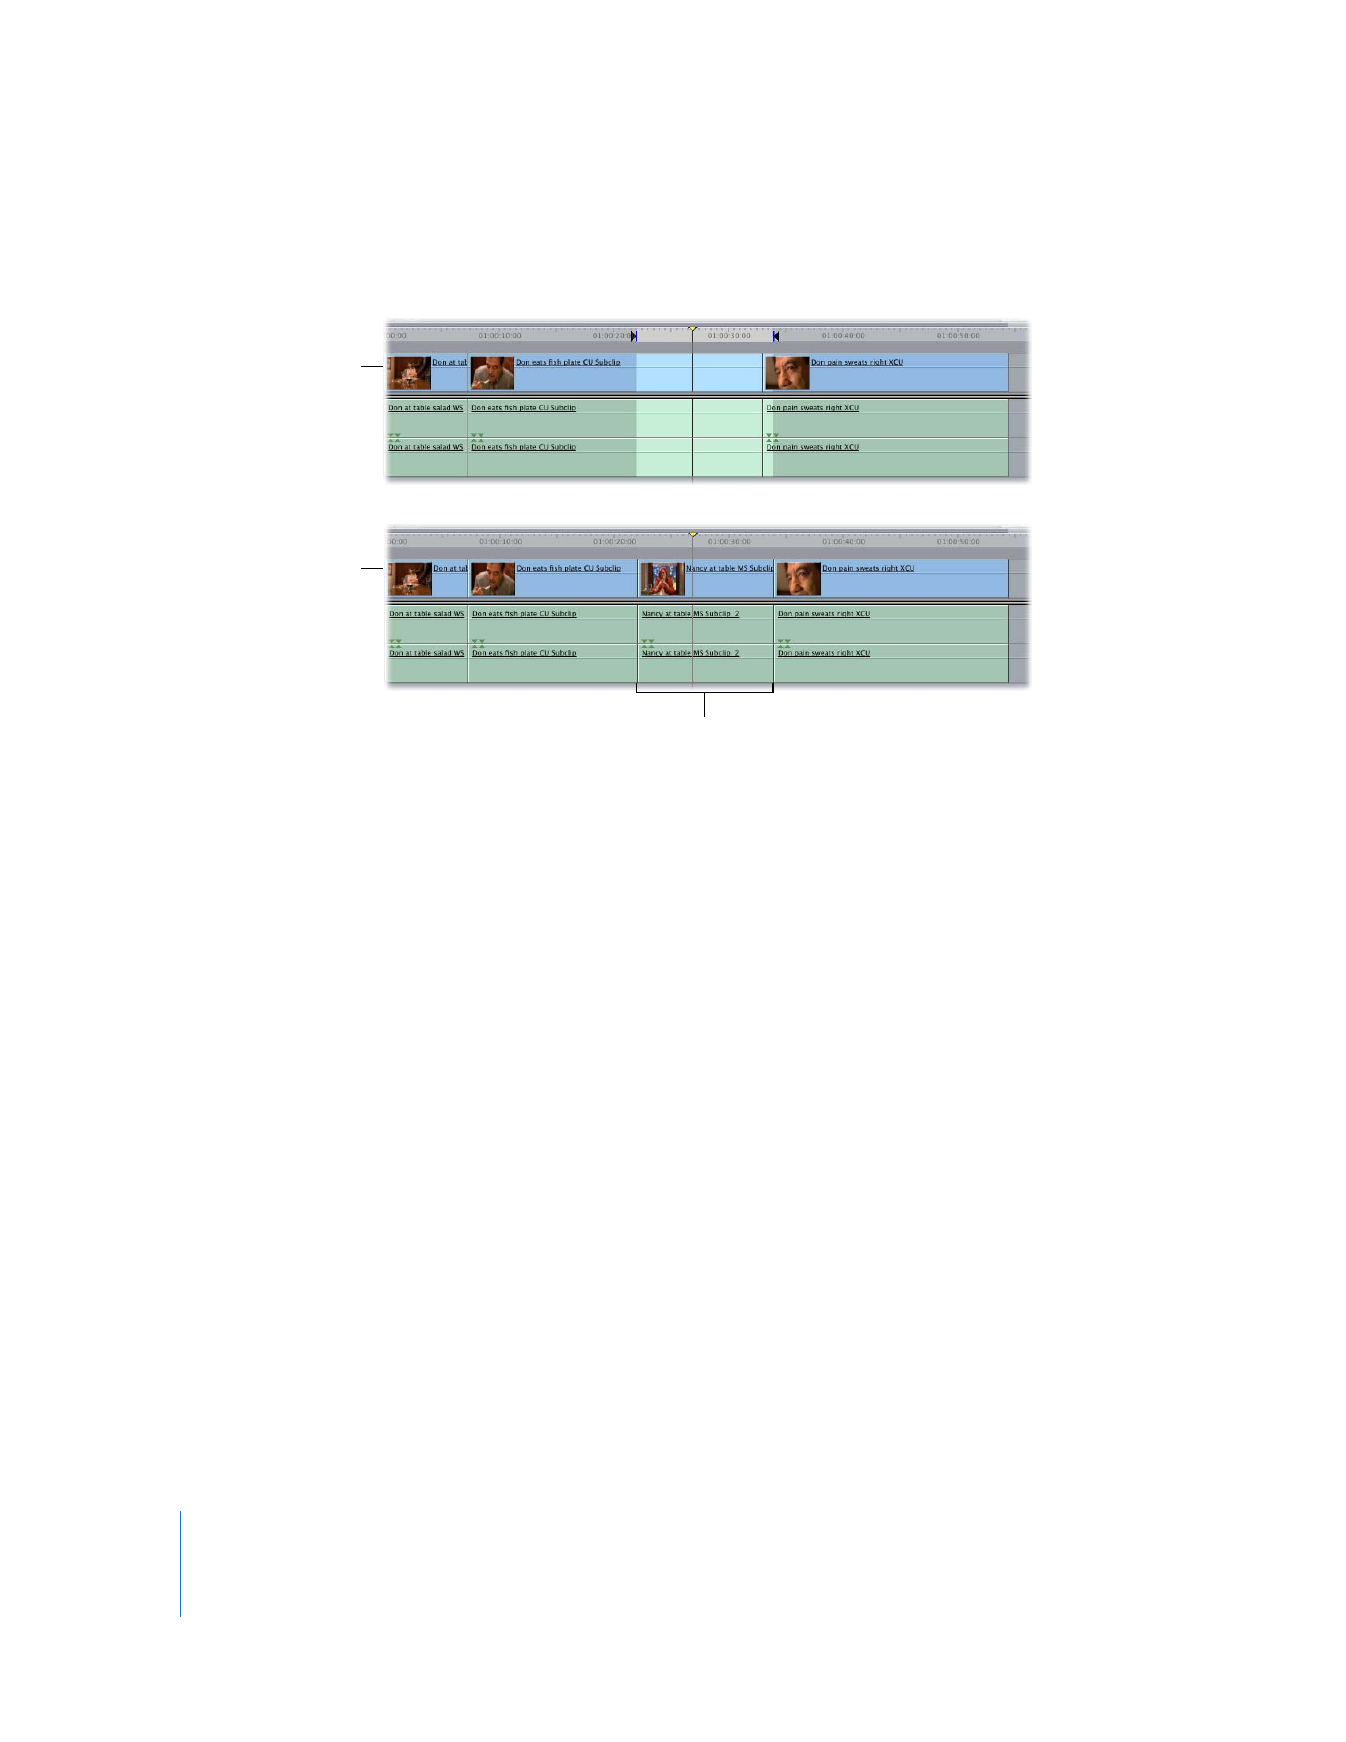
In and Out points define the
area you want to replace.
162
Part II
Rough Editing
The selected area in the sequence is replaced by the source clip. Final Cut Pro
automatically calculates the clip duration.