Performing an Insert Edit
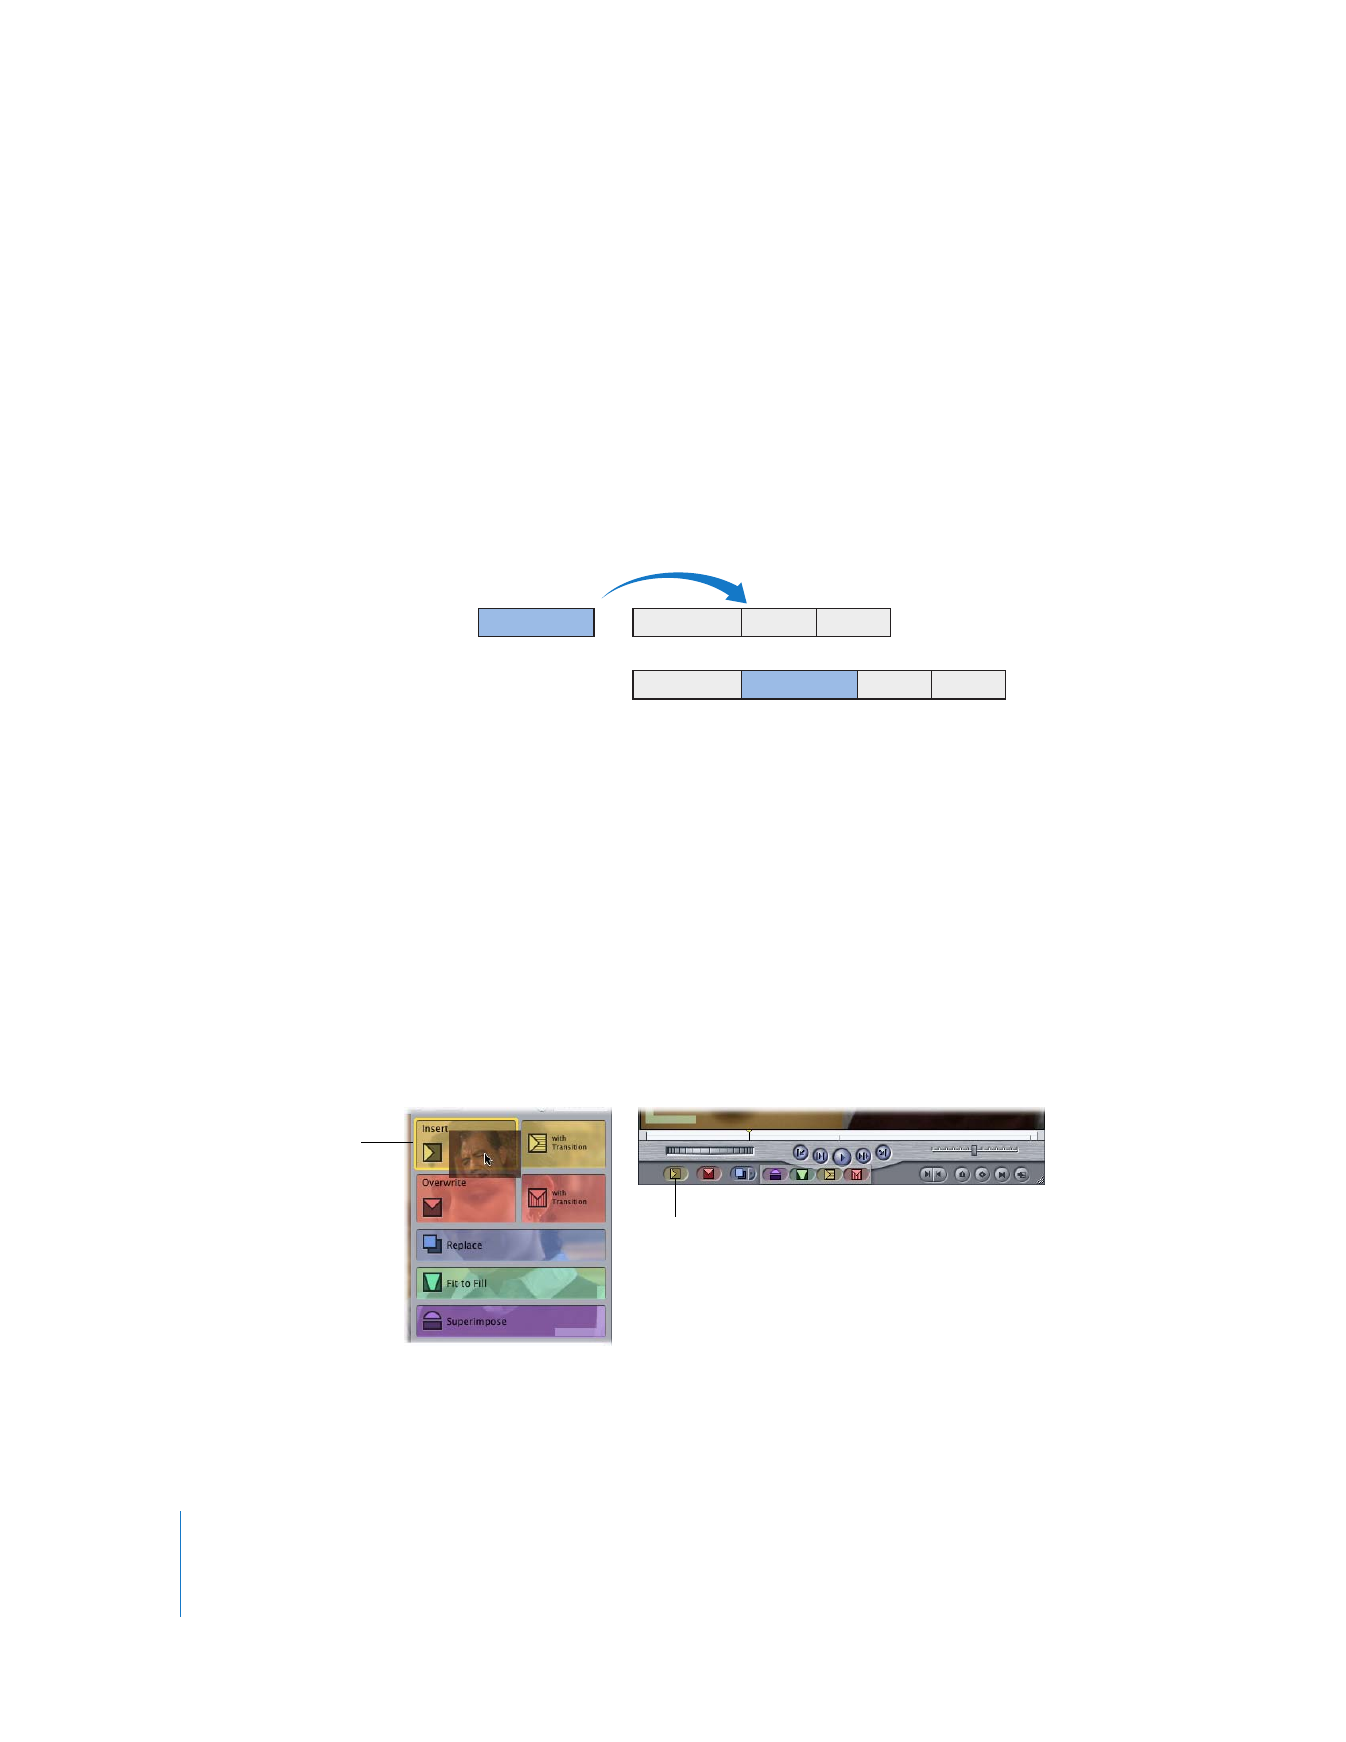
An insert edit places the source clip into your sequence so that all items after the
insertion point in your sequence are moved forward (or rippled) in the Timeline, to
make room for the clip being added. No clips are removed from your sequence.
You can perform an insert edit with one or more clips. If you perform an insert edit in
the middle of an existing sequence clip, that clip is cut at the insertion point and the
second half is pushed, along with the rest of the footage to the right of the insertion
point, to the end of the newly inserted clip. Even if your destination track is empty, clips
on all other unlocked tracks are moved forward in time, from the insertion point to the
right. Insert edits cause clips in your sequence to be rippled forward.
By definition, an insert edit makes your sequence longer because the duration of the
inserted clip is added to the sequence. Typically, you use insert edits when you want to
add a new shot in the beginning or the middle of your sequence. You can also use an
insert edit to interrupt the action in an existing clip with the action in the newly
inserted clip. The action in the original clip then resumes after the inserted clip.
To perform an insert edit:
m
Specify the necessary edit points and destination tracks, then do one of the following:
 Drag a clip from the Viewer or Browser to the Insert section of the Edit Overlay in
the Canvas.
 Click the Insert button in the Canvas.
 Press F9.
A
B
C
D
A
B
C
D
Before edit
After edit
Insert section of
the Edit Overlay
in the Canvas
Insert button
Chapter 10
Three-Point Editing
151
II
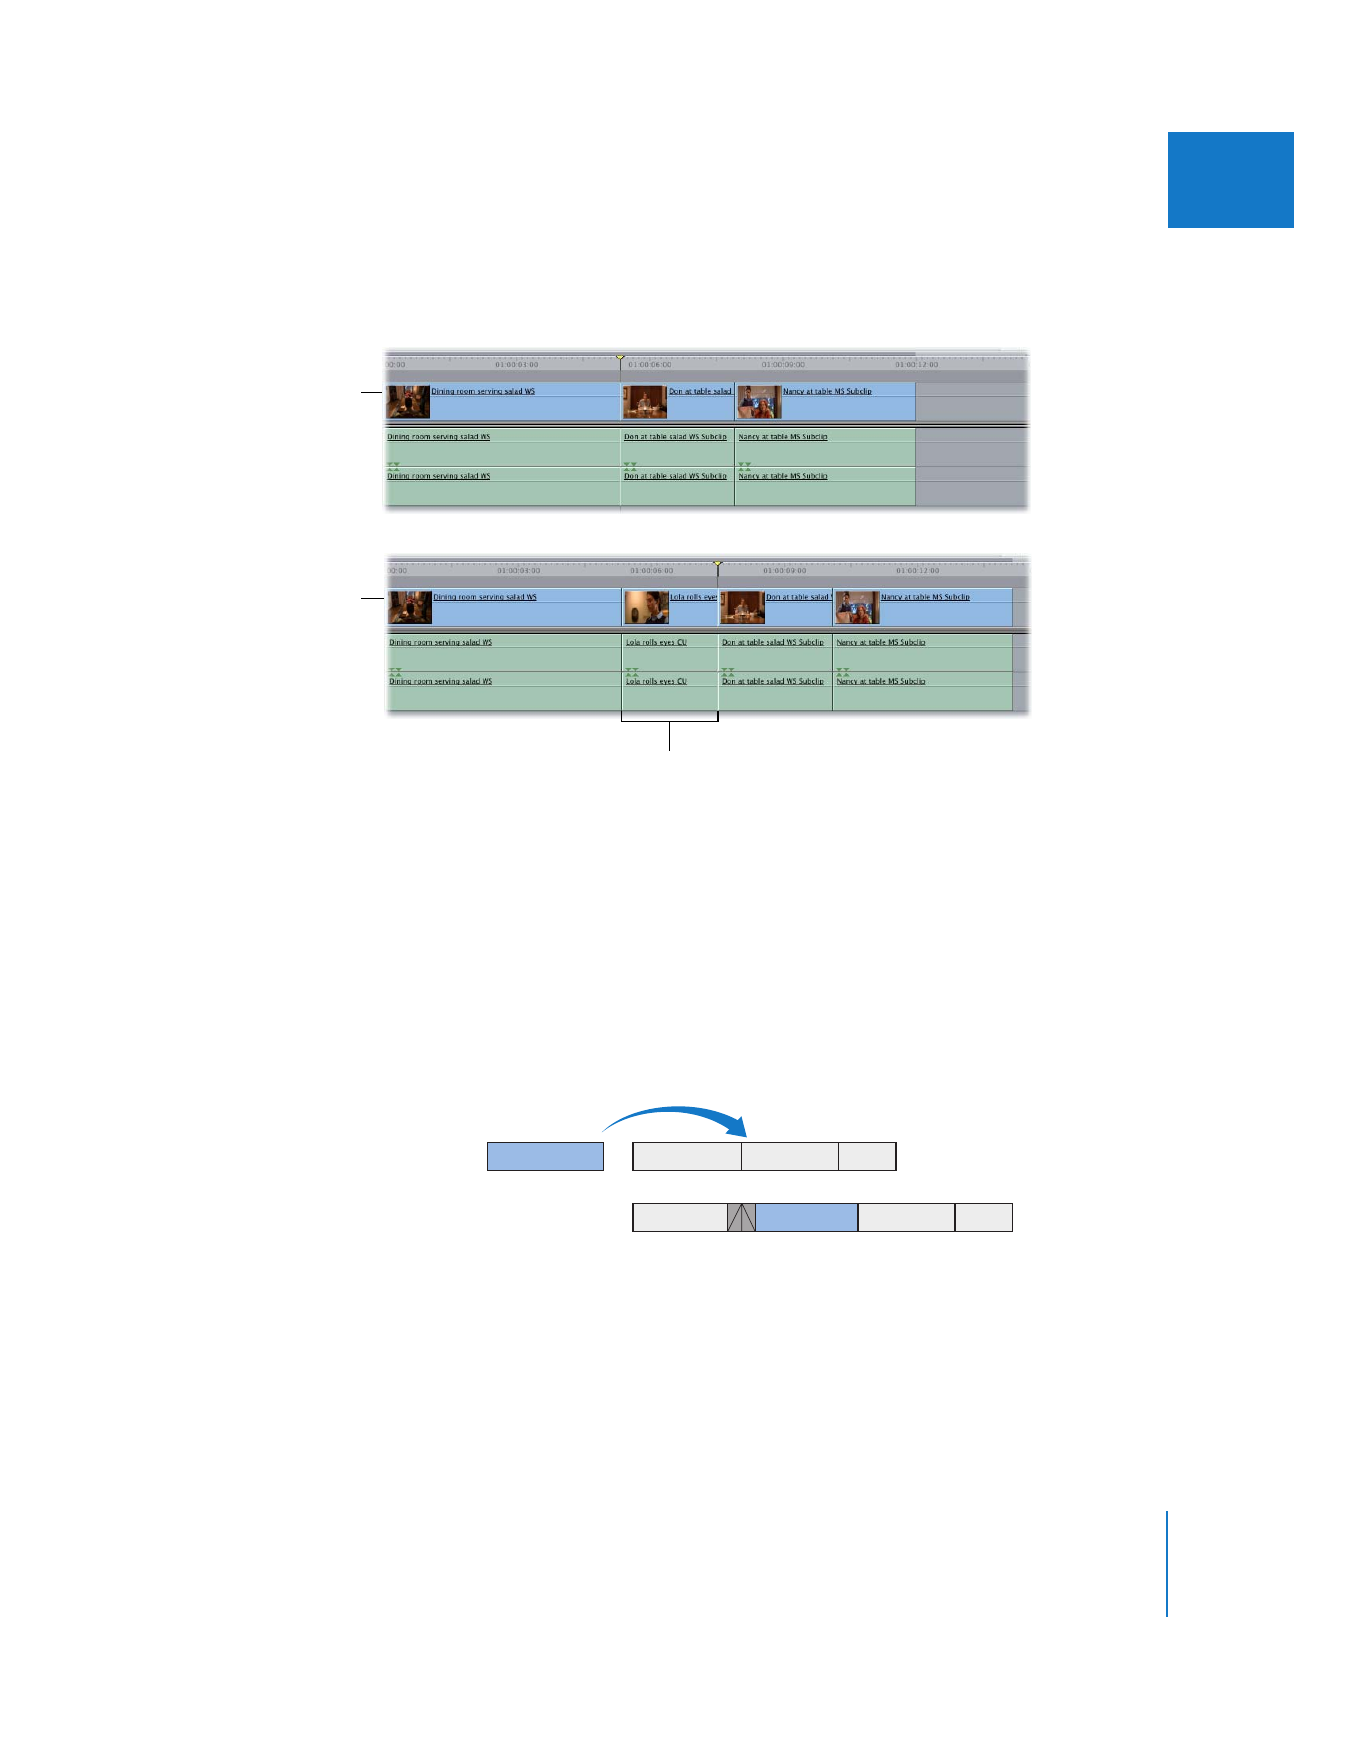
After the edit, all clips on all unlocked tracks (including nondestination tracks) are
moved forward in time, from the playhead position to the right, to make room for the
clip or clips being inserted.