Multiclip Workflow
The following steps describe the basic multiclip workflow in Final Cut Pro:
Step 1:
Shoot an event with multiple cameras and record appropriate
sync information
A multicamera shoot uses multiple cameras to record the same subject or event from
different angles and distances. The recorded tapes are known as iso reels (short for
isolated reels) because each camera angle is recorded separately.
In professional multicamera shoots, each camcorder or VTR receives the same timecode
from a master timecode generator, or you can jam sync the timecode generator of each
camera at the beginning of the shoot. If you are using consumer DV camcorders, which
cannot accept external timecode, you need to record a visual cue, such as a clapboard
closing or a camera flash, on all cameras. You can use this to synchronize the clips
together during post-production.
Step 2:
Log and capture multicamera footage
Log and capture each tape as individual clips, or use Capture Now to capture the entire
length of each tape.
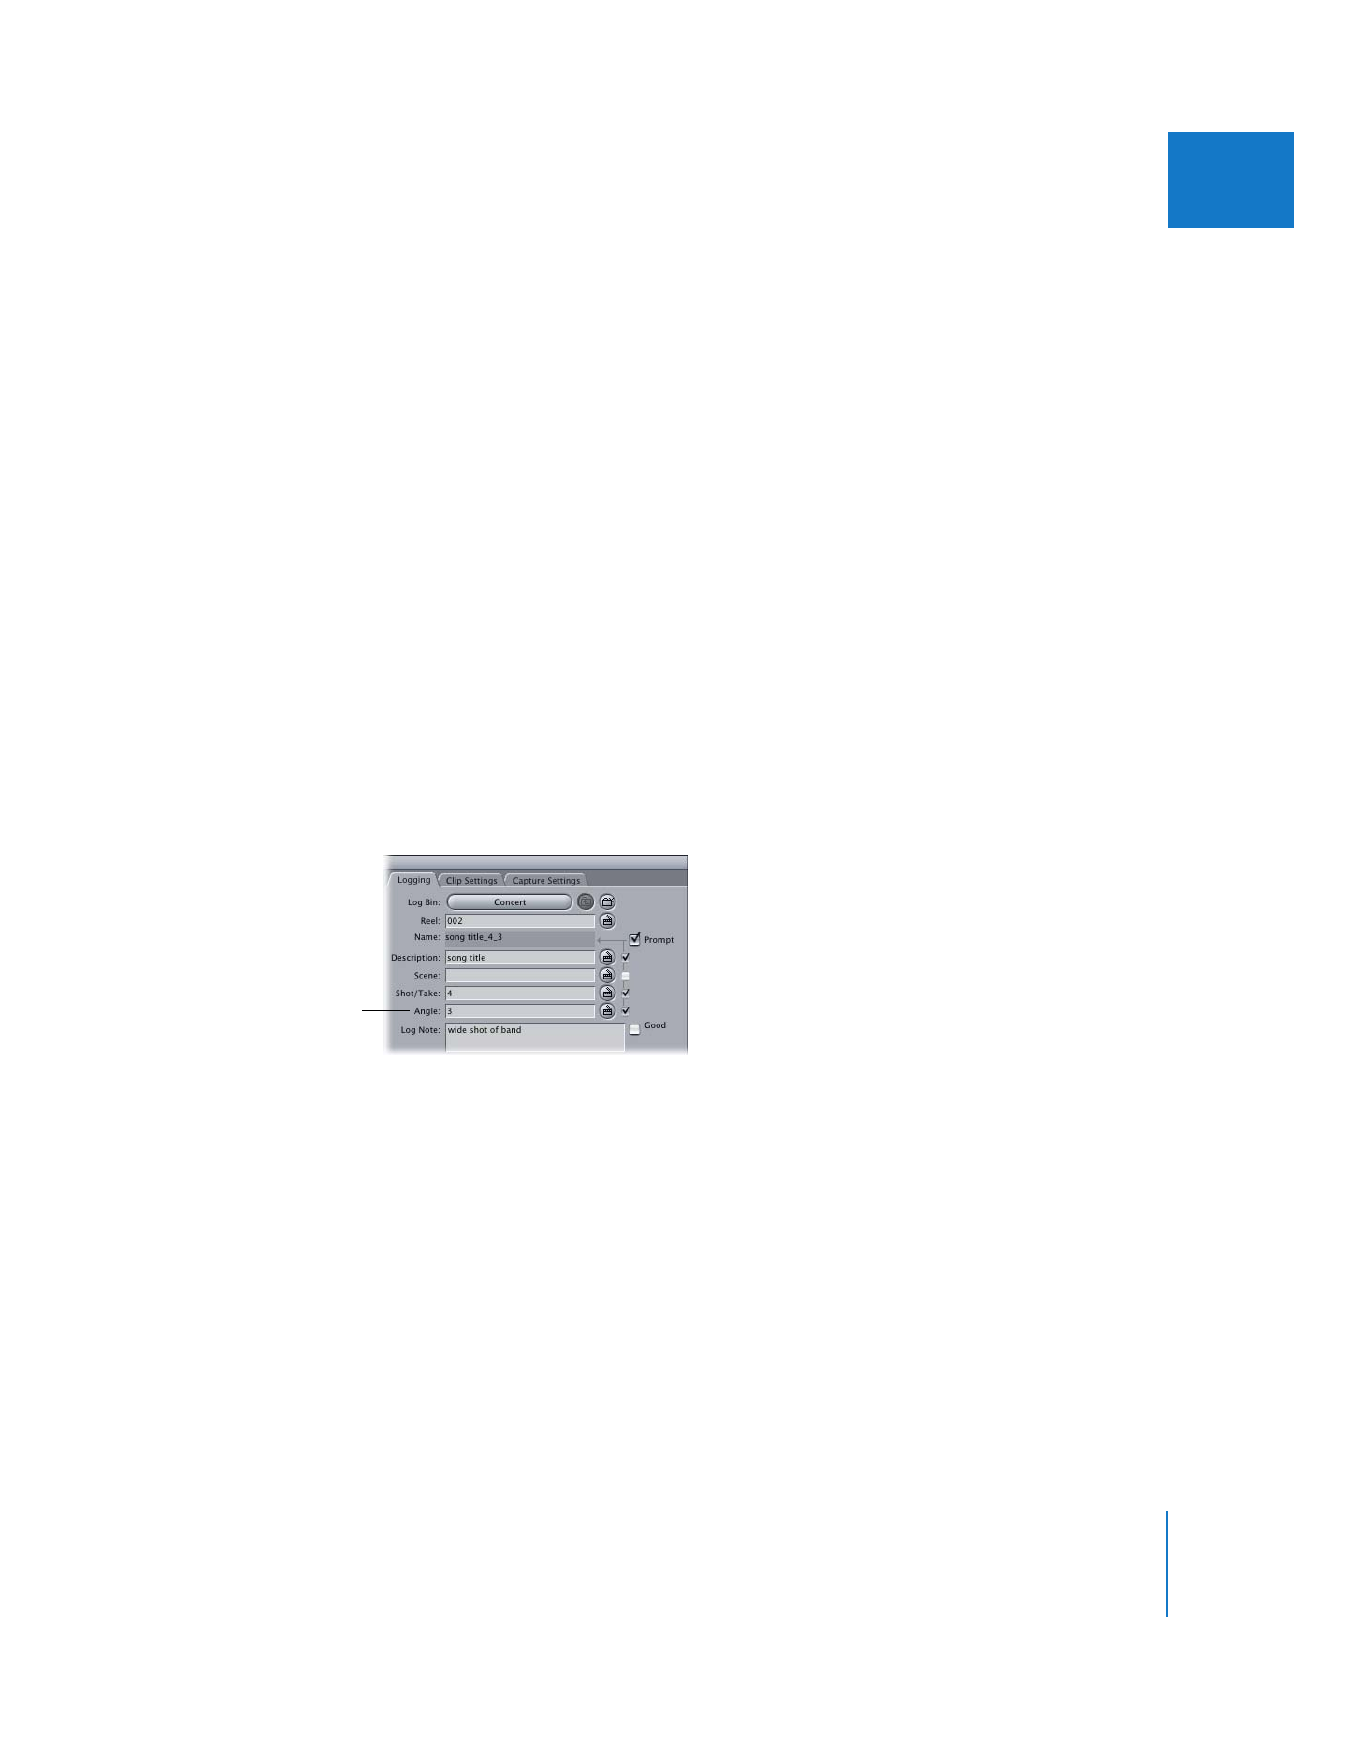
Important:
Make sure to log an angle number for each clip you capture. Final Cut Pro
uses a clip’s Angle property to determine how it is sorted within a multiclip.
If you capture entire reels using Capture Now, you can break your footage into shorter
subclips. For more information, see Volume II, Chapter 2, “Creating Subclips.”
Step 3:
Create multiclips, assigning a clip from each camera to a different angle
In the Browser, select the clips, subclips, or bins of clips that you want to group
together into a multiclip. You can create multiclips using either the Make Multiclip or
the Make Multiclip Sequence command.
When creating a multiclip, you can choose one of several methods to synchronize the
clips, such as by In point, Out point, or matching timecode. After a multiclip is created,
you can rearrange, add, and delete angles in the Viewer.
For more information, see “
Creating Multiclips and Multiclip Sequences
” on page 244
and “
Working with Multiclip Angles in the Viewer
” on page 261.
Angle field

244
Part II
Rough Editing
Step 4:
Edit multiclips into a sequence
Once you edit a multiclip into a sequence, you can enable the Multiclip Playback
option to watch all angles simultaneously in the Viewer while switching or cutting to
different angles in real time in the Canvas. The Multiclip Playback option allows you to
cut an entire show as if it were live, and then fine-tune your edits in the Timeline just as
you would for any other program.
You can cut and switch between video and audio at the same time or independently.
For example, you can use the audio from angle 1 while switching the video between
angles 1–4. For more information, see “
Editing with Multiclips in Real Time
” on
page 268.
Step 5:
Collapse multiclips to the active angle
After you have finished editing, you can collapse multiclips in the Timeline to the
currently active angle, at which point you can work with them as regular clips. This is
useful when you transfer your project to a color correctionist, effects artist, or audio
engineer who only needs to see the active angles you chose during editing. Collapsing
a multiclip is not permanent. If you need to make multiclip changes later, you can
expand the multiclip and all of the angles become available. For more information, see
“
Collapsing and Expanding a Multiclip
” on page 281.
Step 6:
Output to tape or export to a QuickTime movie or a project
interchange format
You can output multiclip sequences to tape or export to a project interchange format,
such as an EDL, OMF, or XML file. For compatibility with other video editing systems,
most output and export formats only include the active angle. The Final Cut Pro XML
Interchange Format supports export of all multiclip angle information, while EDL and
OMF files only include information about the currently active angle of each multiclip.