Creating and Deleting Sequences
Before you can edit content together in Final Cut Pro, you need to create a sequence to
edit it into. You can create as many new sequences as you want in a project. If you want
to delete a sequence from your project, it’s easy to do.

Chapter 5
Working with Projects, Clips, and Sequences
85
II
To create a new sequence in the current project:
1
Do one of the following:
 Choose File > New > Sequence.
 Control-click in the Viewer, then choose New Sequence from the shortcut menu.
 Press Command-N.
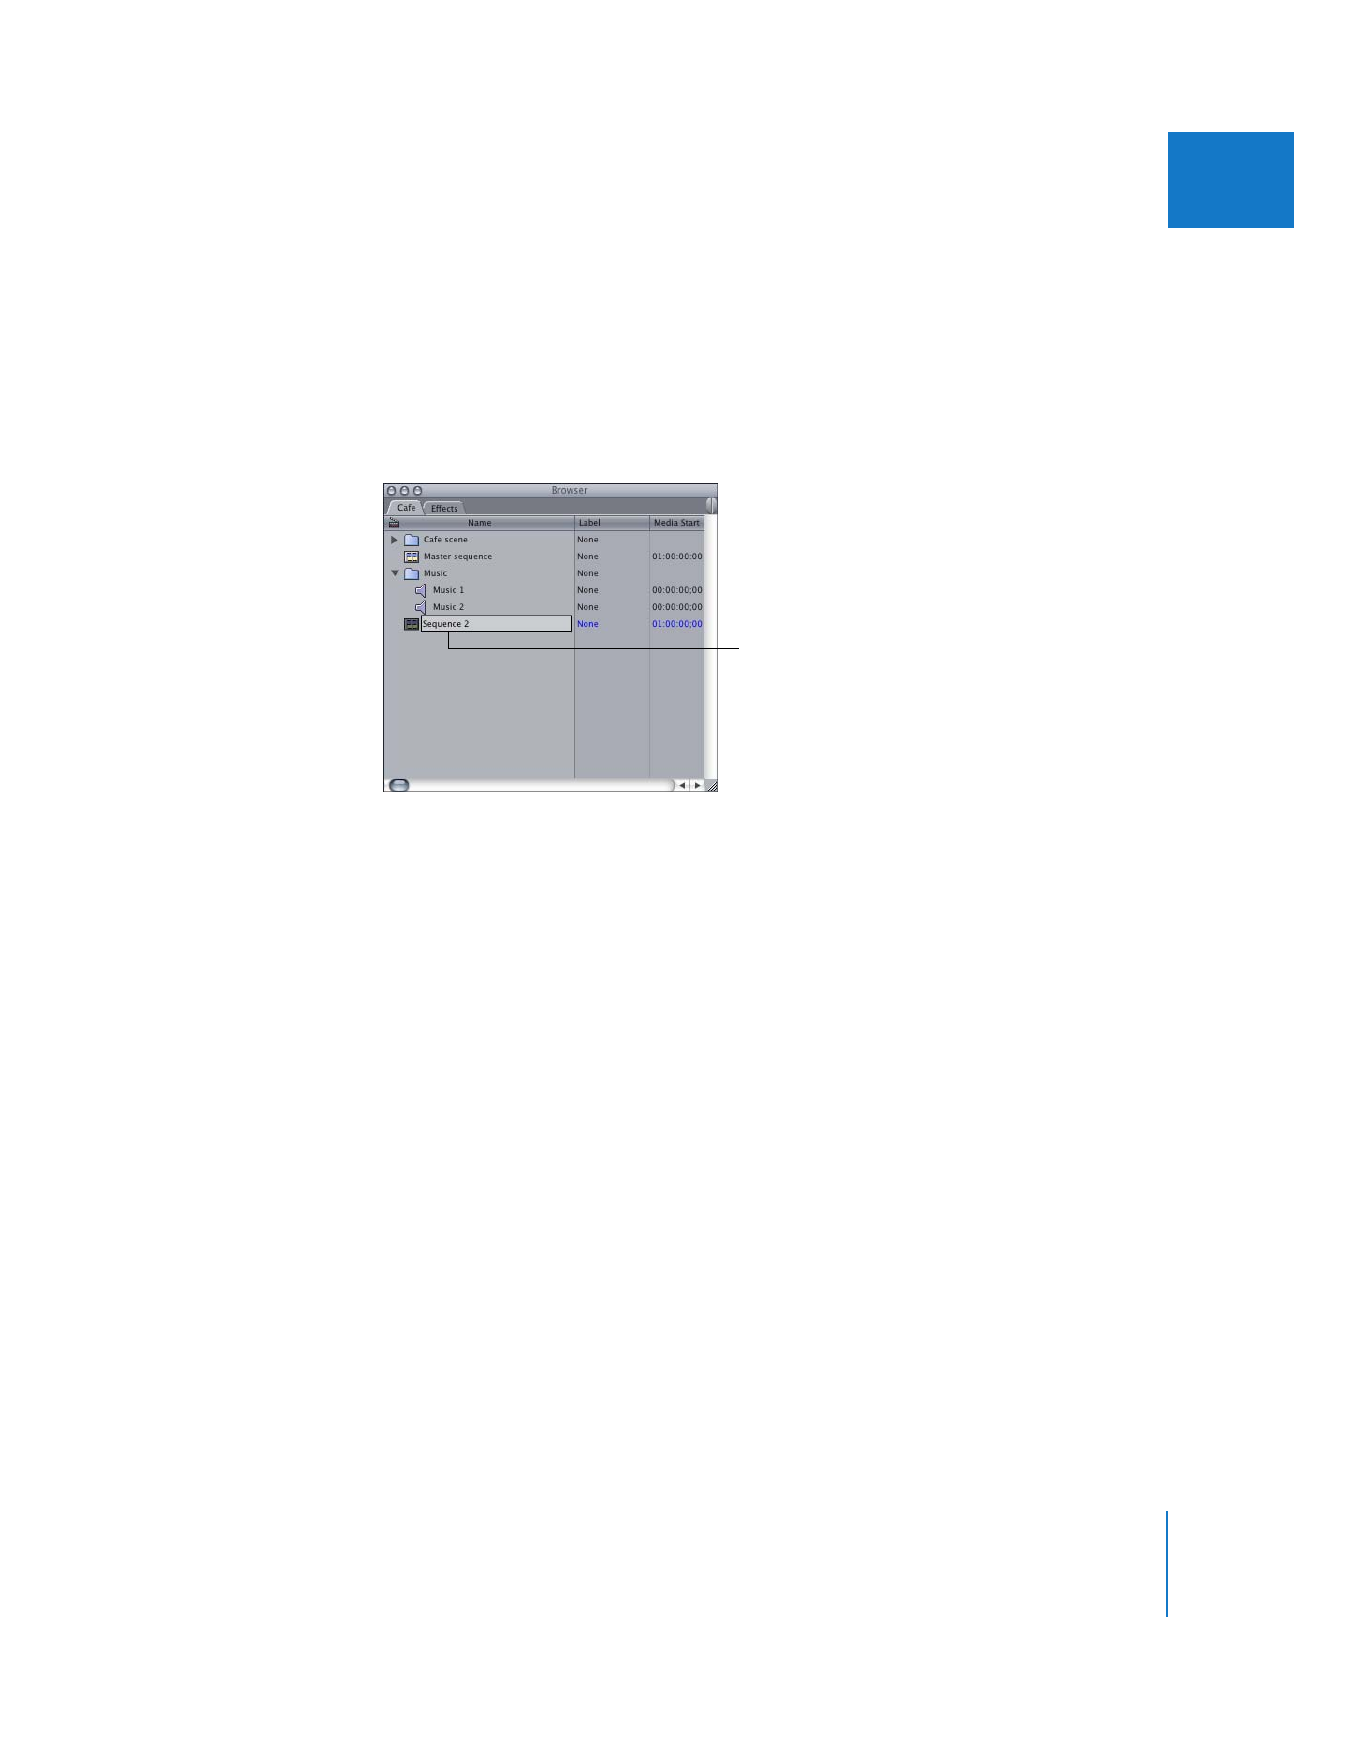
A new sequence appears with the name highlighted, so you can change its name
right away.
2
Enter a name for the sequence, then press Enter or Return.
To have Final Cut Pro prompt you for a sequence preset each time you create
a new sequence:
1
Choose Final Cut Pro > User Preferences, then click the General tab.
2
Select the “Prompt for settings on New Sequence” option.
For more information about sequence presets, see Volume IV, Chapter 27, “Sequence
Settings and Presets.”
To determine the default number of tracks for new sequences:
1
Choose Final Cut Pro > User Preferences, then click the Timeline Options tab.
2
Under “Default Number of Tracks,” enter the default number of video and audio tracks
you want created.
To delete a sequence from the current project:
1
Select the sequence you want to delete in the Browser.
2
Do one of the following:
 Choose Edit > Clear.
 Press the Delete key.
Note: Deleting a sequence from your project does not affect the media files on disk.
Enter a new name
for the sequence.

86
Part II
Rough Editing