Viewing and Changing the Properties of a Project
Each project has a set of properties, including global timecode display options and
custom Master Comment column names. You can change these properties at any time.
To view or change the properties of a project:
1
Click the project’s tab in the Browser, then choose Edit > Project Properties.
2
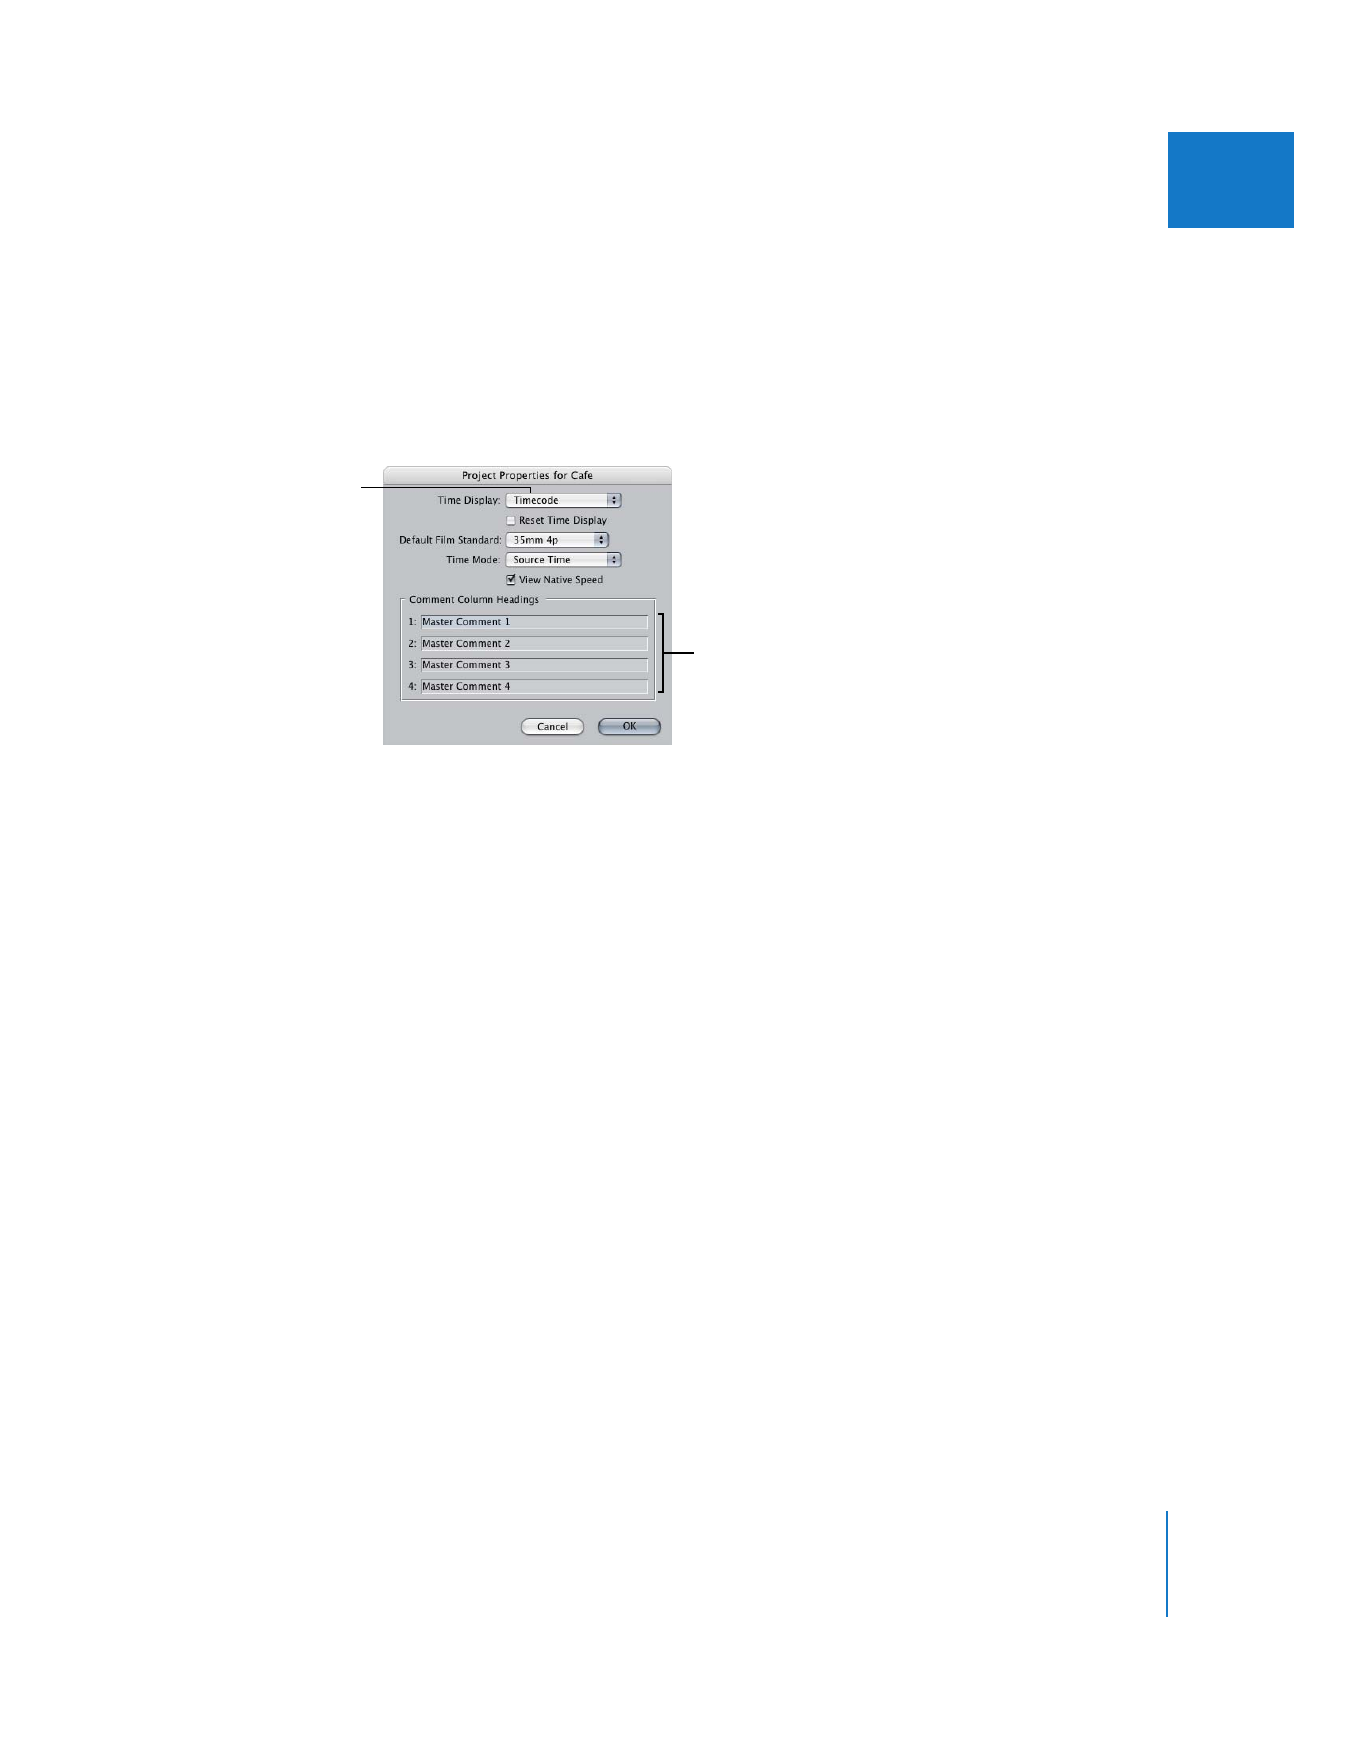
Choose or enter your options, then click OK.
 Time Display: Choose a global time display option for all clips in your project.
Options include timecode, feet + frames, and frames.
 Reset Time Display checkbox: This is a global checkbox that updates the time display
option for all clips in your project. If this option is selected, all clips in your project are
updated to the timecode display option you chose in the Time Display pop-up menu.
This overrides custom time display options in individual clips in your project.
 Default Film Standard pop-up menu: If you are editing film using Final Cut Pro, you
can choose the format of your film here. For more information, see the
documentation that came with Cinema Tools.
 Time Mode pop-up menu: Choose whether all clips in the active project are displayed
in source time or clip time.
 View Native Speed: This is a global checkbox that changes the time display of all clips
in your project.
 Comment Column Headings: This allows you to customize the four Master Comment
property names in the active project. For example, you can change
“Master Comment 1” to “Director’s Notes”.
For more information, see Chapter 25, “
Working with Timecode
,” on page 439.
To choose new project properties each time you create a new project:
1
Choose Final Cut Pro > User Preferences (or press Option-Q).
2
Select the “Prompt for settings on New Project” option.
Choose a time
display option.
You can change the
Comment column headings
shown in the Browser.

76
Part II
Rough Editing