Setting Destination Tracks
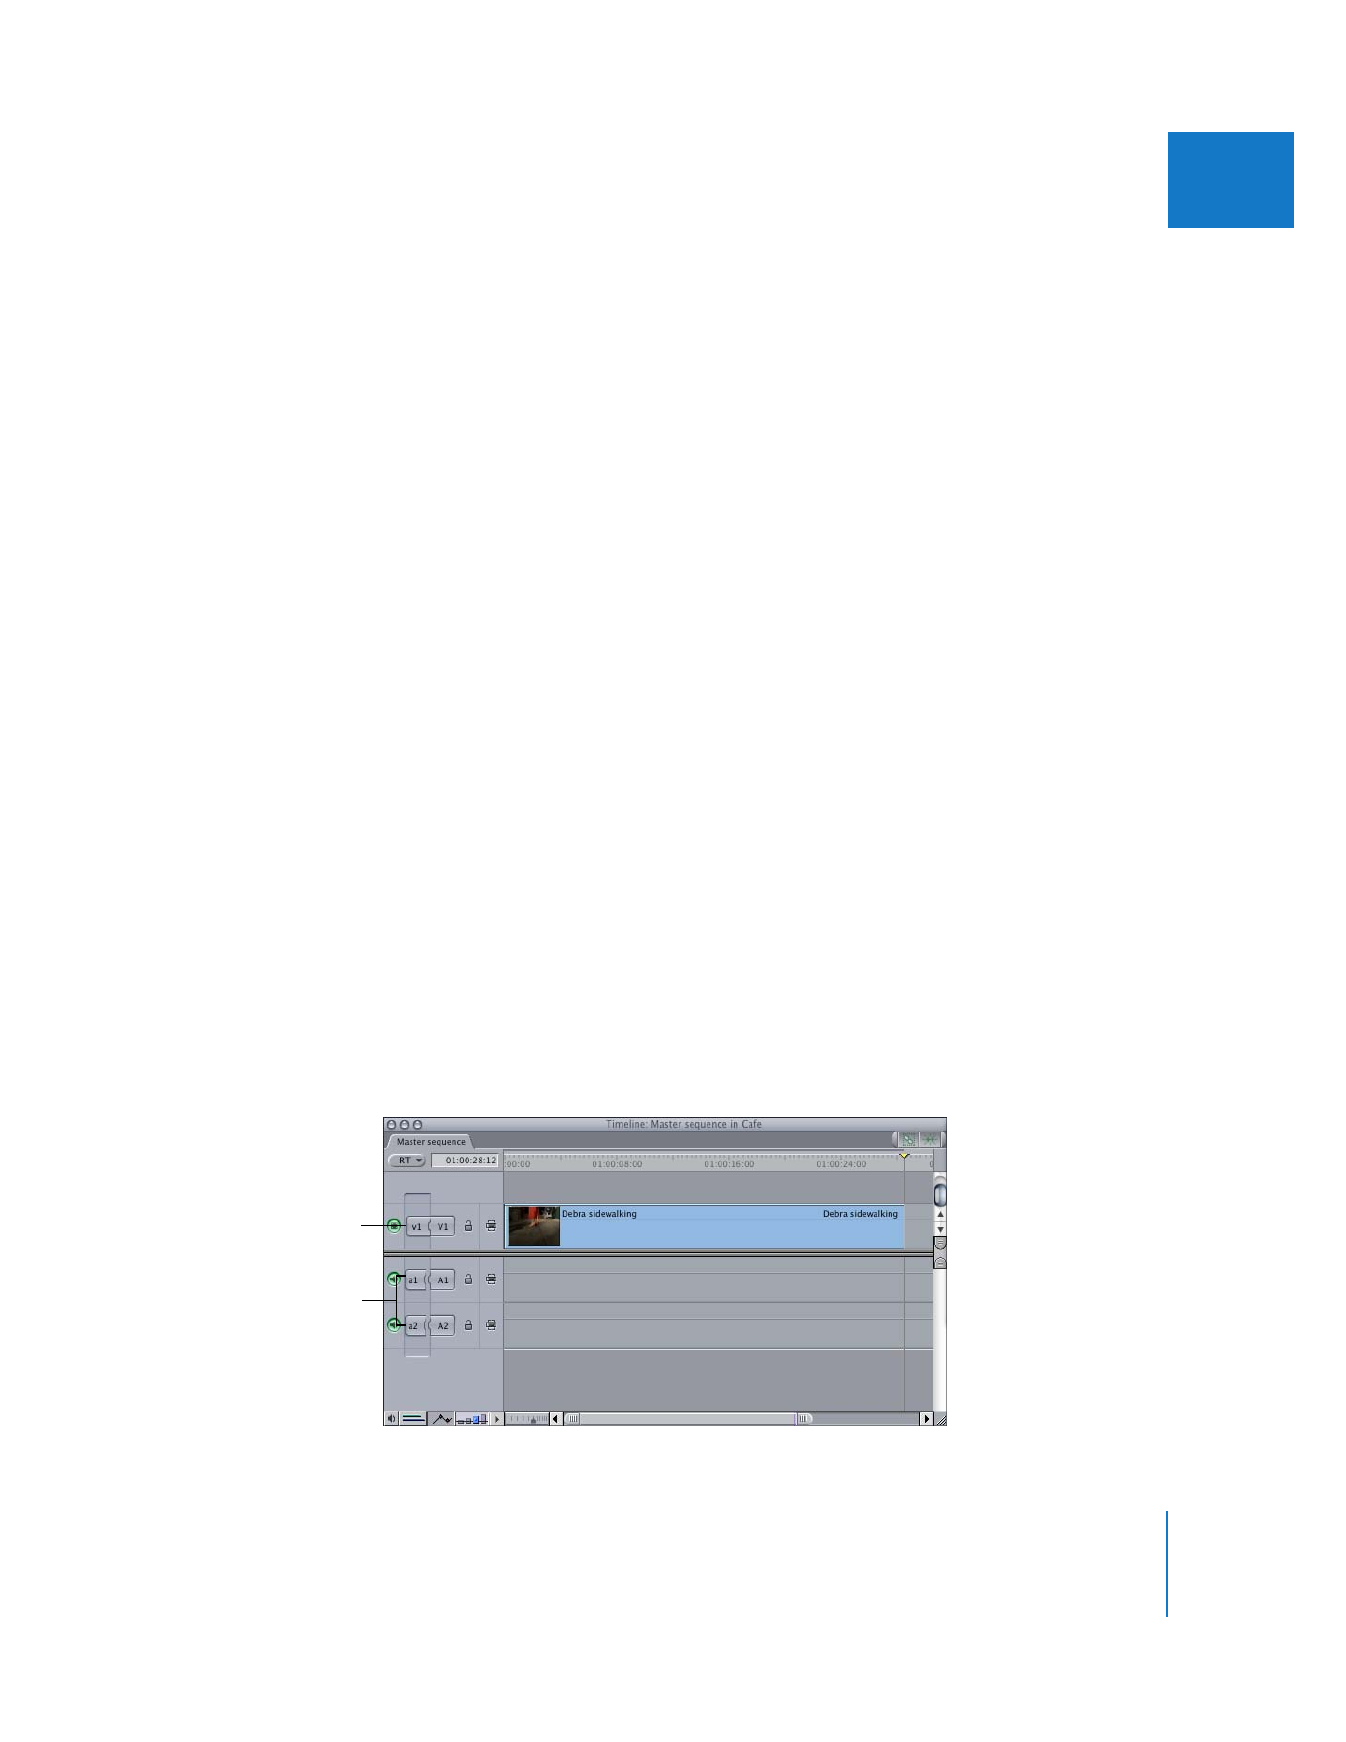
To control which sequence track a source clip item is placed in, you connect the Source
control to the corresponding Destination control. There are several different ways to
do this.
Important:
While editing, make sure that Source controls are connected to the
Destination controls for the correct tracks. If you don’t, individual video or audio items
in your source clip will end up in the wrong tracks in the Timeline.
To assign a source clip item to a destination track in the Timeline, do one of
the following:
m
Drag a Source control so that it connects to a Destination control.
m
Control-click a Source control, then choose a new destination track from the
shortcut menu.
m
Control-click a Destination control, then select a Source control to assign to it.
m
Click a Destination control; the nearest Source control above is assigned to it.
To assign the v1 Source control to a destination video track:
m
Press F6 and the number of the video track you want to assign as the destination track
(this works for tracks 1 through 9).
To assign the a1 Source control to a destination audio track:
m
Press F7 and the number of the audio track you want to assign as the destination track
(this works for tracks 1 through 9).
To assign the a2 Source control to a destination audio track:
m
Press F8 and the number of the audio track you want to assign as the destination track
(this works for tracks 1 through 9).
For example, to assign the a2 source clip item to sequence track A4, press F8 and
then press 4.
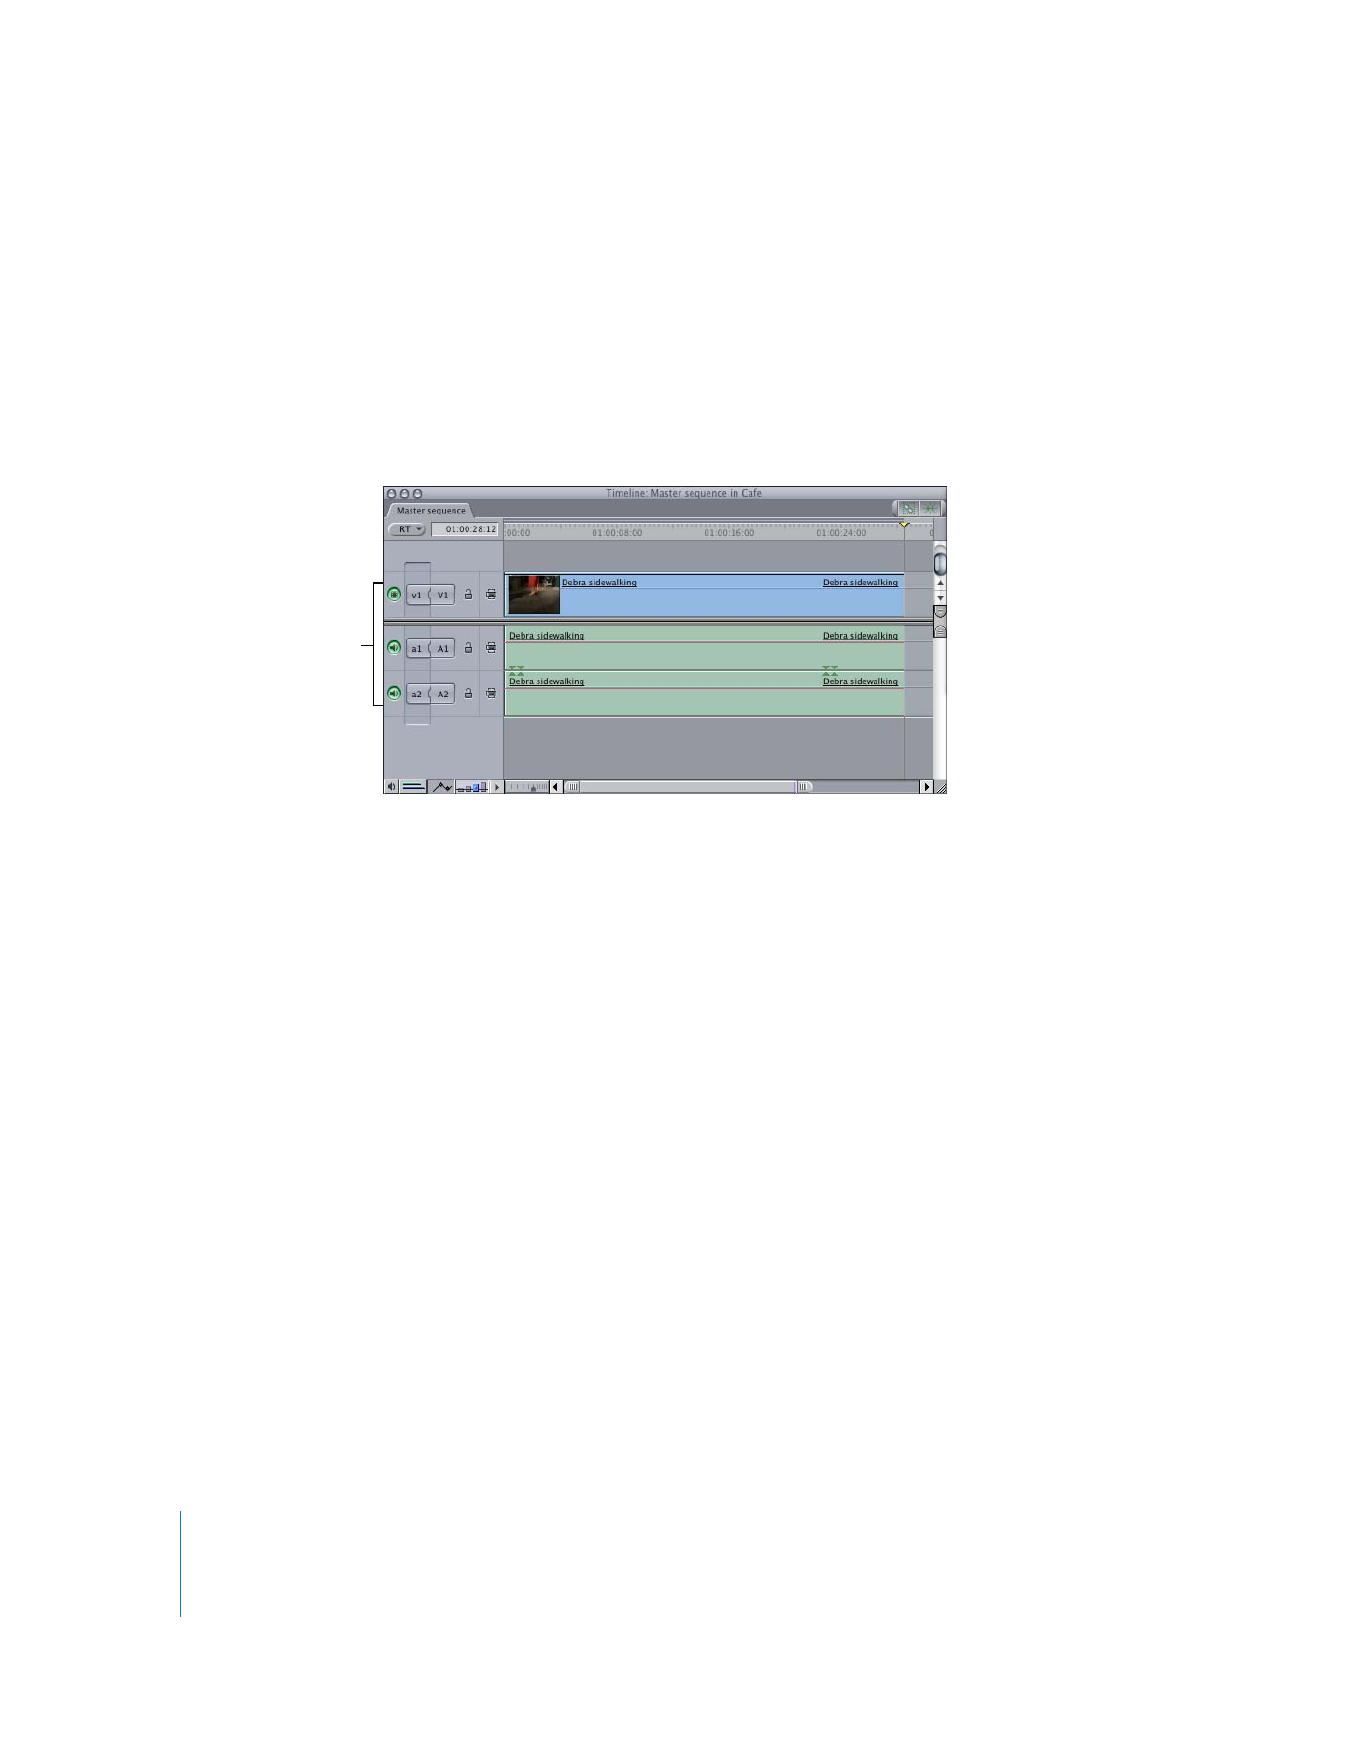
V1, A1, and A2
are selected as
destination tracks.
Chapter 8
Working with Tracks in the Timeline
125
II