
Quickly Adding the Default Transition to Clips
in Your Sequence
You can quickly add the default transition between two clips in your sequence. The
default video transition is a 1-second cross dissolve and the default audio transition is
a +3 dB cross fade. You can change the default transition if you want (see “
Changing
the Default Transition
” on page 386).
To add the default video transition, do one of the following:
m
Select an edit point between two video clips or position the Canvas or Timeline
playhead at the desired edit point, then press Command-T.
m
Control-click an edit point between two video clips in the Timeline, then choose Add
Transition from the shortcut menu.
The name of the current default transition appears next to the command in the
shortcut menu.
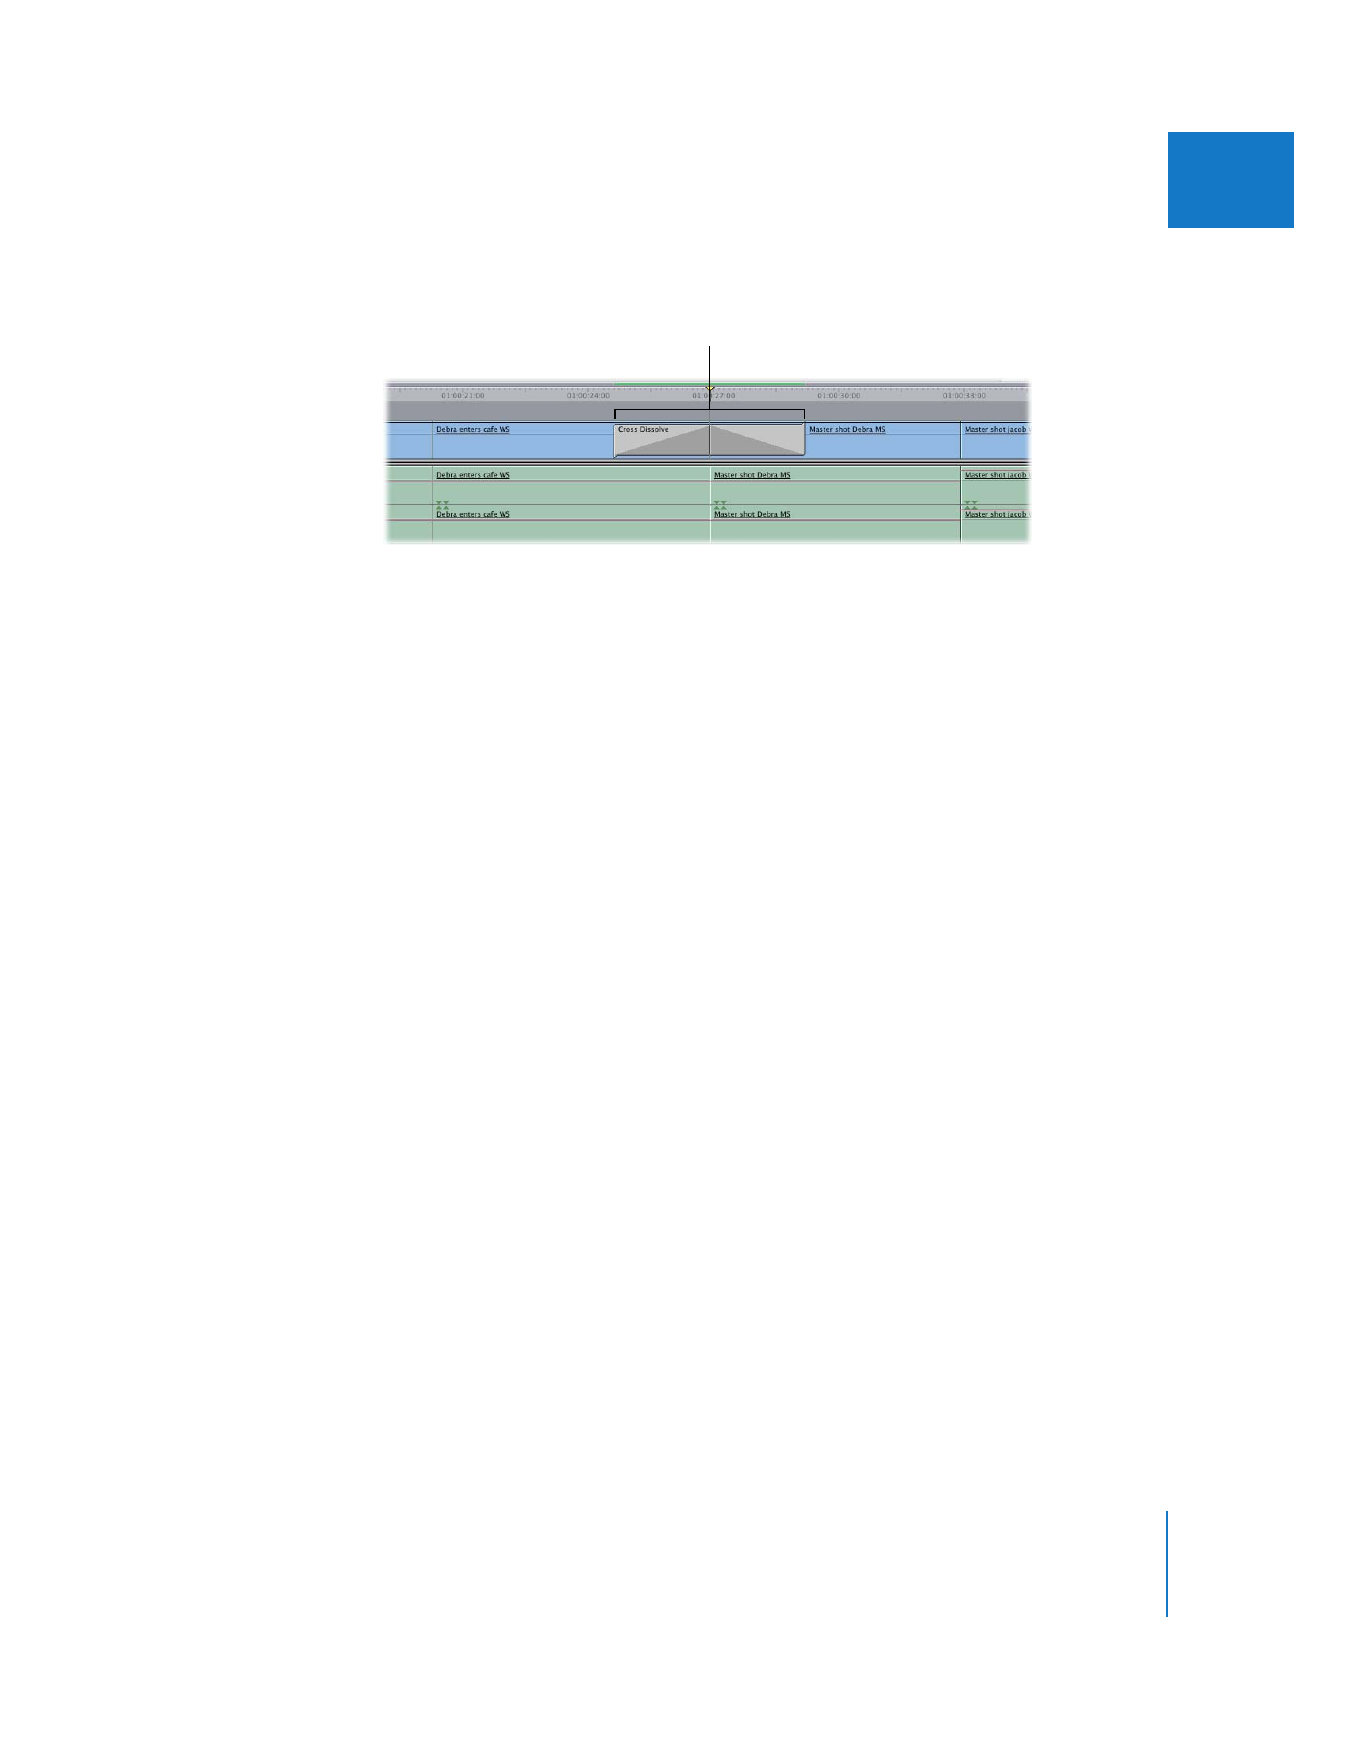
Select an edit point where you
want to add a transition.
Chapter 21
Adding Transitions
377
III
If there are enough overlapping frames on both sides of the edit point, the selected
transition is added to your edit, centered at the edit point.
To change the position of the transition, see “
Changing the Alignment of a Transition in
the Timeline
” on page 384.
To add the default audio transition, do one of the following:
m
Select an edit point between two audio clips or position the Canvas or Timeline
playhead at the desired edit point, then press Option-Command-T.
m
Control-click an edit point between two audio clips in the Timeline, then choose Add
Transition from the shortcut menu.
The name of the current default transition appears next to the command in the
shortcut menu.
Once a transition has been applied, you can change the type of cross fade it is
(0 or +3 dB) by Control-clicking it again and choosing the appropriate transition from
the shortcut menu.