Controls That Affect Trim Edits
Before you perform a trimming operation, make sure to check that the following
controls are set properly for the operation you need to perform.
Linked Selection
Clip items that refer to the same media file are linked together when you edit them
into the Timeline. You can also link unrelated clip items together so you can operate on
them simultaneously, keeping them in sync.
For your convenience, you can keep linked selection turned on and temporarily disable
it as necessary. You can temporarily disable linked selection by holding down the
Option key while selecting or trimming a clip item in the Timeline. This allows you to
adjust one clip item at a time, even if it is linked to others. This is a good way to create
split edits, where the audio In or Out point is different from that of the video.
Snapping
If snapping is on, when you drag an edit point in the Timeline or Viewer, it snaps to In
or Out points, markers, keyframes, the playhead, and edits on other tracks. This can
help you quickly line up edits with other items in the sequence. You can turn snapping
on and off at any time, even in the middle of dragging edits and clips. You turn
snapping on and off by choosing View > Snapping, pressing the N key, or clicking the
Snapping button in the Timeline. For more information, see “
Snapping to Points in the
Timeline
” on page 189.
Locked Tracks
Trim operations with the Ripple tool will only affect clip items on unlocked tracks. If
there are clip items on certain tracks you don’t want to change inadvertently while
trimming, you can lock these tracks in your sequence to prevent unwanted changes.
Linked items on locked tracks aren’t affected when you move other linked clip items.
For example, if you select a video item to trim that’s linked to an audio item in a locked
track, moving the video item does not move the audio item, so they become
out of sync.
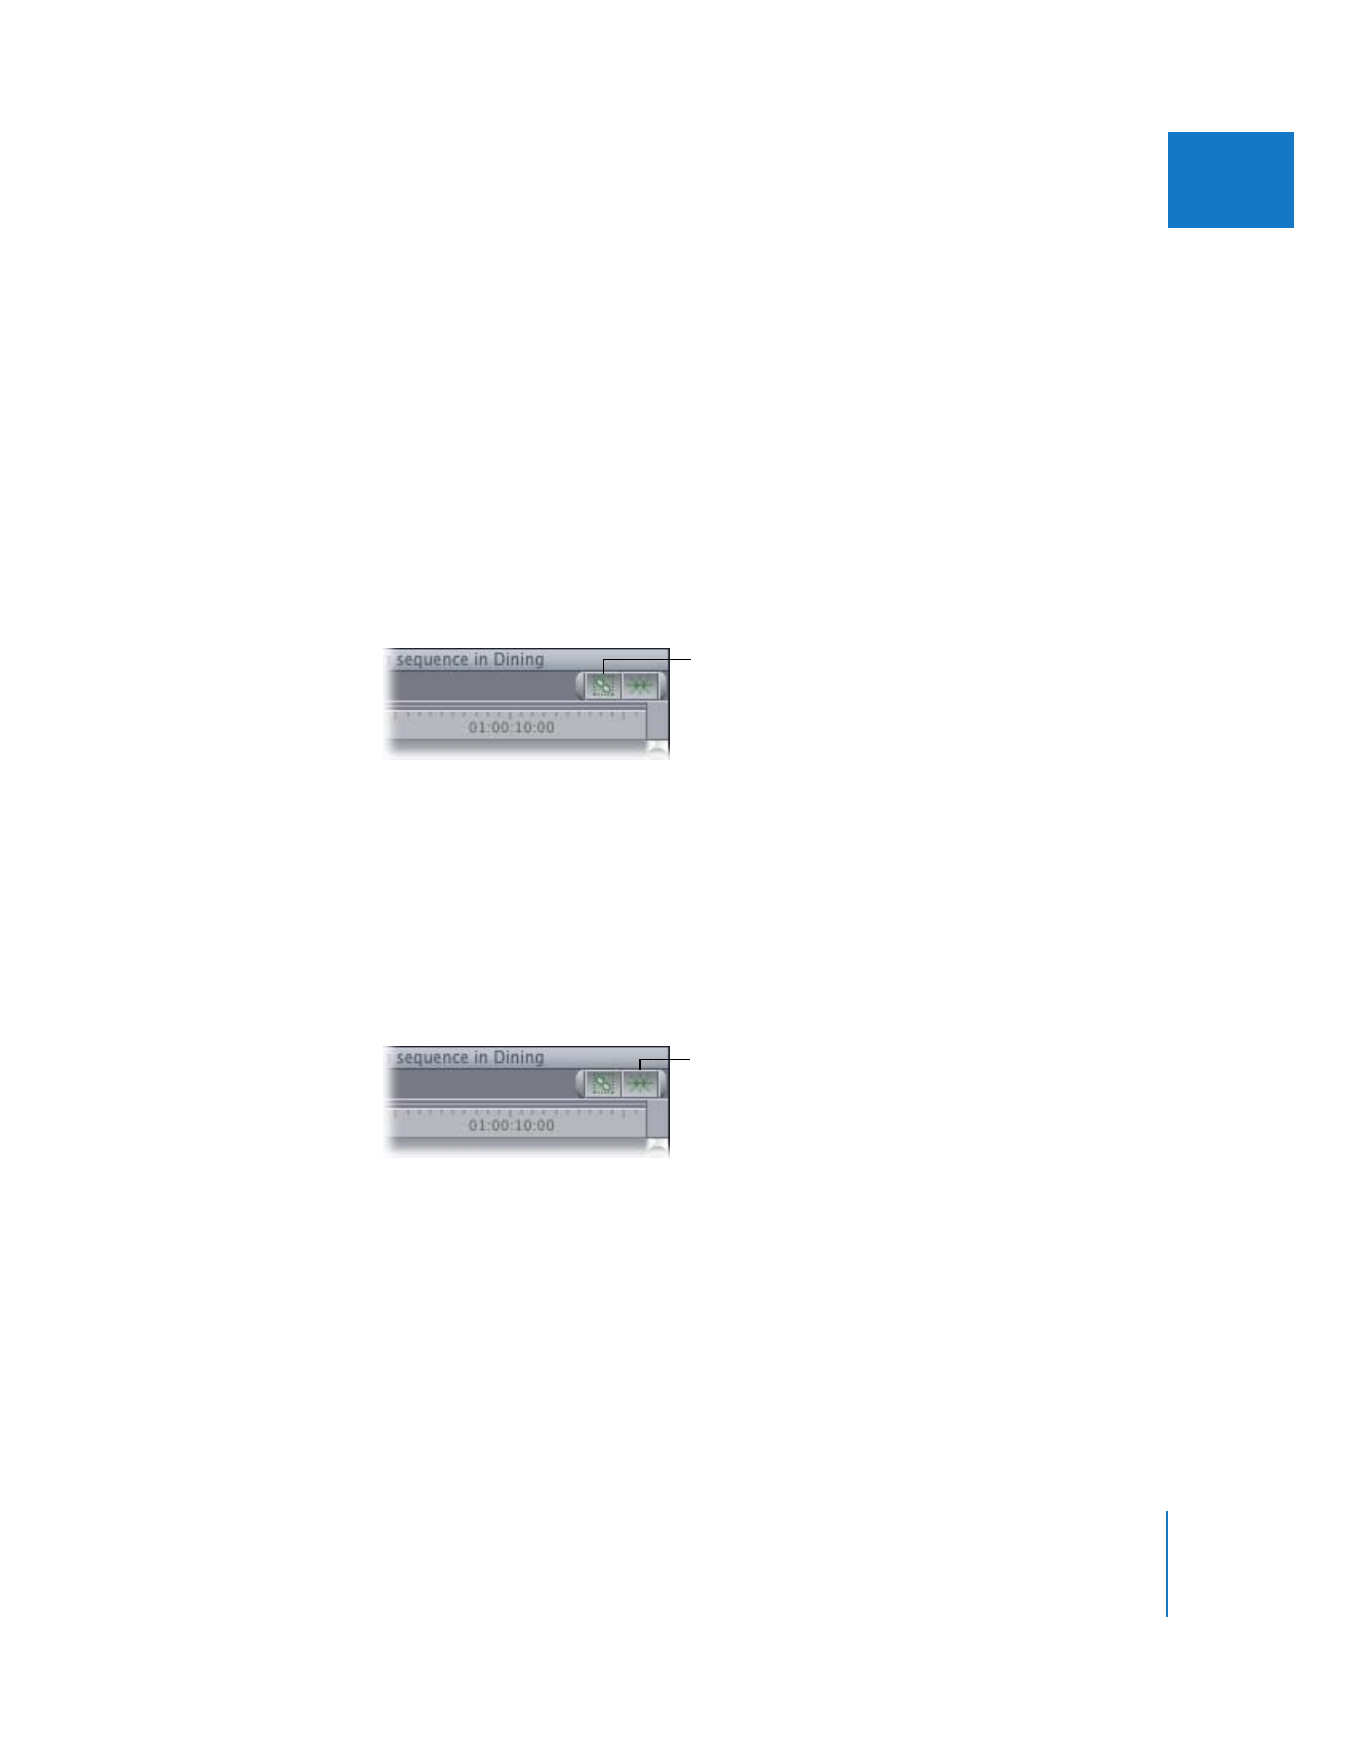
Click here to turn linked
selection on and off.
Click here to turn
snapping on and off.
344
Part III
Fine-Tuning Your Edit
For more information, see “
Locking Tracks to Prevent Edits or Changes
” on page 128.
For information about synchronizing clip items, see Chapter 14, “
Linking and Editing
Video and Audio in Sync
,” on page 213 and “
Tips for Edits Made with the Ripple Tool
”
on page 334.
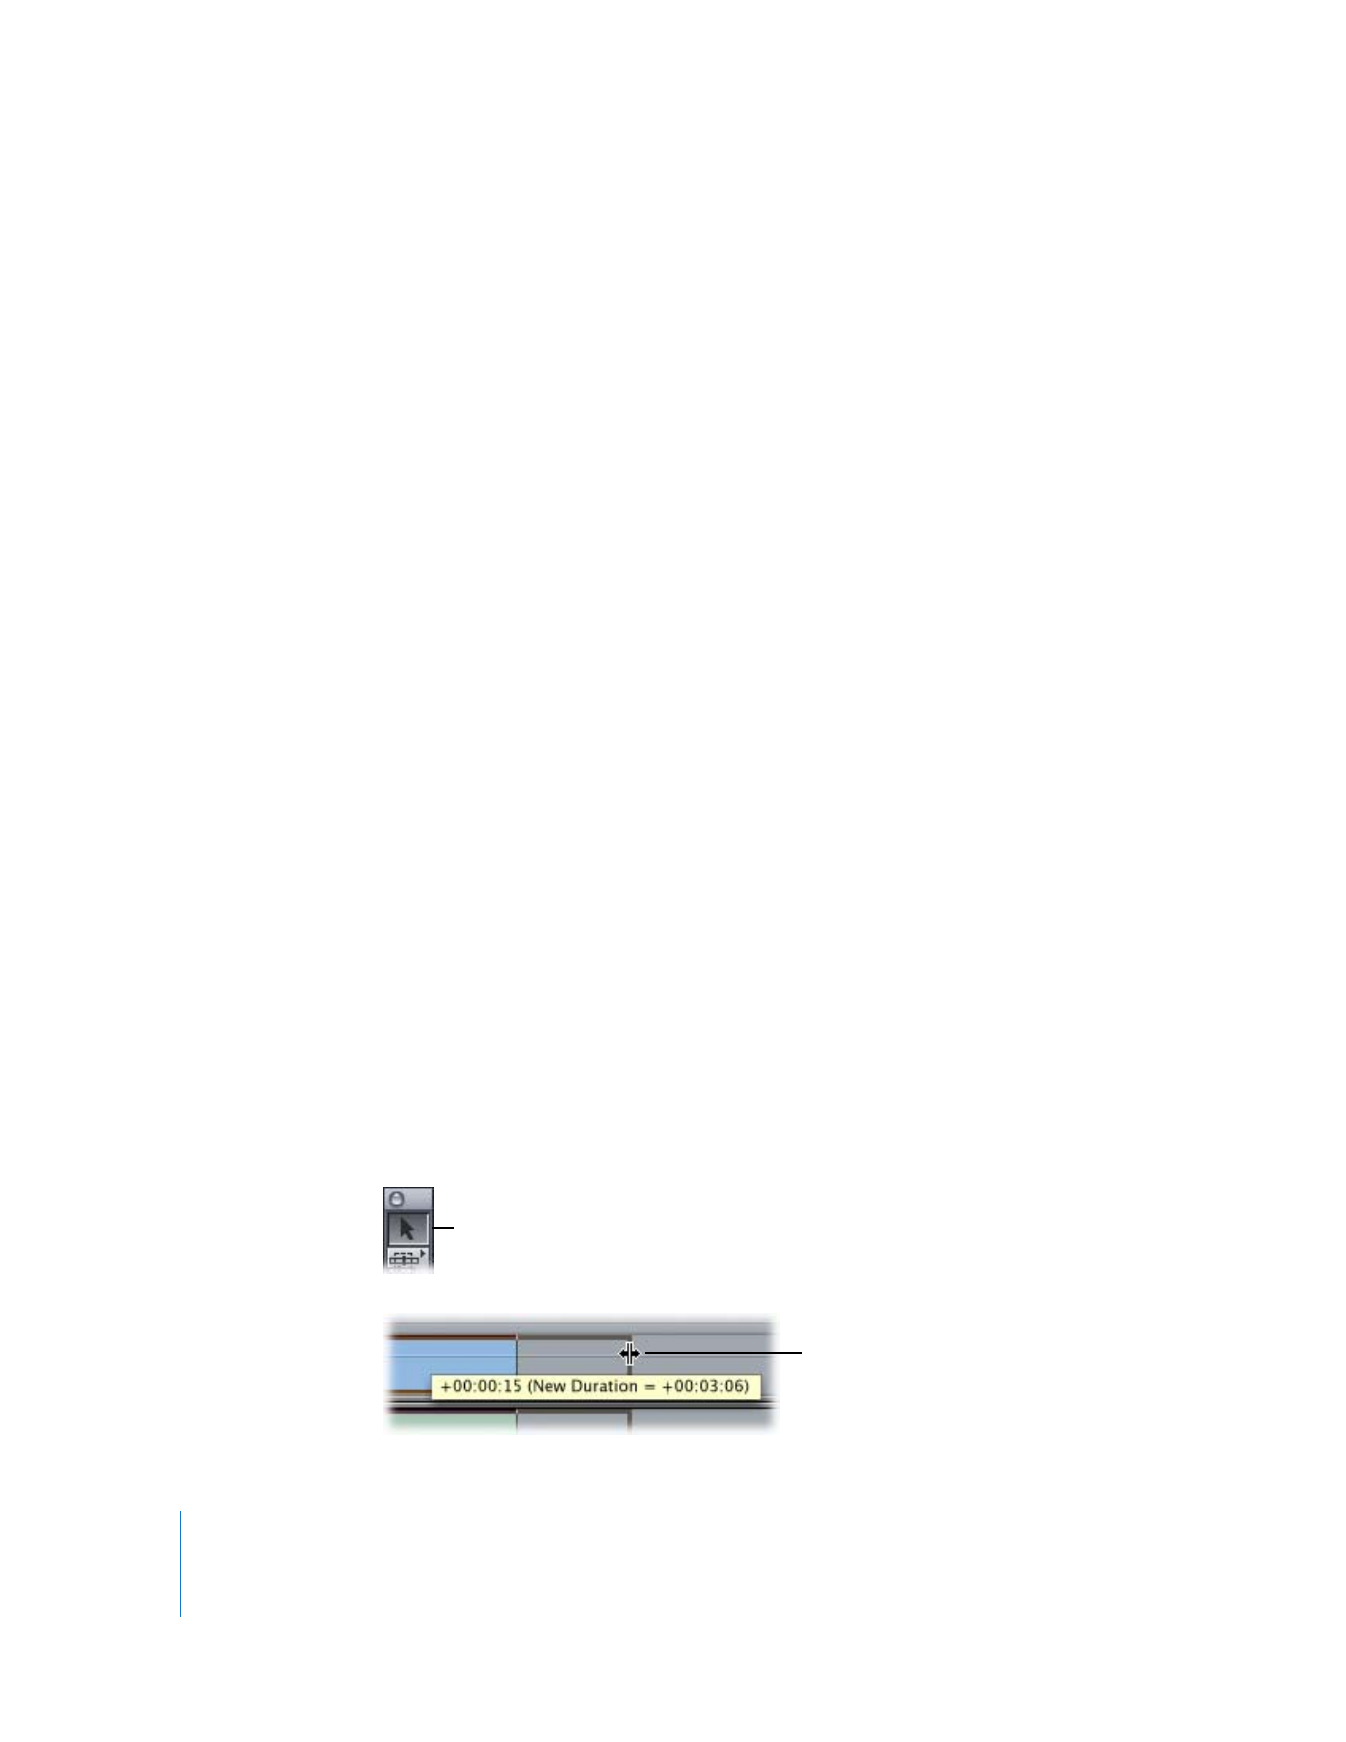
Using the Command Key to “Gear Down”
The Command key is useful if you want to make very small changes to edit points or
clips in your sequence. When you drag clips or edit points to perform trimming
operations, the ratio between the motion of your mouse and the motion of the item
you’re changing is determined by the zoom level of the Viewer, Canvas, or Timeline. If
you have trouble trimming to a specific frame because you’re zoomed out too far, you
can force this motion to be a more precise 1-to-1 ratio (regardless of your zoom level)
by pressing the Command key after you start dragging.
For example, holding down the Command key after you start dragging an edit point
with the Roll tool makes the edit point move much more slowly as you drag.