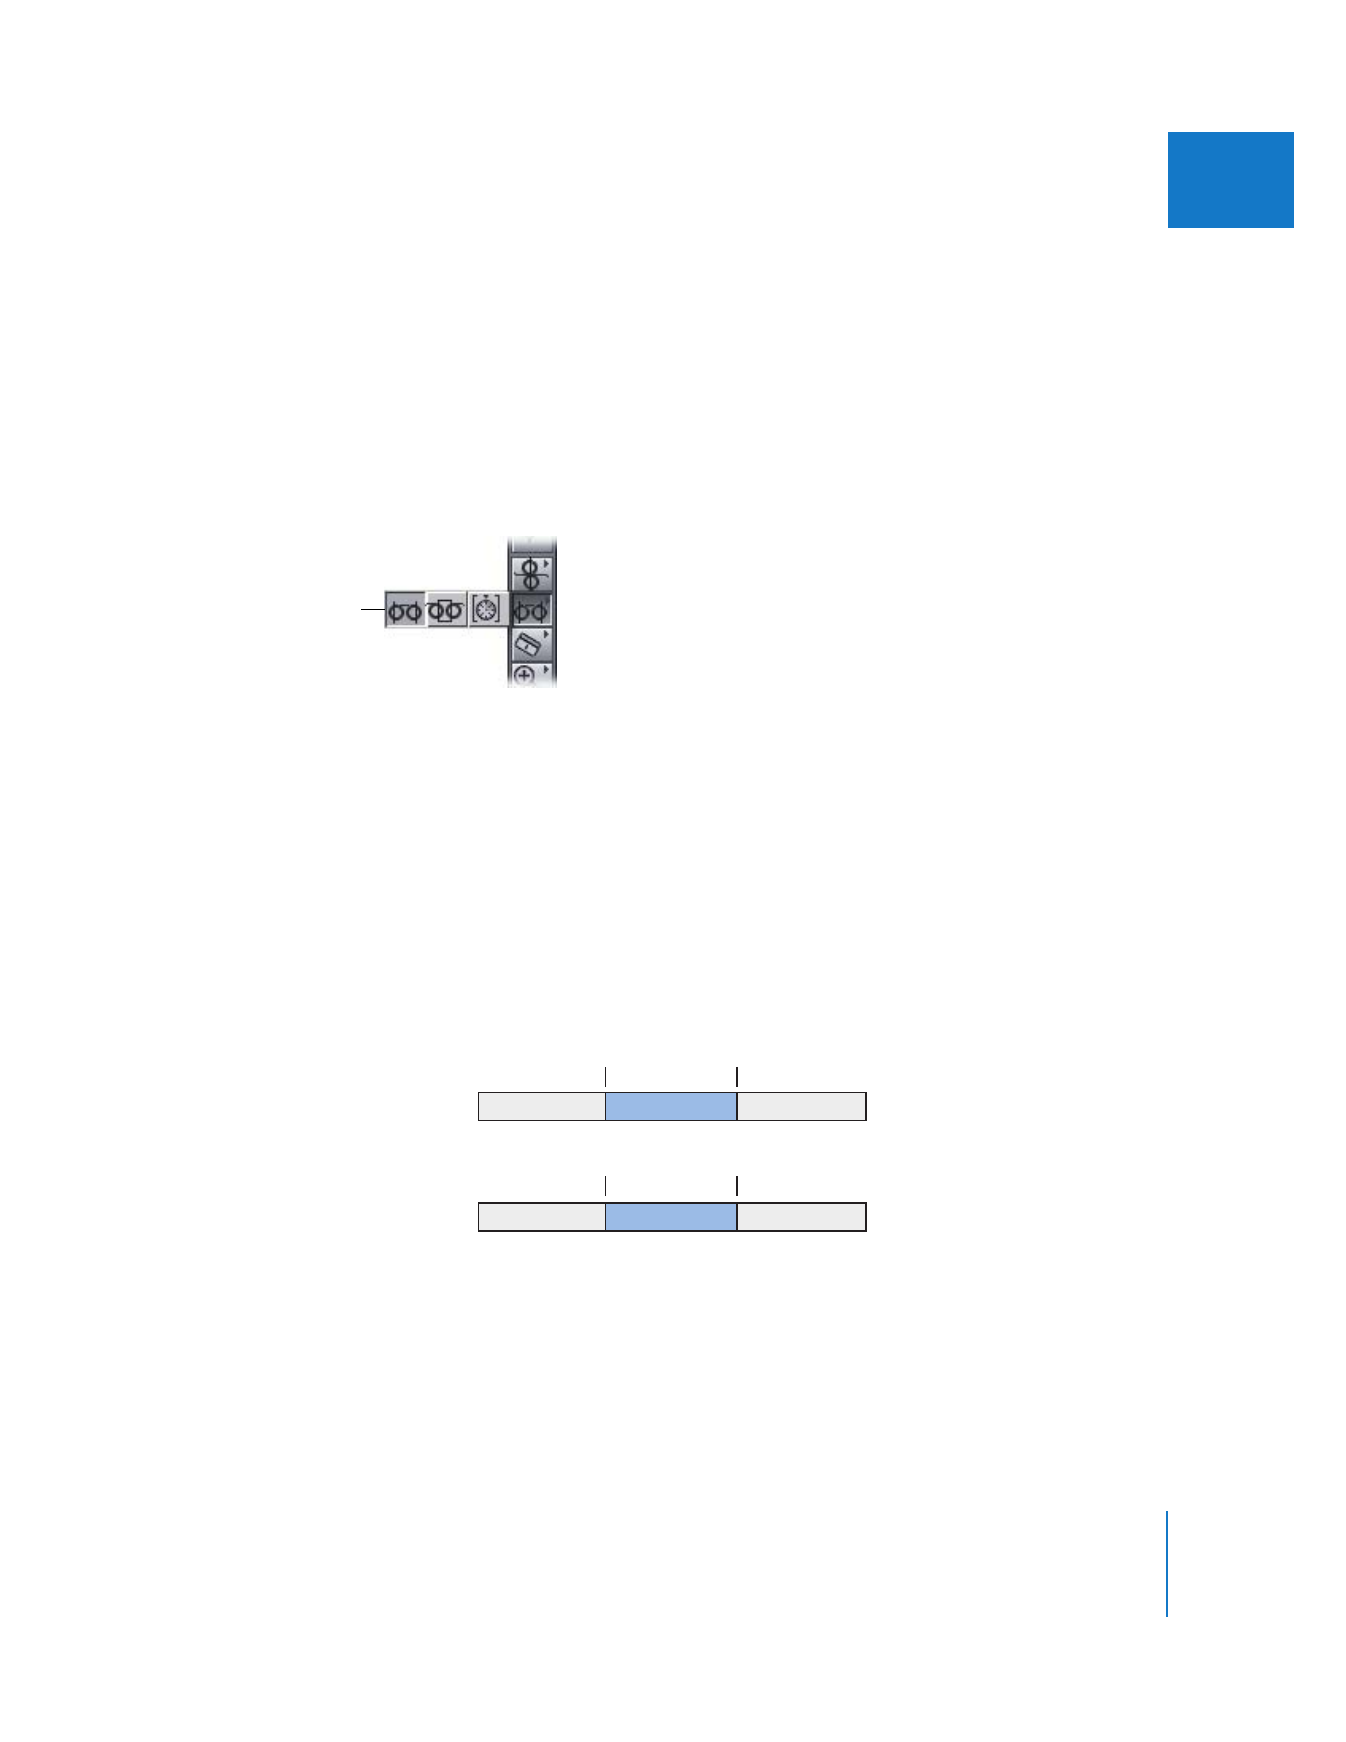
Slipping Clips in the Timeline
Performing a slip edit does not change a clip’s position or duration in the Timeline, but
instead changes what portion of the clip’s media appears in the Timeline. The Slip tool
allows you to move a clip’s In and Out points simultaneously.
Whenever you arrange clips in the Timeline so that edit points line up with musical
beats or other fixed sync points in a sequence, you want to keep your clips in position.
These situations leave you with very little room to adjust your clip because you cannot
change the clip’s duration. You also cannot move the clip elsewhere in the Timeline,
because it would no longer be aligned with the music beats or other sync points in the
sequence. Therefore, all you can do is move both the In and Out points of the clip
simultaneously, keeping the clip’s duration fixed.
The portion of the clip seen in the sequence changes, while its position in the
sequence stays the same. Surrounding clips are not affected, nor is the overall duration
of your sequence.
In the example above, the slip edit changes the In and Out points of clip B, but not its
duration or position with the sequence. When the sequence plays back, a different
portion of clip B’s media will be shown.
You slip items using
the Slip tool.
A
B
C
A
B
C
Before edit
00:00:10:00
00:00:30:00
00:00:17:00
00:00:37:00
After edit
322
Part III
Fine-Tuning Your Edit
Note: To slip a clip, it must have handles on both sides, meaning that there must be
additional media available on both the head and the tail of the clip. If you are having
trouble slipping a clip, check that the clip has handles on both sides.
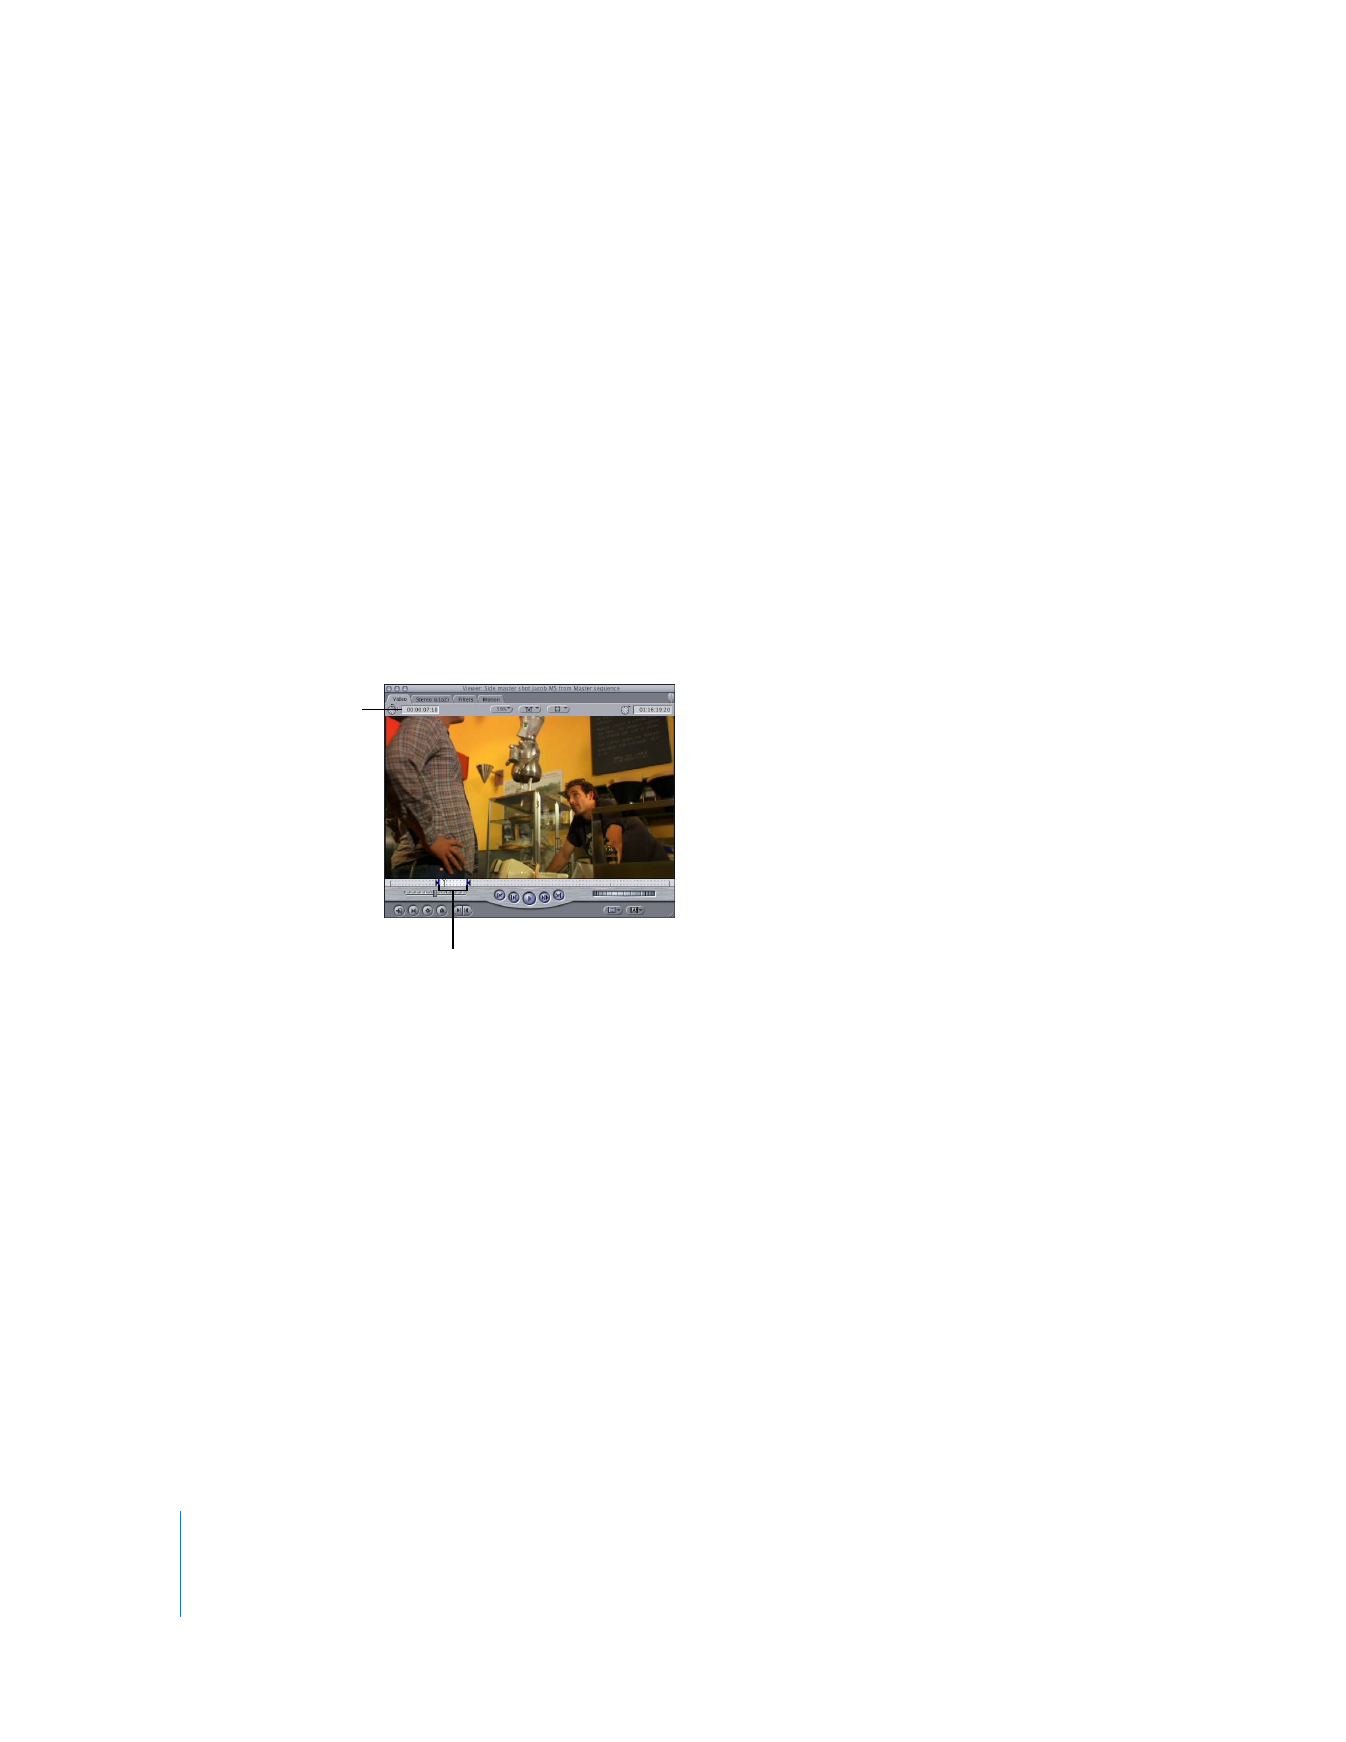
You can perform slip edits by dragging with the Slip tool or, for greater precision, by
using timecode.