Learning About the Trim Edit Window
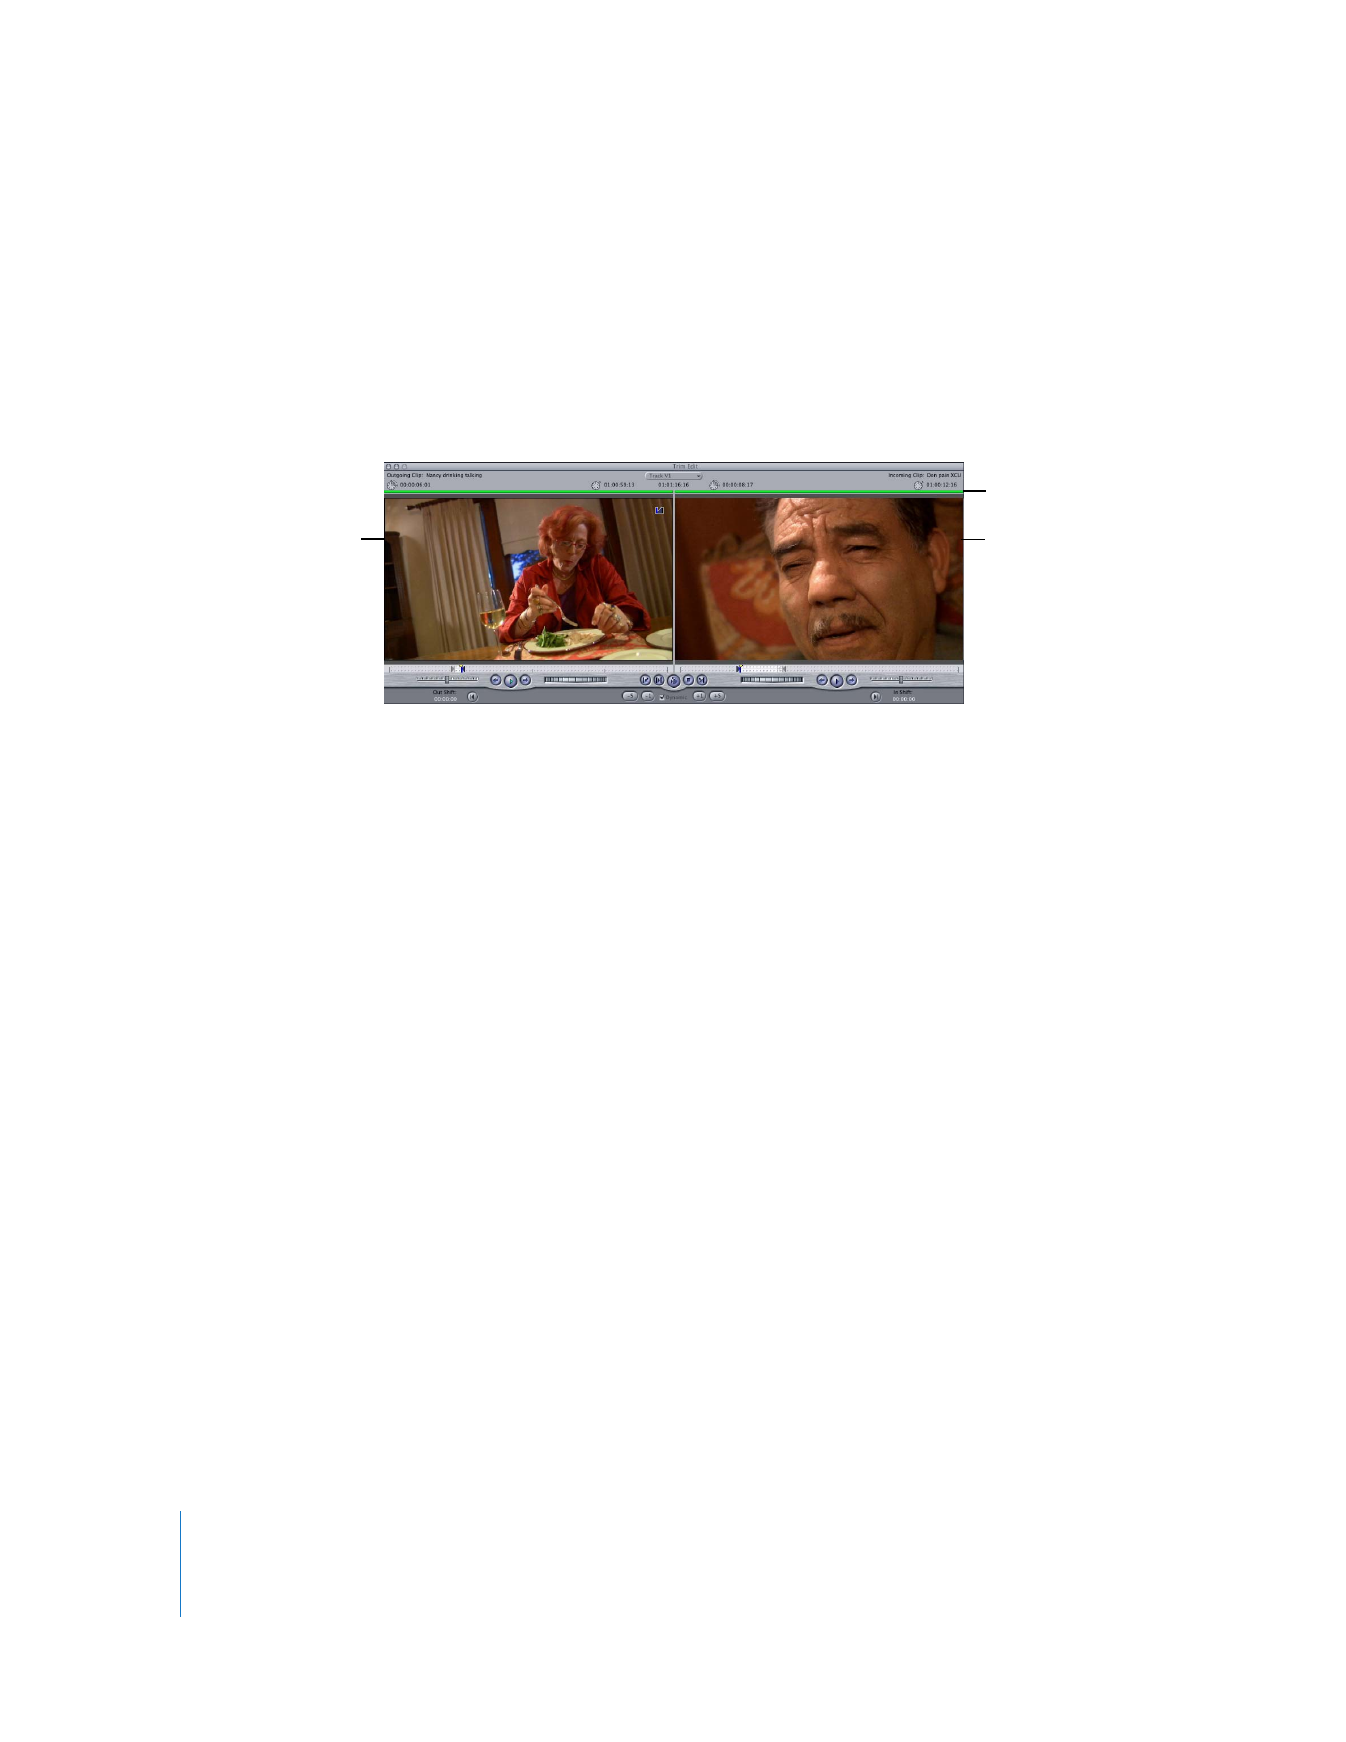
The Trim Edit window is a special environment for trimming one edit point at a time
while reviewing the complete media for both the incoming and outgoing clips. You can
also watch how your editing adjustments affect the cut point without stopping
playback. For many editors, this immediate visual feedback makes it much easier to
match action from the outgoing and incoming shots, align an edit point precisely to an
audio cue, or use the unique dynamic trimming function to instantly assign new edit
points while you play back your footage using the J, K, and L keys.

358
Part III
Fine-Tuning Your Edit
This window shows a two-up display, with the Out point of the outgoing clip on the
left and the In point of the incoming clip on the right. Two green bars—one at the top
of each clip—highlight which edit points the Trim Edit window will affect. Using the
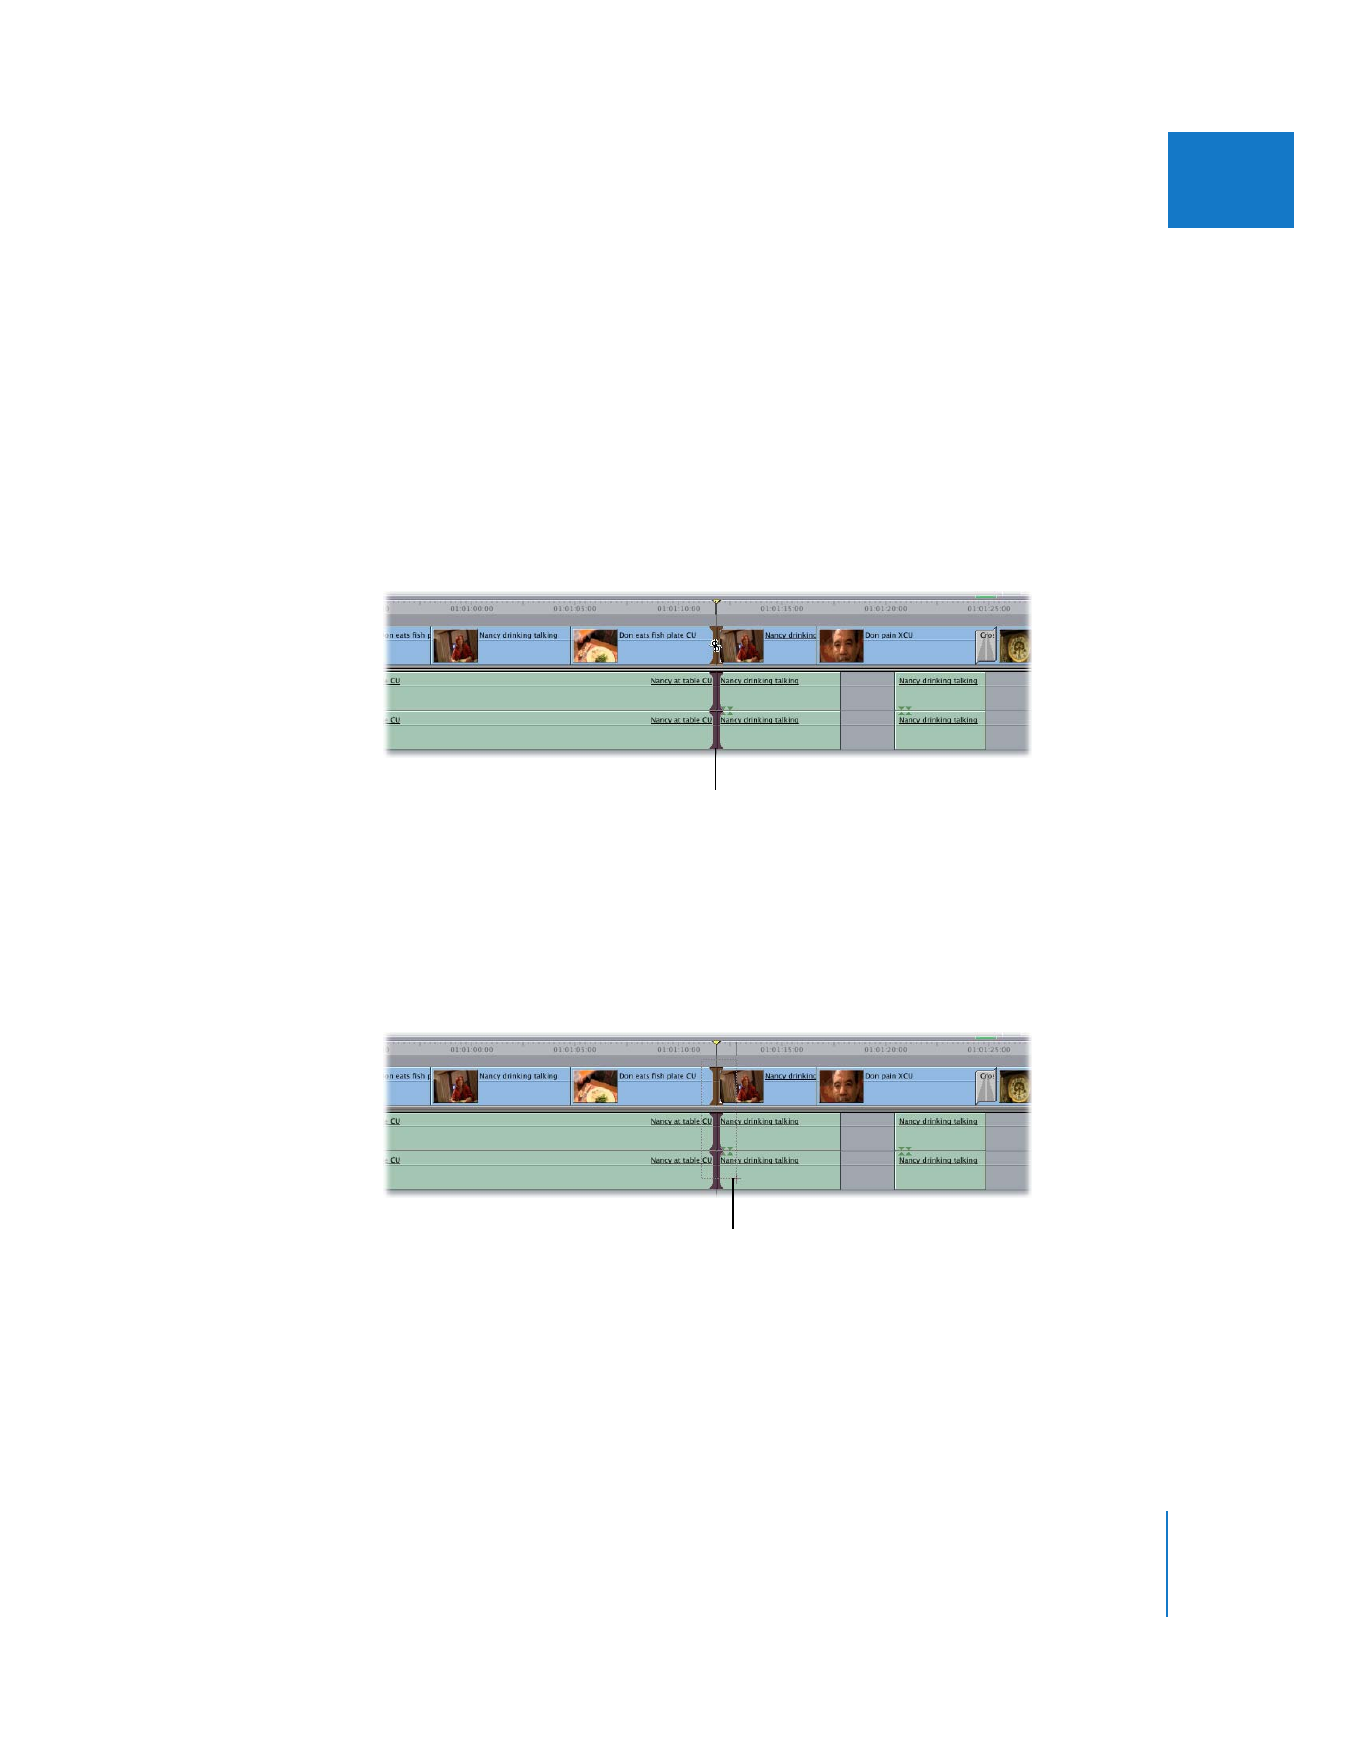
Trim Edit window, you can perform a ripple edit to either side of the selected edit
point, or a roll edit to both sides. You can also slip clip In and Out points together to
change what part of the clip appears in the Timeline (see “
Slipping Clips in the
Timeline
” on page 321).
There are four ways you can perform trim edits in this window:
 Drag the clip In and Out points in the Trim Edit window scrubber bars.
 Use the jog and shuttle controls to move the playheads on either side of the edit,
and then set new In and Out points using the Mark In and Mark Out buttons (or the
I and O keys).
 Move the playhead using the J, K, and L keys to find new Out and In points for the
selected edit point. If the dynamic trimming option is enabled, the selected edit
point moves to the new position of the playhead whenever you press K to
stop playback.
 Use the Trim Forward and Trim Backward buttons (Shift-] and Shift-[) to perform the
selected trim operation to the outgoing and incoming clips on either side of the
edit point. The inner trim buttons trim an edit point by one frame, while the outer,
multi-frame trim buttons adjust edit points by a default duration of five frames. You
can perform ripple and roll edits using these buttons while the selected edit plays
back, trimming frame by frame while you watch the selected edit loop over and over.
Note: The number of frames the multi-frame trim buttons add or subtract can be
changed in the Editing tab of the User Preferences window. For more information,
see Volume IV, Chapter 23, “Choosing Settings and Preferences.”
Outgoing clip
Incoming clip
Green bar

Chapter 20
Trimming Clips Using the Trim Edit Window
359
III