Opening and Closing the Trim Edit Window
The Trim Edit window opens when you select edit points with certain tools. You can
also open the Trim Edit window manually at any time.
To open the Trim Edit window, do one of the following:
m
Choose Sequence > Trim Edit (or press Command-7).
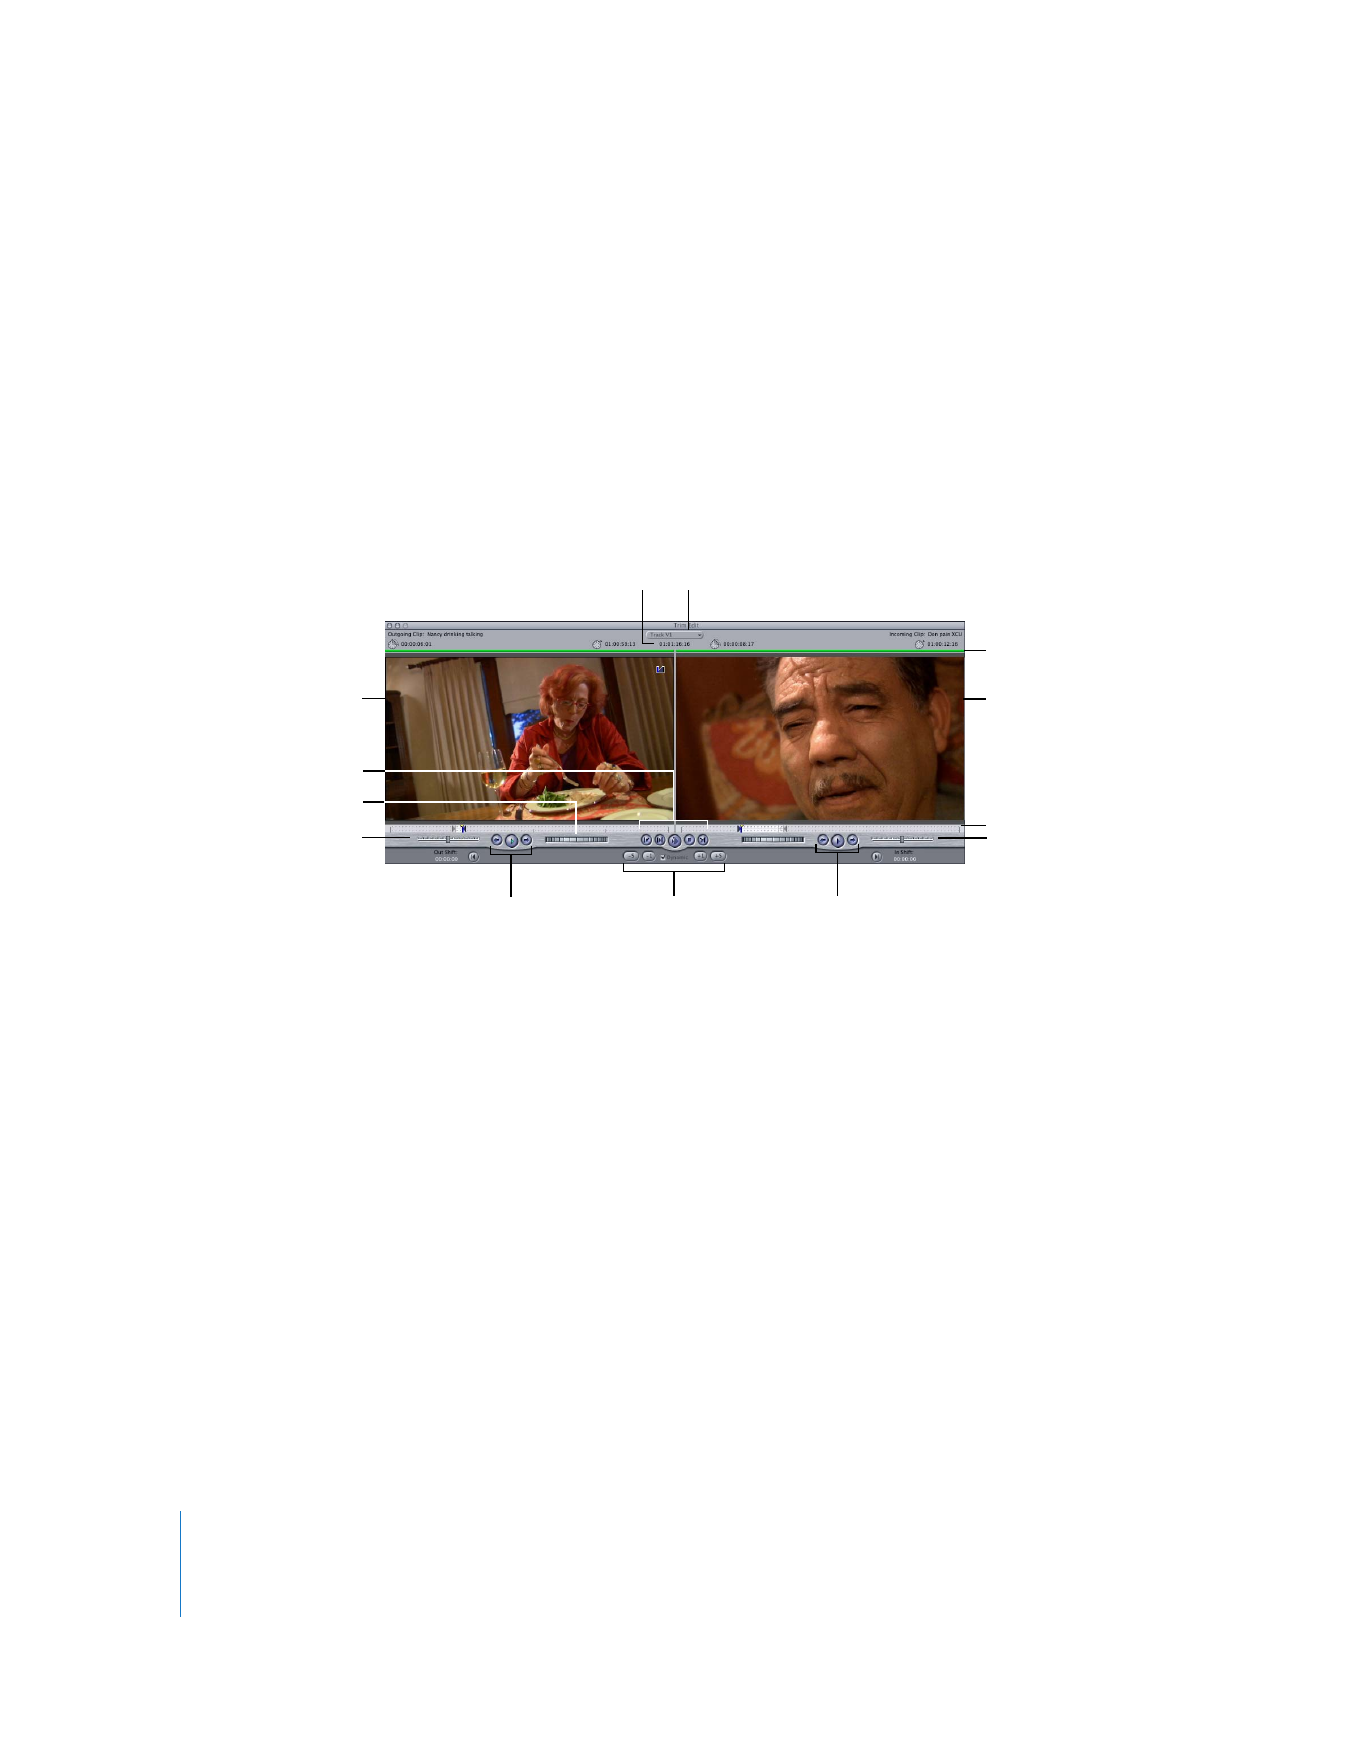
The playhead jumps to the closest edit point on the lowest-numbered track with Auto
Select enabled. The Trim Edit window shows the clips surrounding this edit point. By
default, both sides of the edit point are selected, so the Trim Edit window is set up to
perform a roll edit.
m
Double-click an edit point in the Timeline with the Selection, Ripple, or Roll tool.
The Trim Edit window displays the clips surrounding the edit point. The selected tool
and the part of the edit point you clicked determine the initial state of the green bars,
which define the kind of edit you can perform. Press the U key to switch between the
Ripple Outgoing, Roll, and Ripple Incoming trimming modes.
m
Click an edit point or drag around one or more edit points using the Edit Selection tool.
The Trim Edit window displays the clip items adjacent to the edit points you selected. If
you selected multiple edit points, the clip items located on the topmost video track are
displayed. You can change this using the Track pop-up menu.
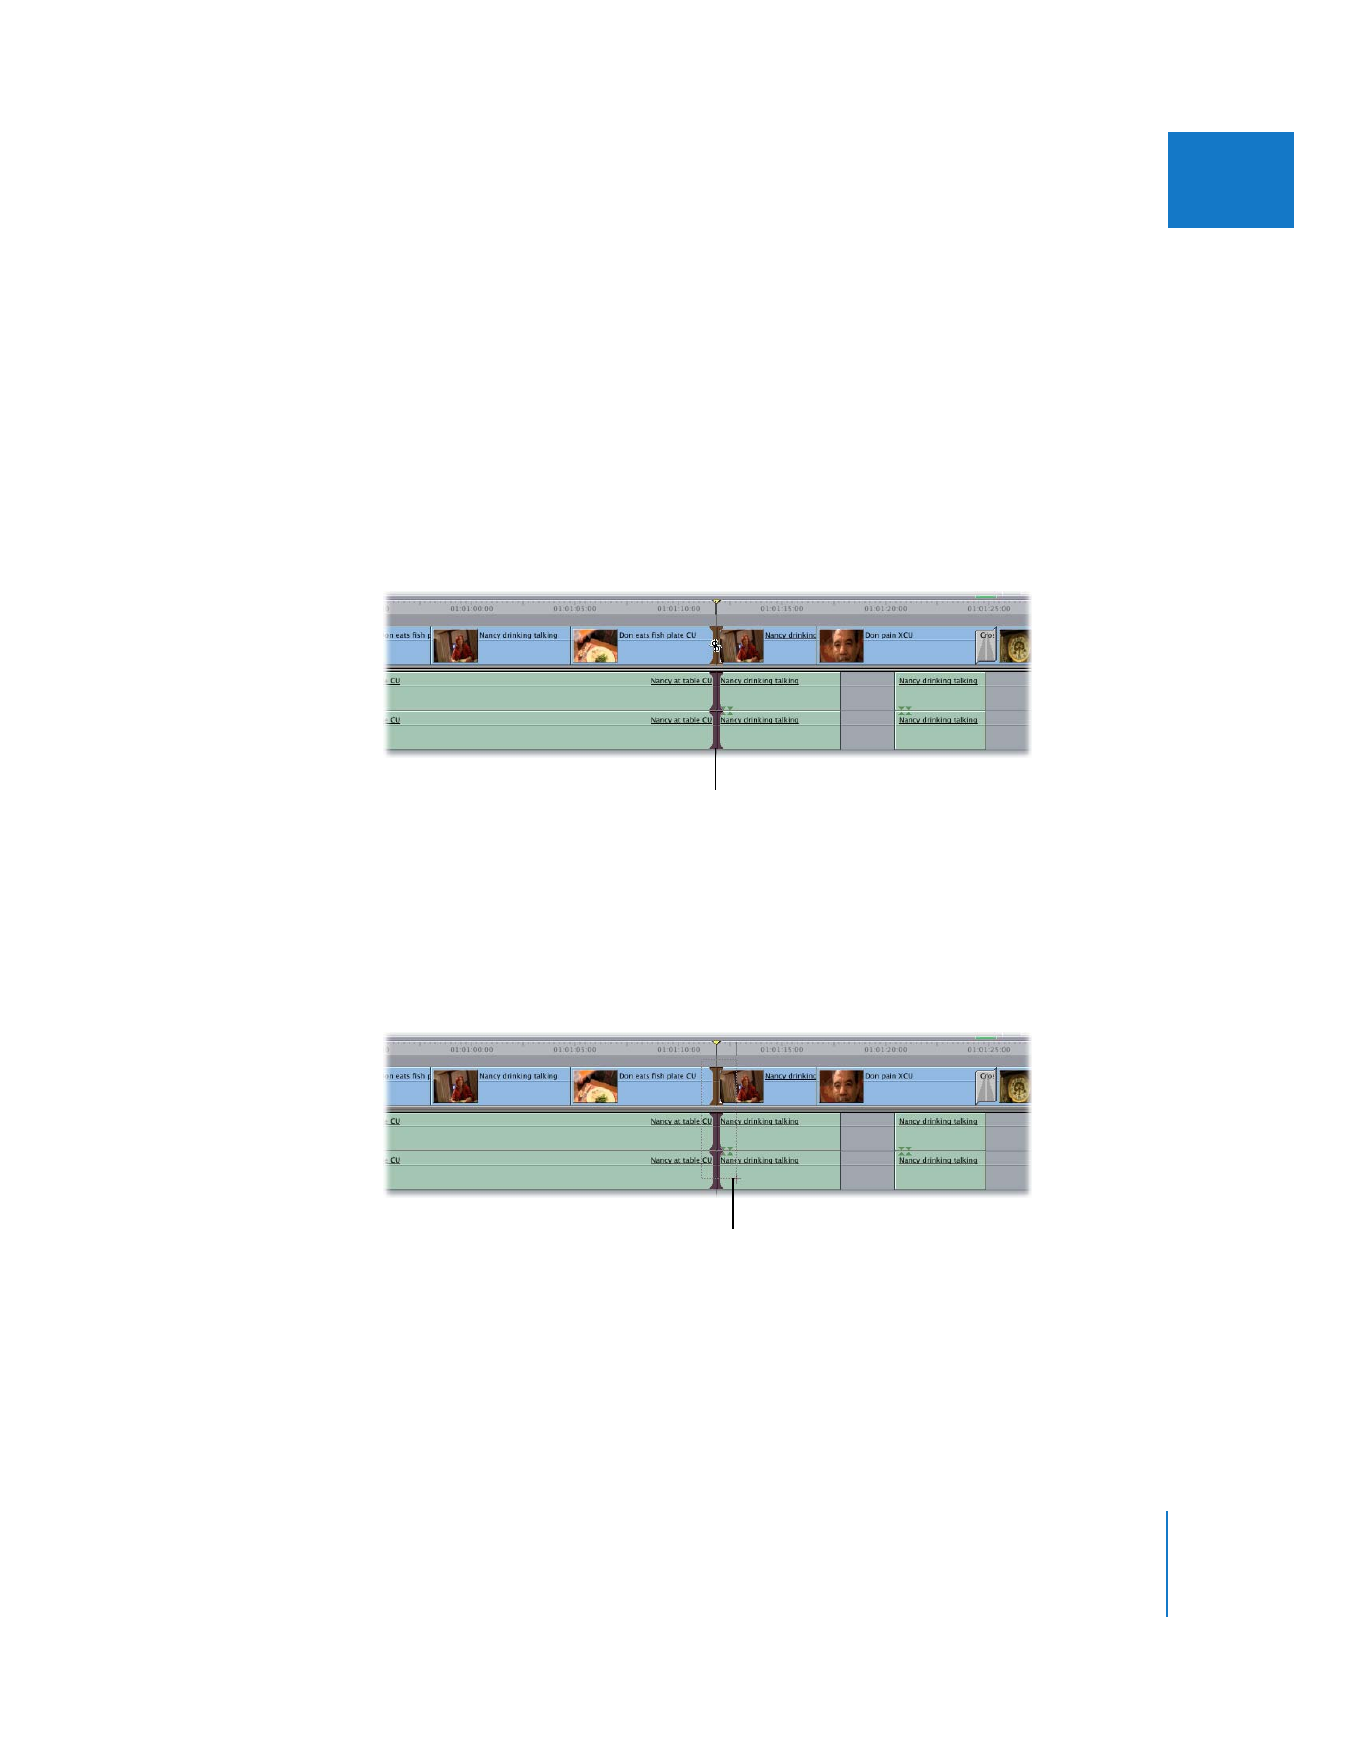
Double-click an edit point to
open the Trim Edit window.
You can also drag around an
edit point with the Edit
Selection tool to open the
Trim Edit window.
360
Part III
Fine-Tuning Your Edit
To close the Trim Edit window, do one of the following:
m
Move the playhead in the Timeline or Canvas away from the edit point.
m
Click anywhere in the Timeline away from an edit point to deselect all edit points in
the Timeline.
m
Press Command-W.