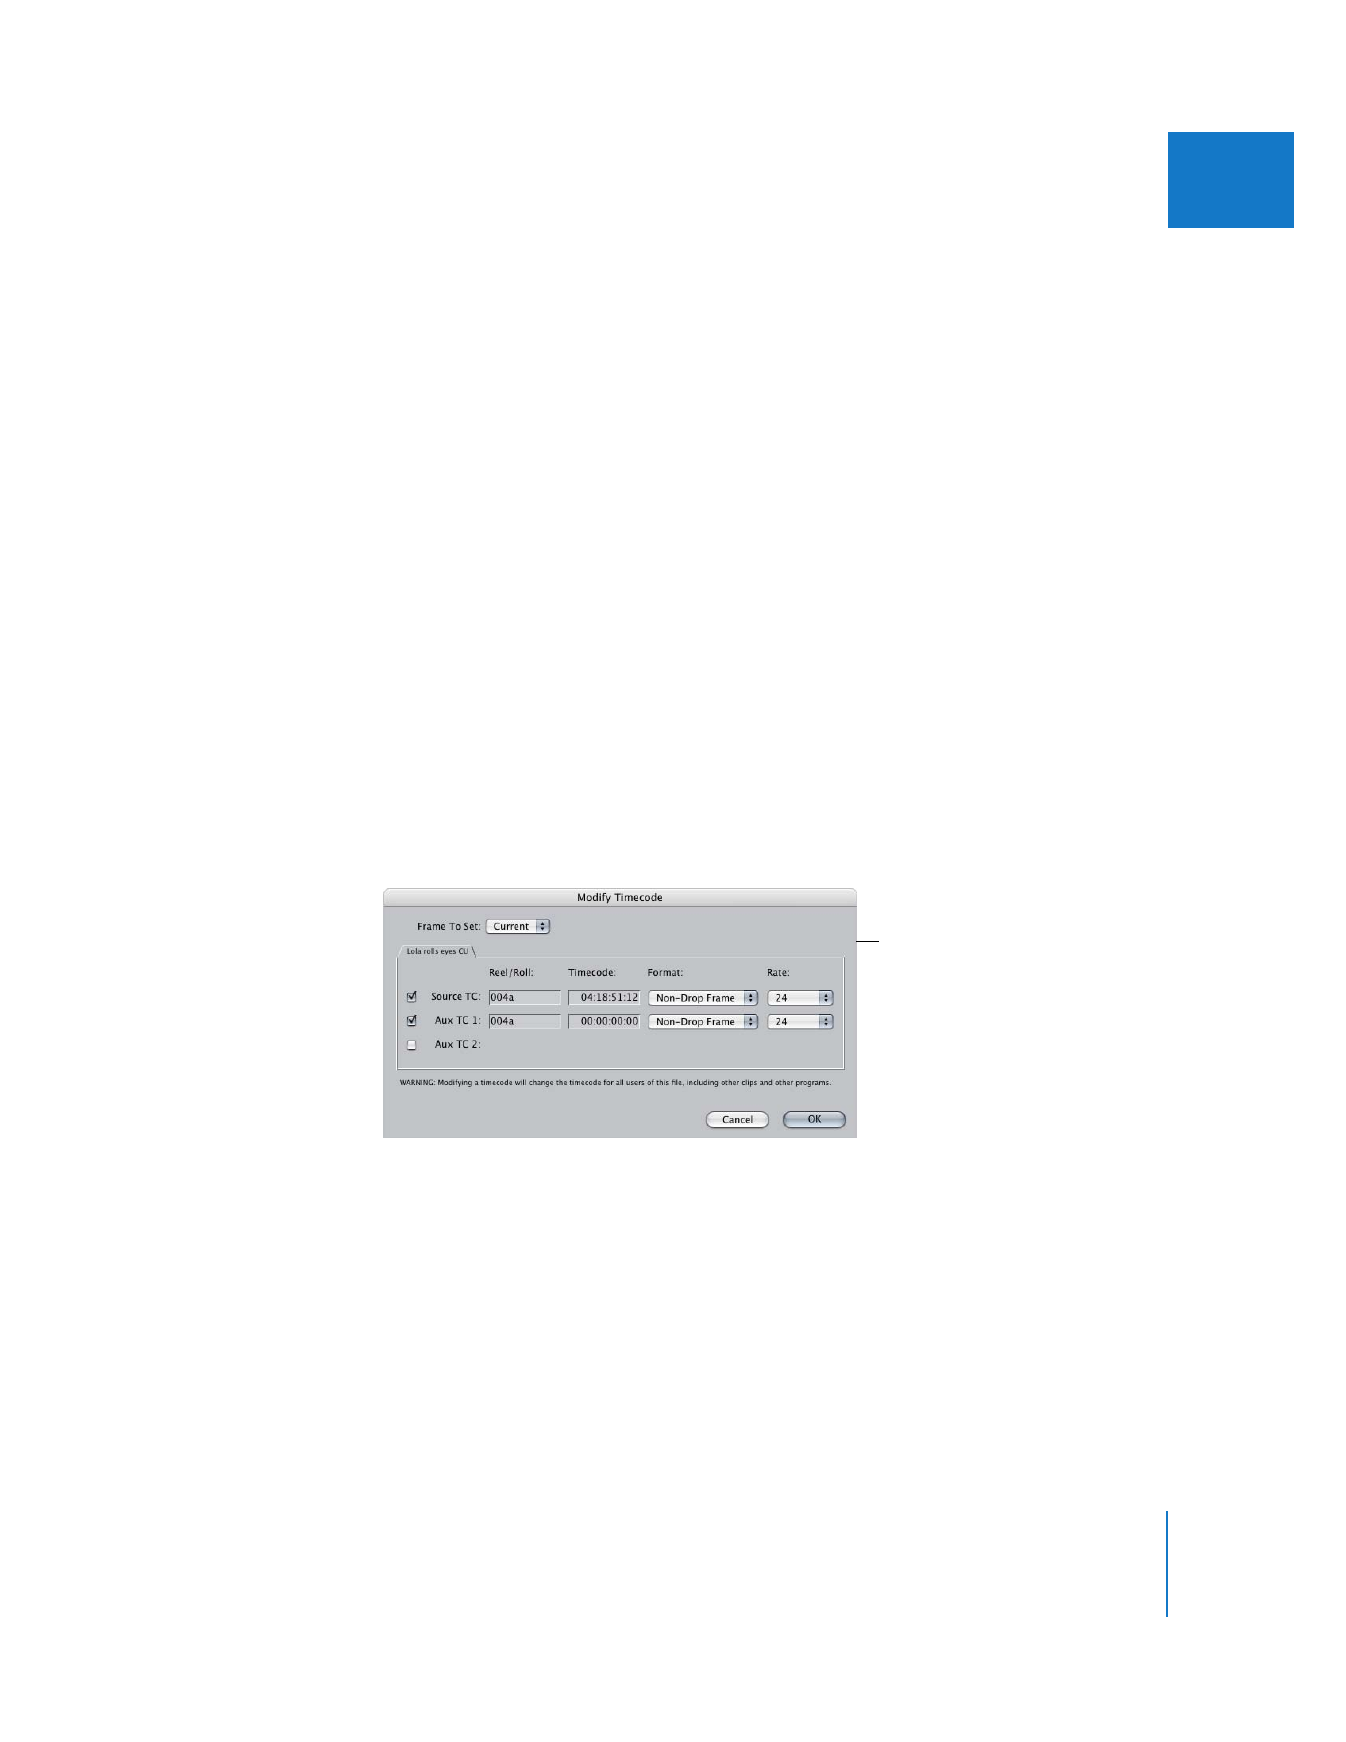
Using the Modify Timecode Command
Timecode tracks in your media files can be added, altered, and even removed in the
Modify Timecode dialog.
Each media file can have up to three timecode tracks and corresponding reel names:
 Source timecode track and reel name
 Aux 1 timecode and Aux 1 reel name
 Aux 2 timecode and Aux 2 reel name
When you select a checkbox next to a timecode track, you are adding that timecode
track to your media file. Deselecting the checkbox deletes that timecode track from the
media file.
Important:
Be careful not to delete the source timecode track of your media file by
deselecting its checkbox.
Note: Some timecode rates may not be allowed for some media files. These limitations
are based on the frame rate of the media file, since some timecode rates are
unnecessary for certain video frame rates.
To modify the timecode of a clip’s media file:
1
In the Browser, select the clip or sequence with the timecode you want to change.
2
Choose Modify > Timecode.
The Modify Timecode dialog
shows all properties associated
with the selected clip or
sequence.

448
Part III
Fine-Tuning Your Edit
3
Verify that the settings are correct:
 Frame to Set: Choose the frame you want to alter.
 Current: Choose this to alter the timecode of the current frame in the clip
or sequence.
 Starting: Choose this to change the timecode of the starting frame of the clip
or sequence.
 Source TC: Select this checkbox to add or alter the timecode of the source clip or
sequence’s media file on disk.
 Aux TC 1 and Aux TC 2: Select these checkboxes to create or change the properties of
auxiliary timecode clips or sequences.
 Reel/Roll: The reel number is displayed here. If you need to change the reel number,
enter the reel number here.
∏
Tip: You can also change the reel number in the Browser or the Item Properties dialog.
For more information, see “
Changing Clip Properties in the Browser
” on page 80 and
“
Viewing and Changing Clip Properties in the Item Properties Window
” on page 82.
 Timecode: The current timecode is displayed here. If you choose to modify the
timecode, enter the new timecode here.
 Format: Choose Drop Frame or Non-Drop Frame from the pop-up menu.
 Rate: Choose a timecode rate from the pop-up menu.
4
Enter the new timecode in the Timecode field.
5
Click OK to permanently change the timecode.