Choosing and Modifying Audio Outputs
If you change your audio equipment setup, you can modify your sequence’s existing
audio outputs or create a new audio output preset and assign it to your sequence.
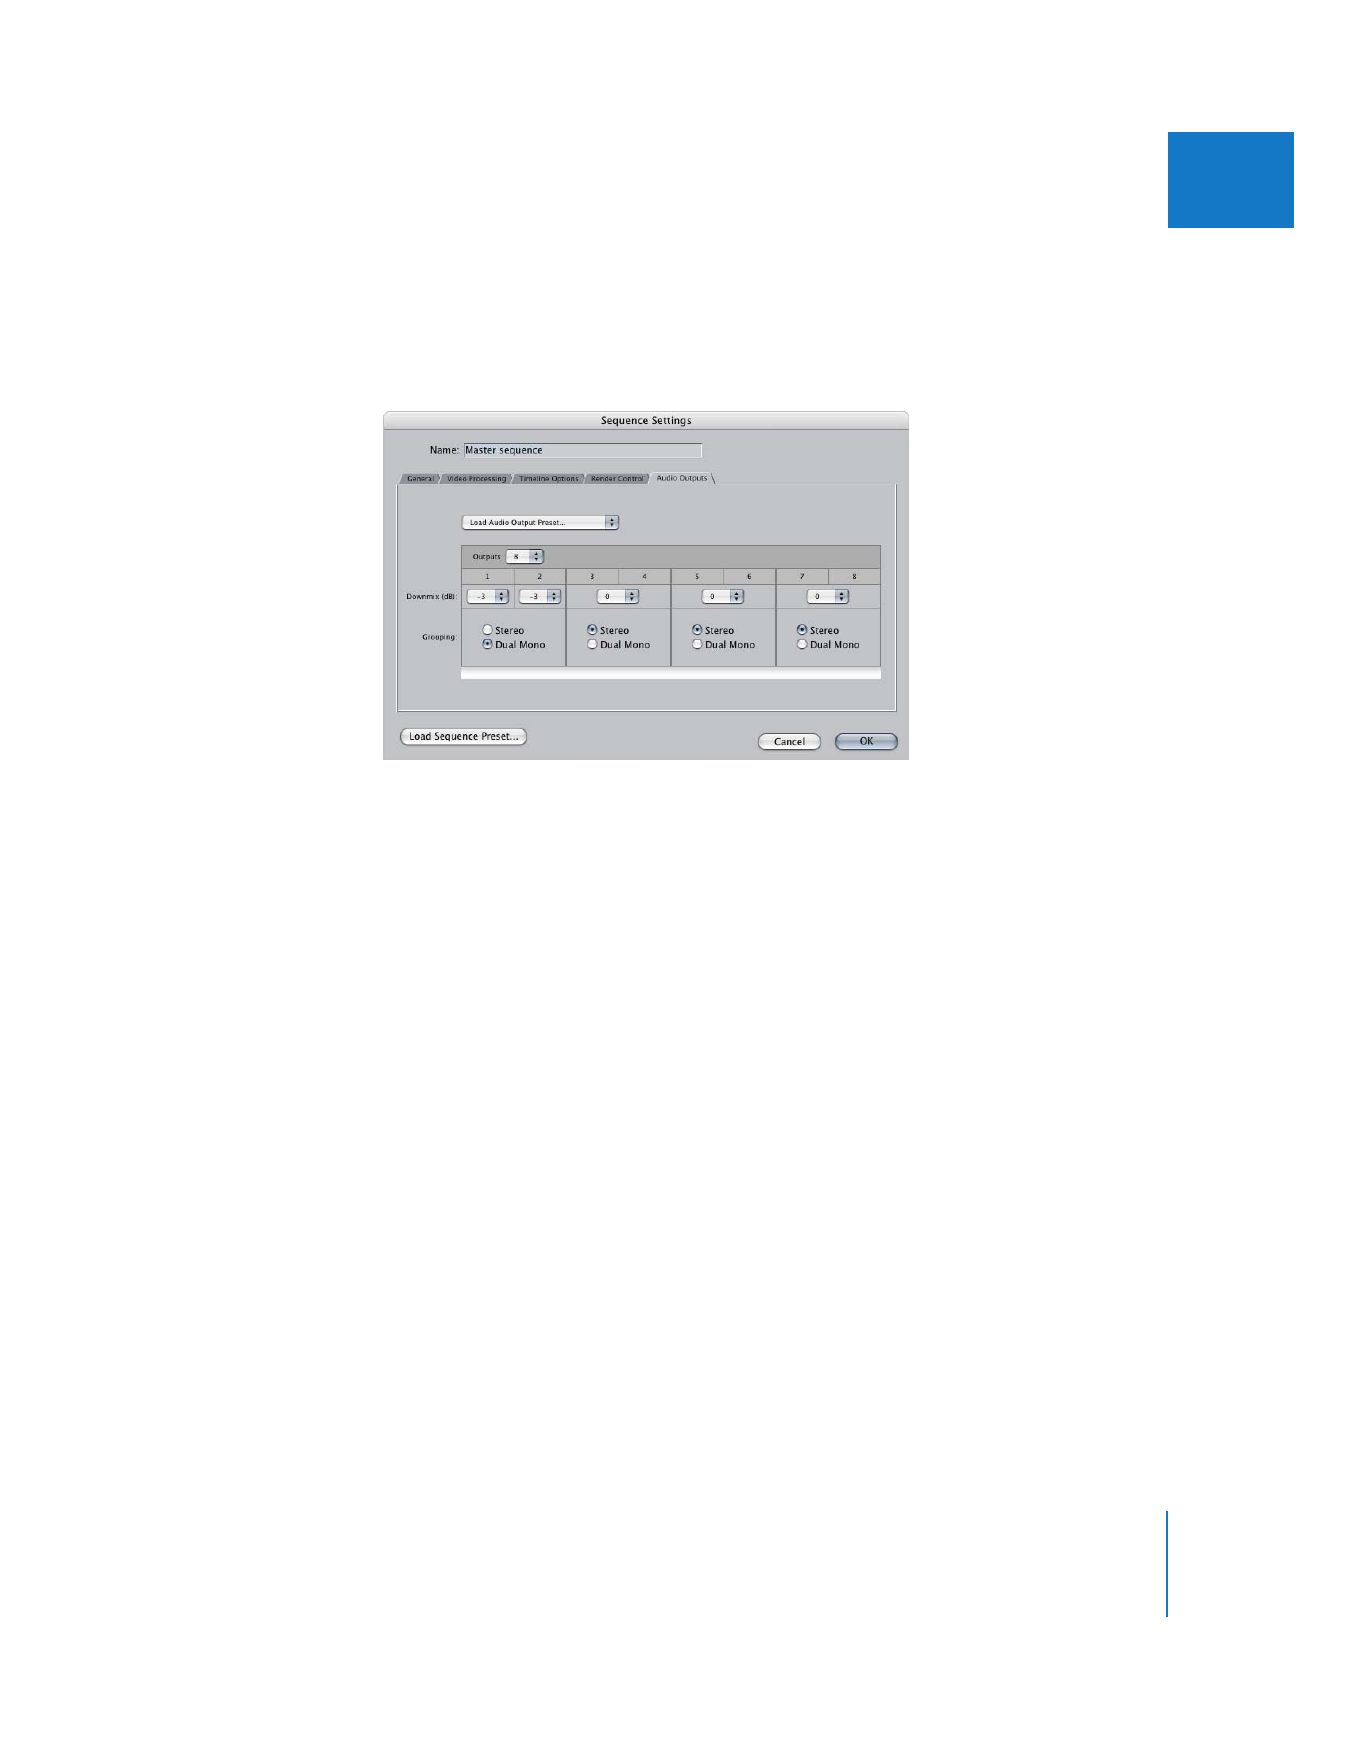
You can choose or modify your sequence’s audio output settings in the Audio Outputs
tab of the Sequence Settings window.
‘
To choose an audio output preset for your sequence:
1
Select a sequence in the Browser or Timeline.
2
Choose Sequence > Settings (or press Command-0), then click the Audio Outputs tab.
3
Choose an audio output preset from the Load Audio Output Preset pop-up menu, then
click OK.
To modify the audio output settings of your sequence:
1
Select a sequence in the Browser or Timeline.
2
Choose Sequence > Settings (or press Command-0), then click the Audio Outputs tab.
3
Choose the number of audio channels you want to access on your audio interface from
the Outputs pop-up menu.
4
For each pair of audio channels, select Stereo to allow for panning clip items between
the pair of channels, or select Dual Mono so that each channel can be used as an
individual output.
5
Choose a downmix level for each mono output channel and stereo group.
For more information about downmix levels, see “
Downmixing Multiple Audio
Channels to a Stereo Mix
” on page 47.
6
Click OK.

42
Part I
Audio Mixing