Setting Proper Audio Levels
When you work with audio, you need to make sure you set proper levels at each stage
of your production:
 Production: During this phase, you record the elements used in your movie: actors’
voices, ambient location sound, music, and so on. This is the first and most critical
step in any audio production process. Any audio recorded poorly at this phase will be
difficult to fix later in the process. There is no match for properly recorded sound, no
matter how good your audio cleanup tools are.
 Capture: Transferring your production audio to Final Cut Pro should be a transparent
process that affects your audio as little as possible. The audio levels of your source
footage and captured media files should match exactly.
 Audio peak detection: Audio that is too loud causes distortion and often cannot
be salvaged. You can find audio peaks in Final Cut Pro by using the Mark Audio
Peaks command.
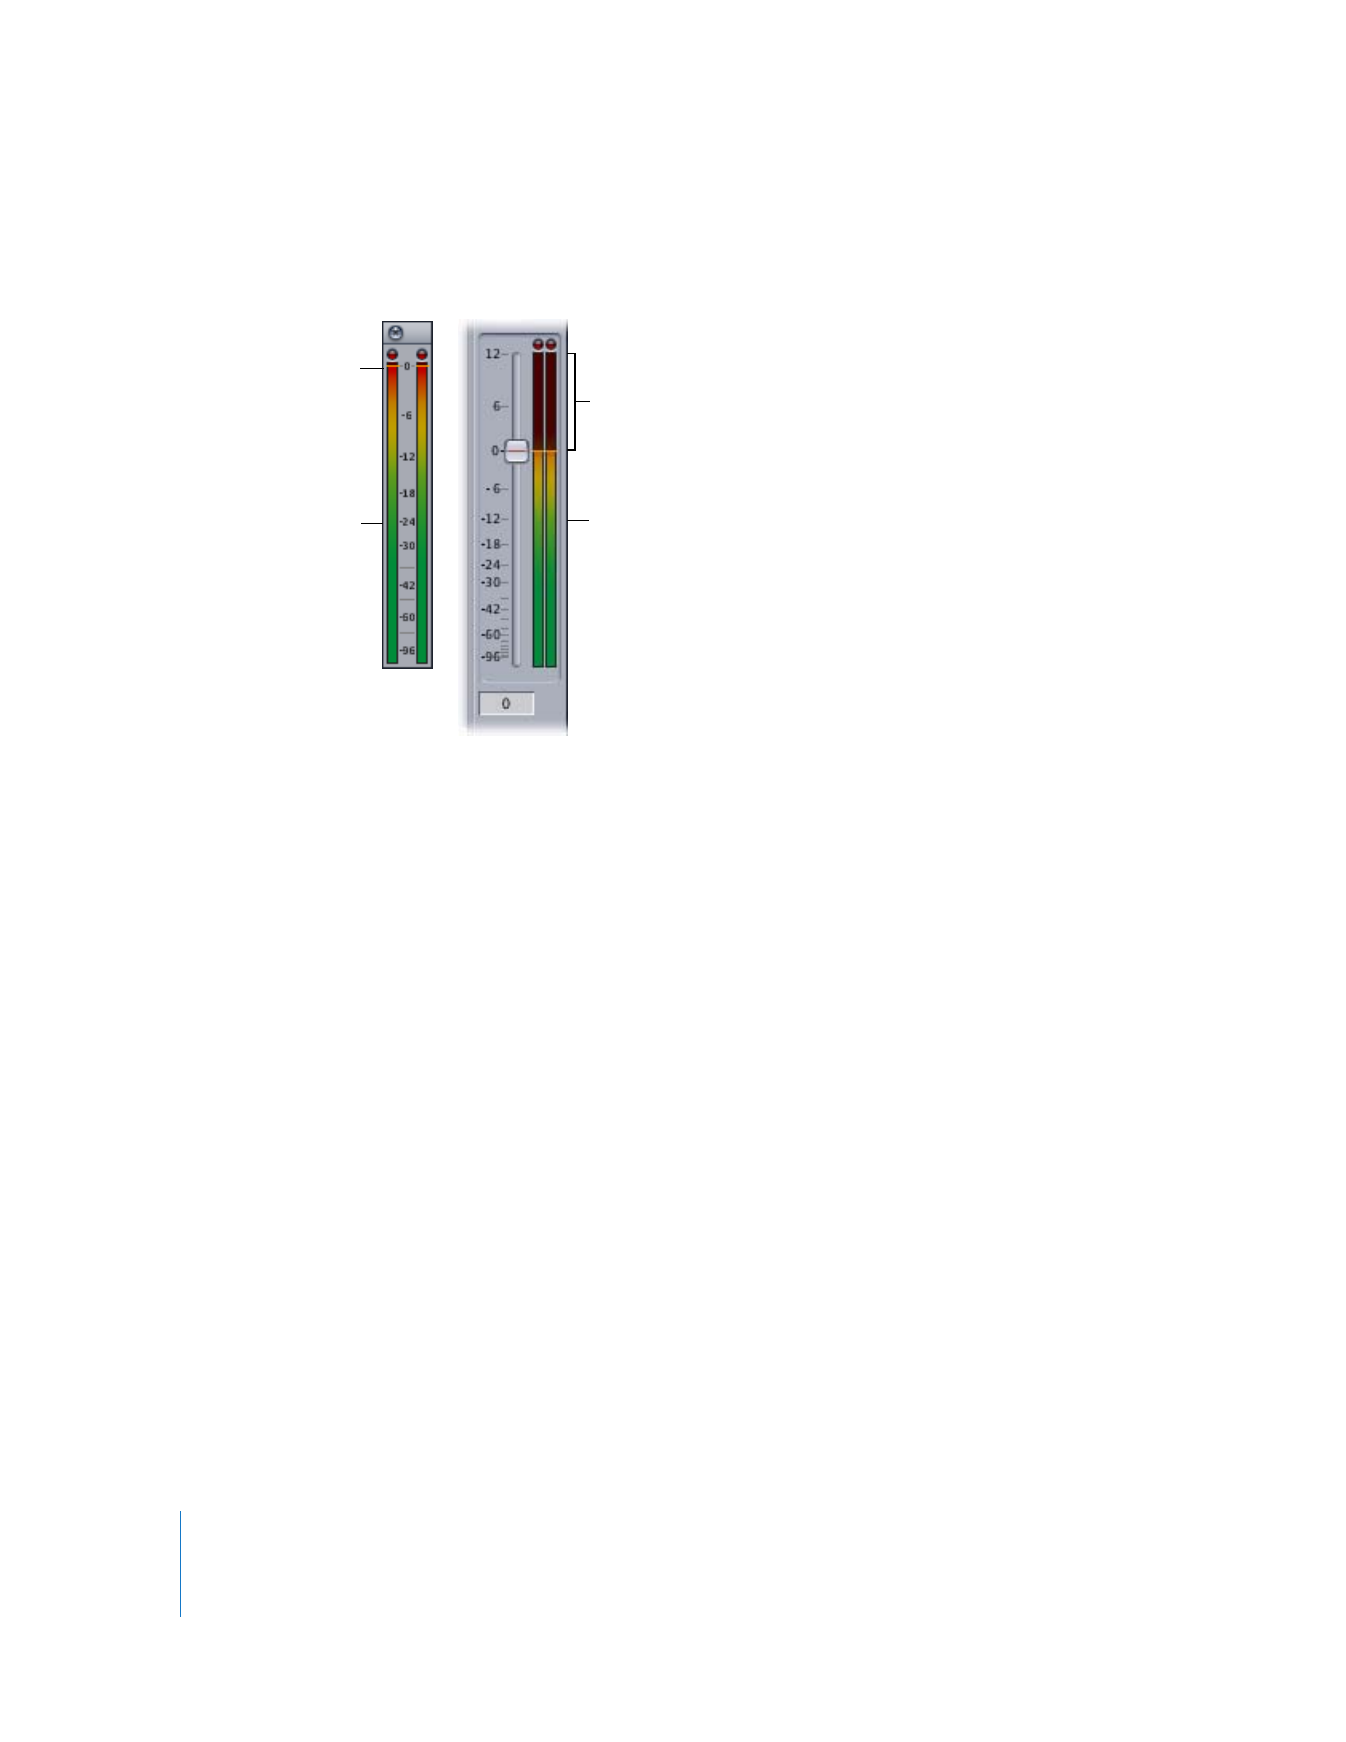
0 dBFS
Floating audio meters
Levels above 0 dBFS
Master audio meters

Chapter 3
Evaluating Levels with Audio Meters
63
I
 Audio gain and normalization: Before cutting and mixing multiple audio sources
together, you may need to normalize varying audio levels that are intended to
match. Audio that is too quiet should be raised to an acceptable level before mixing
and output.
 Mixing and output: During mixing and final output, you need to ensure that audio
levels are consistent compared to a reference audio level, such as audio tone. Loud
parts should be consistently loud, and quiet parts should be consistently quiet (but
not so quiet that they get lost in the noise). The dynamic range (change in levels
between quiet and loud) should be large enough to create a varied mix, but not so
large that viewers have to constantly adjust the volume when they watch the
finished movie.