How Normalization Gain Works in Final Cut Pro
Audio normalization works by scanning audio for the peak (loudest) sample level and
then applying a Gain filter that brings the peak level to the level you request. By default
this value is 0 dBFS, the highest level possible before clipping occurs. The Gain filter
raises the overall audio level.
In most applications, audio normalization is a destructive process because it
permanently modifies audio files. Final Cut Pro applies normalization nondestructively
by applying a Gain filter to a clip instead of affecting the clip’s audio file. You can
disable or remove the Gain filter and hear the original, unmodified audio file.
To apply normalization gain to audio clip items in a sequence:
1
Select one or more audio clip items in a sequence.
2
Choose Modify > Audio > Apply Normalization Gain.
The Apply Normalization Gain dialog appears.
3
In the “Normalize to” field, enter the value you want to raise each audio clip’s peak value
to, then click OK.
The dialog displays a progress bar and Final Cut Pro begins calculating the peak value
for each clip. After processing, each selected clip has its own Gain filter applied with a
gain adjustment appropriate for that clip’s normalization.
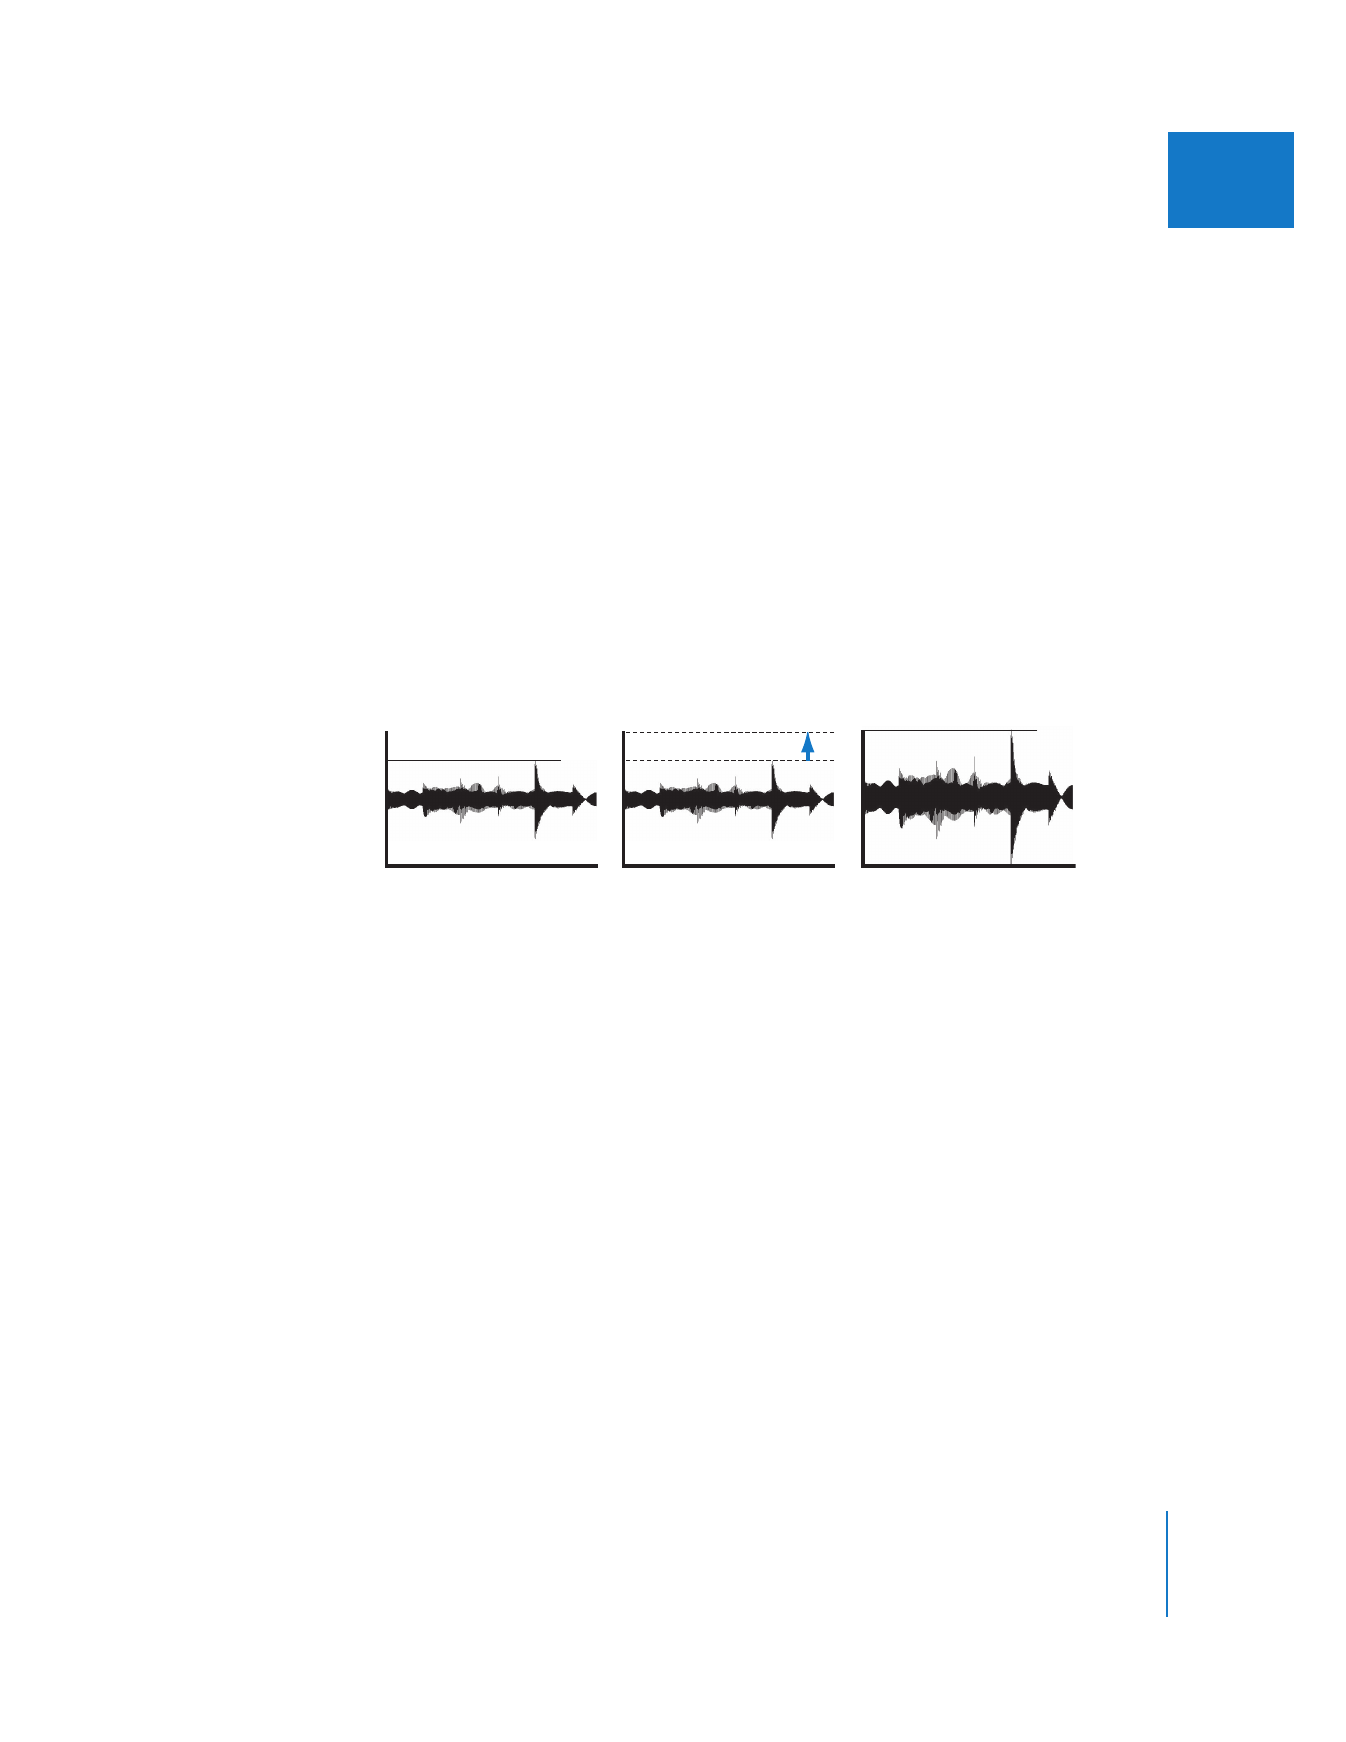
First, audio is scanned and the
audio peak is detected.
Next, gain is added so the
audio peak is set to 0 dBFS.
The audio is normalized, with
the peak level set at 0 dBFS.
Peak
Peak
0 dBFS
0 dBFS
0 dBFS

66
Part I
Audio Mixing