Preparing to Export Audio Tracks as Audio Files
Before you export your sequence’s audio tracks to audio files, you should follow the
steps below.
Step 1:
Make a duplicate of your sequence
Because you may make significant alterations to your sequence, it’s better to duplicate
the sequence and work on the copy. If you make any drastic errors, you can always
return to your original sequence.
Step 2:
Insert sync beeps at the beginning and end of each audio track
Insert a one-frame sync beep at the beginning and end of each audio track in your
sequence. These beeps help audio editors synchronize picture to exported audio tracks,
much as a slate does during initial picture and sound editing. The beep before a movie
begins is also known as a two-pop because the beep occurs just 2 seconds before the
first frame of the movie appears. You may notice that when you see a movie
countdown, the last beep coincides with the number 2 in the 10-second countdown.
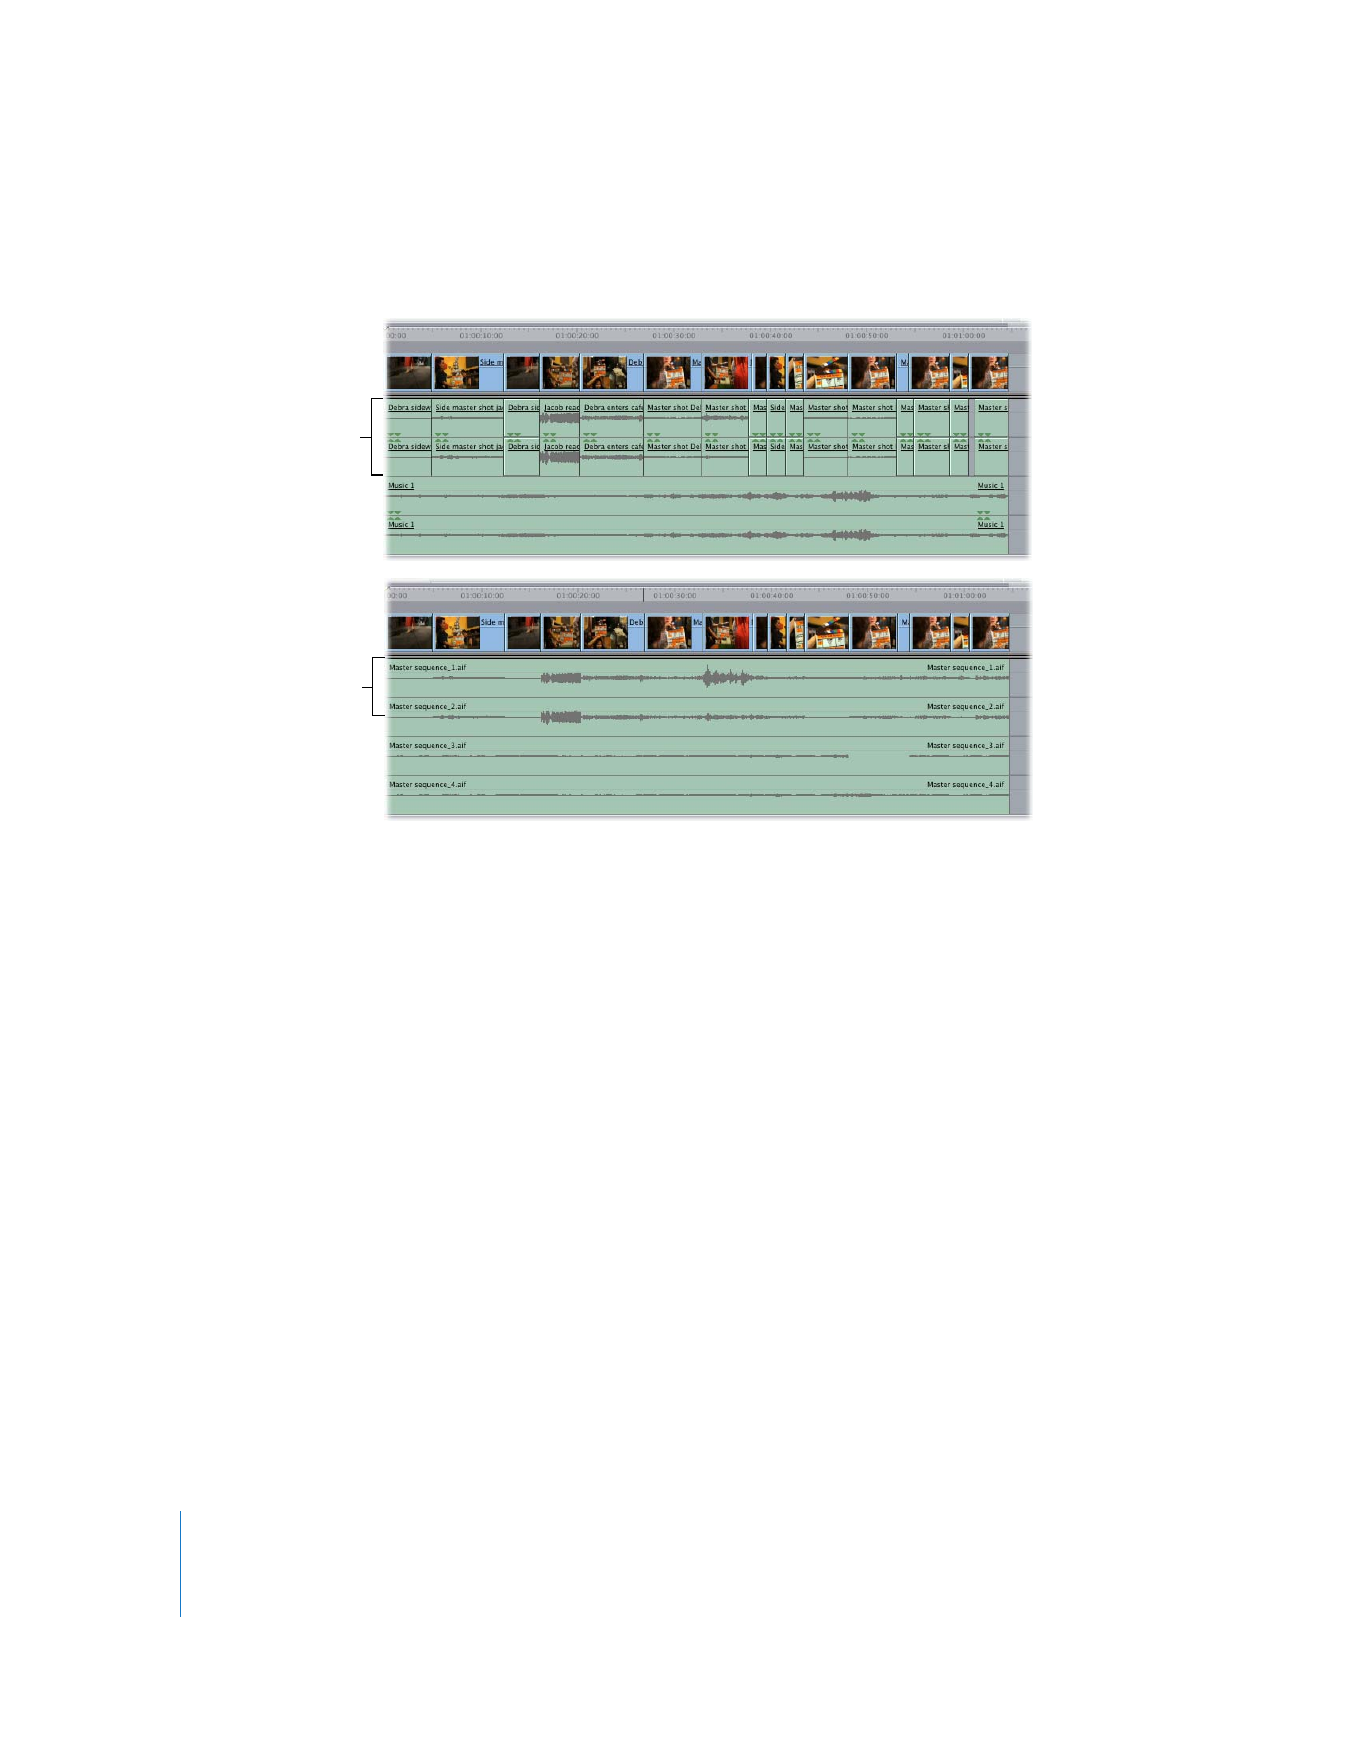
Individual audio clips in a
typical sequence
Individual audio clips
have been consolidated
into single large clips
with the duration of
the sequence.
Chapter 10
Exporting Audio for Mixing in Other Applications
187
I
To create a two-pop (or sync beep):
1
Double-click a sequence in the Browser to open it in the Timeline.
If there is no space at the beginning of your sequence, you need to make room for your
two-pop.
2
In the Timeline, choose Edit > Select All (or press Command-A), then type “+200.”
All of the clip items in your sequence move forward by 2 seconds, making room for the
two-pop.
3
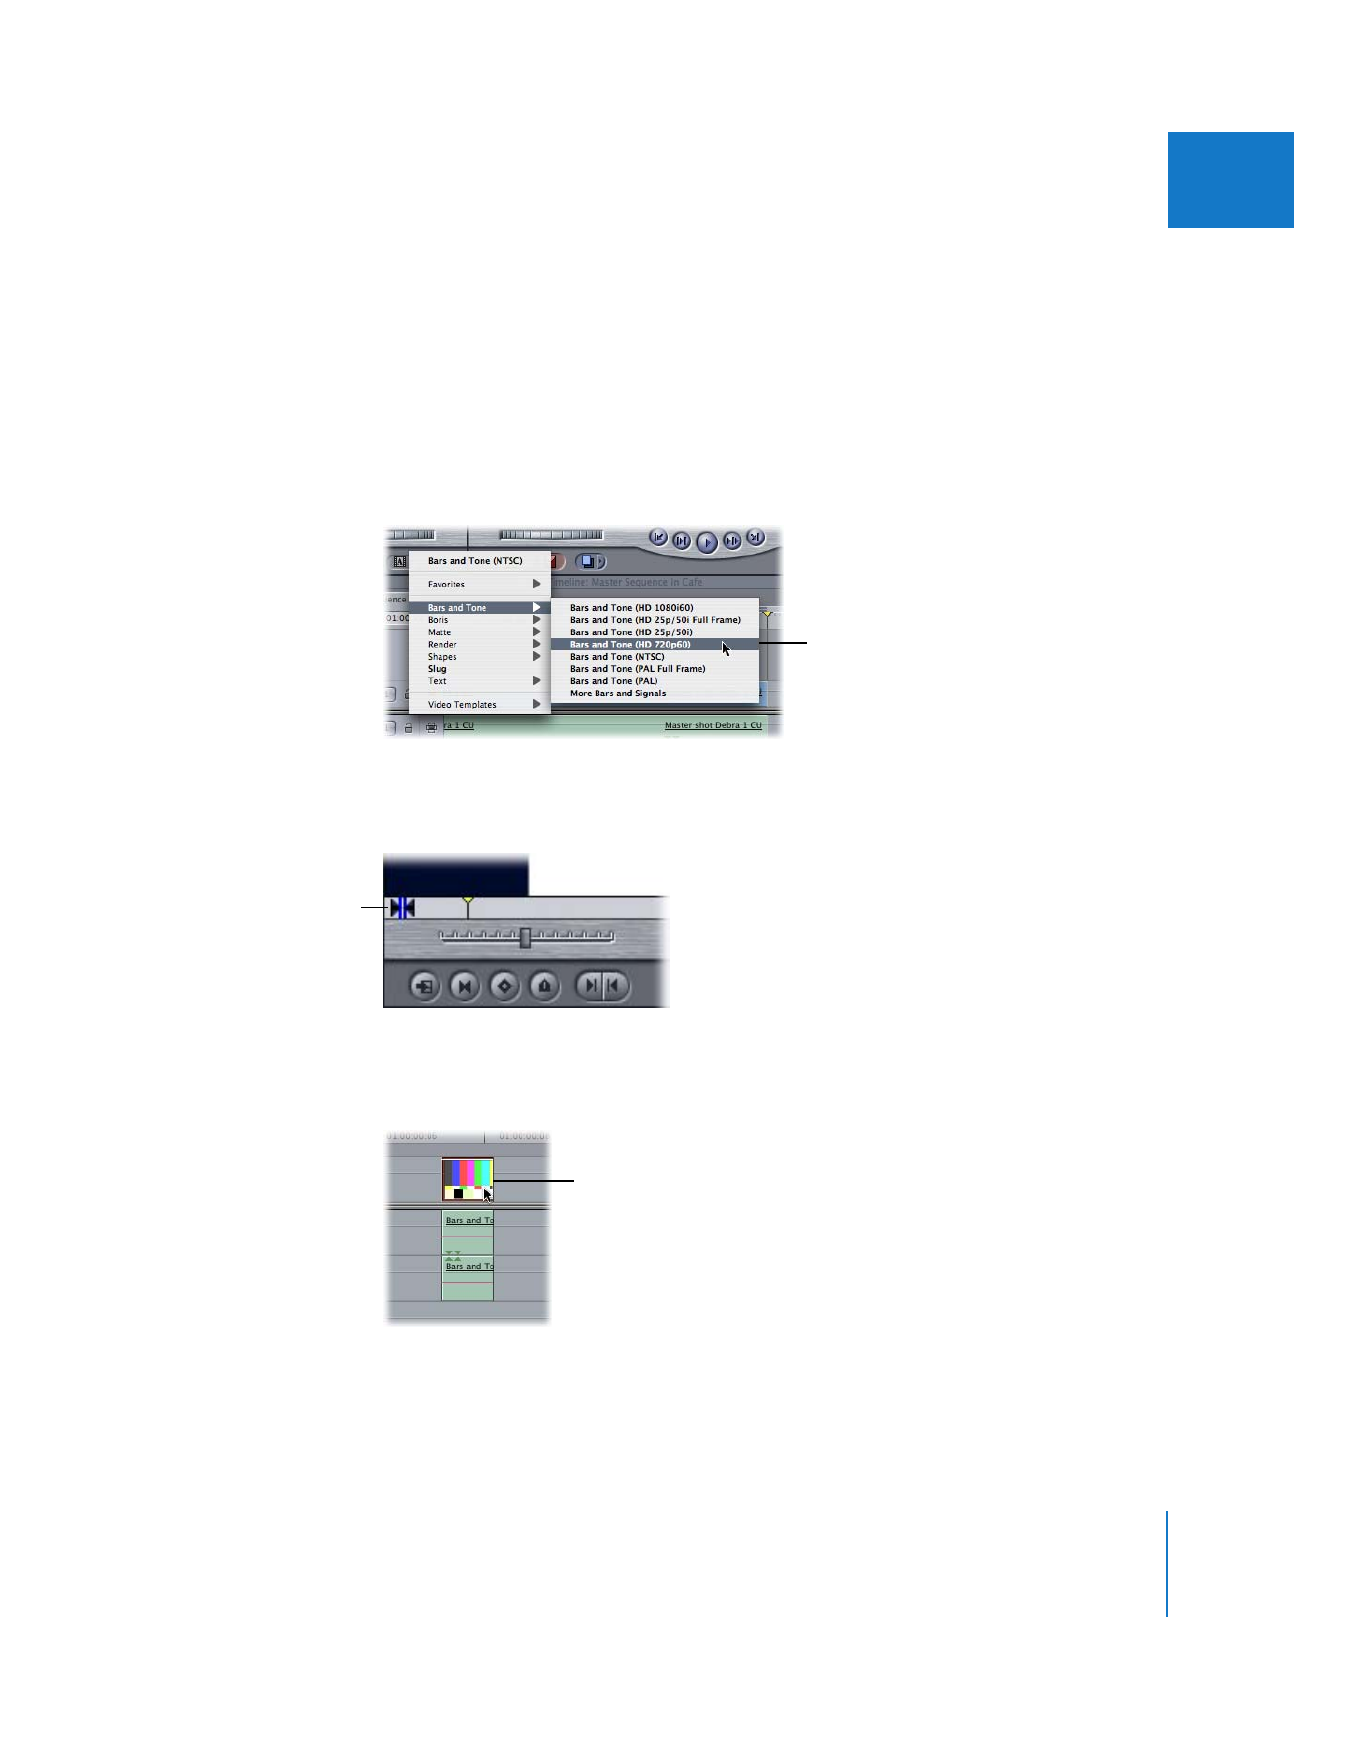
Choose a Bars and Tone generator from the Generator pop-up menu in the Viewer.
4
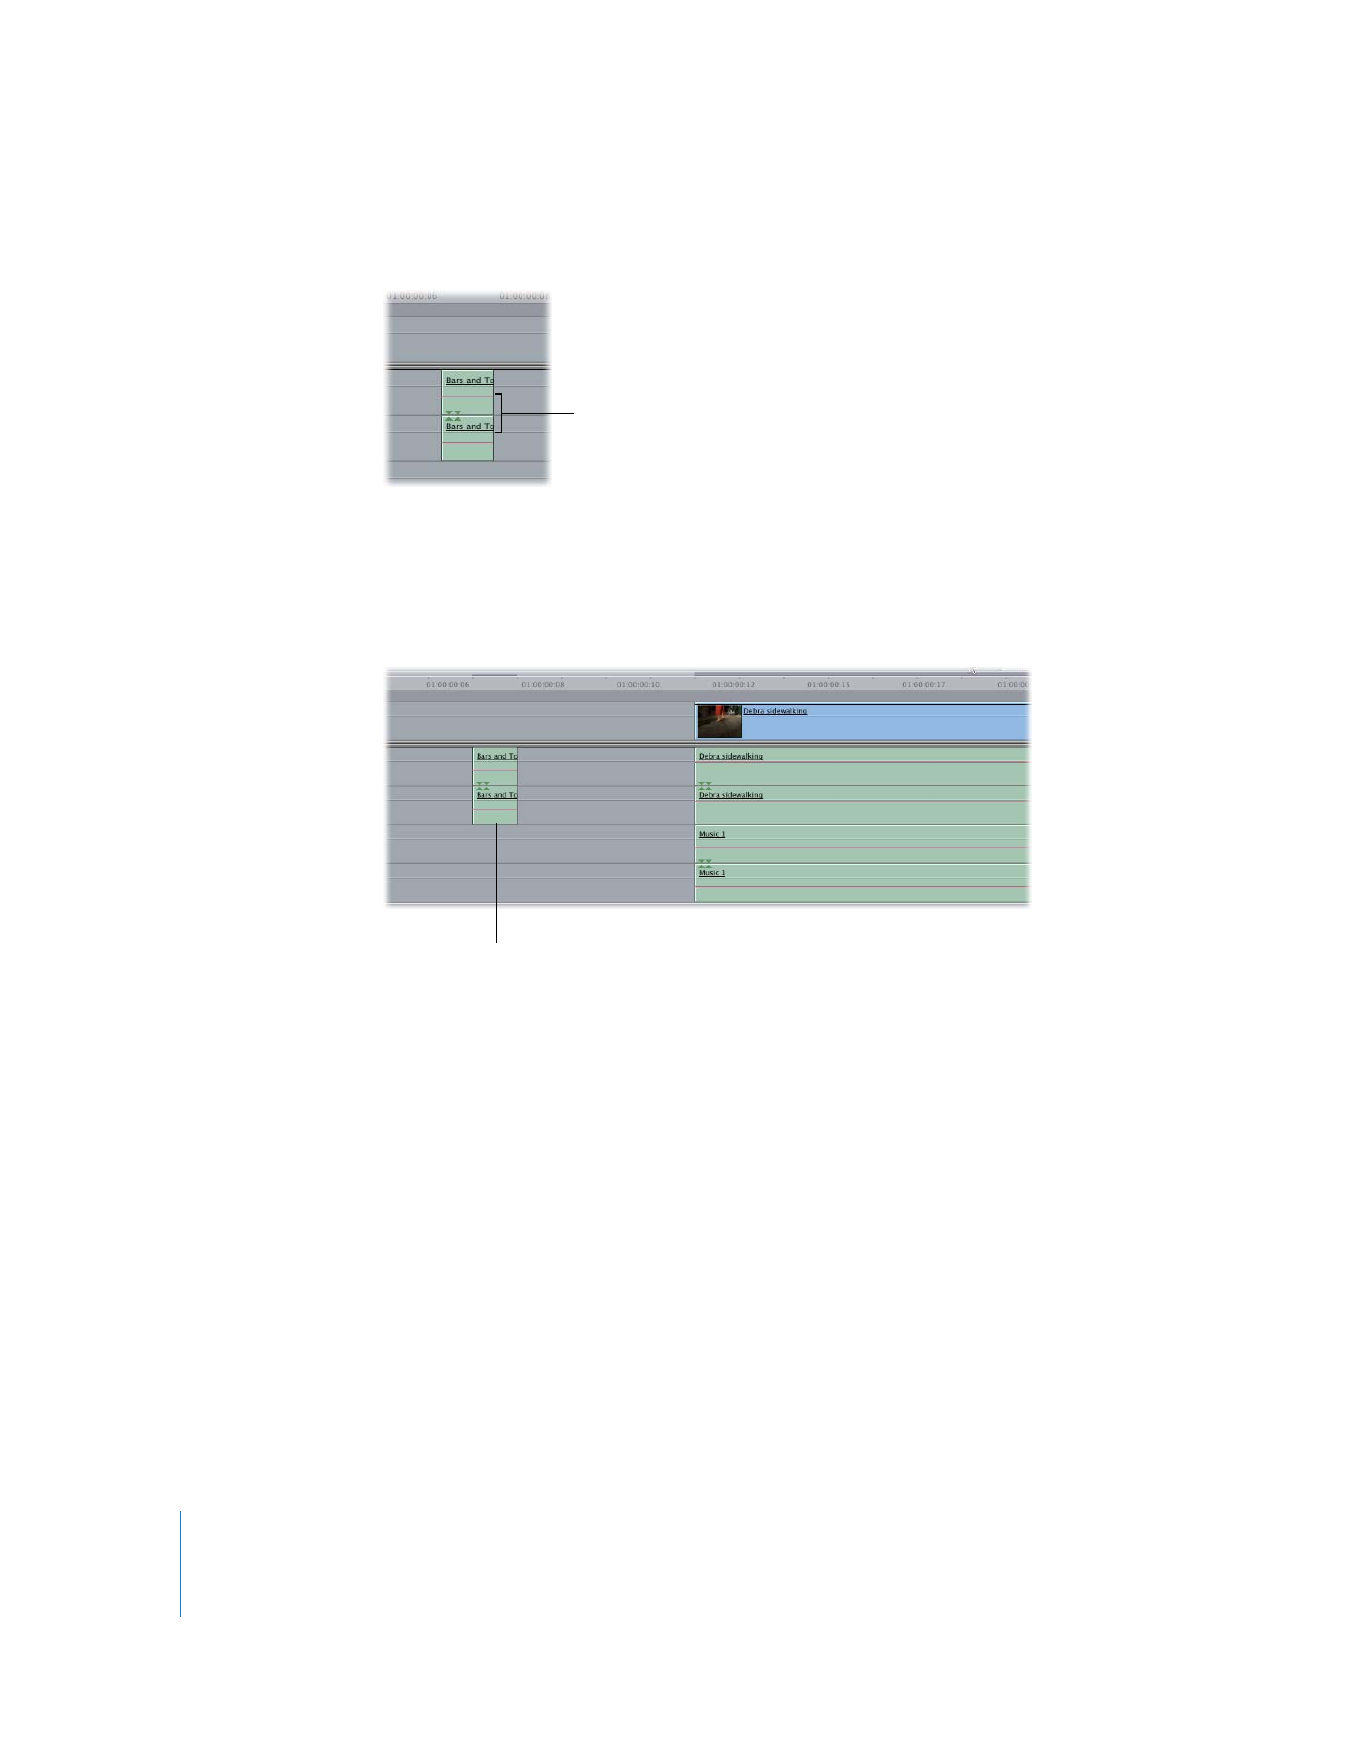
Press I to mark an In point, press the Right Arrow key on the keyboard to move forward
one frame, then press O to mark an Out point.
5
Drag this clip from the Viewer to the first frame of your sequence in the Timeline.
6
Option-click the video portion of the one-frame clip to select that part only.
Choose the Bars and
Tone generator that
matches the format you
are using.
In and Out points for the
single-frame clip
Select the video only,
then press Delete.
188
Part I
Audio Mixing
7
Press Delete to delete the video portion of this clip.
Note: Instead of deleting the video portion of the two-pop, you can also replace it with
a more appropriate video generator, such as a circle shape generator.
8
Cut the stereo beep and paste it 2 seconds beyond the beginning and end of each
audio track you will export.
Step 3:
If necessary, arrange audio clips so they don’t overlap
When you export audio files, there is no automatic way to include “handles,” or extra
audio at the beginning and end of each audio clip. If you want extra audio before and
after the In and Out points of each audio clip, you need to manually change the In and
Out points of each audio clip in your sequence.
Note: When you add handles, be careful not to move the placement of clips in your
sequence. In some cases, you may need to move your audio clips on two adjacent
tracks to create an overlapping checkerboard pattern of audio clips that
include handles.
Step 4:
Remove audio filters and delete any audio level or pan keyframes
To remove any dynamic mixing, remove all audio filters from your audio clips, flatten
the audio level overlays to 0 decibels (dB), and remove any stereo panning you may
have introduced.
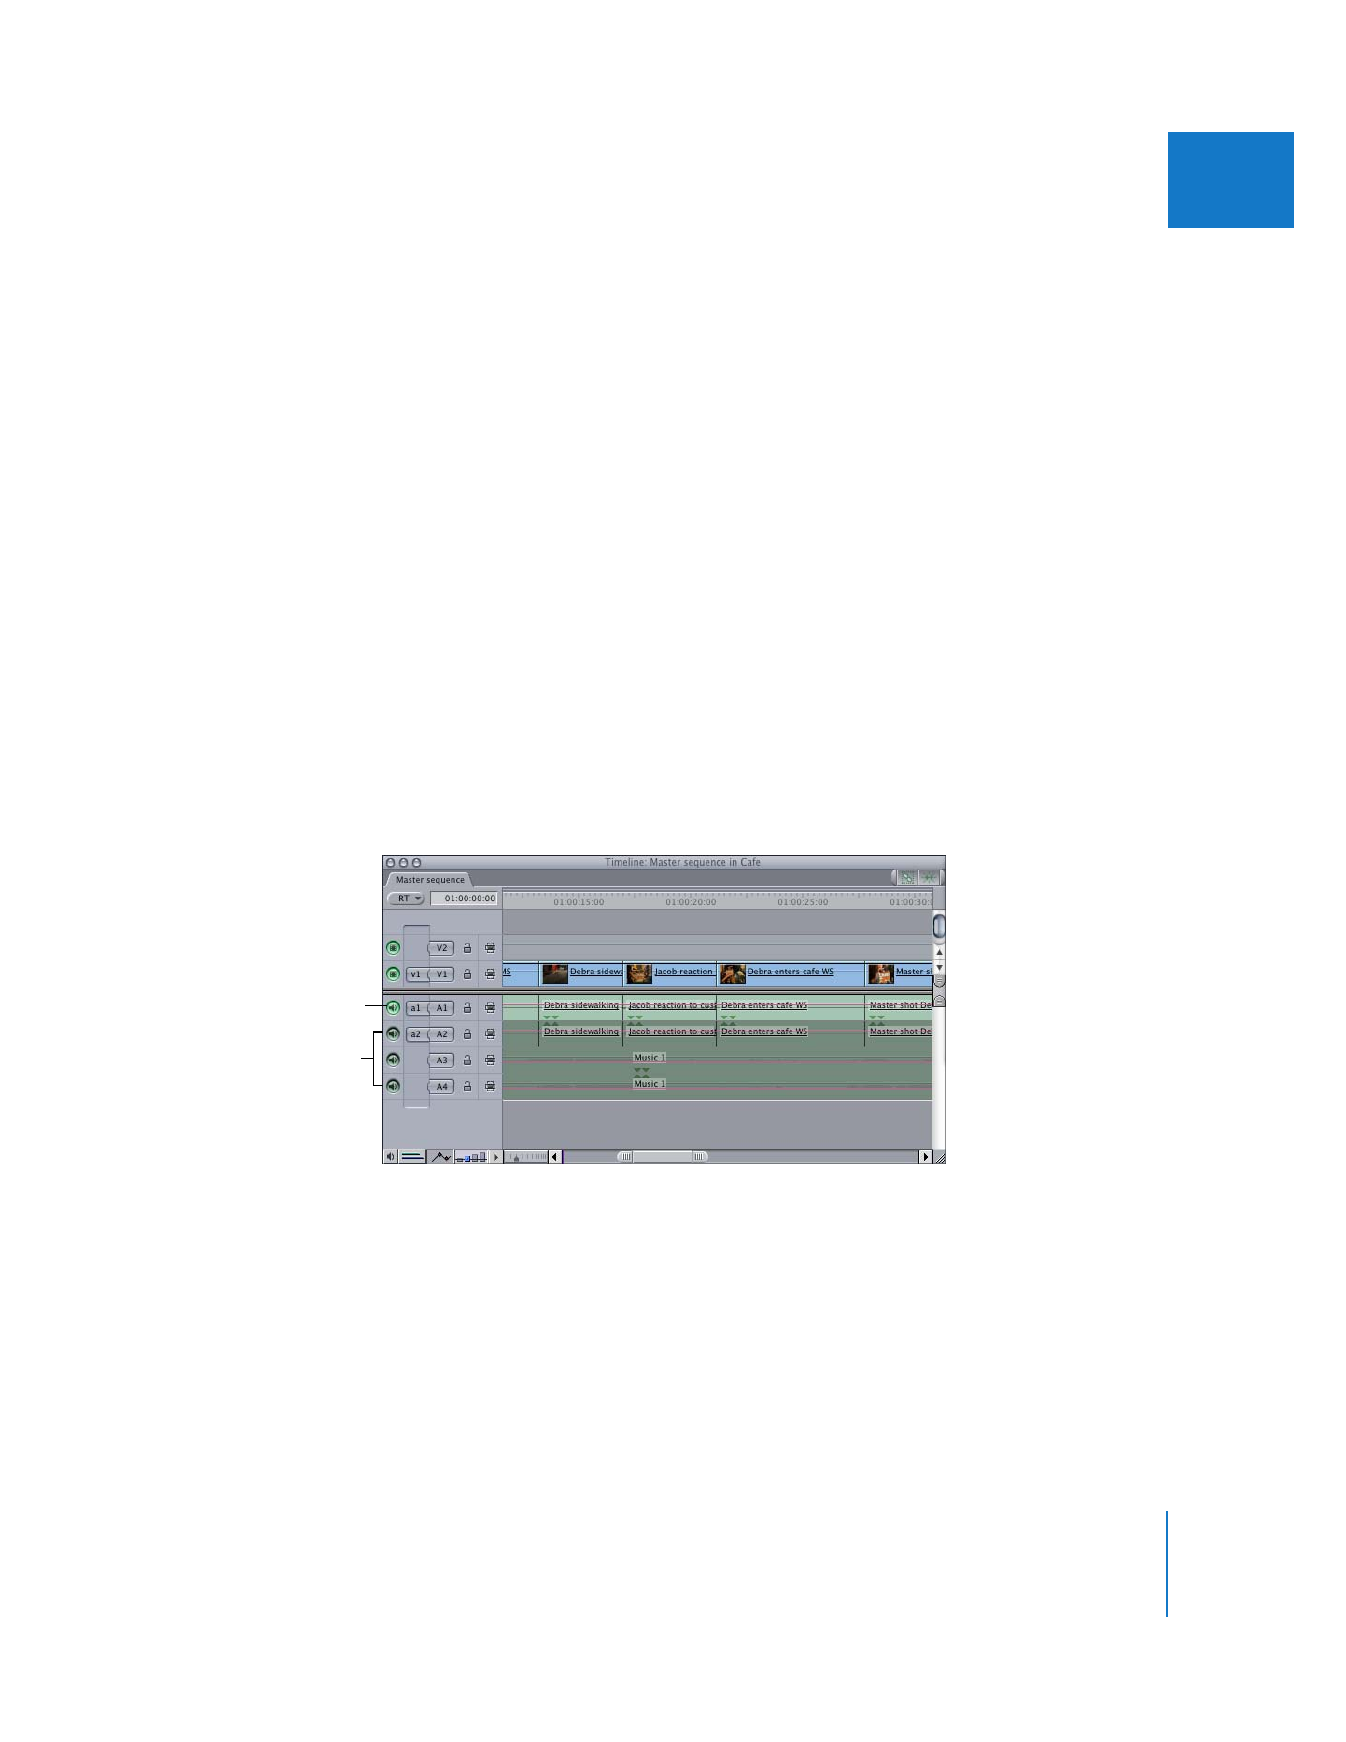
Only the audio portion
remains as your sync beep.
This shows the sync beep
at the beginning of an
audio track.
Chapter 10
Exporting Audio for Mixing in Other Applications
189
I
To remove all audio filters and keyframes in your sequence:
1
Select every audio clip in your sequence by clicking in the Timeline and pressing
Command-A.
All video clips are selected too, but you don’t need to worry about your video clips
because you are only using this sequence to export audio.
2
Control-click one of the selected clips in the Timeline, then choose Remove Attributes
from the shortcut menu.
3
In the Remove Attributes dialog, select Levels, Pan, and Filters, then click OK.