Changing the Pan of Audio in the Viewer
To adjust the stereo placement of your sound, you can change the pan of your audio
clips. The Pan slider is actually one control with two modes. What the control does
depends on what kind of audio you’ve opened in the Viewer:
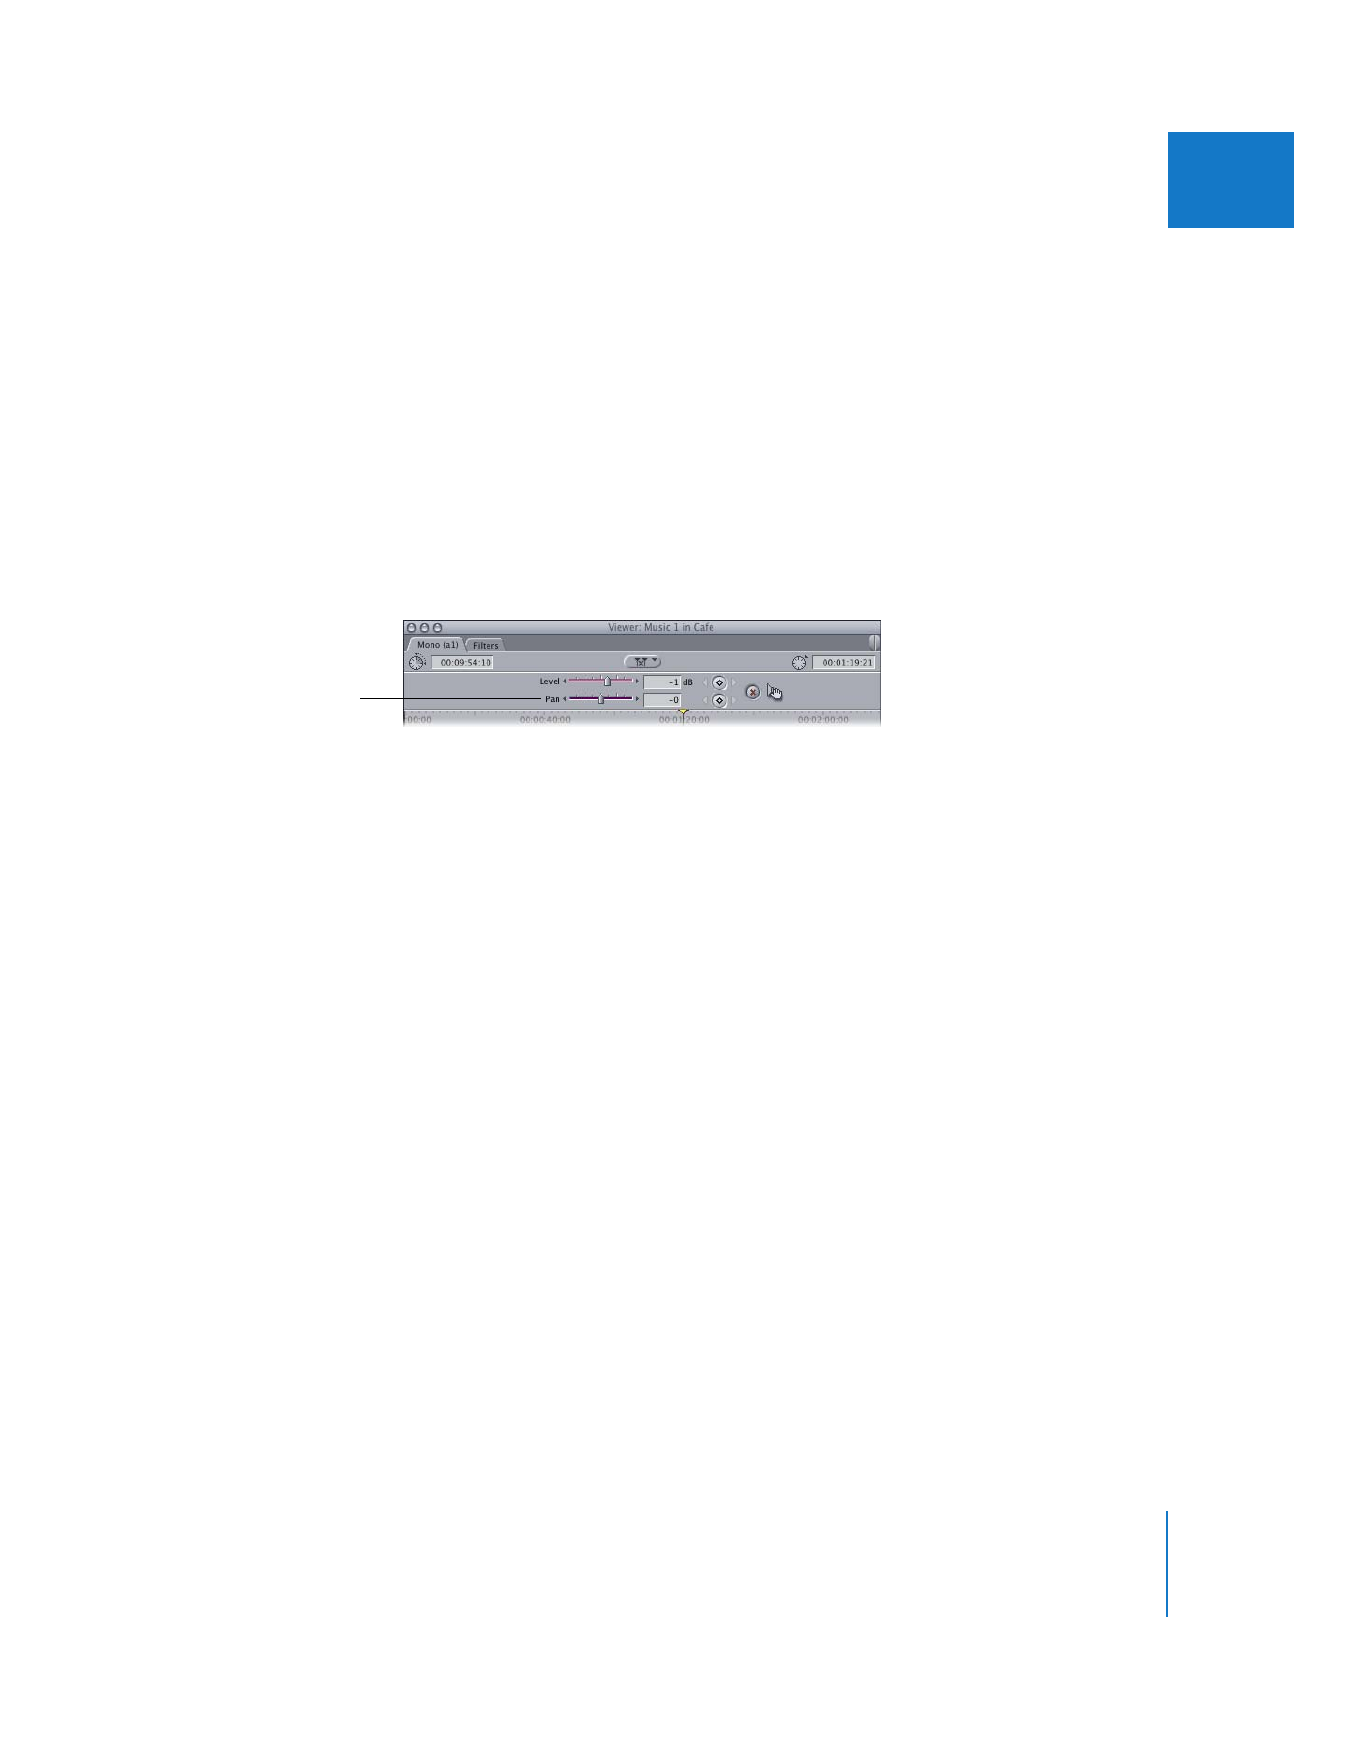
 If the audio clip in the Viewer is a stereo pair: This slider lets you swap the left and right
channels. The default setting of –1 sends the left audio channel of your clip to the left
output channel and the right audio channel to the right output channel. A setting of
0 outputs the left and right audio channels equally to both speakers, essentially
creating a mono mix. A setting of +1 swaps the channels, outputting the left audio
channel to the right speaker and the right audio channel to the left speaker.
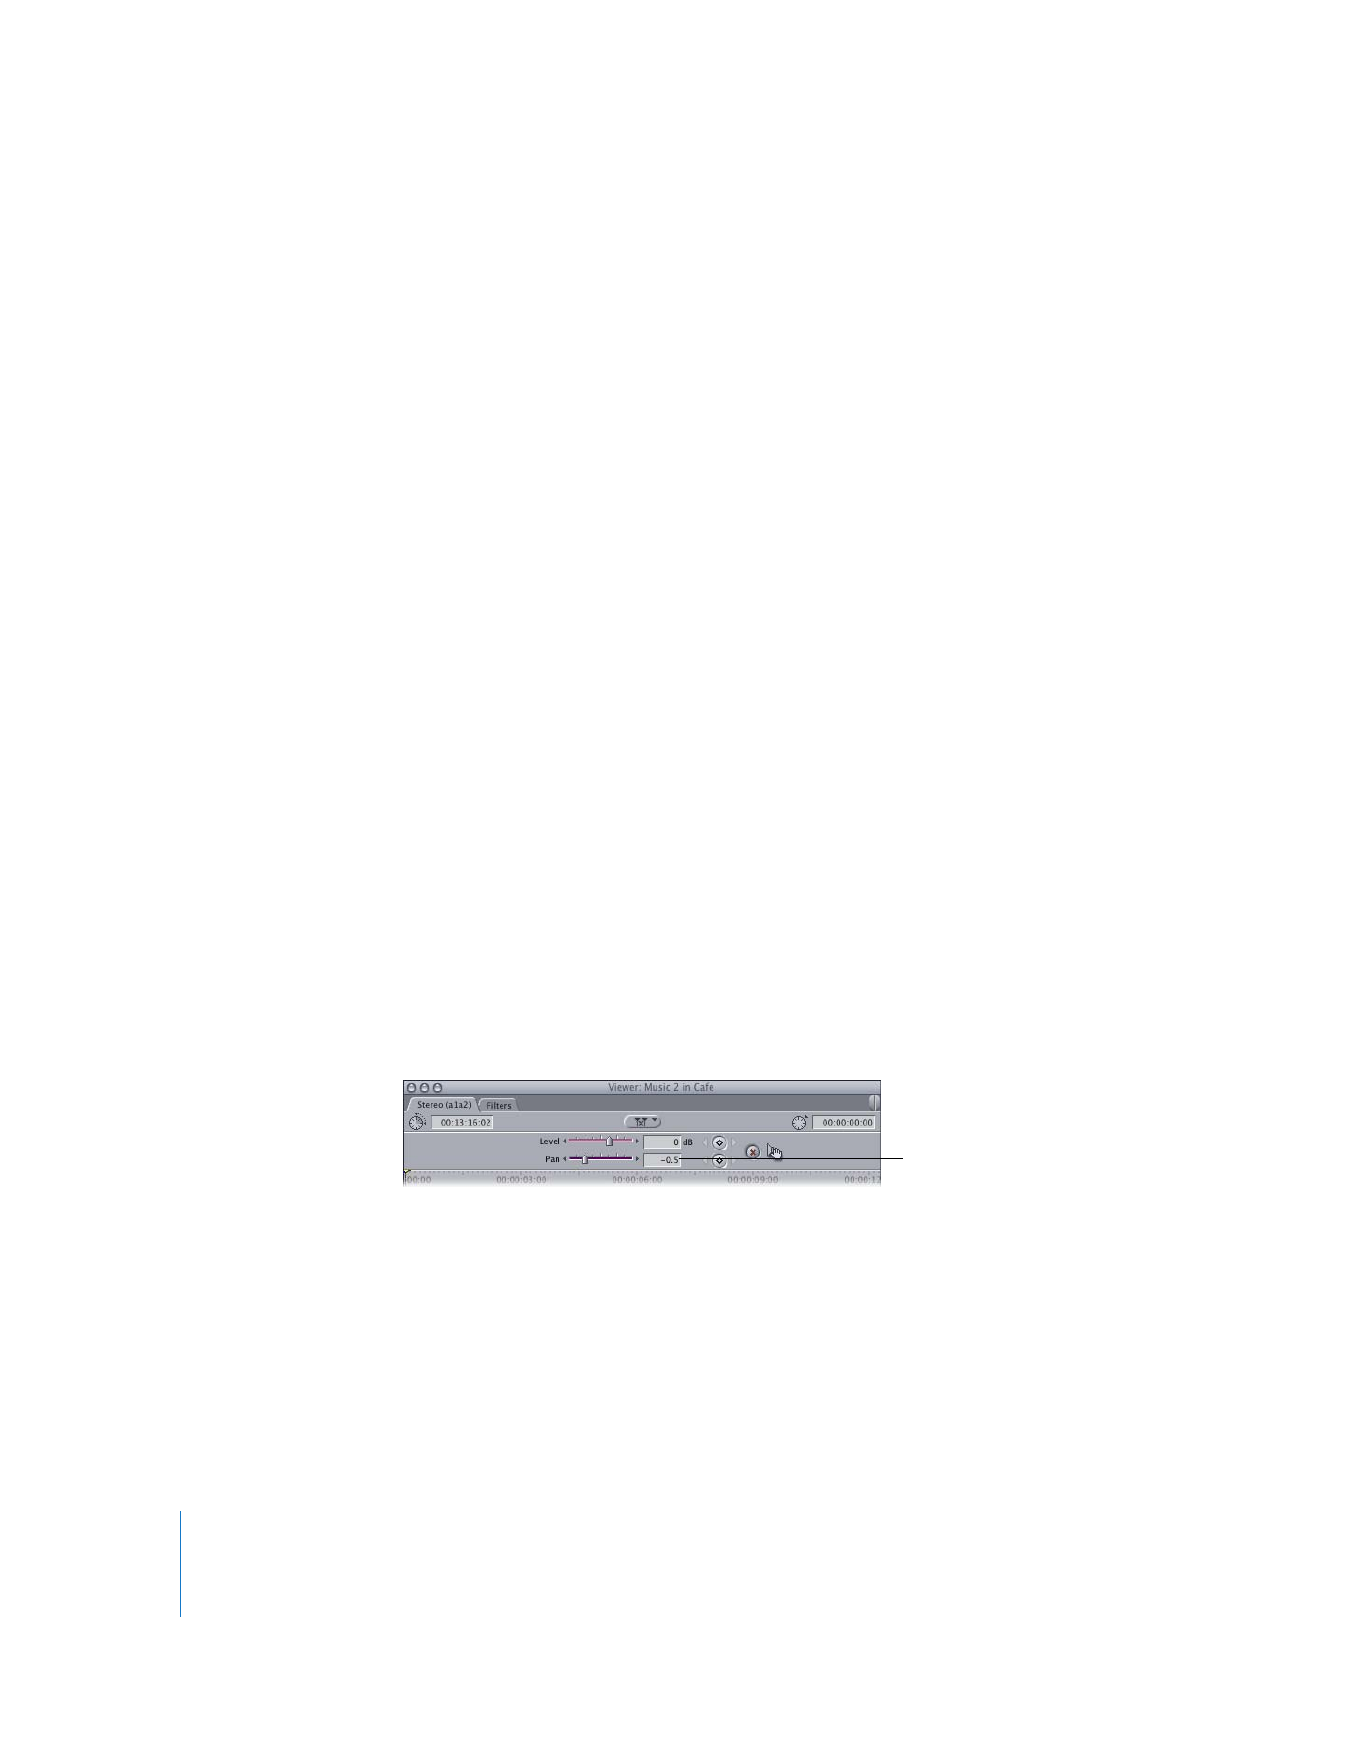
 If the audio clip in the Viewer is not a stereo pair: This slider lets you pan the audio
channel in the currently selected audio tab between the left and right channels.
As with the Level slider, if there are no pan keyframes in the current clip, adjusting
the Pan slider affects the pan of the entire clip. If there are pan keyframes, using this
slider will do one of the following:
 Adjust the pan of a keyframe at the current position of the playhead.
 Add a new keyframe to the pan overlay and adjust it between the left and right
output channels.
Working with keyframes is explained in more detail in “
Adjusting Clip Audio Levels
and Pan Using Keyframes
” on page 122.
Pan slider
120
Part I
Audio Mixing