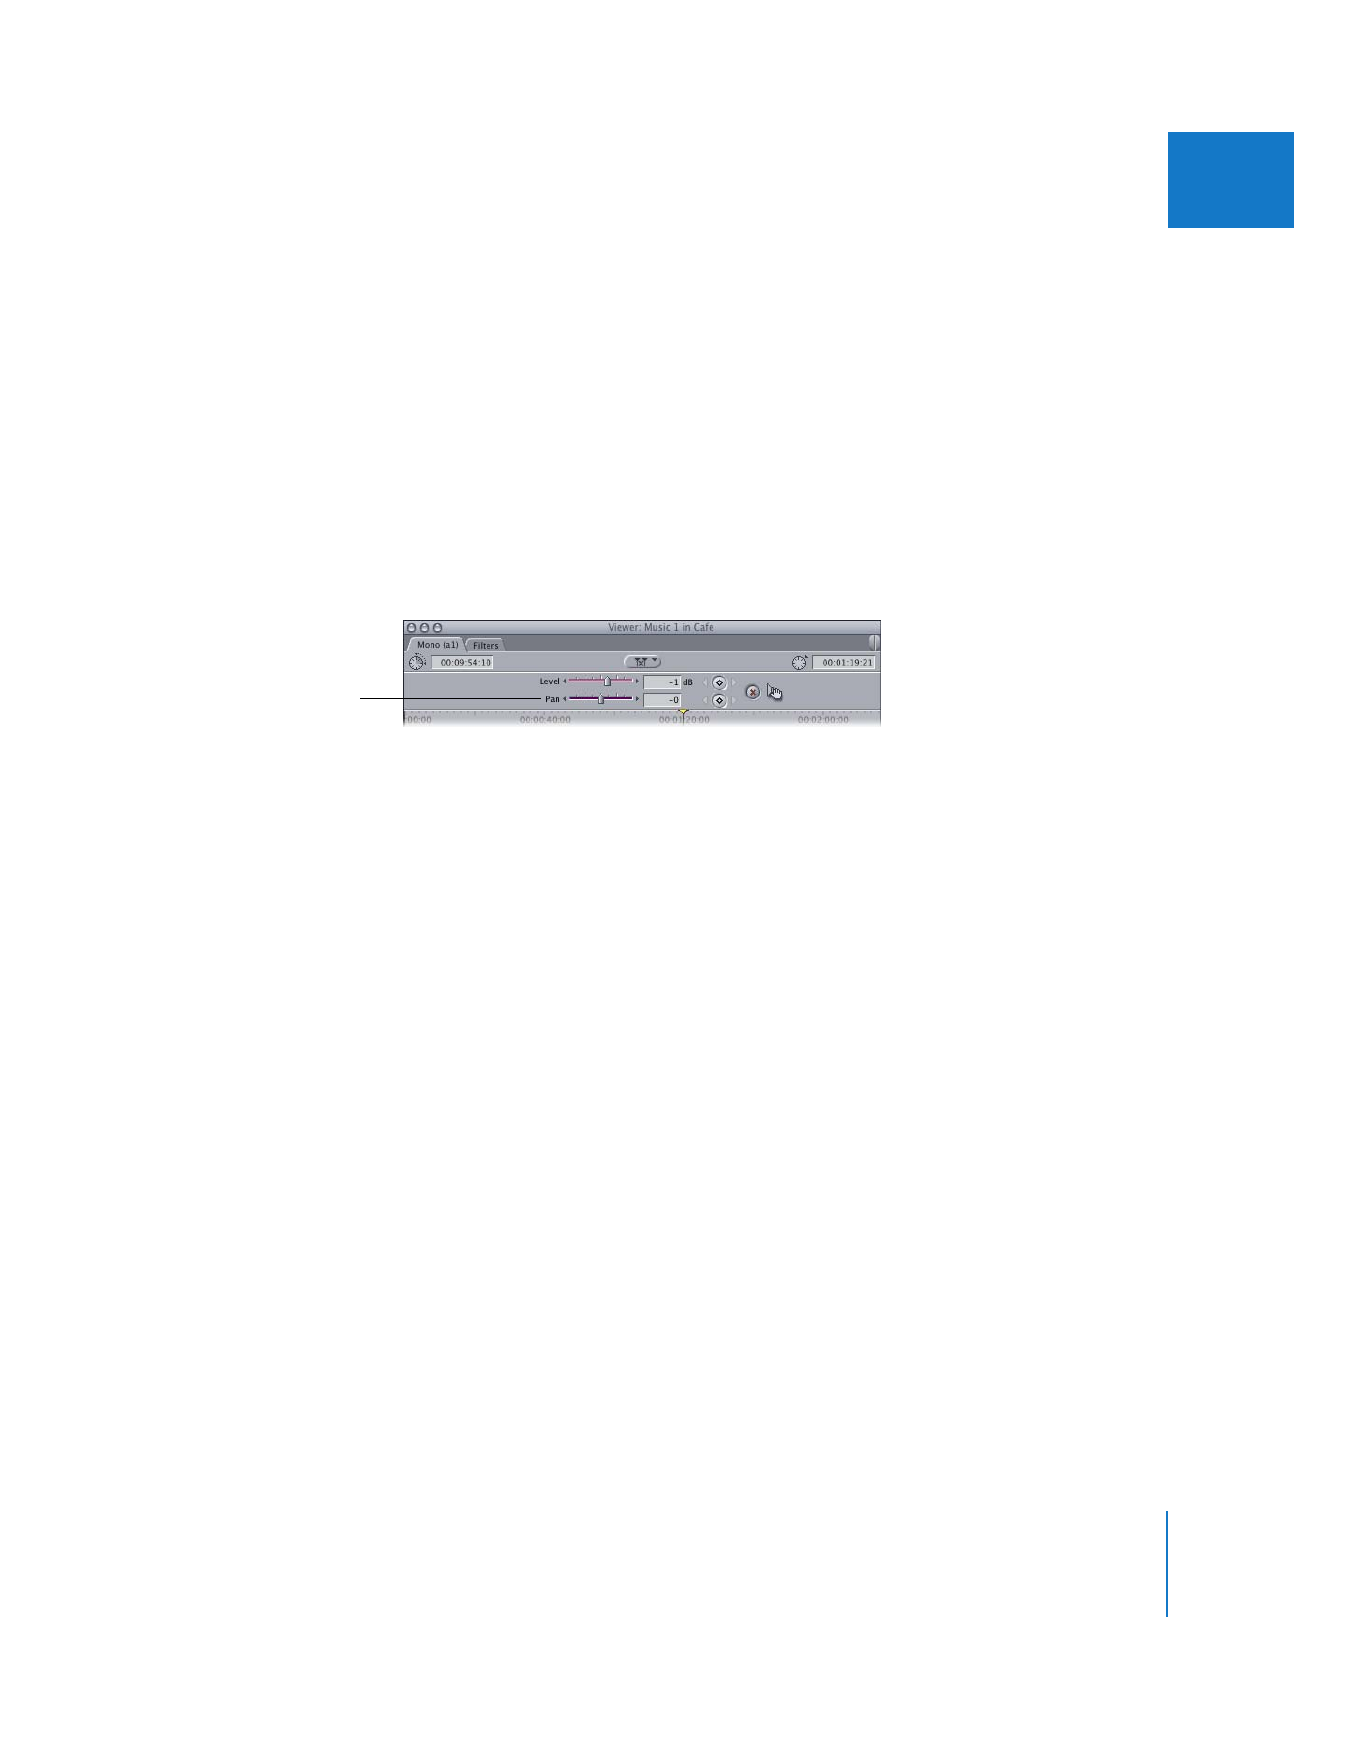
Panning Audio in the Timeline and Viewer
You can adjust audio pan settings in the Timeline or the Viewer, or by adjusting faders
in the Audio Mixer window. For more information, see Chapter 4, “
Overview of the
Audio Mixer
,” on page 69 and Chapter 5, “
Using the Audio Mixer
,” on page 81.
Panning Audio in the Timeline
You can adjust the pan of one or more clips in the Timeline using the Audio command
in the Modify menu, but you can’t make as many adjustments as you can in the Viewer.
Using the menu, you can set a clip’s pan all the way to the left, all the way to the right,
or in the center of the stereo output channels.
Note: If you use this method to change the pan of a clip that’s a stereo pair, the pan
setting for both audio channels changes simultaneously. The pan setting is applied to
the uppermost channel of the stereo pair, and the lower channel is panned to the
opposite side.
To change the pan for a clip or clips:
1
In the Timeline, select the clip or clips whose pan you want to change.
2
Choose Modify > Audio, then choose a pan option from the submenu.
 Pan Left: Pans audio all the way to the left stereo output.
 Pan Center: Centers audio evenly between left and right stereo outputs.
 Pan Right: Pans audio all the way to the right stereo output.

Chapter 6
Mixing Audio in the Timeline and Viewer
119
I