Record Audio Keyframes Option
When Record Audio Keyframes is selected, new keyframes are created whenever an
audio control is moved. Audio controls that can be used to create keyframes during
playback include the faders and panning sliders in the Audio Mixer, the Level and Pan
sliders in the audio tabs of the Viewer, and the faders and controls on a connected
audio control surface.
The Record Audio Keyframes option must be selected to record real-time level and pan
automation during playback. If the Record Audio Keyframes option is not selected,
changes to the level and panning sliders only affect the overall levels of clips that have
no keyframes, or modify whatever keyframes already exist without creating new ones.

78
Part I
Audio Mixing
To add keyframes whenever you move an audio fader or panning slider, do one of
the following:
m
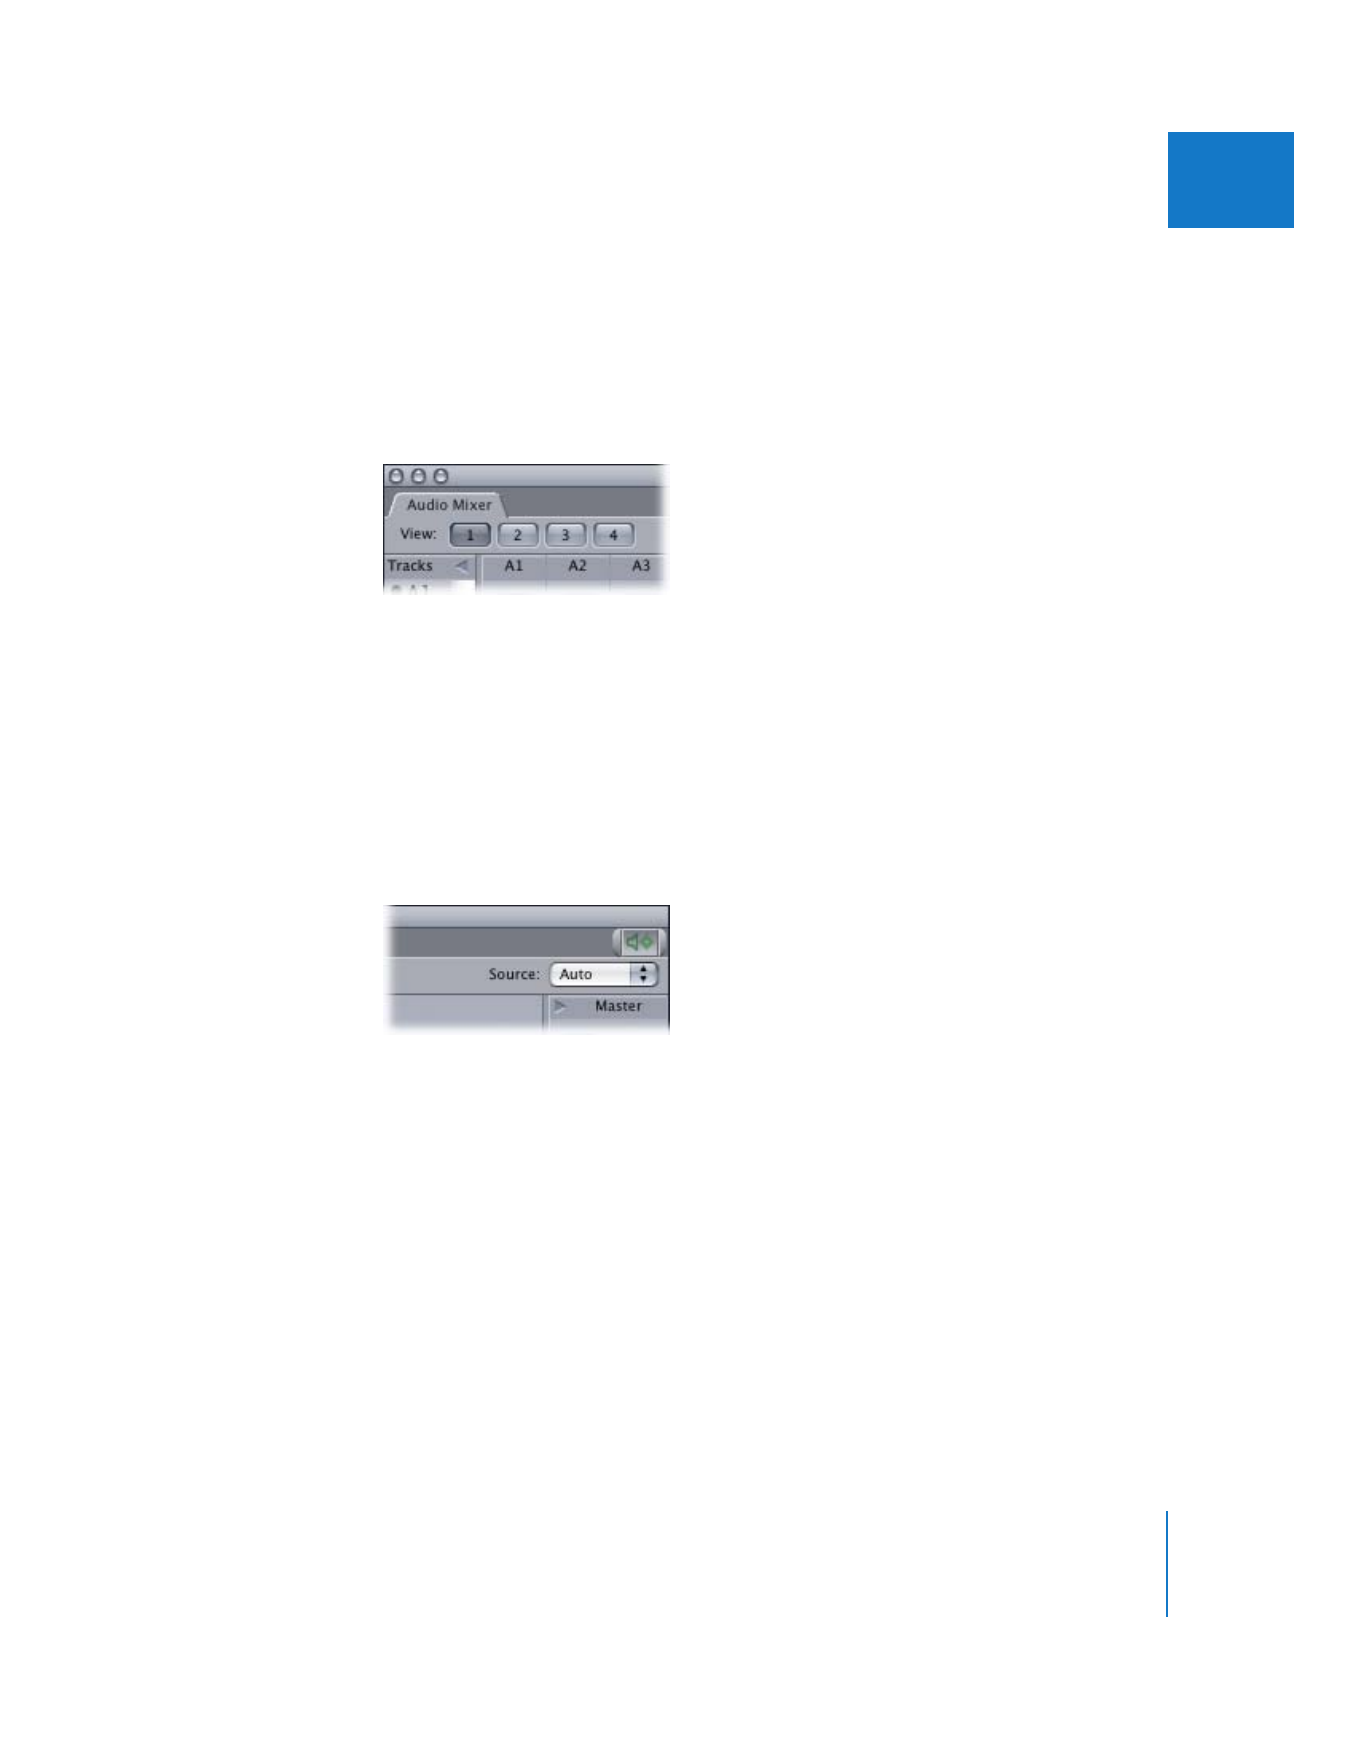
Select the Record Audio Keyframes button in the button bar at the top of the Audio
Mixer (in the Tool Bench window).
m
Select the Record Audio Keyframes checkbox in the Editing tab of the User
Preferences window.
m
Press Command-Shift-K.
The Record Audio Keyframes button and the checkbox in User Preferences are the
same control; they are just located in two different places for convenience.
Important:
If the Record Audio Keyframes button is missing from the Audio Mixer button
bar, you can drag it to the button bar from the Button List. For more information about
using the Button List, see Volume I, Chapter 10, “Customizing the Interface.”