Compressor/Limiter Filter
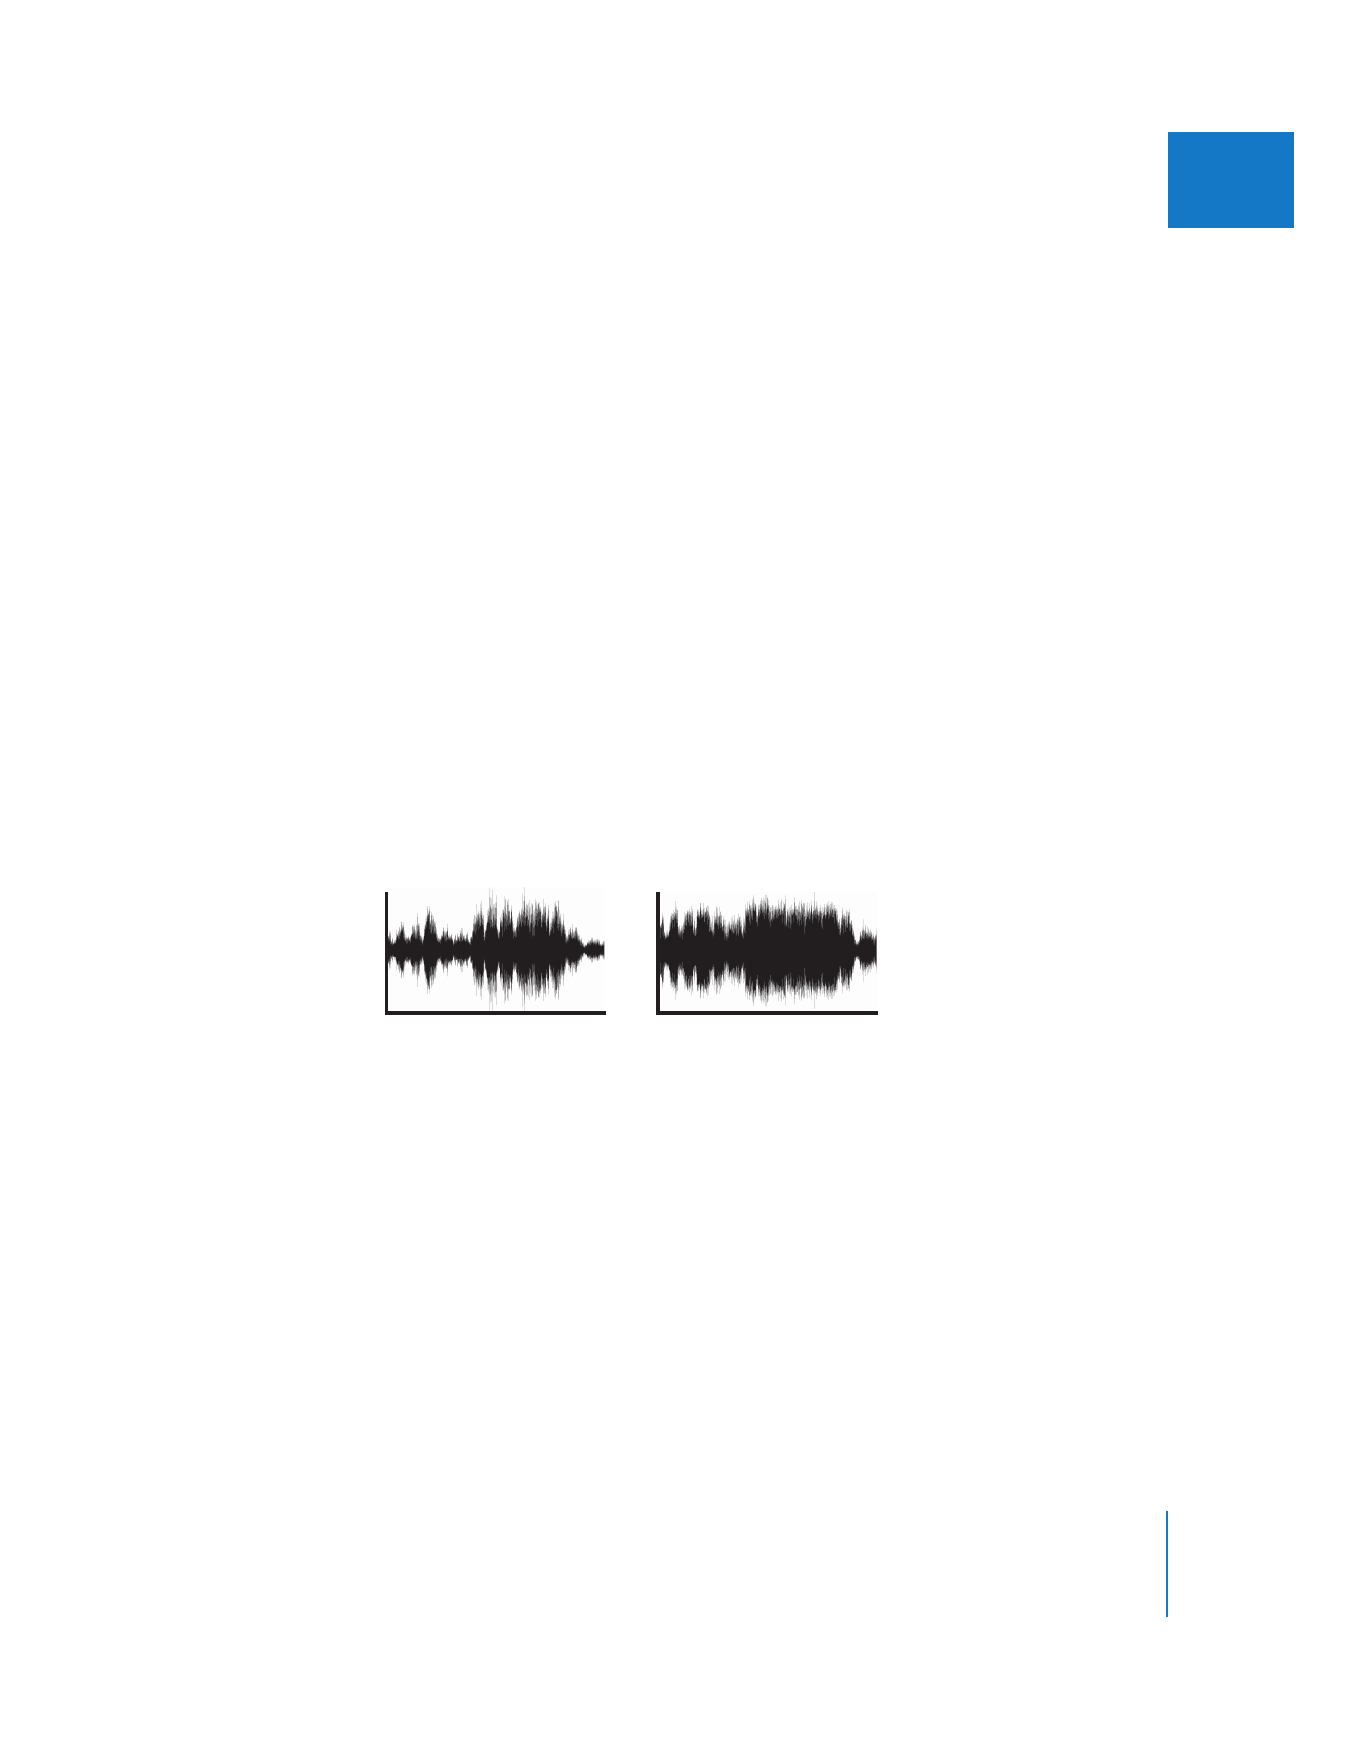
An audio compressor reduces dynamic range by attenuating parts of a signal above a
certain threshold. Compression is a very important tool because most listening
environments (movie theaters, home stereos, and televisions) have to compete with a
certain amount of ambient noise that must be overcome by the quietest sounds in
your mix. The problem is that if you simply bring up the level of your audio mix to
make the quiet sounds louder, the loud sounds get too loud and distort. By reducing
the level of the loud sounds, you can increase the overall level of the mix, resulting in
higher levels for the quiet parts of the mix and the same levels for the loud parts.
A compressor monitors the incoming audio signal and reduces the signal by a specified
ratio whenever the signal is too strong (as determined by the threshold). Any audio
signal below the threshold is unaffected. Since louder parts get quieter and quiet parts
stay the same, the overall difference between quiet and loud sounds is reduced.
The Final Cut Pro Compressor/Limiter filter allows you to adjust the dynamic range of
an audio clip so that the loudest parts of a clip are reduced while the quieter parts
remain the same.
Before compression
After compression

158
Part I
Audio Mixing
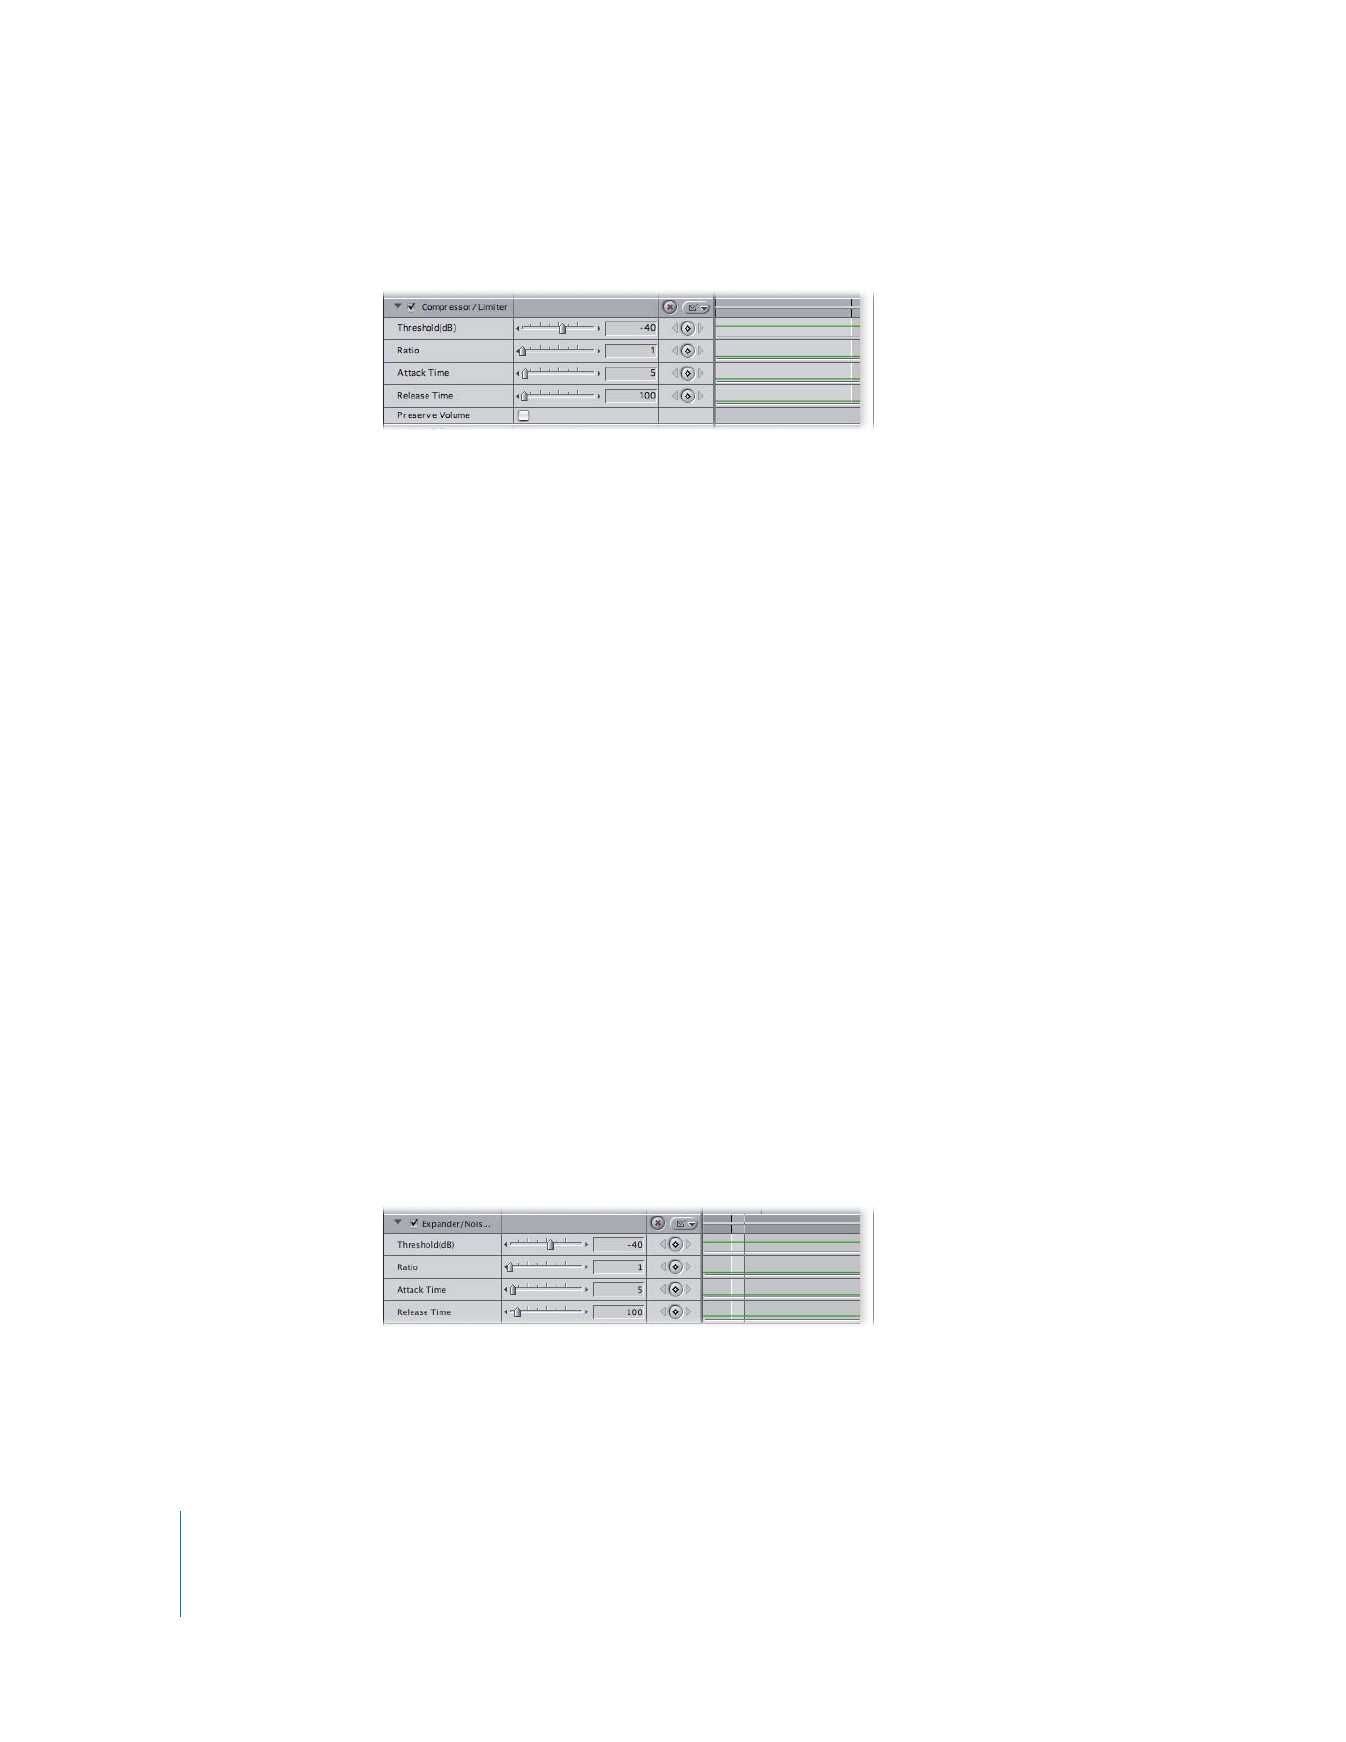
The Compressor/Limiter filter has five controls:
 Threshold: This parameter defines how loud the signal must be before the
compressor is applied. This is the most important setting you need to adjust.
 Ratio: This slider determines how much compression is applied. Don’t overdo the
compression; a little goes a long way. Too much compression can reduce the
dynamic range to a flat, unvarying signal.
 Attack Time: This setting determines how quickly the filter reacts to changes in audio
level (the default is usually acceptable, but you may want to experiment).
 Release Time: This setting defines how slowly the filter lets go of the change in audio
level that it made (again, the default should work well, but feel free to experiment).
 Preserve Volume: Compensates for the attenuation of the clip caused by compression
by raising the level of the entire clip by a uniform amount.