Working with Audio Filters
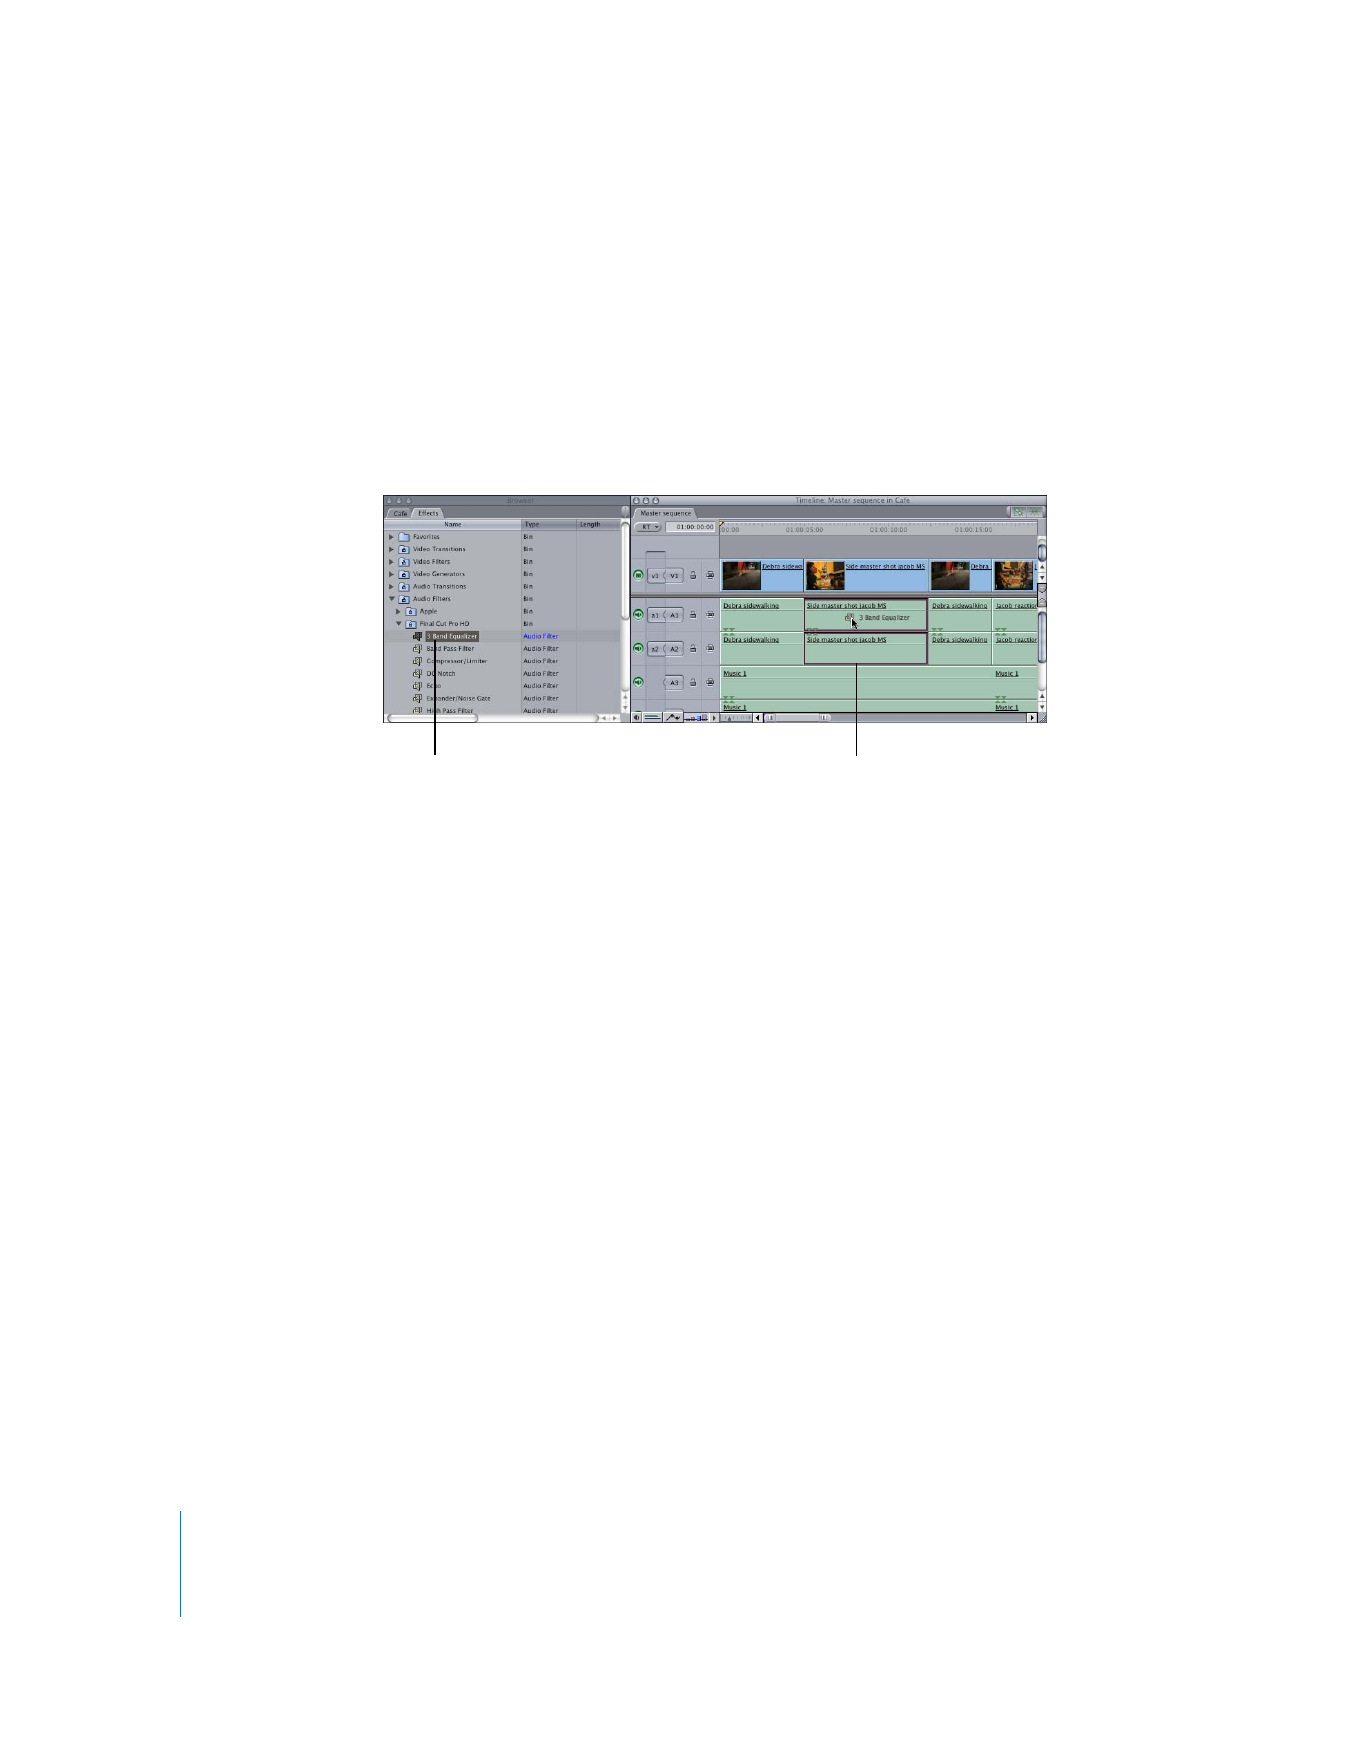
Filters can be added to any audio clip in a project. You can add filters individually or in
groups. When you add filters to a clip, they appear in the Filters tab of the Viewer when
that clip is opened in the Viewer. How they appear depends on whether the audio clip
in the Viewer is a stereo pair:
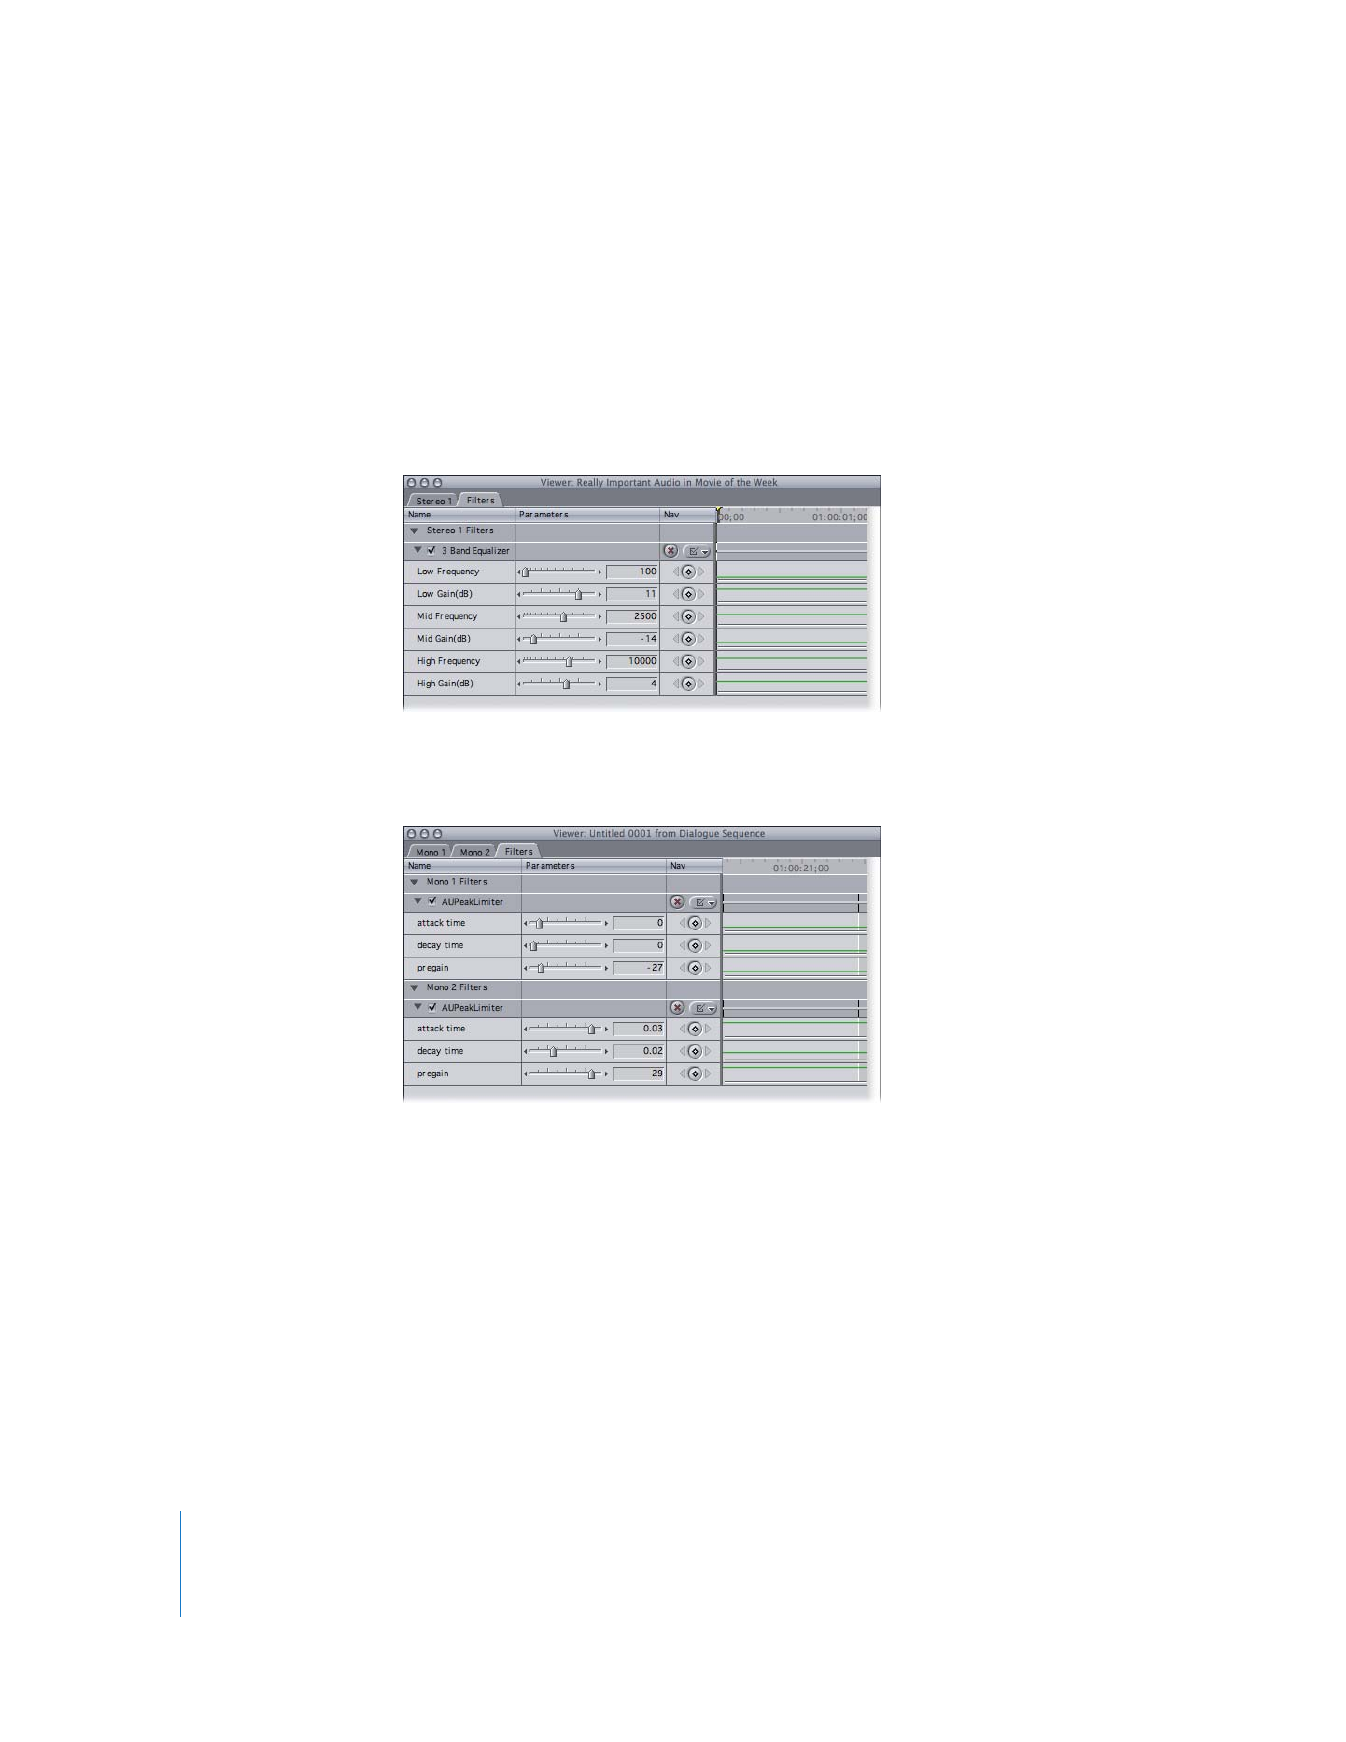
 If the audio clip in the Viewer is a stereo pair: Every filter you add is applied to both
channels equally, and only one set of controls appears.
 If the audio clip in the Viewer is not a stereo pair: Every filter you add is applied to both
channels, but each channel can have individual settings.
Chapter 8
Using Audio Filters
163
I
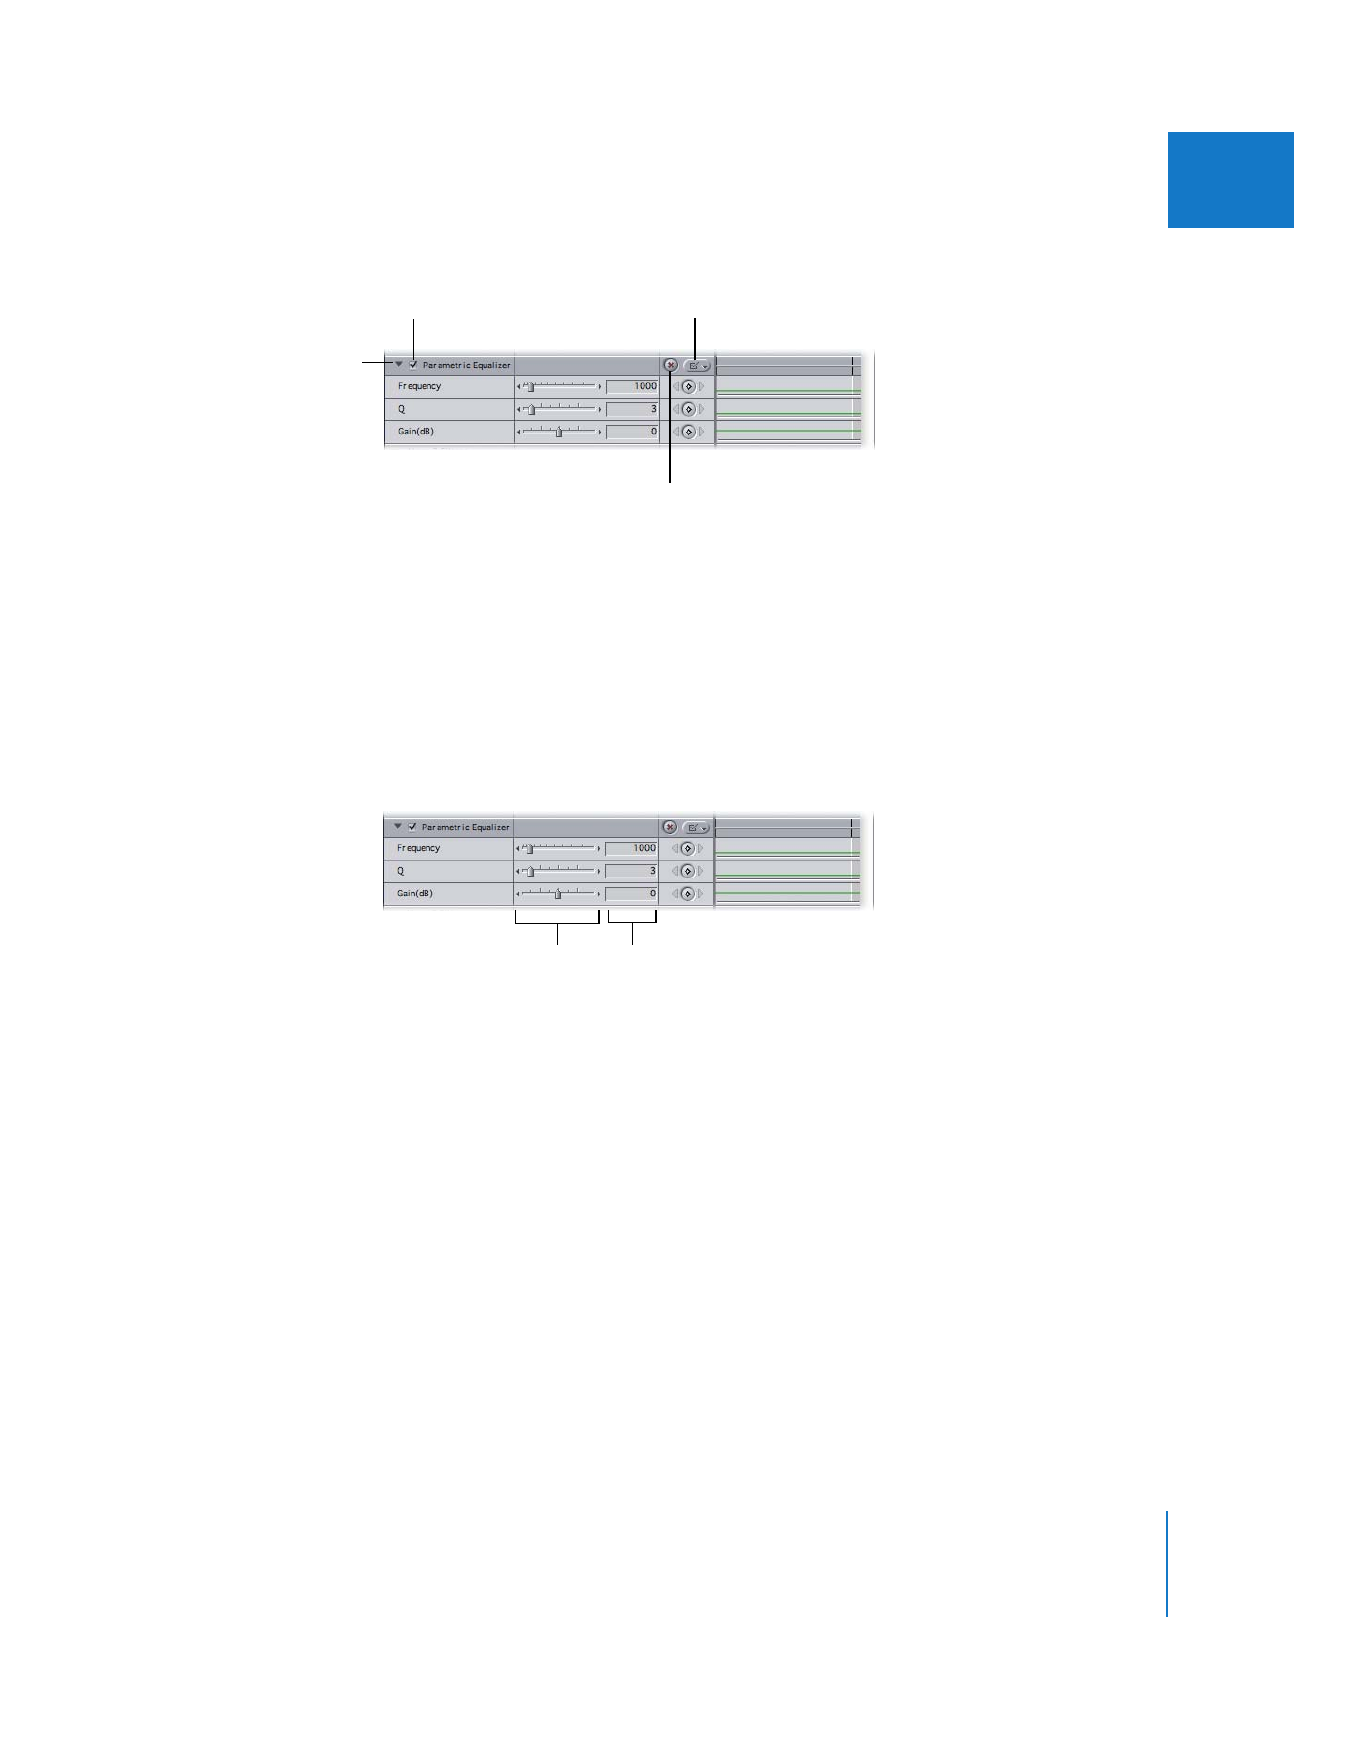
All filters have several controls in common:
 Parameter disclosure triangle: This allows you to show or hide a filter’s parameters.
 Enable/Disable checkbox: This allows you to enable or disable filters without
removing them from the clip. You can use it to disable filters temporarily to preview a
different filter.
 Parameter pop-up menu: Allows you to enable and disable specific settings for a filter.
 Reset button: Resets a filter’s settings to the default values.
Each filter also has a unique set of controls. These controls usually include sliders and
number fields that let you adjust the filter’s parameters.
Enable/Disable checkbox
and name of filter
Parameter
pop-up menu
Parameter
disclosure triangle
Reset button
Number fields
Sliders
164
Part I
Audio Mixing