About Mixer Automation and Keyframe Recording
Whenever you play back a sequence, the audio level and pan keyframes in the
clips control the mix automatically. This is called mixer automation and is especially
important when you have a lot of tracks in a long sequence. Audio level and pan
keyframes allow you to build up a complete audio mix by recording keyframes on just
one track at a time. With keyframes, you can orchestrate a complete mix of audio tracks
by yourself, a task that once required several people, with each person focused on a
group of tracks.

92
Part I
Audio Mixing
There are several ways to add audio level keyframes to your clip items and modify
them in the Timeline or Viewer. You can:
 Manually add keyframes with the Pen tool
 Select the Record Audio Keyframes button in the Audio Mixer button bar, and then
do one of the following:
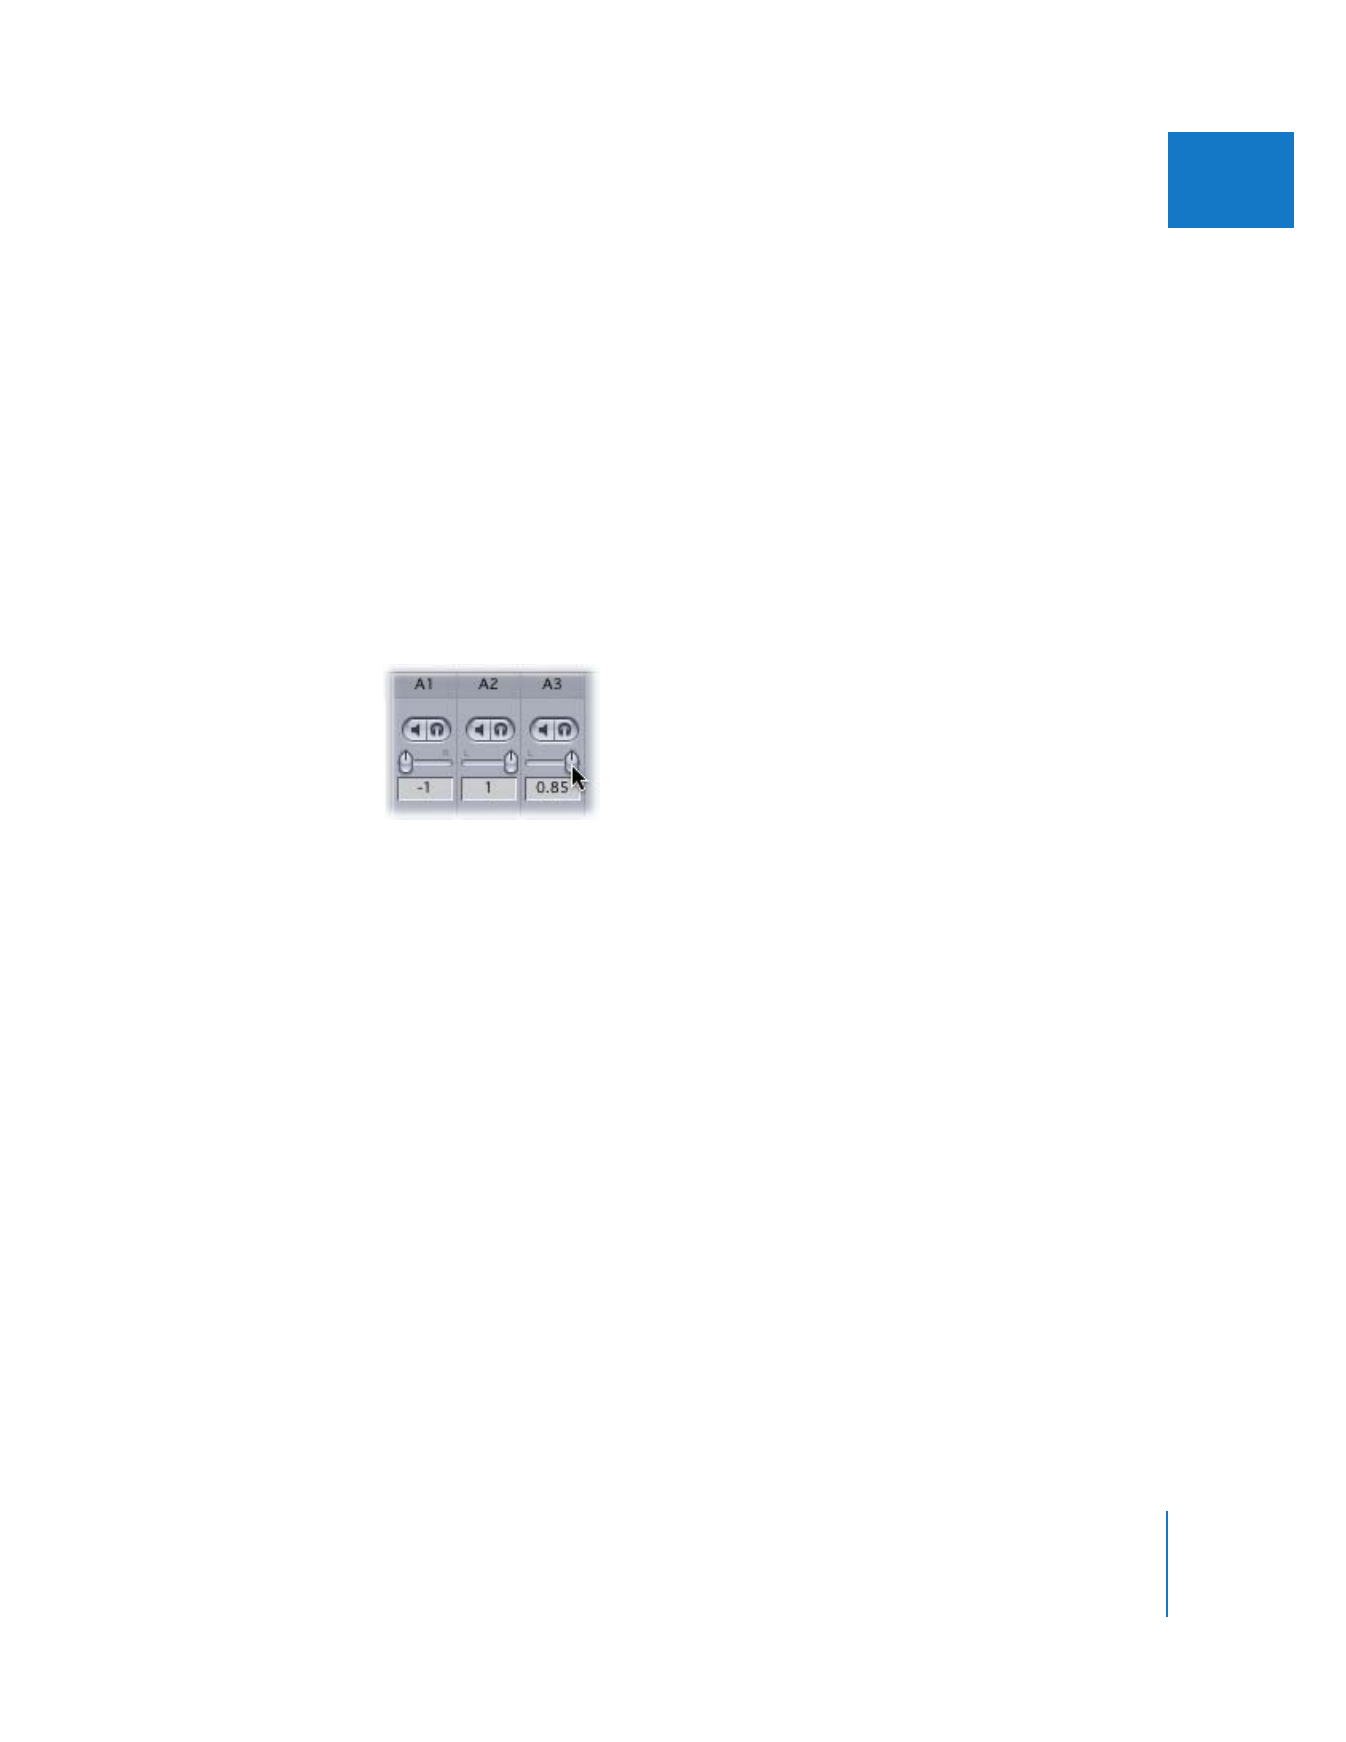
 Use the controls in the Audio Mixer to record fader and panning slider adjustments
in real time.
 Use a supported control surface with physical faders and pan controls. This allows
you to adjust multiple faders and panning sliders simultaneously.
Note: Although the steps described below generally refer to using the controls in the
Audio Mixer to automate your mix one track at a time, these steps can also apply to
using a control surface. For more information about using a control surface, see “
Using
a Control Surface with the Audio Mixer
” on page 100.