
Recording Audio Level and Pan Keyframes
As long as the Record Audio Keyframes button at the top of the Audio Mixer is
selected, audio level and pan keyframes are recorded whenever a fader or panning
slider is adjusted. Keyframes can be recorded both during playback and when playback
is paused.
During playback, keyframe recording begins when you position the pointer on a fader
or panning slider and press the mouse button, and recording continues until you
release the mouse button. The density of recorded keyframes depends on what you
specified in the Record Audio Keyframes pop-up menu in the Editing tab of the
User Preferences window.
Note: Instead of using the mouse to adjust your faders, you can also use a supported
control surface to adjust multiple faders and panning sliders simultaneously.
Keyframe recording continues as long as the mouse button is held down, so it’s best
to mix groups of short, consecutive clips in a track all at once. For example, suppose
you’ve edited a dialogue sequence with multiple angles of coverage so that the
dialogue spoken by a single character is broken up into six different clips on tracks
A1 and A2.
94
Part I
Audio Mixing
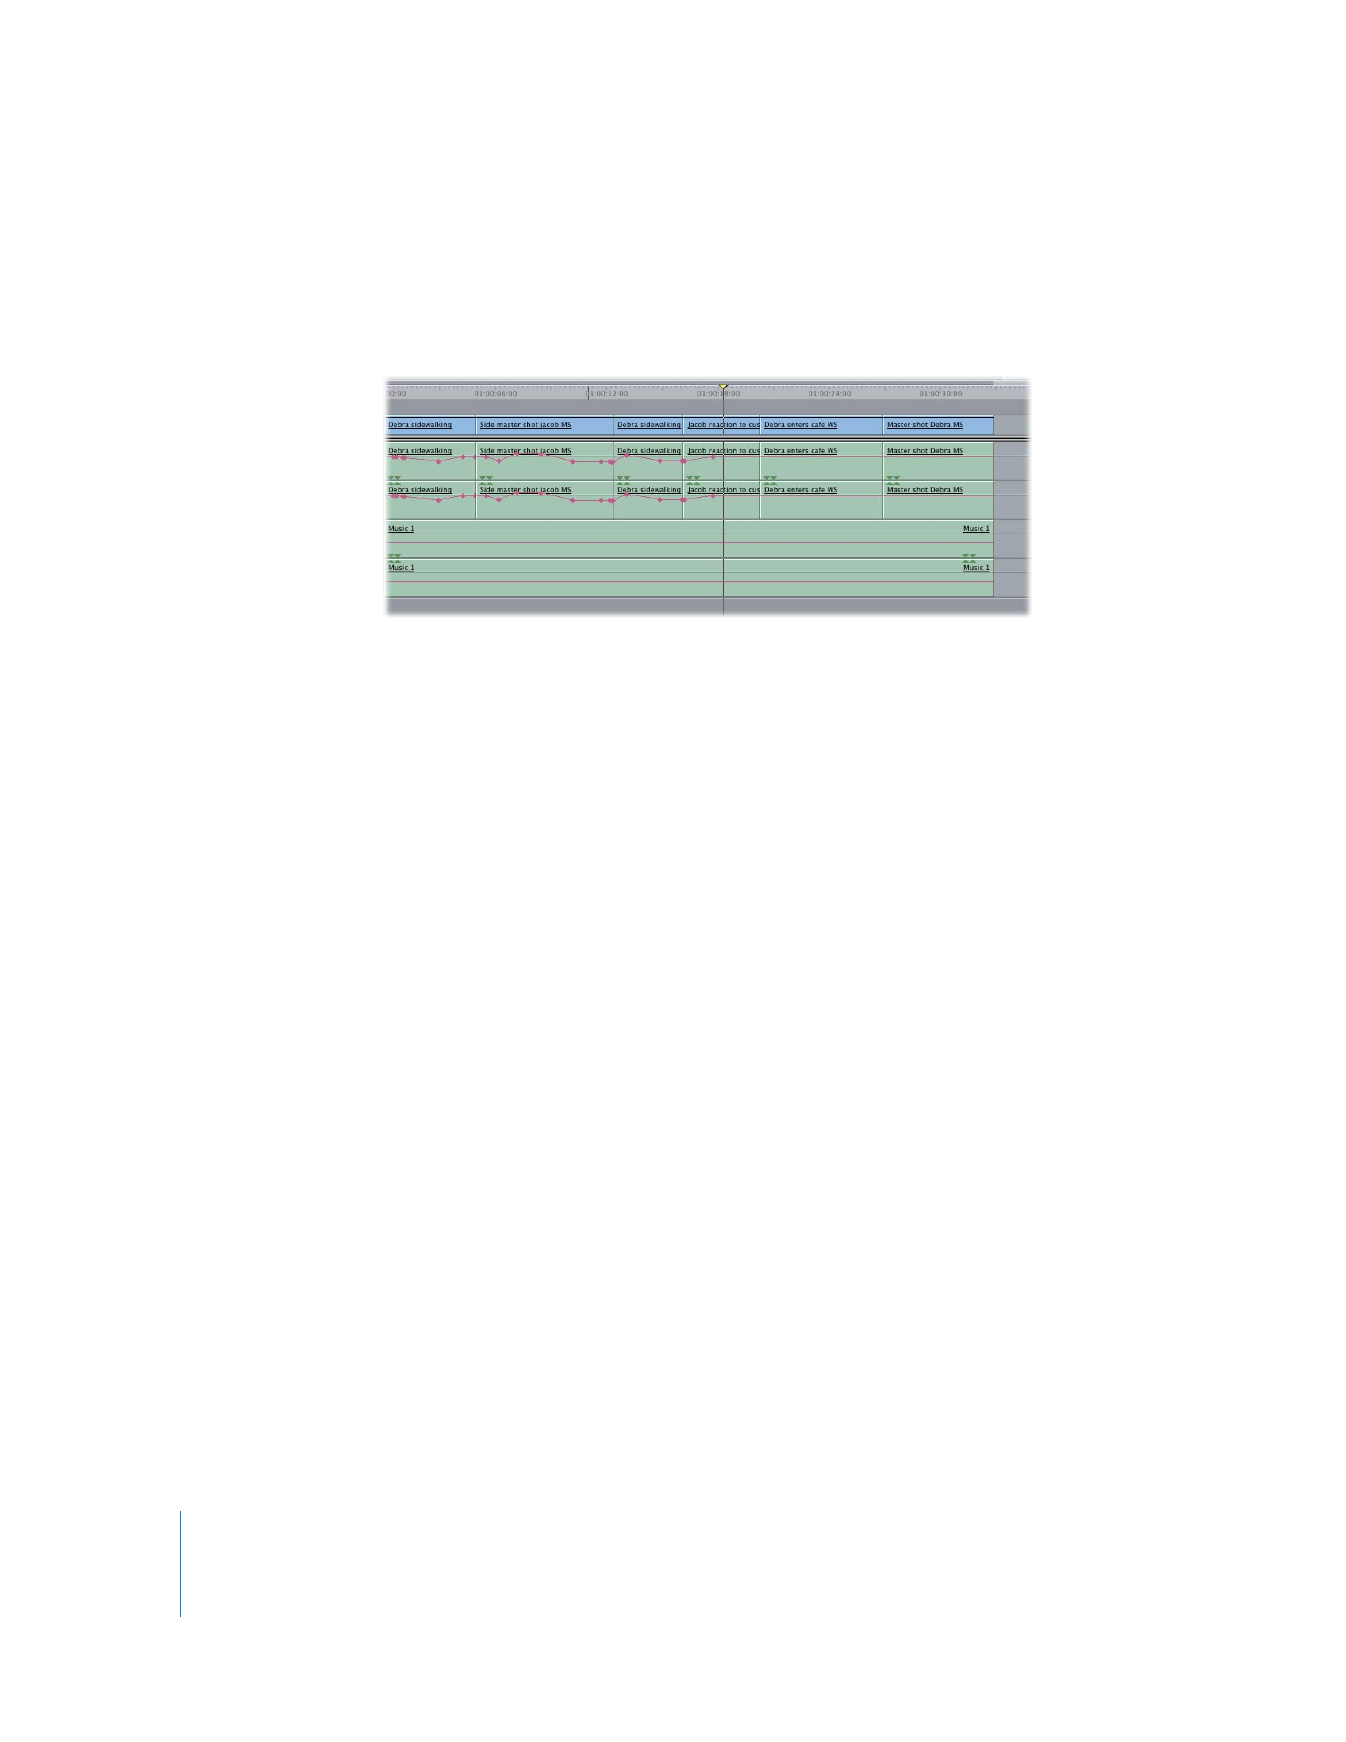
Because each clip has its own independent audio levels, to use the Audio Mixer to set
the levels for the entire group, you need to keep the mouse button held down
continuously to record keyframes as you play back all six clips. If you stop halfway
through clip 4, the audio level overlays for these clips look like this:
This is because no fader movement was detected in either clip 5 or 6, so the levels
were not adjusted for these clips. If this happens, it’s easy to move the playhead back
to the beginning of the section you’re working on and record any additional keyframes.
When you release the mouse button, keyframe recording ends and the fader for that
track goes back to displaying the previously set levels. The same rules apply to
recording pan information.
Important:
If the Record Audio Keyframes button is not selected, no keyframes are
recorded when you move faders or panning sliders. However, you can still modify
keyframes and levels between any two keyframes.
To record audio level or pan keyframes:
1
Select the Record Audio Keyframes button in the button bar at the top of the
Audio Mixer.
∏
Tip: You can select or deselect the Record Audio Keyframes button during playback,
if necessary.
2
In the Viewer or Timeline, move the playhead to the area of your sequence where you
want to begin recording keyframes.
Chapter 5
Using the Audio Mixer
95
I
It’s a good idea to start a few seconds before the section you’ll actually be mixing, to
give yourself time to get ready.
3
Begin playback of your sequence.
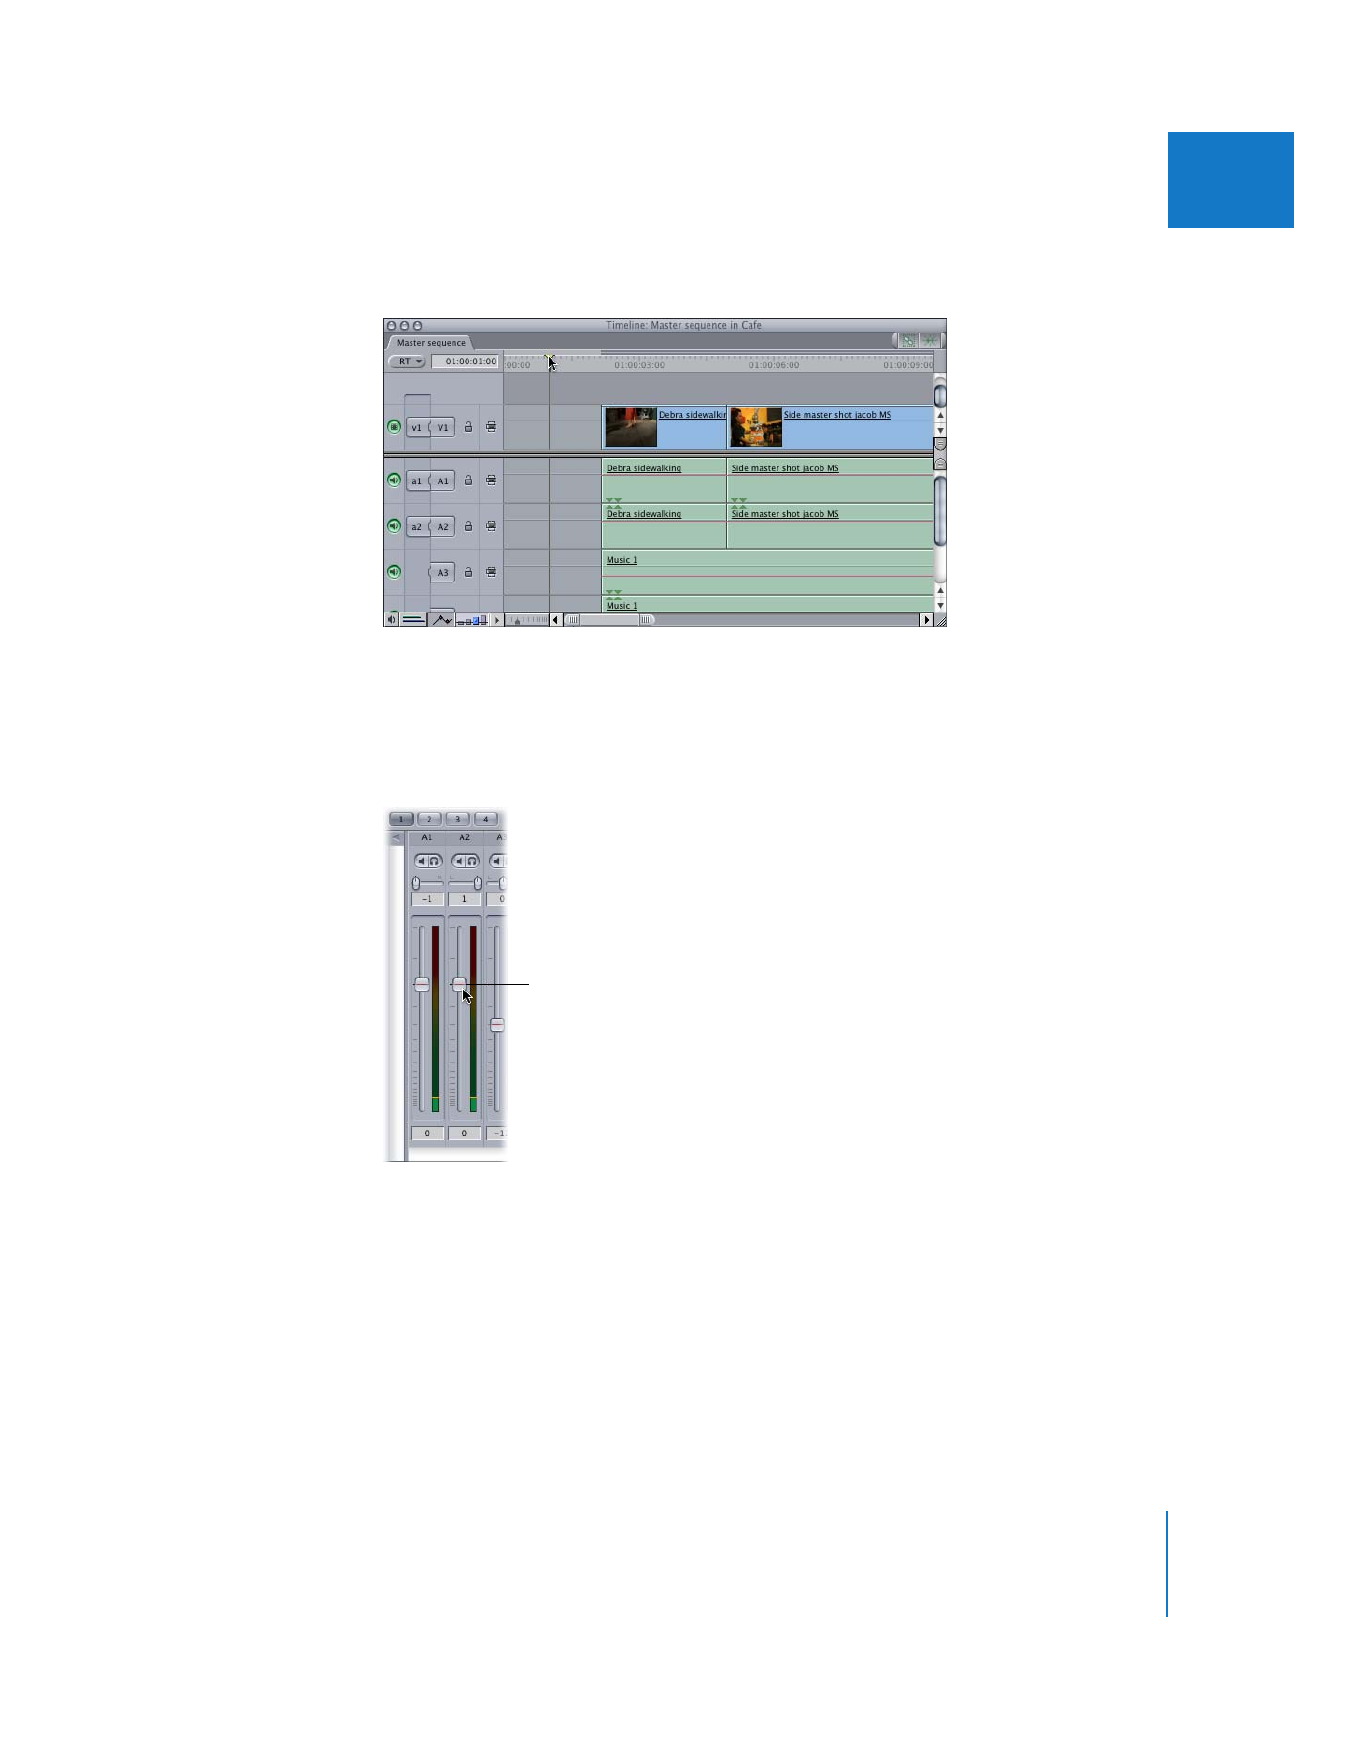
4
As your sequence plays, position the pointer over the fader or panning slider in the
relevant track strip, then press and hold down the mouse button to begin automation
recording for clips playing back in that track.
5
Hold down the mouse button to continue recording mixer automation, and move the
fader or panning slider to adjust the clip’s audio or pan levels in real time while
playback continues.
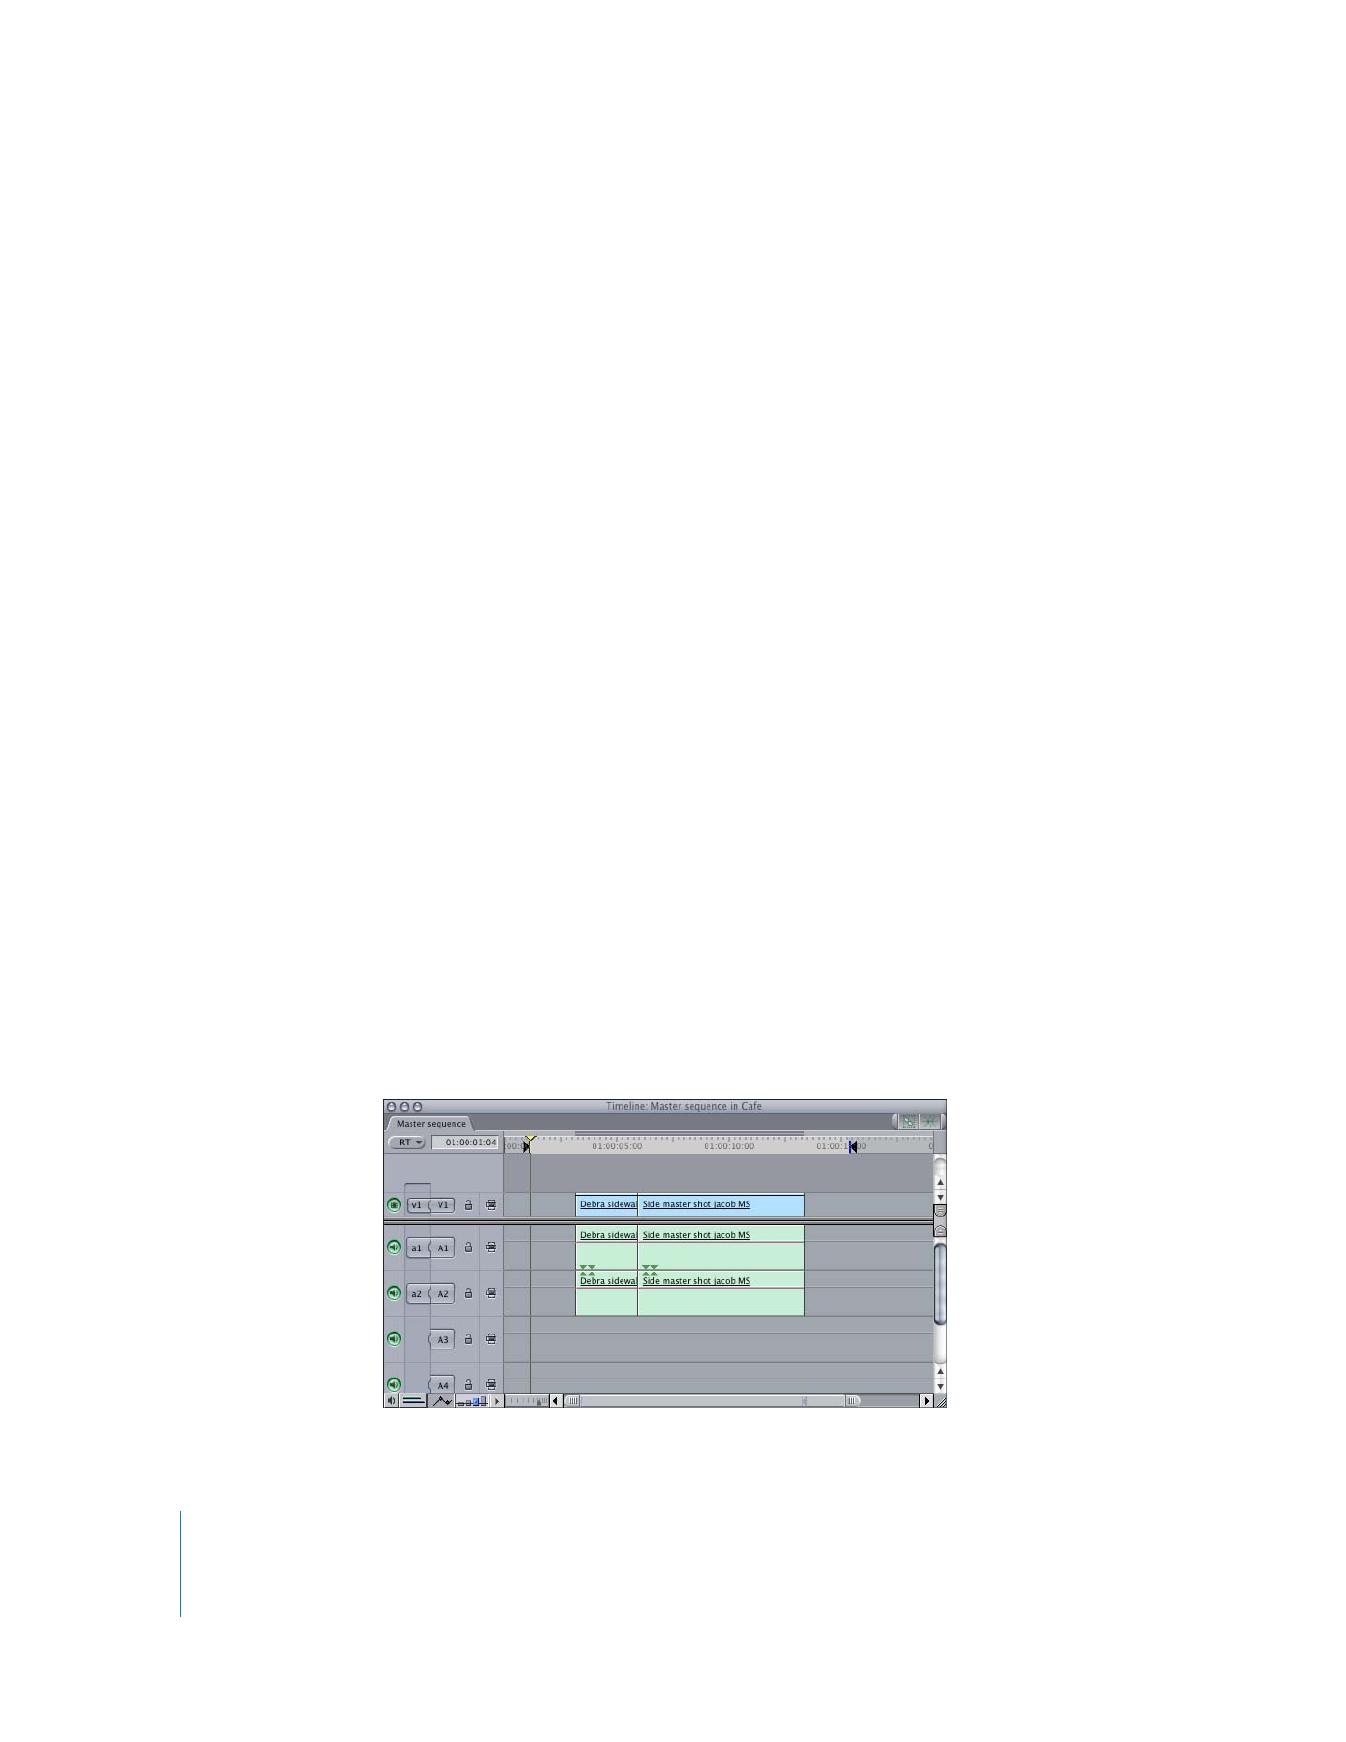
6
When you’ve finished, release the mouse button to stop recording keyframes.
The sequence continues to play, and the fader and pan controls return to the
previously set levels.
Place the pointer over
the fader slider to start
automation recording.
96
Part I
Audio Mixing
7
If there are any other Audio Mixer controls you want to adjust at this time, repeat steps
4 through 6.
8
When you’ve finished making adjustments, stop playback.
After you finish recording automation for a track, you can move the playhead back to
the beginning to record keyframes for additional tracks. This way, you can create your
audio mix one track at a time, adding keyframes for each track until you’ve set levels for
all the clips in your sequence. Ultimately, it doesn’t matter whether you use the Audio
Mixer in real time or set levels directly in the Timeline or Viewer. You can choose
whatever method works for a particular track or clip.
Note: You can also make changes to levels in tracks you’ve already mixed. New
changes made to the fader and pan automation overwrite previously set keyframes.