Recording Audio Mixer Keyframes Using a Control Surface
Recording audio mixer automation with a control surface is identical to recording
keyframes by adjusting faders in the Audio Mixer. The only difference is that you can
control multiple faders and pan knobs simultaneously with a control surface, whereas
adjusting faders with the mouse allows you to control only one fader at a time. Using a
control surface lets you perform more nuanced mixes, adjusting multiple tracks at
once. For information about recording audio level keyframes, see “
About Mixer
Automation and Keyframe Recording
” on page 91.
To record audio level and pan keyframes using a control surface:
1
Make sure your control surface is connected and properly configured.
2
Press Option-6 to open the Audio Mixer.
3
Select the Record Audio Keyframes button (located in the button bar of the Tool Bench
window).
4
Press the Space bar to begin playing your sequence.
5
Adjust faders and panning knobs on the control surface.
Audio level and pan keyframes are added to the clips in your sequence.
When you play back a clip or sequence, the faders in the Audio Mixer and the control
surface are automatically controlled by audio level and pan keyframes. Keyframe
recording begins when you touch the fader and finishes when you release the fader.

Chapter 5
Using the Audio Mixer
109
I
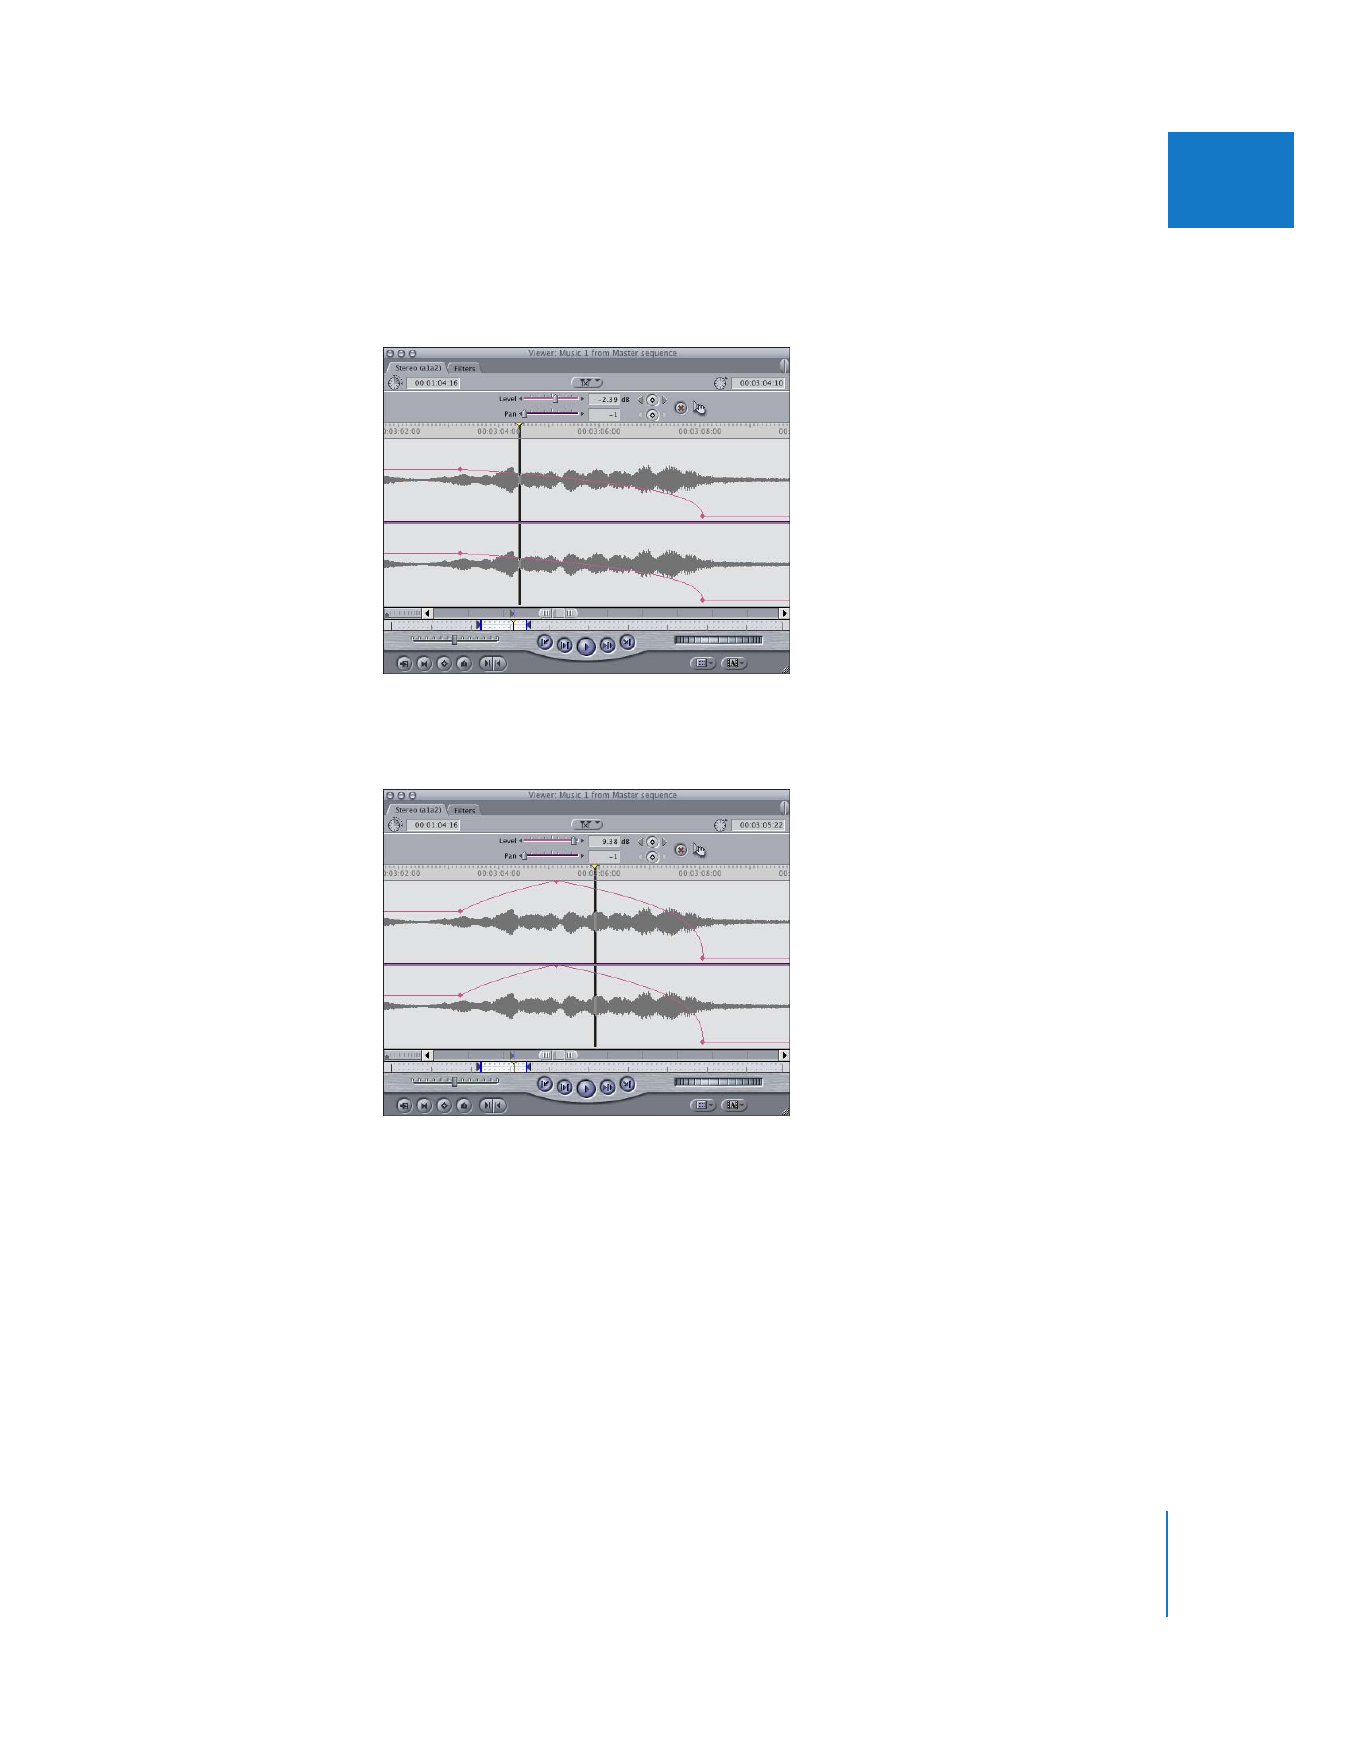
You can even adjust a fader to a new position while it is moving. For example, if a fader
on the control surface is slowly moving down from a 0 dB keyframe to a –60 dB keyframe,
you can move the motorized fader up to +12 dB, thereby creating new keyframes.
When you release the fader, it returns to its trajectory moving toward the
–60 dB keyframe.


6
111
6