Recording Multiple Takes
Each time you record a clip using the Voice Over tool, the a2 destination track
automatically moves down one track. You can record multiple takes, one after the
other, with the same specified duration in the Timeline. These new audio clips are
placed beneath the one previously recorded. Recording multiple takes this way results
in a stack of alternate takes, lined up at the same In point of the sequence. This lets you
edit the best parts of multiple takes together to assemble one perfect performance.
Note: When recording is finished, the newly recorded audio clip is automatically
selected. If you want to record another take, press Control-B to disable this audio clip so
it won’t play back.
You rarely record your voiceover track in a single take, especially if it includes long
stretches of narration. Instead, you may record several takes of a voiceover track and
then edit together the best parts of each take to create your final voiceover track. You
can also isolate parts of the first take that you don’t like and rerecord just those parts.
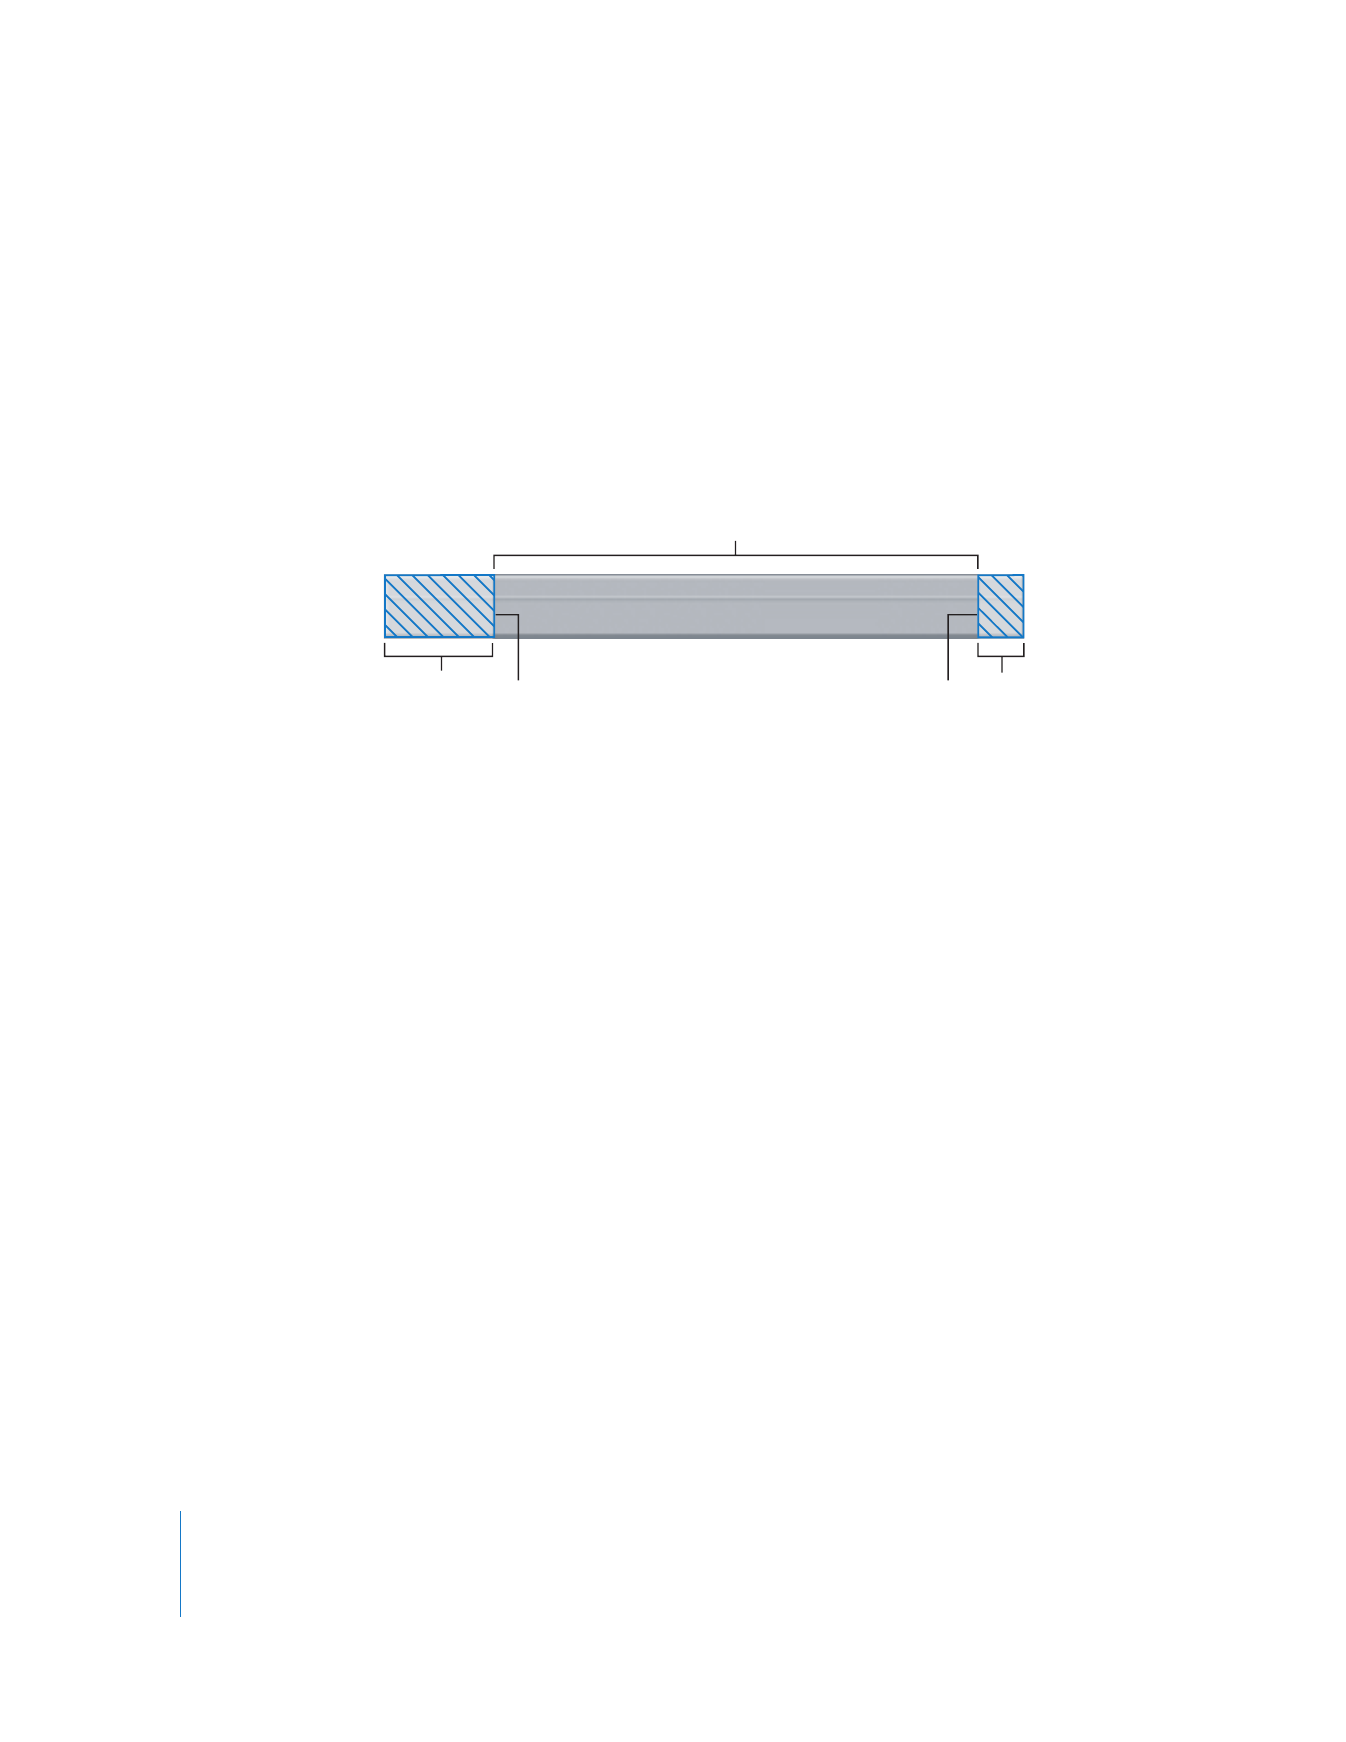
For example, suppose you were trying to record a long piece of narration. Instead of
rerecording the same clip over and over in an attempt to get a single perfect take,
record your first take. If there is any part of it you don’t like, simply set new In and Out
points isolating that section of your recording. Then record another clip in which you
narrate just that part.
Eventually you’ll have a few different takes, each with a sentence or two from different
sections of your narration that you like the best. Combining all of the best parts of
these various takes lets you get the best overall performance for your program.
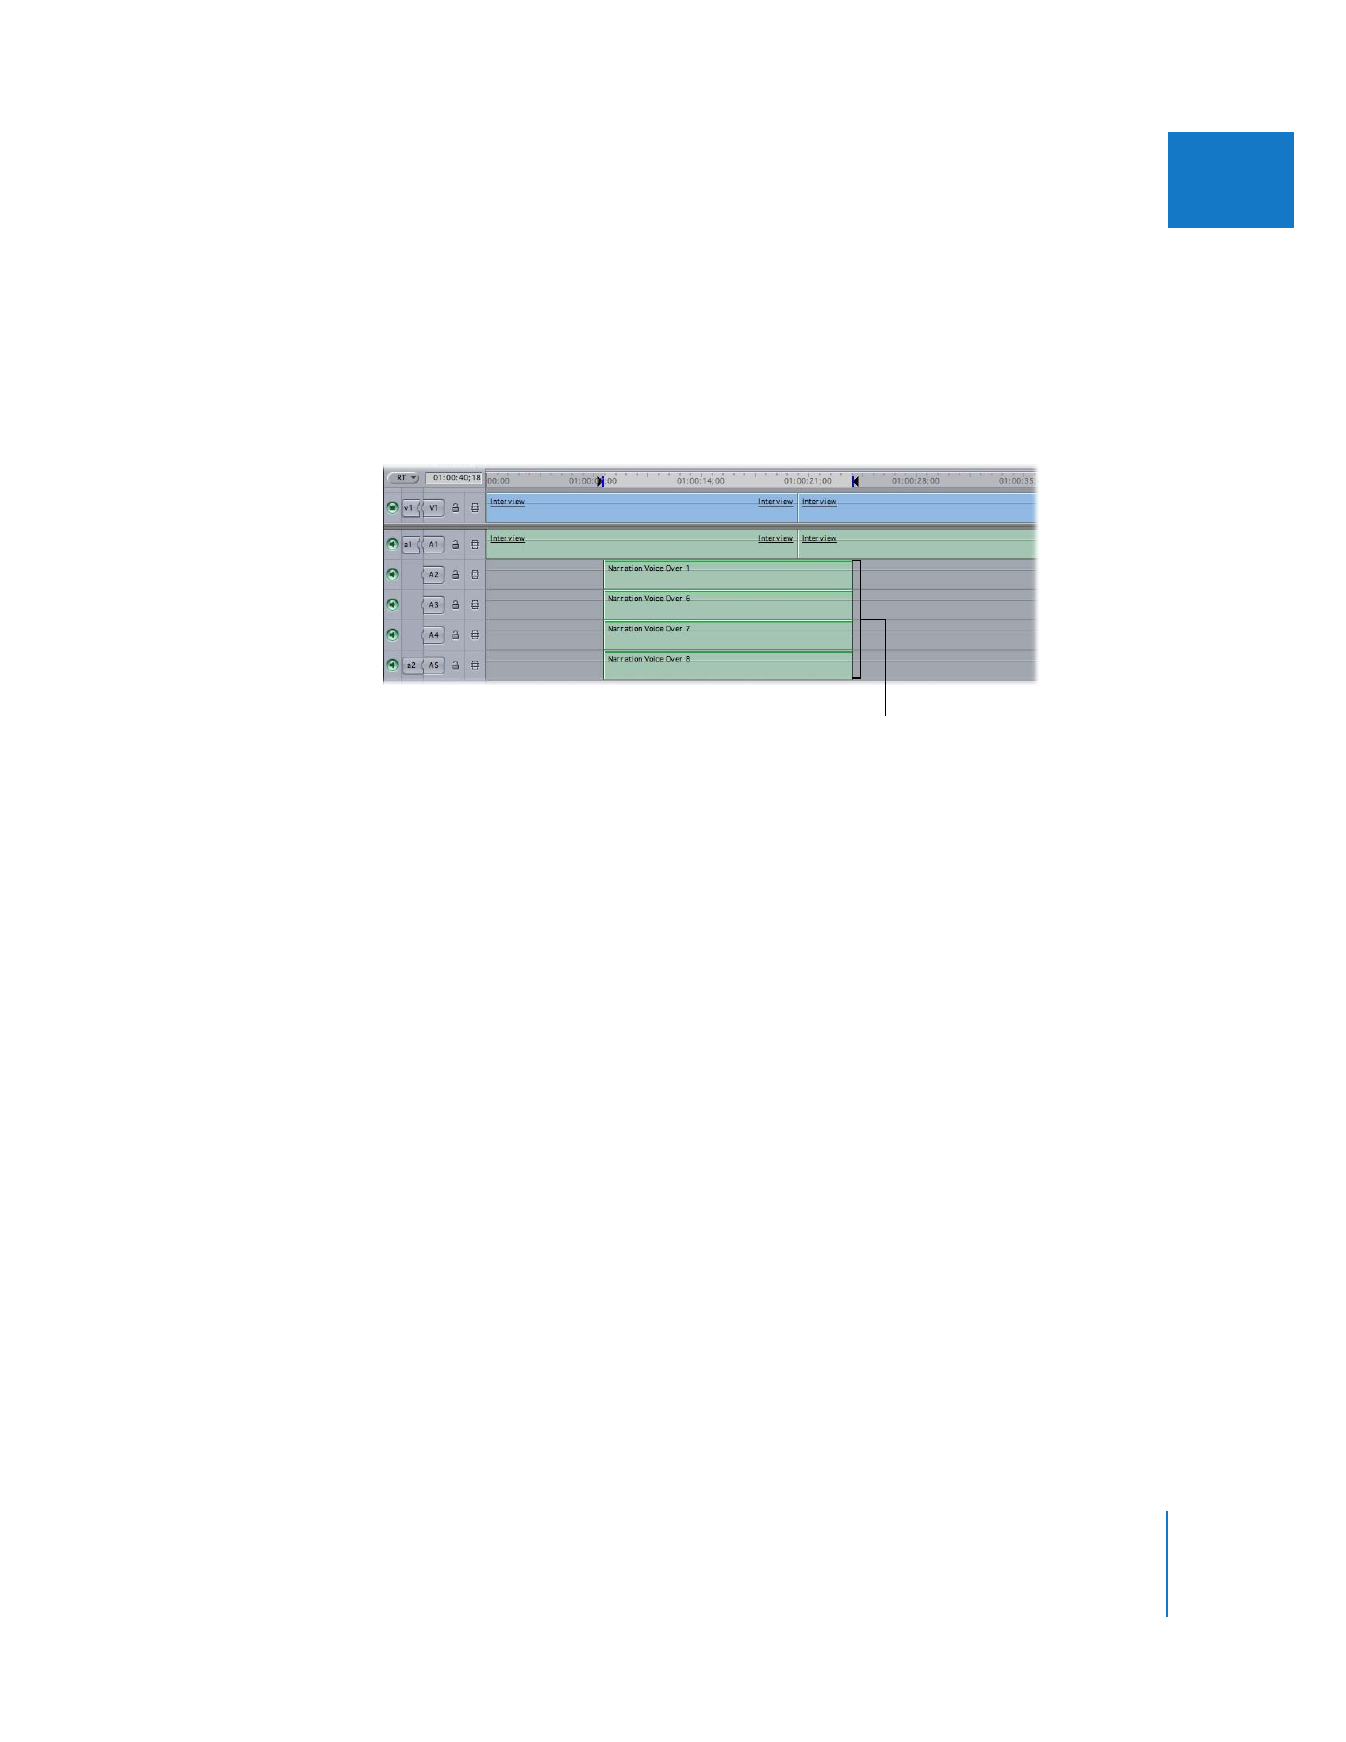
Multiple takes of the
same voiceover
152
Part I
Audio Mixing